1. Introduction
This manual provides essential information for the proper installation, understanding of function, maintenance, and basic troubleshooting of your Technical Precision Replacement for AES 7078N ALTERNATOR. Please read this manual thoroughly before attempting any installation or service to ensure safe and correct operation.
This product is a direct replacement component designed to meet the specifications of the original AES 7078N ALTERNATOR.
2. Safety Information
Working with automotive electrical systems can be hazardous. Always follow these safety guidelines:
- Disconnect the Battery: Before beginning any work, always disconnect the vehicle's negative (-) battery terminal to prevent electrical shock or short circuits.
- Wear Protective Gear: Use safety glasses, gloves, and appropriate clothing to protect against injury.
- Ensure Proper Ventilation: Work in a well-ventilated area.
- Use Correct Tools: Employ the appropriate tools for each task to avoid damage to the component or vehicle.
- Professional Installation Recommended: If you are not experienced with automotive electrical repairs, it is highly recommended to seek assistance from a qualified mechanic.
3. Product Overview
The alternator is a crucial component of your vehicle's electrical system, responsible for generating electricity to power the vehicle's electrical components and recharge the battery while the engine is running. This Technical Precision unit is designed as a reliable replacement for the AES 7078N ALTERNATOR.
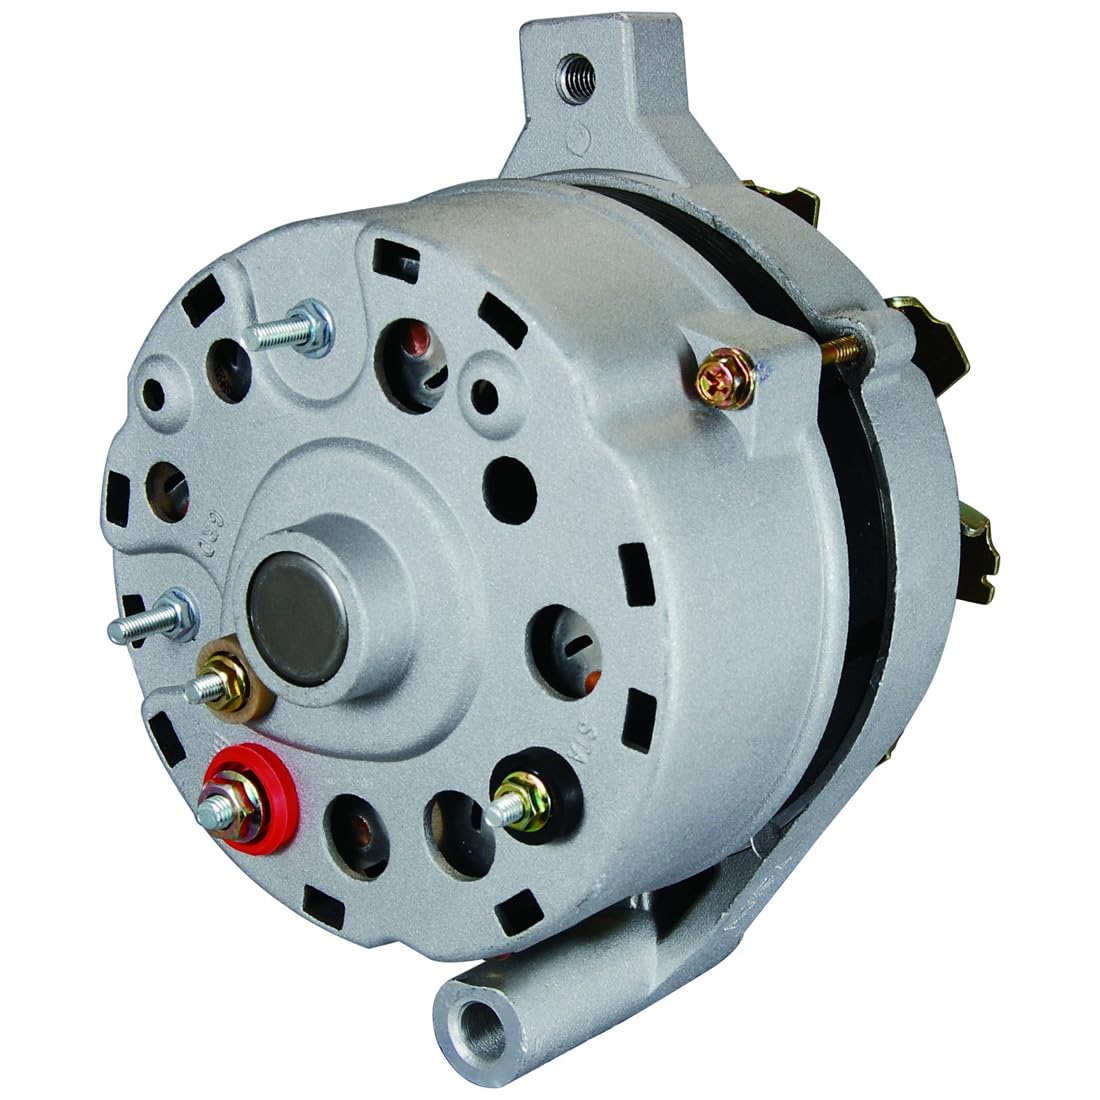
An image showing the Technical Precision Replacement for AES 7078N ALTERNATOR, highlighting its main body, mounting points, and electrical terminals.
4. Installation
The following steps provide a general guide for alternator replacement. Specific procedures may vary depending on your vehicle's make and model. Always refer to your vehicle's service manual for detailed instructions.
- Preparation: Park the vehicle on a level surface, engage the parking brake, and ensure the engine is off and cool. Disconnect the negative (-) battery terminal.
- Access the Alternator: Locate the alternator. You may need to remove other components (e.g., air intake, belts, covers) to gain access.
- Remove Drive Belt: Loosen the tensioner and remove the serpentine or V-belt from the alternator pulley.
- Disconnect Wiring: Carefully disconnect all electrical connections from the alternator. This typically includes the main power wire (often a large gauge wire with a nut) and a multi-pin connector for the regulator. Note their positions for reinstallation.
- Remove Mounting Bolts: Unbolt the alternator from its mounting brackets. Support the alternator as you remove the last bolt to prevent it from falling.
- Install New Alternator: Position the new Technical Precision alternator into the mounting brackets. Install the mounting bolts, but do not fully tighten them yet.
- Reconnect Wiring: Reconnect all electrical connections securely. Ensure the main power wire is tight and free from corrosion.
- Install Drive Belt: Route the drive belt correctly around all pulleys, including the alternator pulley. Adjust the tensioner to achieve the manufacturer-specified belt tension.
- Tighten Mounting Bolts: Fully tighten all alternator mounting bolts to the vehicle manufacturer's specifications.
- Reconnect Battery: Reconnect the negative (-) battery terminal.
- Test: Start the engine and check for proper charging system operation (e.g., battery warning light off, voltage reading around 13.5-14.5V).
5. Operating Principles
Once installed and the engine is running, the alternator automatically converts mechanical energy from the engine's crankshaft (via the drive belt) into electrical energy. This energy is used to power the vehicle's electrical systems (lights, radio, ignition, etc.) and to recharge the vehicle's 12-volt battery. The internal voltage regulator maintains a consistent output voltage, typically between 13.5 and 14.5 volts, to prevent overcharging or undercharging the battery.
6. Maintenance
While alternators are generally low-maintenance components, periodic checks can help ensure longevity and proper function:
- Inspect Drive Belt: Regularly check the drive belt for cracks, fraying, or excessive wear. Ensure it has the correct tension. A loose belt can cause insufficient charging.
- Check Electrical Connections: Periodically inspect all electrical connections to the alternator for corrosion, looseness, or damage. Clean any corrosion and ensure connections are tight.
- Battery Health: A weak or failing battery can put undue strain on the alternator. Ensure your vehicle's battery is in good condition.
- Keep Clean: Keep the alternator free from excessive dirt, oil, and debris, which can affect cooling and performance.
7. Troubleshooting
If you experience issues after installing the replacement alternator, consider the following common problems and solutions:
- Battery Warning Light On:
- Cause: Alternator not charging, loose or damaged belt, faulty wiring, or internal alternator issue.
- Solution: Check belt tension and condition. Inspect all electrical connections for tightness and corrosion. Test battery voltage with the engine running (should be 13.5-14.5V). If voltage is low, further diagnosis of the alternator or wiring is needed.
- Dim Lights or Electrical Malfunctions:
- Cause: Insufficient power output from the alternator, often due to a failing alternator or poor connections.
- Solution: Verify charging system voltage. Check for any excessive electrical load or short circuits in the vehicle's system.
- Grinding or Whining Noise:
- Cause: Worn bearings within the alternator or a loose/misaligned drive belt.
- Solution: Inspect the drive belt and pulleys. If the noise persists and is clearly from the alternator, it may indicate an internal mechanical failure.
- Battery Drains Quickly:
- Cause: Alternator not charging the battery, or a parasitic draw on the battery.
- Solution: Confirm the alternator is charging correctly. If the alternator is functioning, investigate for other electrical components draining the battery when the vehicle is off.
8. Specifications
- Product Type: Replacement Alternator
- Model Number: 7078N ALTERNATOR-AY-2ZWB-4
- Replaces: AES 7078N ALTERNATOR
- Brand: Technical Precision
- Quantity: 1 unit per sale
- Included in Box: Replacement Part (Alternator)
9. Warranty and Support
For information regarding warranty coverage, terms, and conditions, please refer to the documentation provided at the time of purchase or contact the seller directly. For technical support or further assistance, please reach out to the Technical Precision customer service or the retailer from whom the product was purchased.