74007498
Compatible Oven Igniter User Manual
Model: 74007498
1. Product Overview
This manual provides essential information for the installation, operation, and maintenance of your new compatible oven igniter. This igniter is designed as a replacement part for various Crosley range models, ensuring your oven functions correctly.
The part number for this igniter is 74007498. It replaces several other part numbers including 7432P075-60, 949510, AH2085070, AP4096256, EA2085070, and PS2085070.

Figure 1: Main view of the compatible oven igniter, showing its ceramic body, metal housing, and two-prong connector.
2. Safety Information
WARNING: Always disconnect your appliance from the power and gas supply before attempting any service or installation. Failure to do so can result in serious injury, electric shock, gas leaks, or fire.
- Ensure the work area is well-ventilated.
- Wear appropriate personal protective equipment, such as gloves and eye protection.
- If you are unsure about any step, consult a qualified appliance technician.
- Do not modify the igniter or any part of the appliance.
- Keep children and pets away from the work area.
3. Compatibility
This compatible oven igniter is designed for use with various Crosley range models. Please verify your appliance's model number to ensure compatibility.
Known compatible Crosley models include:
- CG31600ADQ
- CG34700ADQ
- C31113WATP
- C31315VBQ
- CG31400ADW
- CG31600ADB
- CG34800ADW
- CG34800ADS
- C31113WAB
This is a non-OEM replacement part. Any use of OEM brand names or model designations is solely for demonstrating compatibility.
4. Included Components
Your package should contain the following:
- 1 x Range Gas Oven Igniter (Part Number 74007498) with a two-prong female pin plug.

Figure 2: Top-down view of the igniter, highlighting the mounting bracket and the two-prong connector.
5. Installation Instructions
Follow these steps carefully to replace your oven igniter. If you are not comfortable performing this repair, please contact a professional technician.
- Disconnect Power and Gas: Locate the circuit breaker for your oven and turn off the power. For gas ovens, also turn off the gas supply valve to the appliance. This is a critical safety step.
- Access the Oven Interior: Open the oven door and remove the oven racks. Depending on your model, you may need to remove the oven bottom panel. This panel is usually held in place by a few screws or clips.
- Locate the Old Igniter: The igniter is typically located near the gas burner tube at the bottom of the oven. It is a small, rectangular ceramic component with wires attached.
- Disconnect Wires: Carefully disconnect the two-prong connector of the old igniter from the oven's wiring harness. Note how it is connected.
- Remove Old Igniter: Unscrew any mounting screws holding the old igniter in place. Gently slide the old igniter out of its bracket or mounting position.
- Install New Igniter: Position the new igniter (Part Number 74007498) into the mounting bracket. Secure it with the screws you removed earlier. Ensure it is firmly in place and properly aligned with the burner tube.
- Connect Wires: Connect the two-prong female pin plug of the new igniter to the oven's wiring harness. Ensure a secure connection.
- Reassemble Oven: Replace the oven bottom panel and secure it with its screws or clips. Reinsert the oven racks.
- Restore Power and Gas: Turn the gas supply valve back on. Restore power to the oven at the circuit breaker.
- Test Operation: Set your oven to bake at a low temperature (e.g., 350°F). Listen for the click of the igniter and observe if the gas ignites and the burner lights up. It may take a minute or two for the igniter to glow and ignite the gas.

Figure 3: The igniter showing its wires and two-prong connector, ready for installation.
6. Operating Principle
The oven igniter is a critical component in a gas oven's ignition system. When the oven is turned on, the igniter receives electrical current and begins to heat up. As it heats, its electrical resistance decreases, allowing more current to flow to a safety valve. Once the igniter reaches a sufficient temperature (typically around 1800-2500°F), the safety valve opens, releasing gas to the burner. The hot igniter then ignites this gas, creating the flame needed for heating. The igniter remains on during the entire bake cycle to ensure the gas valve stays open.
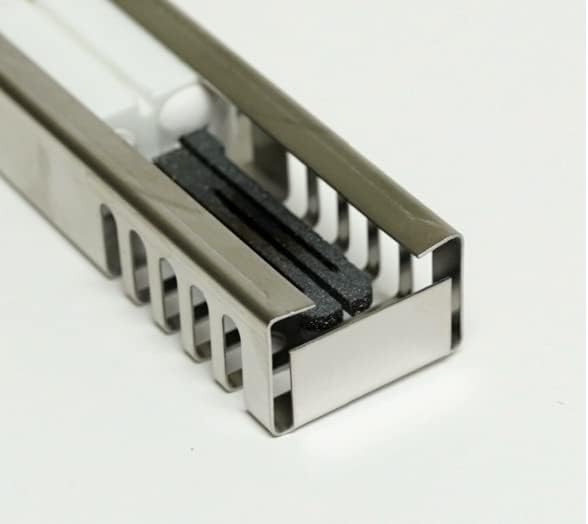
Figure 4: Close-up view of the igniter's internal ceramic and heating element, responsible for generating heat.
7. Maintenance
The oven igniter is generally a sealed unit and does not require routine maintenance. However, to prolong the life of your oven and its components:
- Keep the oven interior clean to prevent grease and food debris from accumulating near the igniter or burner.
- Avoid spilling liquids directly onto the igniter or burner area.
- If you notice any unusual smells (like gas) or sounds, immediately turn off the oven and gas supply and contact a qualified technician.
8. Troubleshooting
| Problem | Possible Cause | Solution |
|---|---|---|
| Oven not heating / No flame | Igniter is weak or faulty. | If the igniter glows but doesn't ignite gas within 60-90 seconds, it may be weak. Replace the igniter. |
| Oven takes too long to heat | Igniter is weak. | A weak igniter may not draw enough current to open the gas valve fully or quickly. Replace the igniter. |
| No glow from igniter | No power to oven, faulty igniter, or wiring issue. | Check power supply. Ensure igniter is correctly wired. If power is present and wiring is good, replace the igniter. |
| Gas smell without ignition | Faulty igniter or gas valve. | Immediately turn off gas supply and power. Do not attempt to light. Contact a qualified technician. |
9. Specifications
| Attribute | Detail |
|---|---|
| Part Number | 74007498 |
| Replaces Part Numbers | 7432P075-60, 949510, AH2085070, AP4096256, EA2085070, PS2085070 |
| Product Dimensions | 11.6 x 1.75 x 0.9 inches |
| Included Components | 1 x Range Gas Oven Igniter 74007498 |
| Connector Type | Two Prong Female Pin Plug |
| Manufacturer | Replasment & Market Parts |
| Country of Origin | China |
| Date First Available | February 25, 2023 |
10. Warranty and Support
This product comes with a 1-month warranty from the date of purchase.
Please note that this is a generic product and not an OEM (Original Equipment Manufacturer) product. It is not covered under any OEM manufacturer's warranty. The OEM brand names and logos mentioned are registered trademarks of their respective owners and are used solely for demonstrating compatibility.
For any questions regarding installation, compatibility, or product performance, please contact the seller, EnjoyShop777, through the platform where you purchased the item.