
AZ4U WB44T10009
AZ4U WB44T10009 Range Broil Element Instruction Manual
Replacement Broil Element for Kenmore and GE Ranges
1. Introduction
This manual provides essential information for the safe and effective installation and use of the AZ4U WB44T10009 Range Broil Element. This component is designed as a direct replacement for the WB44T10034 element in various Kenmore and GE range models, restoring proper broiling and heating functionality to your oven.
2. Safety Information
WARNING: Risk of Electric Shock and Burns.
- Always disconnect power to the range/oven at the circuit breaker or fuse box before attempting any installation, maintenance, or repair. Failure to do so can result in serious injury or death.
- Wear appropriate personal protective equipment, including gloves and eye protection.
- Oven components can be sharp. Handle with care to avoid cuts.
- Allow the oven to cool completely before handling any internal components.
- If you are unsure about any step of the installation process, consult a qualified appliance technician.
- Ensure all connections are secure and properly insulated after installation.
3. Product Overview
The AZ4U WB44T10009 is a high-quality replacement broil element constructed from durable nickel stainless steel alloy. It is engineered to provide consistent and even heat distribution for optimal cooking results.
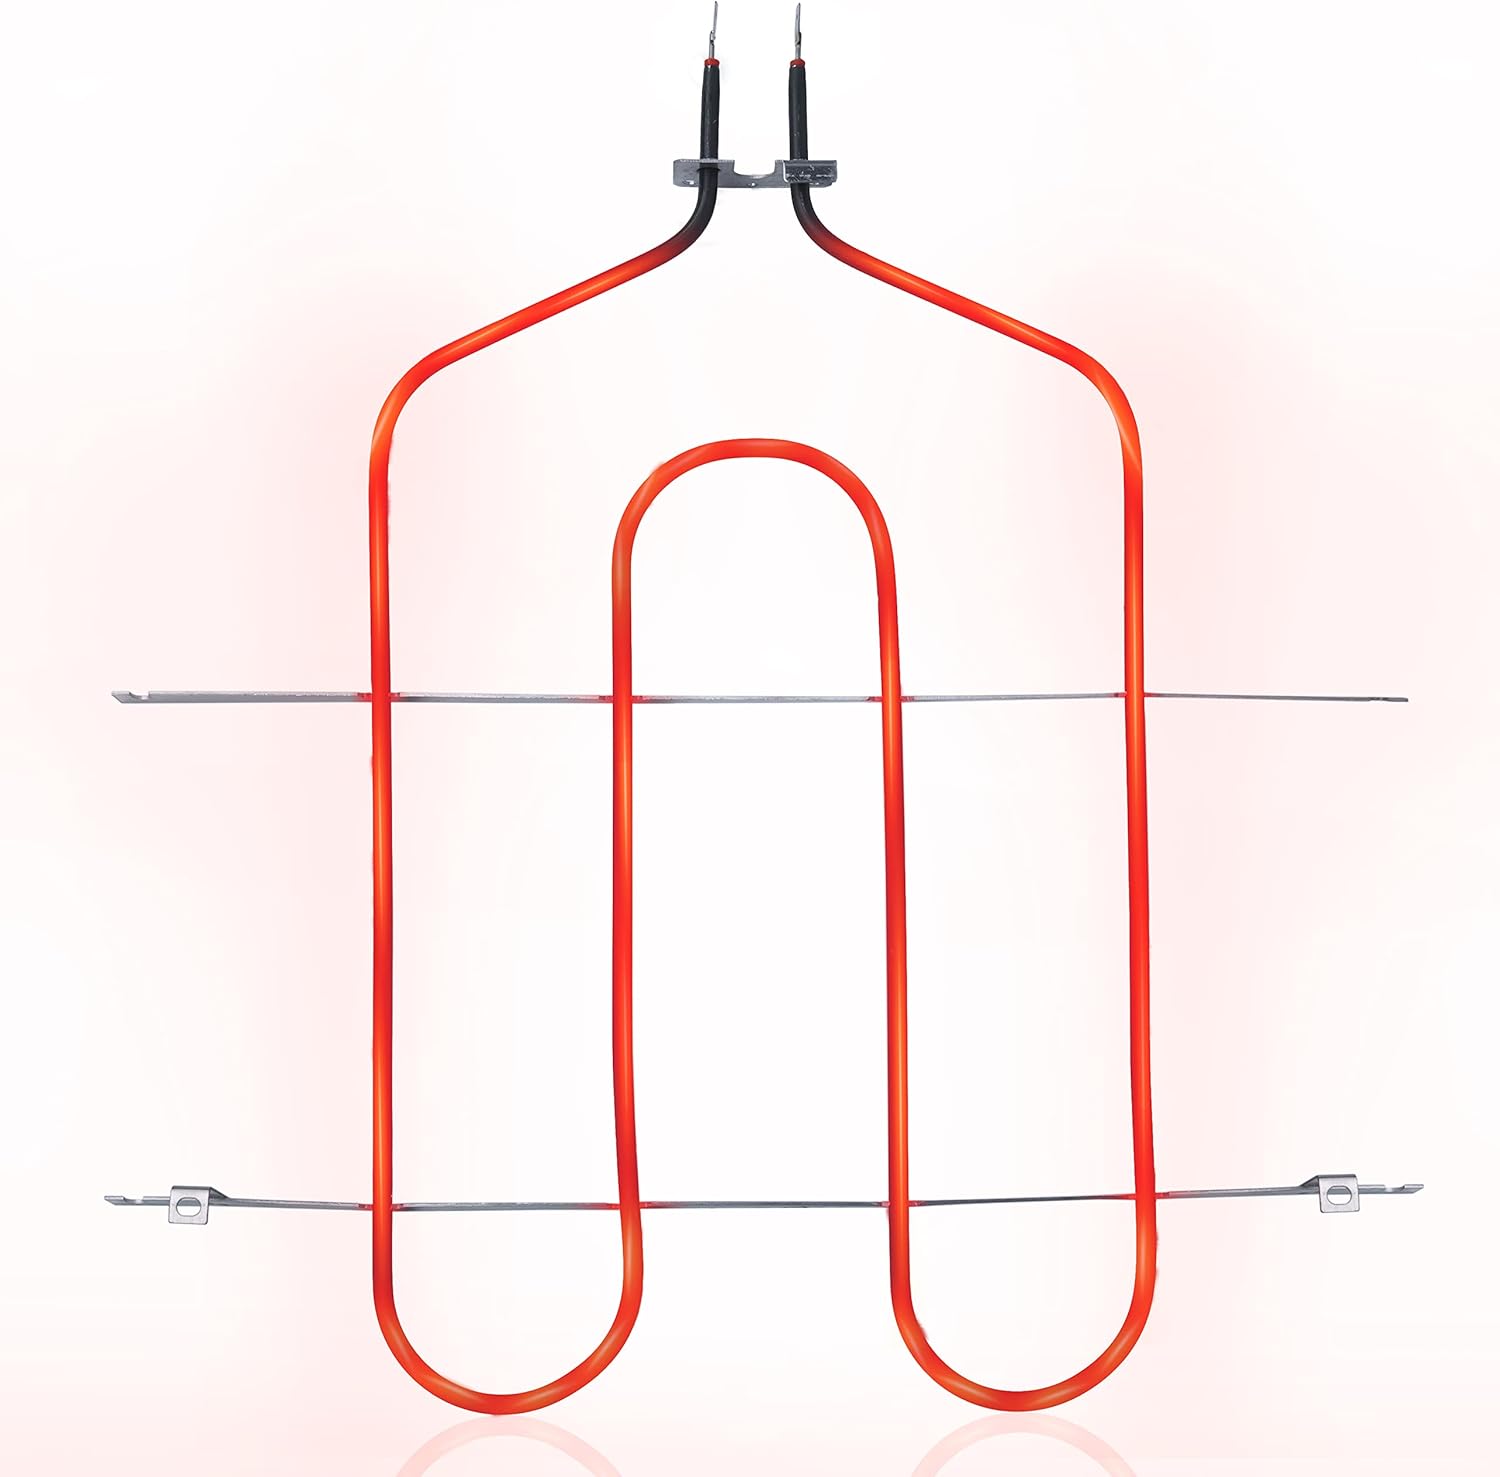
Image 3.1: The AZ4U WB44T10009 Range Broil Element in operation, glowing red.

Image 3.2: Detailed view of the broil element highlighting its construction and electrical specifications.
Key Features:
- Material: Resistant Nickel Stainless Steel Alloy
- Performance: 240V - 3410W
- Heating Element Diameter: 0.25 inches
- Dimensions: Approximately 18.39 x 15.55 x 2.52 inches
4. Compatibility
The AZ4U WB44T10009 broil element is designed to replace part number WB44T10034 and is compatible with a wide range of Kenmore and GE electric oven models. To ensure proper fitment, verify your appliance's model number against the list below or consult your appliance's service manual.

Image 4.1: The broil element shown within an oven, illustrating its wide compatibility with various models.
Known Compatible Models (Partial List):
- GE Models: JBP23DR3WW, JBP65MK4BS, EER3001K02SS, JBP35CD2CC, JBP24DB1CT, JBP78AB4AA, JBP25BM1WH, JBP23SR1SS, JBP23SR2SS
- Replaces Part Numbers: WB44T10034, AP2030995, 770548, PS249284
Note: This list is not exhaustive. Always cross-reference with your appliance's specific model number.
5. Installation Instructions
Before proceeding, review the Safety Information section (Section 2).
- Disconnect Power: Locate your home's circuit breaker panel and turn off the power supply to the oven. Verify that the power is off by attempting to turn on the oven.
- Access Oven Interior: Open the oven door. Depending on your model, you may need to remove oven racks to gain clear access to the broil element.
- Locate Broil Element: The broil element is typically located at the top of the oven cavity.
- Remove Old Element:
- Carefully pull the old element forward a few inches to expose the terminal connections at the back.
- Using a screwdriver, disconnect the wires from the terminals of the old element. Note the orientation of the wires for reinstallation.
- Unscrew any mounting screws or clips holding the element in place.
- Gently slide the old element out of the oven cavity.
- Install New Element:
- Carefully slide the new AZ4U WB44T10009 broil element into the oven cavity, ensuring it aligns with the mounting holes.
- Secure the element with the mounting screws or clips.
- Connect the wires to the terminals of the new element, ensuring a secure and correct connection.
- Gently push the element back into its seated position.
- Restore Power and Test: Reconnect power to the oven at the circuit breaker. Turn on the oven to the broil setting and observe if the new element heats up properly.
For detailed, model-specific instructions, refer to your appliance's official service manual.
6. Troubleshooting
This replacement broil element is designed to address common oven heating issues. If you experience problems after installation, consider the following:
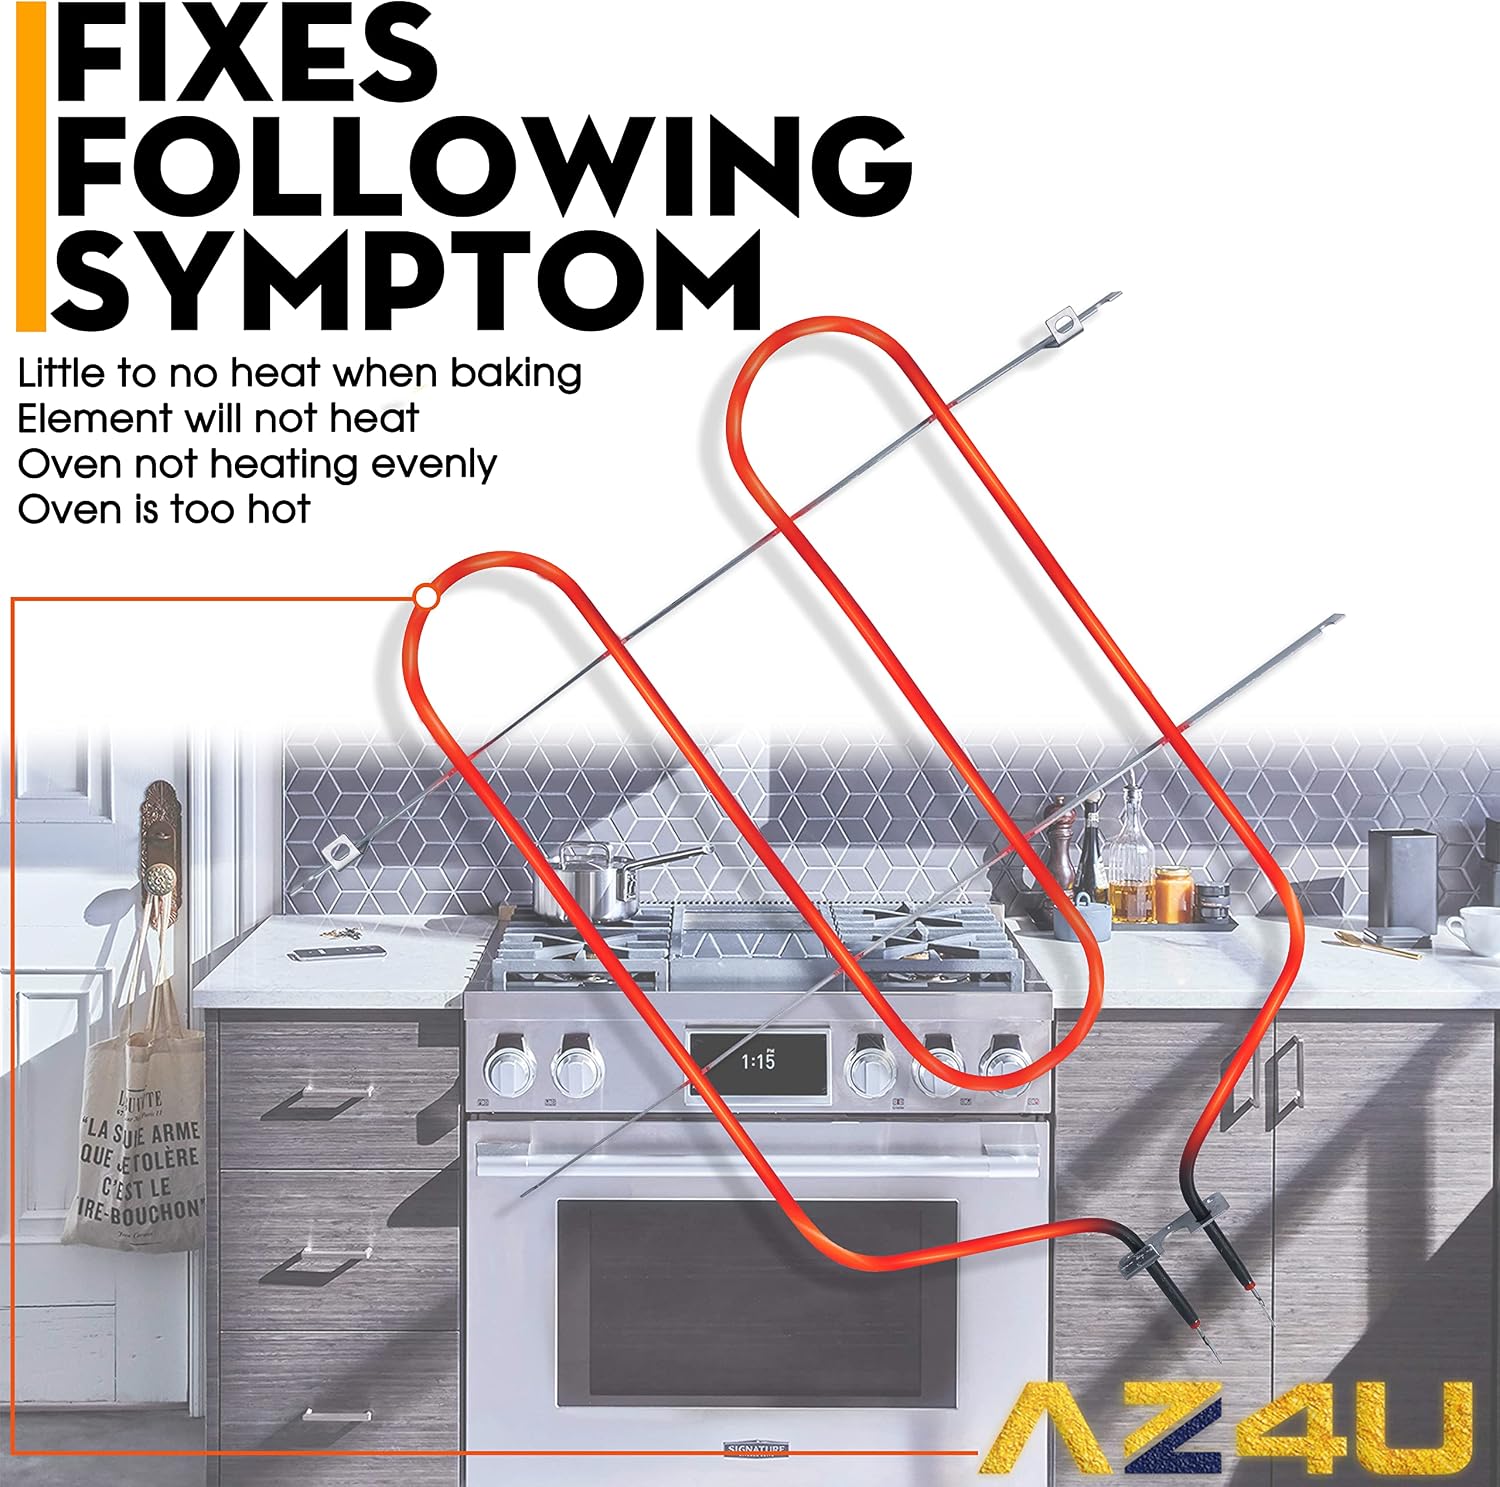
Image 6.1: The broil element is designed to resolve various oven heating symptoms.
Common Symptoms Addressed:
- Little to no heat when baking
- Element will not heat
- Oven not heating evenly
- Oven is too hot (due to faulty temperature regulation related to element function)
Troubleshooting Steps:
- No Heat: Ensure the oven is receiving power and the circuit breaker has not tripped. Double-check all electrical connections to the element for tightness and proper contact.
- Uneven Heating: Verify that the element is fully seated and not obstructed. Ensure the correct element was installed for your specific oven model.
- Element Not Glowing: Confirm power supply. If the element is new and correctly installed but not glowing, it may indicate an issue with the oven's control board or wiring, or a faulty element (though rare for new parts).
If issues persist after performing these checks, it is recommended to contact a qualified appliance repair technician.
7. Specifications
| Specification | Detail |
|---|---|
| Manufacturer | AZ4U |
| Model Number | WB44T10009 |
| Replaces Part Number | WB44T10034 |
| Item Weight | 14.4 ounces |
| Product Dimensions | 18.39 x 15.55 x 2.52 inches |
| Voltage | 240V |
| Wattage | 3410W |
| Material | Nickel Stainless Steel Alloy |
| Heating Element Diameter | 0.25 inches |
8. Warranty and Support
AZ4U stands behind the quality of its products. This WB44T10009 Range Broil Element comes with a warranty to ensure your satisfaction.

Image 8.1: Visual representation of product quality and warranty information.
Warranty Information:
- Duration: 90 Days Warranty from the date of purchase.
- Money Back Guarantee: Within 30 days of purchase, if you are not satisfied with the product, a refund will be provided.
Customer Support:
If you have any questions regarding compatibility, installation, or product performance, please contact AZ4U customer support. We aim to resolve your issues within 24 hours.
For support, please refer to the contact information provided with your purchase or visit the official AZ4U store page.
Ask a question about this manual
Ask about setup, troubleshooting, compatibility, parts, safety, or missing instructions. Manuals+ will review the question and use this page’s manual context to help answer it.