Real HD 6MP PoE IP Bullet Camera (B0BWRQNBC1)
Real HD 6MP Full Color Night Version Add-On PoE IP Bullet Camera User Manual
Model: 6MP PoE IP Bullet Camera (B0BWRQNBC1)
1. Introduction
Thank you for choosing the Real HD 6MP Full Color Night Version Add-On PoE IP Bullet Camera. This manual provides essential information for the proper installation, operation, and maintenance of your new surveillance camera. This camera is designed to integrate seamlessly into existing CCTV systems, offering high-resolution imaging and advanced features for both indoor and outdoor security applications.
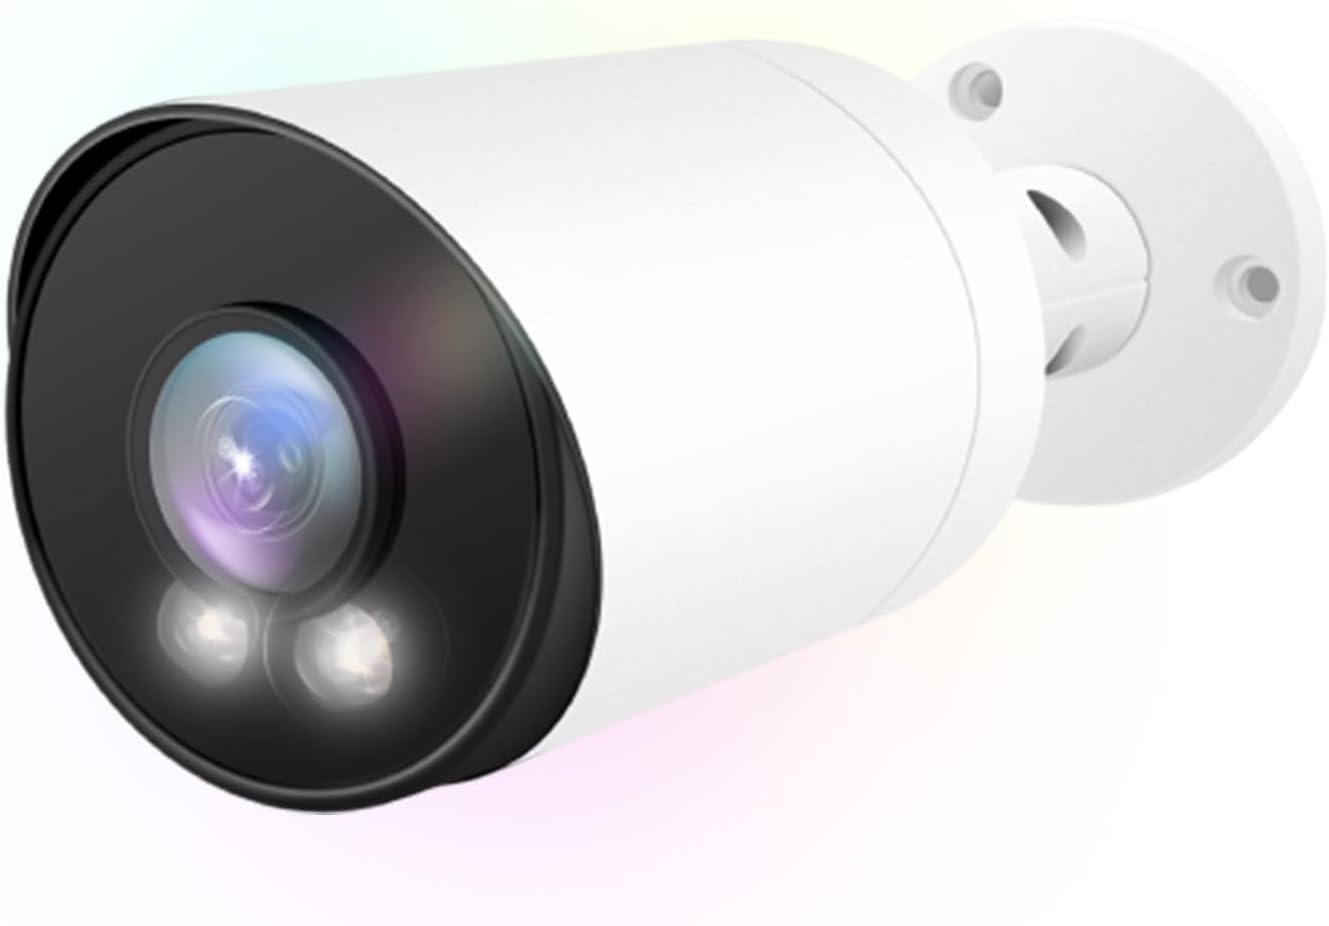
Figure 1.1: Real HD 6MP PoE IP Bullet Camera. This image shows the front and side view of the white bullet-style camera with its lens and infrared lights visible.
2. Safety Information
- Read all instructions carefully before installation and operation.
- Ensure the power supply meets the camera's specifications (12 Volts, 6 watts).
- Do not expose the camera to extreme temperatures, humidity, or corrosive environments beyond its IP66 rating.
- Avoid pointing the camera directly at strong light sources for extended periods, as this may damage the image sensor.
- Installation should be performed by qualified personnel if working at heights or with electrical wiring.
- Keep the camera and accessories out of reach of children.
3. Package Contents
Verify that all items are present in the package:
- 1x Real HD 6MP HD POE IPC Camera
- 1x Mounting screw bag
- 1x User's manual (this document)
- 1x Water seal connector
4. Product Overview and Features
The Real HD 6MP PoE IP Bullet Camera is engineered for robust surveillance, offering superior image quality and reliable performance.
- 6MP Resolution: Captures video at 3072x2048 pixels, providing sharp and detailed images.
- Full Color Night Vision: Utilizes advanced technology to provide full-color images even in low-light conditions, with up to 100ft (30m) IR night vision range.
- 2.8mm Wide Angle Lens: Offers an impressive 105° field of view, covering a broader area with a single camera.
- Power over Ethernet (PoE): Simplifies installation by allowing both power and data transmission over a single Ethernet cable.
- H.265/H.264 Compression: Advanced video compression technology that significantly reduces file sizes and bandwidth usage while maintaining video quality.
- IP66 Weather-Rated: Durable metallic housing designed to withstand harsh indoor and outdoor environmental conditions, protected against dust and strong jets of water.
- ONVIF Compatible: Ensures interoperability with various Network Video Recorders (NVRs) and surveillance software from different manufacturers.

Figure 4.1: Key features of the Real HD PoE IP Bullet Camera, including 6MP HD resolution, 98ft night vision, ONVIF compatibility, built-in MIC, mobile viewing, IP67 waterproof rating, smart detection, wide view, H.265 compression, and Power Over Ethernet.

Figure 4.2: Illustration of the camera's wide 105-degree field of view provided by the 2.8mm lens, suitable for covering large areas.
5. Setup and Installation
5.1 Physical Installation
The camera can be mounted on a wall or ceiling. Choose a location that provides the desired field of view and is within reach of your Ethernet cabling.
- Mark Drilling Holes: Use the mounting template (if provided, or the camera base) to mark the positions for drilling holes.
- Drill Holes: Drill holes at the marked positions. Insert wall anchors if mounting on drywall or masonry.
- Secure Camera: Align the camera base with the drilled holes and secure it using the provided mounting screws.
- Adjust Angle: Loosen the adjustment screws on the camera bracket to set the desired viewing angle. Tighten the screws once the angle is set.

Figure 5.1: Example of the camera mounted on a ceiling, demonstrating a typical installation scenario.

Figure 5.2: A technician performing the installation of a bullet camera, highlighting the ease of physical setup.
5.2 Network Connection (PoE)
This camera supports Power over Ethernet (PoE), which means it receives both power and data through a single Ethernet cable connected to a PoE-enabled NVR or PoE switch.
- Connect one end of an Ethernet cable to the camera's RJ45 port. Use the provided water seal connector for outdoor installations to protect the connection from moisture.
- Connect the other end of the Ethernet cable to a PoE port on your NVR or PoE switch.
- Ensure your NVR or PoE switch is powered on. The camera will power up automatically.

Figure 5.3: Diagram illustrating Power over Ethernet (PoE) connection. The camera connects directly to a PoE NVR or PoE switch, eliminating the need for a separate power adapter.

Figure 5.4: Simplified setup showing an NVR with PoE ports connected to multiple cameras via Ethernet cables, emphasizing the plug-and-play nature of PoE systems.
5.3 Initial Configuration (NVR/Software)
To integrate the camera with your existing surveillance system, you will typically add it to your NVR or surveillance software.
- Discover Camera: Most NVRs and software have an auto-discovery function to find new IP cameras on the network. Refer to your NVR's manual for specific steps.
- Add Manually (ONVIF Protocol): If auto-discovery fails, you may need to add the camera manually. Select "ONVIF Protocol" when adding the camera. You will need the camera's IP address, username, and password (default credentials are often "admin" for both, but check the camera's specific documentation or contact support if unknown).
- Video Compression: The camera supports H.265 and H.264 compression. If you experience issues with video display, try switching the compression setting in your NVR from H.265 to H.264, as some older NVRs may have better compatibility with H.264.
6. Operating Instructions
6.1 Live View and Recording
Once configured with your NVR or surveillance software, you can access the live video feed and manage recordings.
- NVR Monitor: Connect a monitor to your NVR to view live feeds from all connected cameras.
- Mobile App/PC Software: Use the compatible mobile application (available on App Store and Google Play) or PC software provided by your NVR manufacturer to view live and recorded footage remotely.

Figure 6.1: The camera supports viewing on various devices, including NVR monitors, laptops, tablets, and smartphones via dedicated applications.

Figure 6.2: Individuals monitoring multiple surveillance feeds on computer screens, demonstrating the multi-camera viewing capability.
6.2 Night Vision
The camera automatically switches to night vision mode in low-light conditions. It provides both full-color night vision and traditional infrared (IR) night vision.
- Full Color Night Vision: In certain low-light scenarios, the camera maintains color fidelity, providing more detailed and informative footage than traditional black and white IR.
- IR Night Vision: When light levels are extremely low, the camera activates its 15 IR LED lights to illuminate the area, providing clear black and white video up to 100 feet.

Figure 6.3: Comparison showing the superior clarity and color retention of the camera's full-color night vision compared to standard black and white night vision.

Figure 6.4: Split image demonstrating the camera's high-definition display quality during both daytime and nighttime conditions, showcasing clear visibility in both scenarios.
6.3 Motion Detection
The camera supports motion-only alerts. Configure motion detection settings through your NVR or surveillance software.
- Sensitivity: Adjust motion detection sensitivity to minimize false alarms.
- Detection Zones: Define specific areas within the camera's view where motion detection should be active.
- Notifications: Set up notifications (e.g., email, push notifications to mobile app) to be alerted when motion is detected.
7. Maintenance
- Cleaning: Regularly clean the camera lens with a soft, dry cloth to ensure clear image quality. For stubborn dirt, use a lens cleaning solution designed for optics. Do not use harsh chemicals.
- Cable Inspection: Periodically check the Ethernet cable and connections for any signs of wear, damage, or corrosion, especially for outdoor installations. Ensure the water seal connector is properly seated.
- Firmware Updates: Check the Real HD website or contact technical support for any available firmware updates. Firmware updates can improve performance, add new features, or fix bugs. Follow update instructions carefully to avoid damaging the device.
8. Troubleshooting
| Problem | Possible Cause | Solution |
|---|---|---|
| No video feed from camera. |
|
|
| Poor image quality / blurry video. |
|
|
| Night vision not activating or poor. |
|
|
| Cannot access camera via web browser. |
|
|
9. Specifications
| Feature | Detail |
|---|---|
| Image Sensor | 1/3" Progressive Scan CMOS |
| Video Resolution | 3072x2048 (6 Megapixels) |
| Lens | 2.8mm fixed lens |
| Field of View | 105° |
| Night Vision Range | Up to 100 feet (30m) |
| IR LEDs | 15 LED Light Bulbs |
| Video Compression | H.265 / H.264 |
| Frame Rate | 25 fps |
| Connectivity | Wired Ethernet (PoE) |
| Power Source | PoE (Power over Ethernet) or 12V DC (6 watts) |
| Ingress Protection | IP66 (Dust tight and protected against powerful water jets) |
| Indoor/Outdoor Use | Yes |
| Compatible Devices | NVR (ONVIF Protocol) |
| Dimensions | 7.99 x 3.82 x 3.82 inches |
| Weight | 1.26 pounds |
10. Warranty and Support
Real HD is committed to providing reliable products and excellent customer service.
- Warranty Information: Please refer to the warranty card included with your product or visit the official Real HD website for detailed warranty terms and conditions.
- Technical Support: For technical assistance, troubleshooting, or any questions regarding your Real HD product, please contact our US local tech support. Support hours are typically 9 am-5 pm CST.
- Contact Information:
- Refer to the contact details provided in your product packaging or on the Real HD official website.
For more information about Real HD products and solutions, visit the Real HD Store on Amazon.
Ask a question about this manual
Ask about setup, troubleshooting, compatibility, parts, safety, or missing instructions. Manuals+ will review the question and use this page’s manual context to help answer it.