
TRIOCOTTAGE Incubator-12Y-shou dian
TRIOCOTTAGE 12-Egg Hatching Incubator User Manual
Model: Incubator-12Y-shou dian
1. Introduction
The TRIOCOTTAGE 12-Egg Hatching Incubator is designed for incubating various types of eggs, including chicken, quail, duck, goose, and bird eggs. It features automatic egg turning, automatic water replenishment, and precise temperature control to facilitate the hatching process. The 360° transparent lid allows for clear observation without disturbing the eggs.

Figure 1: TRIOCOTTAGE 12-Egg Hatching Incubator with eggs on the turning tray.
2. Setup
2.1 Unpacking and Component Check
Carefully remove all components from the packaging. Ensure the following parts are present:
- Incubator base with heating element and fan
- Automatic egg turning tray
- Transparent top lid
- Automatic water replenishment bottle and tube
- Power adapter
2.2 Placement
Place the incubator on a stable, flat surface away from direct sunlight, drafts, or extreme temperature fluctuations. An indoor environment with a consistent ambient temperature is ideal.
2.3 Initial Water Filling
The incubator features an automatic water replenishment system. Fill the provided water bottle with clean, distilled water. Connect the tube from the bottle to the designated inlet on the incubator. The gravity-fed system will automatically maintain the water level in the humidity channels at the bottom of the incubator.

Figure 2: Automatic water replenishment system. The external bottle feeds water into the incubator's channels, preventing the need to open the lid frequently.
2.4 Power Connection and Pre-heating
Connect the power adapter to the incubator's power inlet port and then plug it into a suitable electrical outlet. The incubator will power on, and the temperature display will activate. Allow the incubator to pre-heat for at least 30 minutes to stabilize the internal temperature before placing eggs inside.

Figure 3: Easy-to-use control panel with temperature display, heating indicator, setting indicator, and power port.
3. Operating Instructions
3.1 Temperature Setting
The incubator features a precise temperature control system. Use the control panel to set the desired temperature. For most chicken eggs, a temperature of approximately 37.5°C (99.5°F) is recommended. Refer to specific egg type requirements for optimal hatching temperatures. The turbo duct and 24 air outlets ensure even temperature distribution without directly blowing on the eggs.

Figure 4: Fan-assisted induced airflow system maintains a balanced and stable temperature inside the incubator.
3.2 Egg Placement and Automatic Turning
Once the incubator has reached the stable set temperature, carefully place the fertilized eggs onto the automatic turning tray. The incubator will automatically rotate the eggs at regular intervals, mimicking natural incubation behavior. This automatic rotation eliminates the need for manual turning.

Figure 5: The automatic egg turning mechanism ensures eggs are rotated 360 degrees with auto-stop functionality, crucial for embryo development.
3.3 Monitoring and Observation
The 360° transparent lid allows for continuous observation of the eggs and the hatching process without opening the incubator, which helps maintain stable internal conditions.
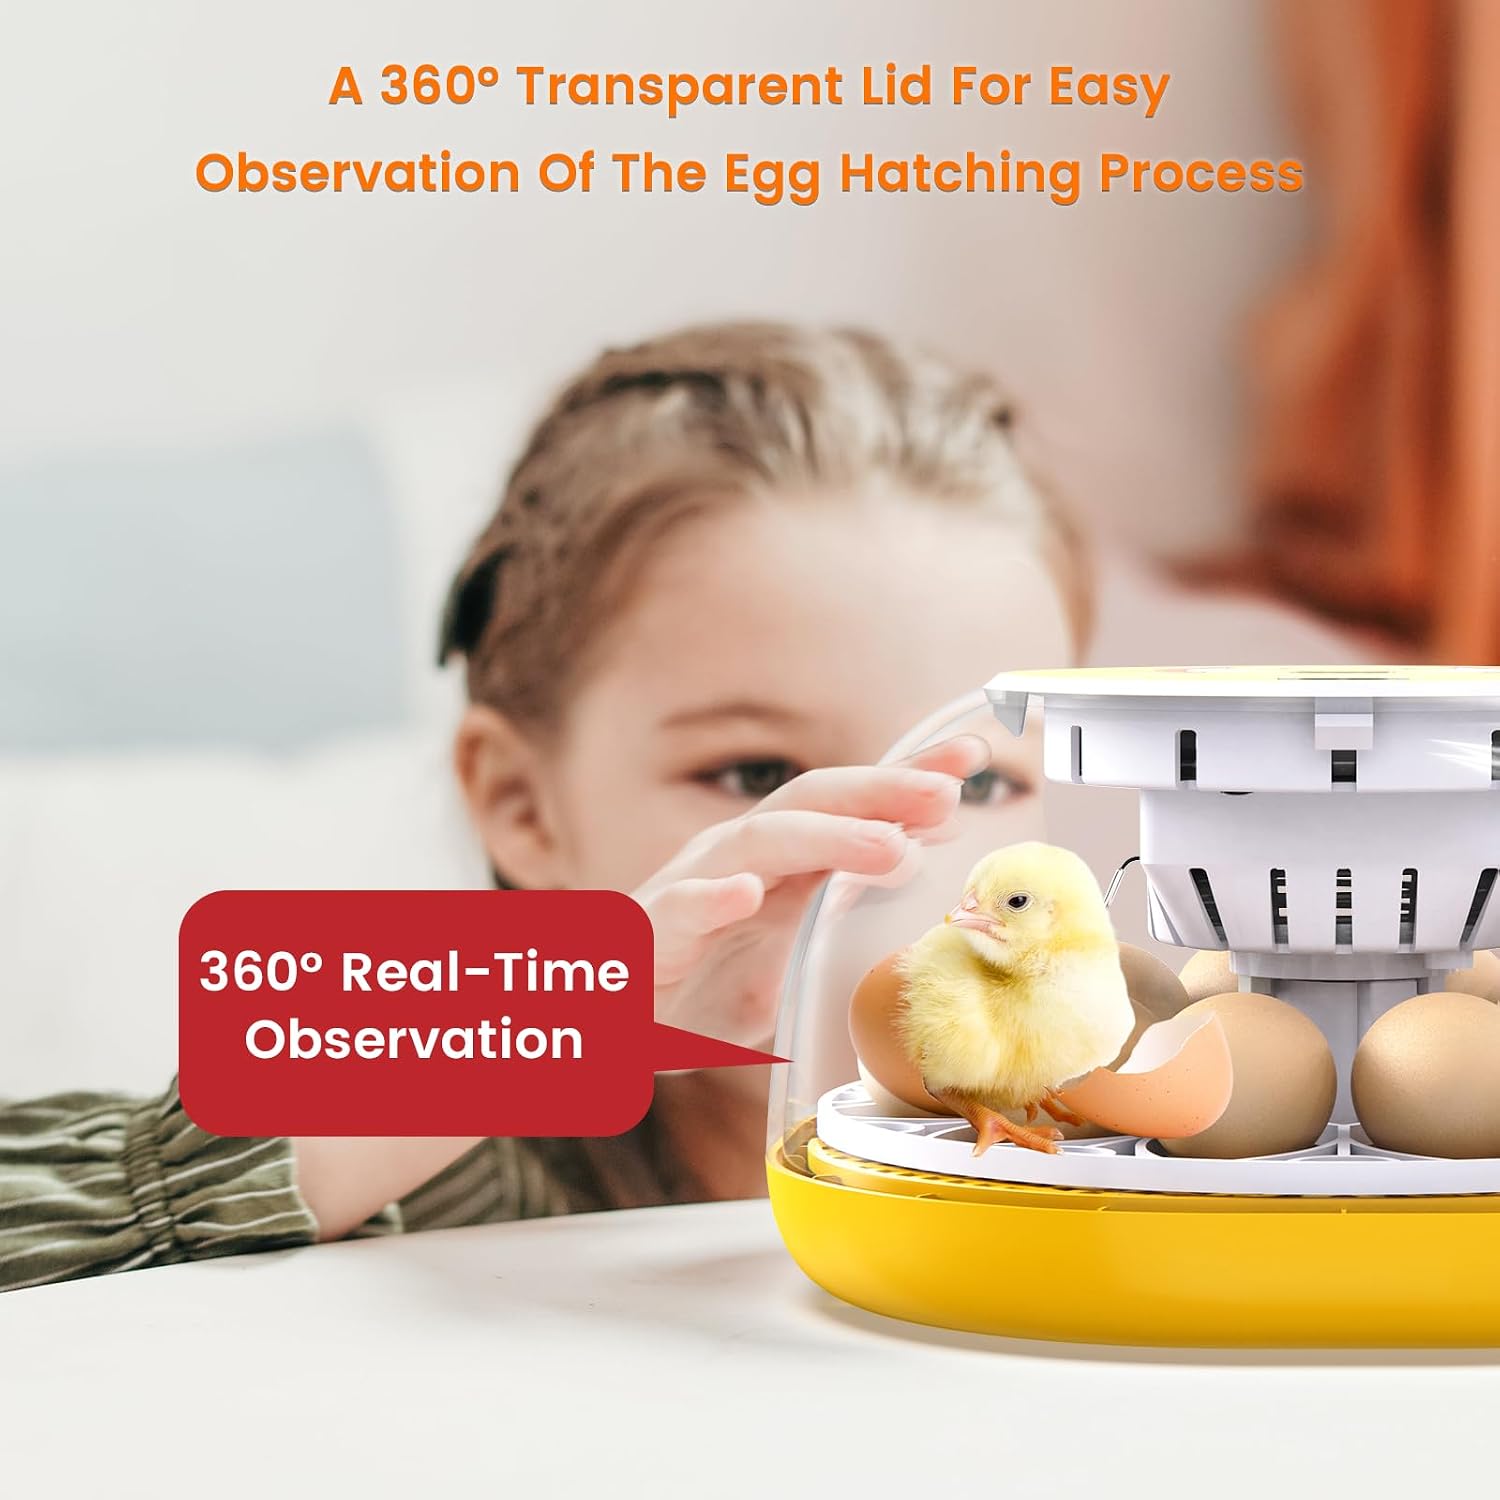
Figure 6: The transparent lid provides 360° real-time observation of the hatching process.
3.4 Lockdown Phase
Approximately three days before the expected hatch date (e.g., day 18 for chicken eggs), it is crucial to enter the "lockdown" phase. During this phase, the automatic egg turning function must be disabled, and the egg turning tray should be removed. This allows the chicks to position themselves for hatching and prevents injury from the turning mechanism. Increase humidity slightly during this period by ensuring the water channels are adequately filled. Do not open the incubator during lockdown unless absolutely necessary.
3.5 Hatching Process
Once chicks begin to hatch, allow them to fully dry and fluff up inside the incubator before transferring them to a brooder. Avoid assisting chicks unless absolutely necessary, as premature intervention can be harmful.
Video 1: An official product video providing a brief introduction to the M12 incubator, demonstrating its features and operation.
4. Maintenance
4.1 Cleaning
After each hatch, it is important to thoroughly clean the incubator to prevent bacterial growth and ensure optimal performance for future use. Disconnect the power before cleaning. Remove the egg turning tray and any remaining debris. Wipe down all surfaces with a mild disinfectant solution and a damp cloth. Ensure all parts are completely dry before reassembling or storing the incubator.
4.2 Storage
Store the incubator in a clean, dry place away from direct sunlight and extreme temperatures when not in use. Keep it in its original packaging if possible to protect it from dust and damage.
5. Troubleshooting
| Problem | Possible Cause | Solution |
|---|---|---|
| Temperature fluctuations | Incubator placed in a drafty area or near a heat source; external temperature changes. | Relocate the incubator to a stable environment. Ensure the lid is securely closed. Allow time for temperature to stabilize. |
| Low humidity | Insufficient water in replenishment bottle or channels. | Ensure the automatic water replenishment bottle is filled and properly connected. Check that water is flowing into the channels. |
| Eggs not turning | Egg turning mechanism disconnected or obstructed; incubator in lockdown phase. | Verify the egg turning mechanism is properly assembled and connected. Ensure it is not the lockdown phase. |
| Poor hatch rate | Incorrect temperature/humidity; infertile eggs; improper egg handling. | Verify temperature settings. Ensure consistent humidity. Use only fresh, fertile eggs. Follow proper egg handling and storage guidelines. |
If you encounter issues not listed here or if the problem persists, please contact customer support.
6. Specifications
- Model: Incubator-12Y-shou dian
- Capacity: 12 Eggs (approximate, varies by egg size)
- Dimensions (Package): 12.68 x 12.05 x 7.32 inches
- Item Weight: 4.05 pounds
- Manufacturer: Triocottage
- Country of Origin: China
- Features: Automatic Egg Turning, Automatic Water Replenishment, Temperature Display and Adjustment, 360° Transparent Lid, Fan-Assisted Airflow

Figure 7: Feature comparison between M12 Pro and M12 models. This manual pertains to the M12 model, which includes air vent/adjusting knob, temperature adjustment, and automatic water refill.
7. Warranty and Support
For warranty information or technical support, please refer to the product packaging or contact TRIOCOTTAGE customer service directly. Contact details are typically provided with your purchase documentation or on the manufacturer's official website.
Ask a question about this manual
Ask about setup, troubleshooting, compatibility, parts, safety, or missing instructions. Manuals+ will review the question and use this page’s manual context to help answer it.