1. Introduction
Thank you for choosing the CREATE NETBOT S40 Robot Vacuum and Mop. This manual provides essential information for the safe operation, maintenance, and troubleshooting of your device. Please read it thoroughly before first use and retain it for future reference.
2. Safety Instructions
To reduce the risk of injury or damage, observe the following safety precautions:
- This appliance can be used by children aged 8 years and above and persons with reduced physical, sensory or mental capabilities or lack of experience and knowledge if they have been given supervision or instruction concerning use of the appliance in a safe way and understand the hazards involved.
- Children shall not play with the appliance. Cleaning and user maintenance shall not be made by children without supervision.
- Ensure the robot is placed on a stable, level surface.
- Do not expose the robot to water or other liquids.
- Keep hair, loose clothing, fingers, and all parts of the body away from openings and moving parts.
- Do not operate the robot in areas with open flames or explosive materials.
- Use only the original charging adapter and battery provided by the manufacturer.
- Before cleaning or maintenance, always switch off the robot and unplug it from the power source.
3. Package Contents
Verify that all items are present in your package:
- CREATE NETBOT S40 Robot Vacuum and Mop
- Charging Dock
- Power Adapter
- Remote Control
- Side Brushes (2 pairs)
- Main Brush (pre-installed + 1 spare)
- Dust Bin
- Water Tank with Mop Pad
- Cleaning Tool
- User Manual
4. Product Overview
Familiarize yourself with the components of your CREATE NETBOT S40.

Image 4.1: Top view of the CREATE NETBOT S40 robot vacuum, showing the main unit, a roller brush, a smartphone displaying the control app, and the remote control.

Image 4.2: Bottom view of the robot, illustrating the main brush, side brushes, wheels, and various sensors.
Robot Components
- Top Cover: Houses the dust bin/water tank.
- Power/Start Button: Initiates or pauses cleaning.
- Charging Contacts: For automatic charging at the dock.
- Side Brushes: Sweep debris into the main brush path.
- Main Brush: Collects dust and debris from the floor.
- Dust Bin: Collects dry debris.
- Water Tank: Holds water for mopping.
- Mop Pad: Attaches to the water tank for wet cleaning.
- Cliff Sensors: Detect edges and prevent falls.
- Bumper: Detects obstacles.
- Driving Wheels: Propel the robot.
- Universal Wheel: Provides steering.

Image 4.3: Close-up of the robot's top cover, showing the 'CREATE NETBOT S40' branding.
5. Setup
5.1 Charging Dock Placement
Place the charging dock against a wall in an open, uncluttered area. Ensure there is at least 1 meter (3 feet) of clear space on both sides and 2 meters (6 feet) in front of the dock. Plug the power adapter into the dock and then into a wall outlet.

Image 5.1: The robot positioned next to its charging dock, illustrating proper placement.
5.2 Initial Charging
Place the robot onto the charging dock, ensuring the charging contacts align. The robot will emit a sound and the indicator light will illuminate, indicating it is charging. Fully charge the robot for 4-6 hours before its first use.
5.3 App Connection (Wi-Fi & Alexa)
For full functionality, download the CREATE Home app from your smartphone's app store. Follow the in-app instructions to connect your NETBOT S40 to your home Wi-Fi network. Once connected, you can link the app to Alexa for voice control.
- Download the 'CREATE Home' app.
- Register or log in to your account.
- Add your device by selecting 'Robot Vacuum' and following the pairing instructions.
- Ensure your Wi-Fi network is 2.4GHz.

Image 5.2: The robot shown alongside a smartphone displaying the CREATE Home app interface, indicating successful connection and mapping capabilities.
6. Operating Instructions
6.1 Starting/Pausing Cleaning
- From Robot: Press the power button on the robot's top cover.
- From Remote Control: Press the 'Start/Pause' button.
- From App: Tap the 'Start' button in the CREATE Home app.
6.2 Cleaning Modes
The NETBOT S40 offers various cleaning modes:
- Auto Cleaning: The robot intelligently navigates and cleans the entire floor area.
- Spot Cleaning: Concentrates cleaning on a specific small area.
- Edge Cleaning: Cleans along walls and furniture edges.
- Scheduled Cleaning: Set specific times for the robot to clean automatically via the app.
6.3 Mopping Function
To use the mopping function:
- Fill the water tank with clean water. Do not use detergents or harsh chemicals.
- Attach the mop pad securely to the water tank.
- Insert the filled water tank into the robot.
- Start a cleaning cycle. The robot will vacuum and mop simultaneously.

Image 6.1: Close-up view of the mop pad attached to the water tank, ready for installation into the robot.
7. Maintenance
Regular maintenance ensures optimal performance and extends the lifespan of your robot.
7.1 Dust Bin and Filter Cleaning
Empty the dust bin after each use and clean the filter regularly.
- Press the release button to remove the dust bin.
- Open the dust bin cover and empty its contents.
- Remove the filter and tap it gently to remove dust. Do not wash the HEPA filter with water.
- Rinse the dust bin with water if necessary, ensuring it is completely dry before reinstallation.
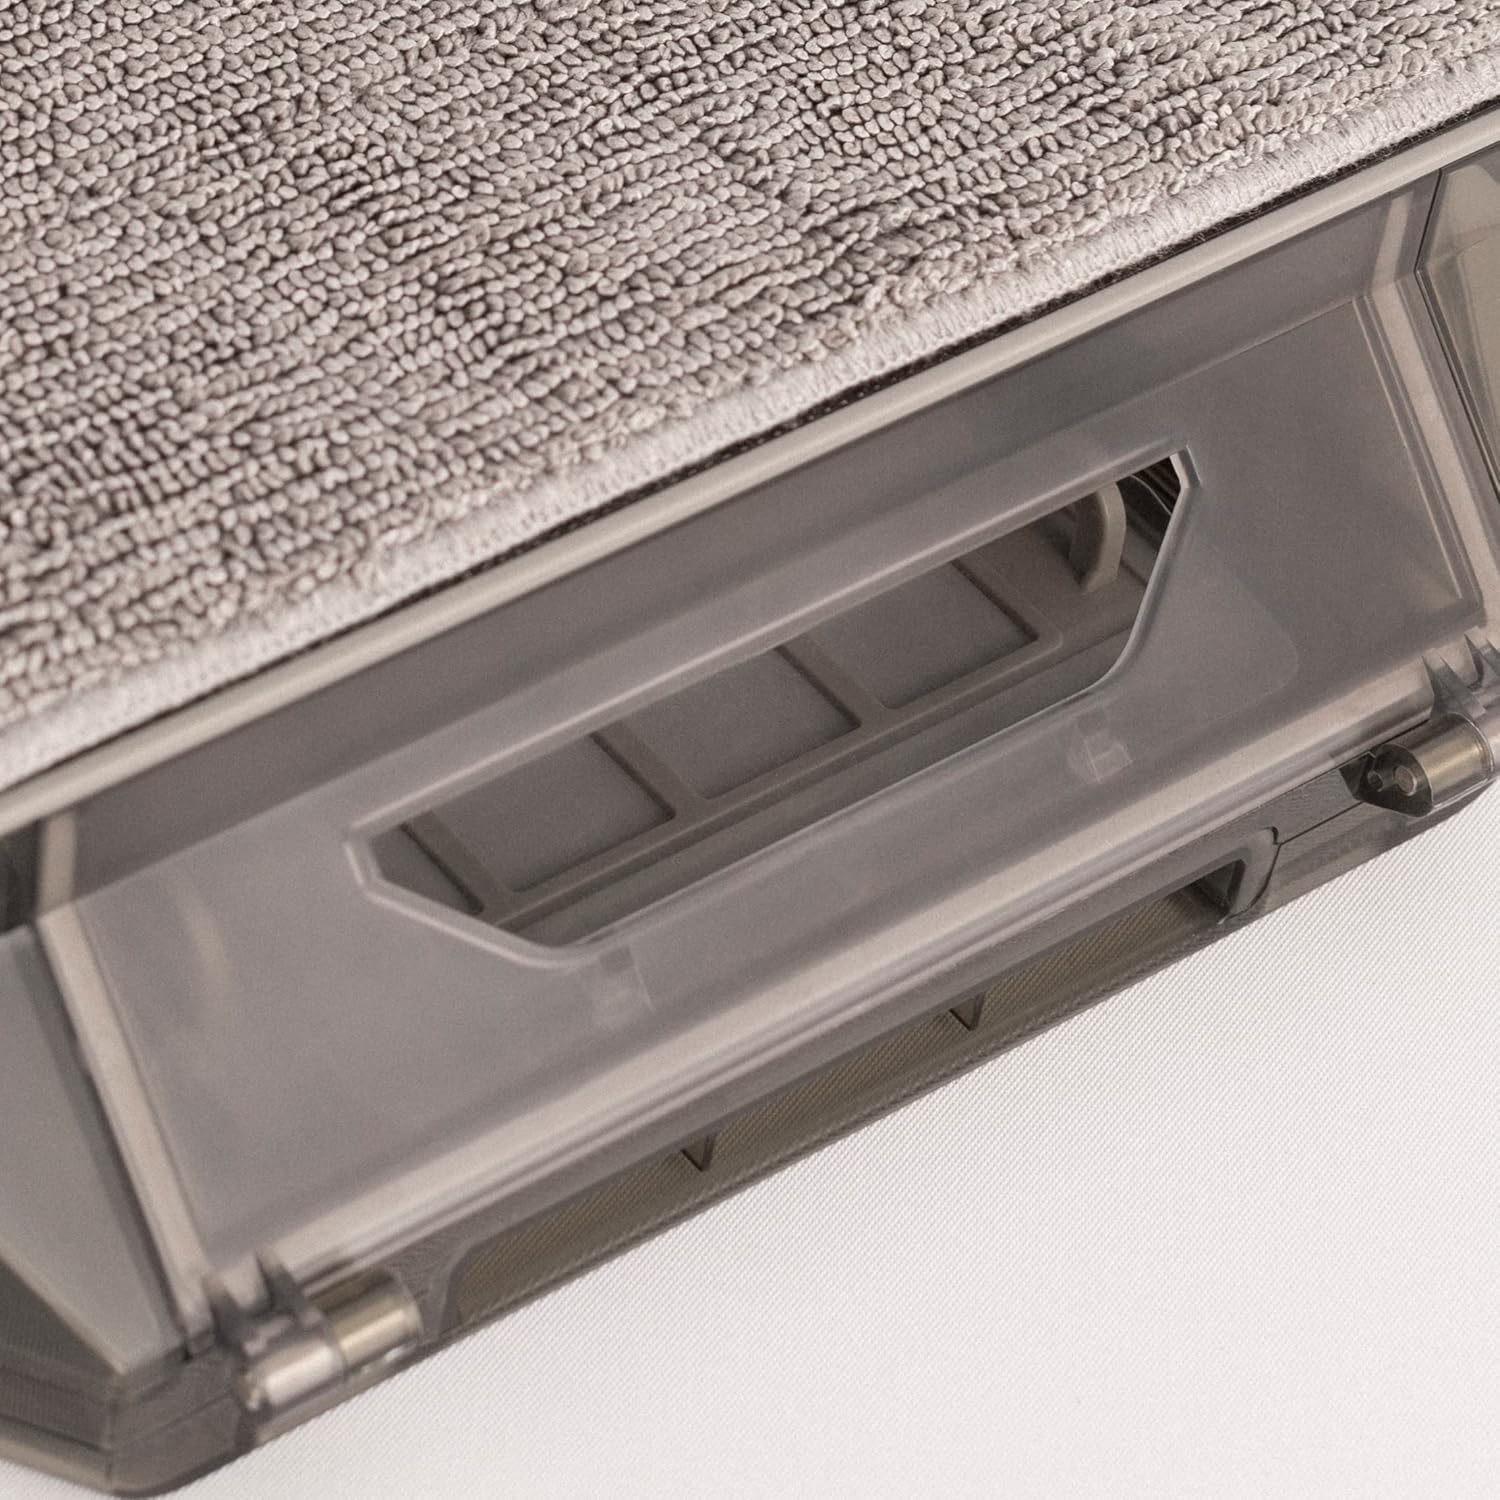
Image 7.1: Detailed view of the dust bin and its filter compartment, showing how it integrates into the robot.
7.2 Main Brush Cleaning
Clean the main brush weekly to remove tangled hair and debris.
- Turn the robot over and locate the main brush cover.
- Remove the cover and lift out the main brush.
- Use the provided cleaning tool to cut and remove tangled hair.
- Reinstall the main brush and cover.
7.3 Side Brush Cleaning
Inspect side brushes regularly for wear and tear, and clean them as needed.
- Gently pull the side brushes upwards to remove them.
- Remove any hair or debris.
- If brushes are damaged, replace them with new ones.
- Press the new brushes firmly onto their posts until they click into place.
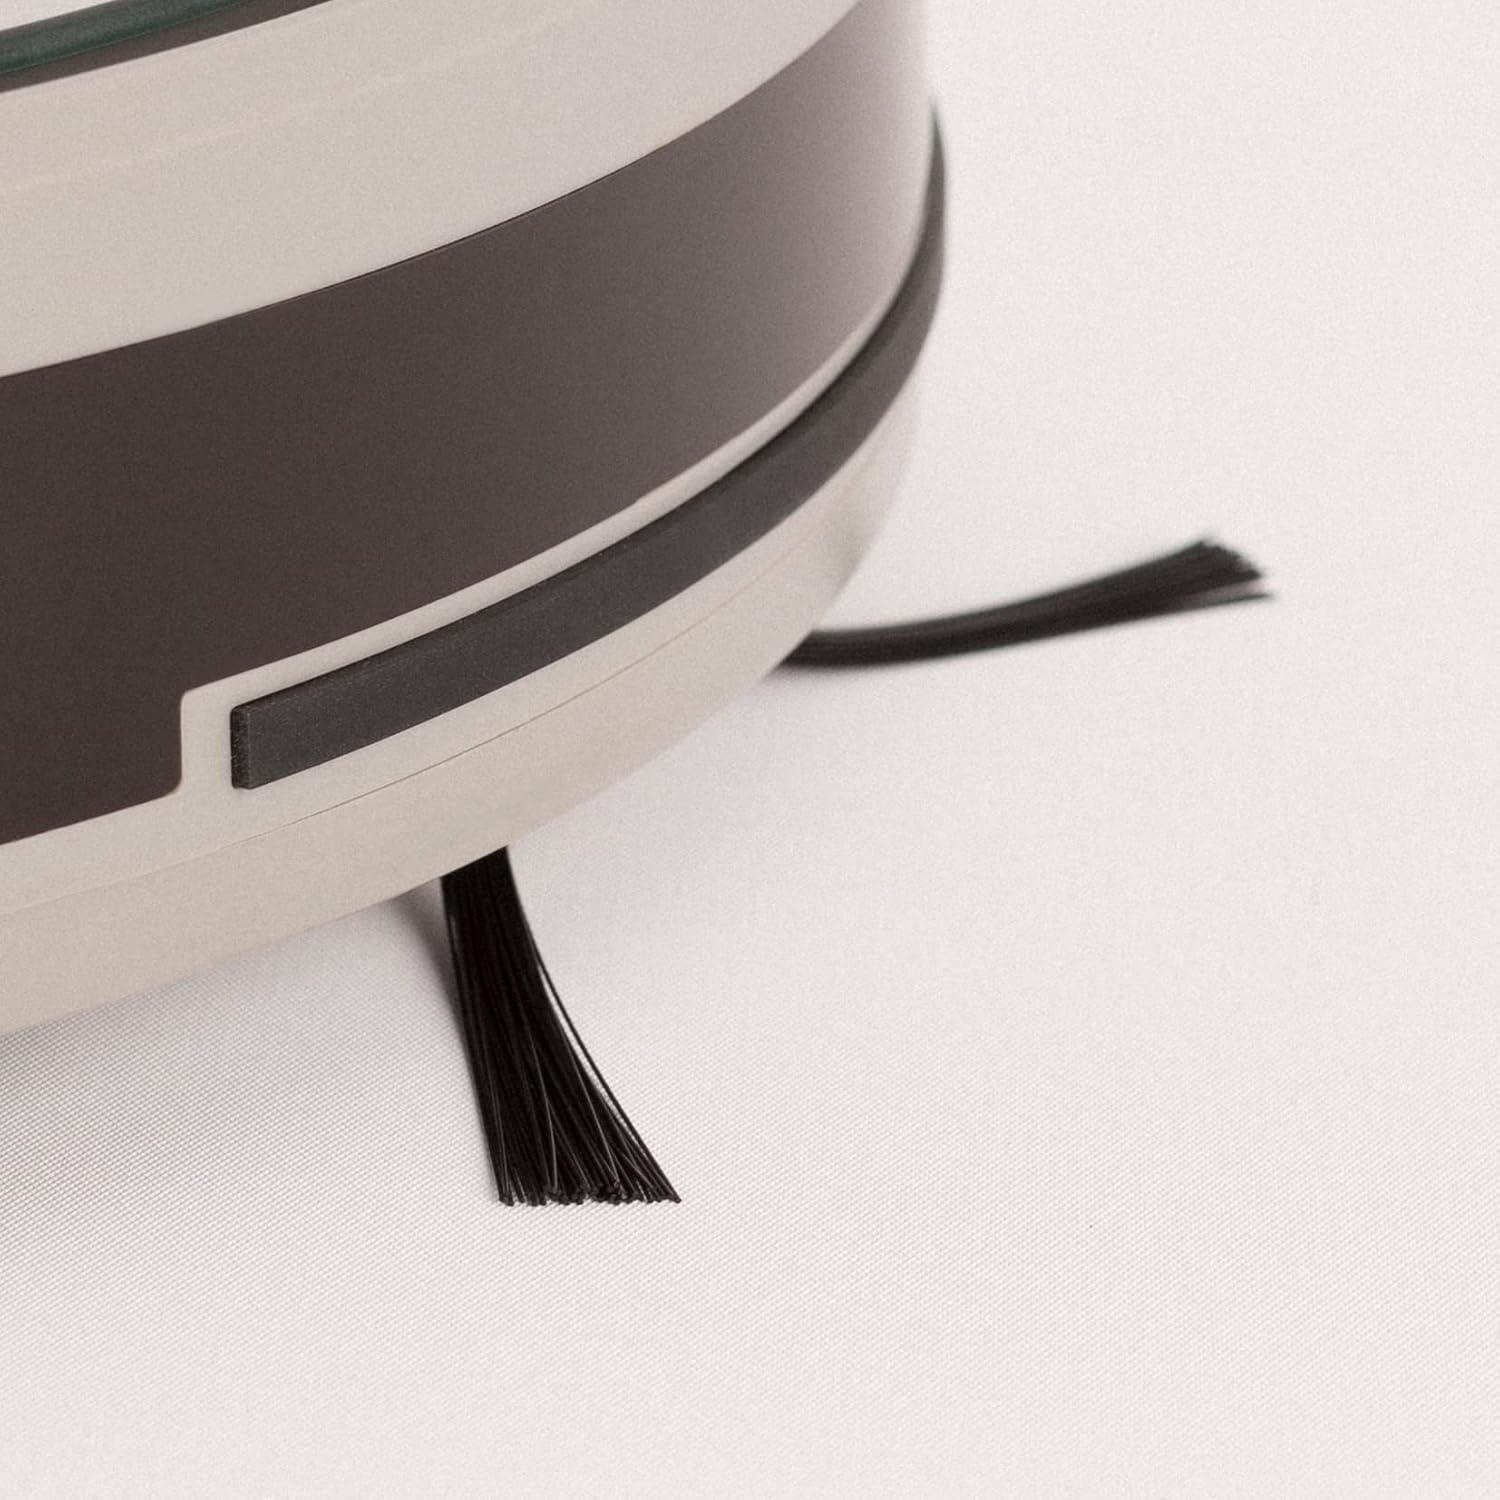
Image 7.2: Close-up of a side brush, showing its bristles and attachment point.
7.4 Water Tank and Mop Pad Cleaning
After each mopping session:
- Empty any remaining water from the tank.
- Remove the mop pad and rinse it thoroughly with water. Allow it to air dry.
- Clean the water tank with a damp cloth.
7.5 Sensor Cleaning
Wipe all sensors (cliff sensors, bumper sensor) with a clean, dry cloth monthly to ensure proper navigation.
8. Troubleshooting
If you encounter issues with your robot, refer to the following table:
| Problem | Possible Cause | Solution |
|---|---|---|
| Robot does not turn on | Low battery; Power switch off | Charge the robot; Ensure power switch is on |
| Robot cannot charge | Charging contacts dirty; Dock not powered | Clean charging contacts; Check power adapter connection |
| Cleaning performance is poor | Dust bin full; Brushes tangled; Filter clogged | Empty dust bin; Clean main/side brushes; Clean/replace filter |
| Robot gets stuck frequently | Obstacles on floor; Cliff sensors dirty | Clear floor area; Clean cliff sensors |
| App connection fails | Incorrect Wi-Fi password; Router too far; 5GHz Wi-Fi | Verify password; Move robot closer to router; Ensure 2.4GHz Wi-Fi |
If the problem persists, please contact customer support.
9. Specifications
- Brand: CREATE
- Model Name: NETBOT S40
- Model Number: 130436_269434
- Suction Power: 4000 Pa (as per product description)
- Battery Life: Up to 220 minutes (as per product description)
- Connectivity: Wi-Fi, App Control, Alexa compatible
- Dimensions: 64 x 40 x 12 cm (package dimensions)
- Item Weight: 116 Grams (as per specifications, likely product weight is higher, but using provided data)
- Battery Included: Yes
10. Warranty and Support
Your CREATE NETBOT S40 comes with a standard manufacturer's warranty. Please refer to the warranty card included in your package for specific terms and conditions, including warranty period and coverage.
For technical support, troubleshooting assistance, or to inquire about replacement parts, please contact CREATE customer service through their official website or the contact information provided in your product documentation.