
Introduction
Thank you for choosing the Relaxdays 3 Liter Tabletop Beer Dispenser. This manual provides essential information for the safe and efficient use, assembly, and maintenance of your new beverage dispenser. Please read these instructions carefully before first use and keep them for future reference.
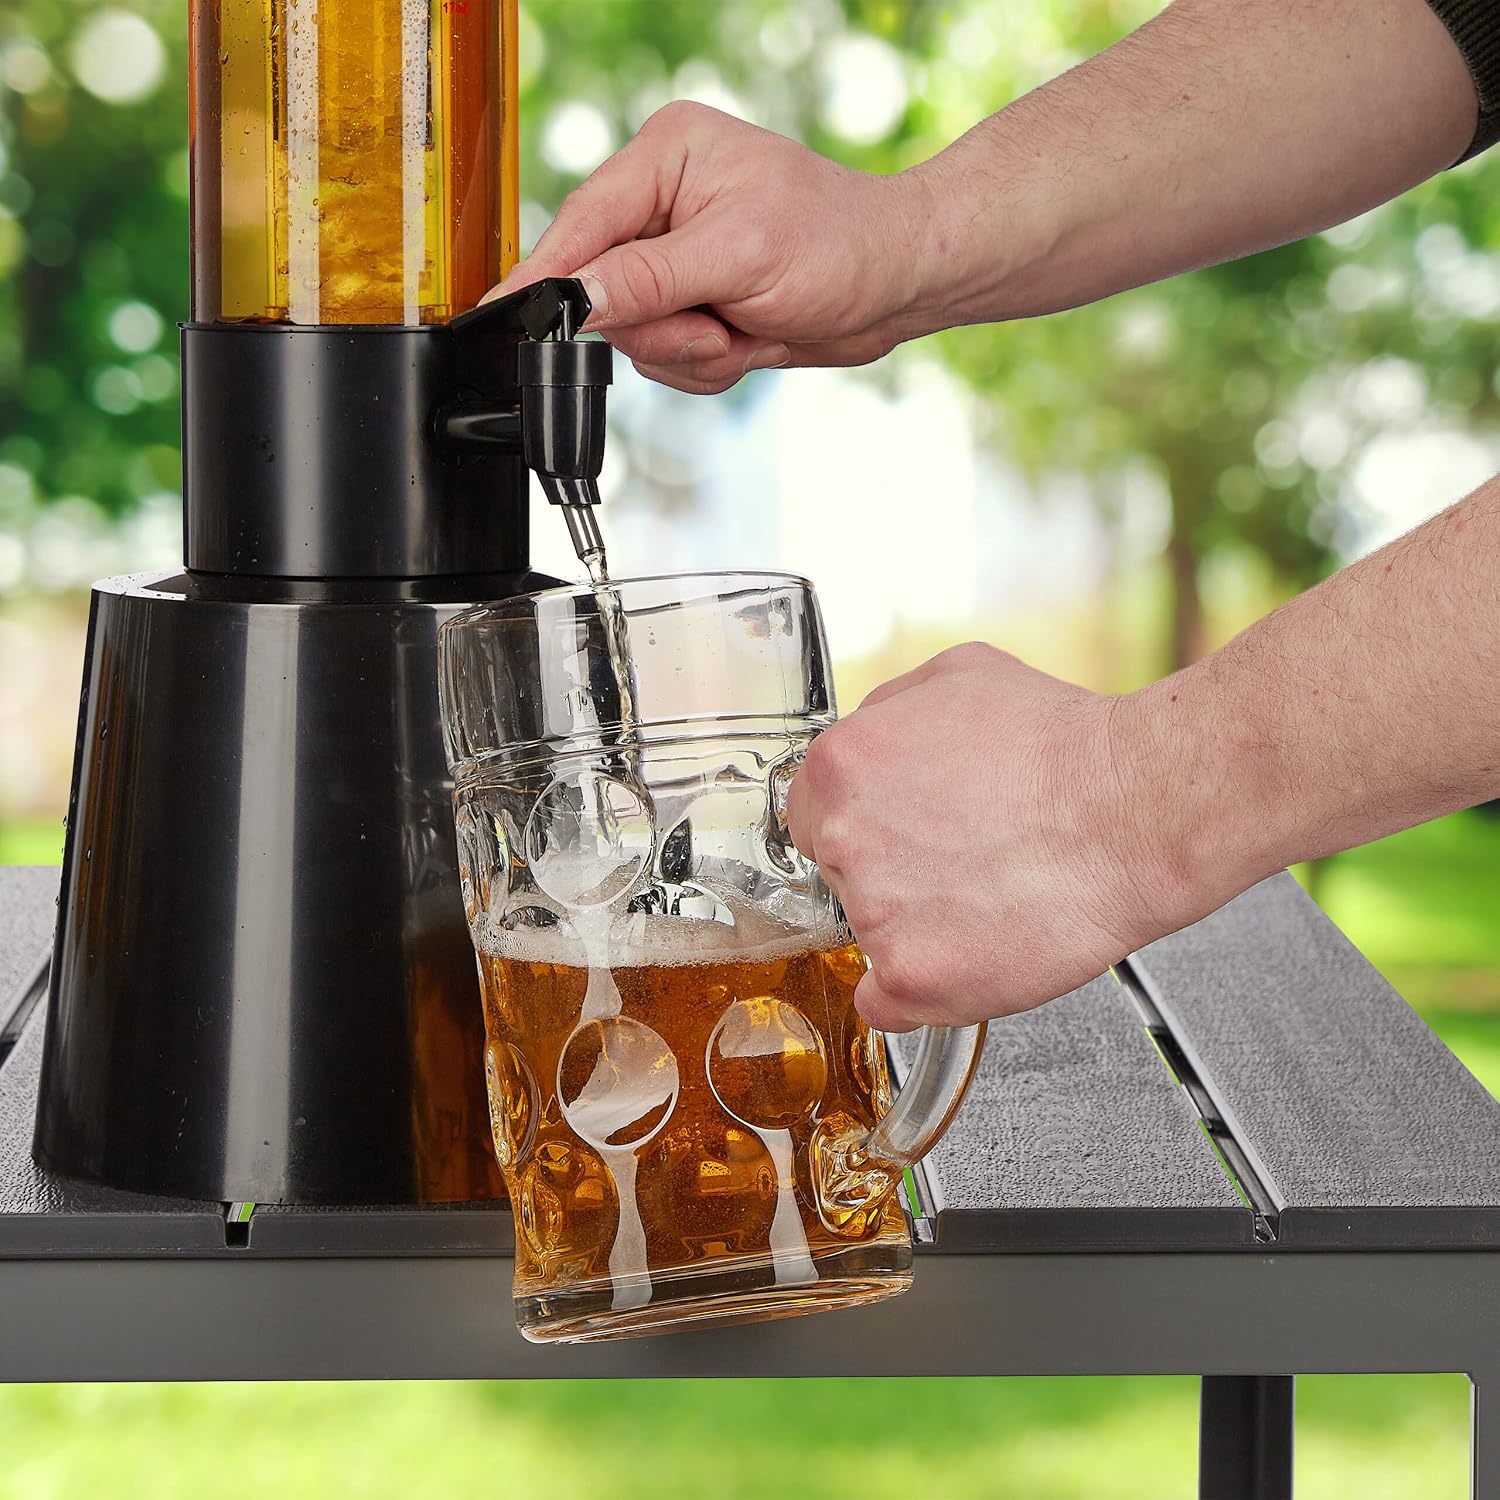
Image: A person pouring beer from the dispenser into a glass mug, demonstrating its use.
Safety Instructions
- Read all instructions before using the product.
- Keep the dispenser on a stable, flat surface to prevent tipping.
- Do not fill with hot liquids, as this may damage the plastic material.
- Ensure all components are correctly assembled before filling with beverages.
- Keep out of reach of children when in use, especially if filled with alcoholic beverages.
- Clean the dispenser thoroughly after each use to prevent bacterial growth.
- Do not use abrasive cleaners or scourers, as they can scratch the surface.
For additional safety information, please refer to the provided safety document: Informazioni sulla sicurezza (PDF).
Package Contents
Verify that all components are present and undamaged upon unpacking:
- 1x Beer Dispenser Column (main transparent cylinder)
- 1x Base with integrated tap
- 1x Removable Ice Compartment (inner tube)
- 1x Top Cap

Image: All individual parts of the dispenser laid out, including the base, main cylinder, ice tube, and lid.
Setup
- Assemble the Base and Column: Place the transparent dispenser column securely onto the black base. Ensure it is firmly seated to prevent leaks.
- Prepare the Ice Compartment: Fill the removable inner tube (ice compartment) with ice cubes or cold water. This tube is designed to keep your beverage cool without diluting it.
- Insert Ice Compartment: Carefully insert the filled ice compartment into the center of the main dispenser column.
- Fill the Dispenser: Pour your desired beverage (beer, juice, iced tea, lemonade, etc.) into the main transparent column. Do not exceed the maximum fill line. The dispenser has a capacity of 3 liters (3.7 liters without the ice compartment).
- Secure the Top Cap: Place the top cap firmly onto the dispenser column to keep the beverage fresh and prevent spills.

Image: The transparent ice compartment tube with a black base.
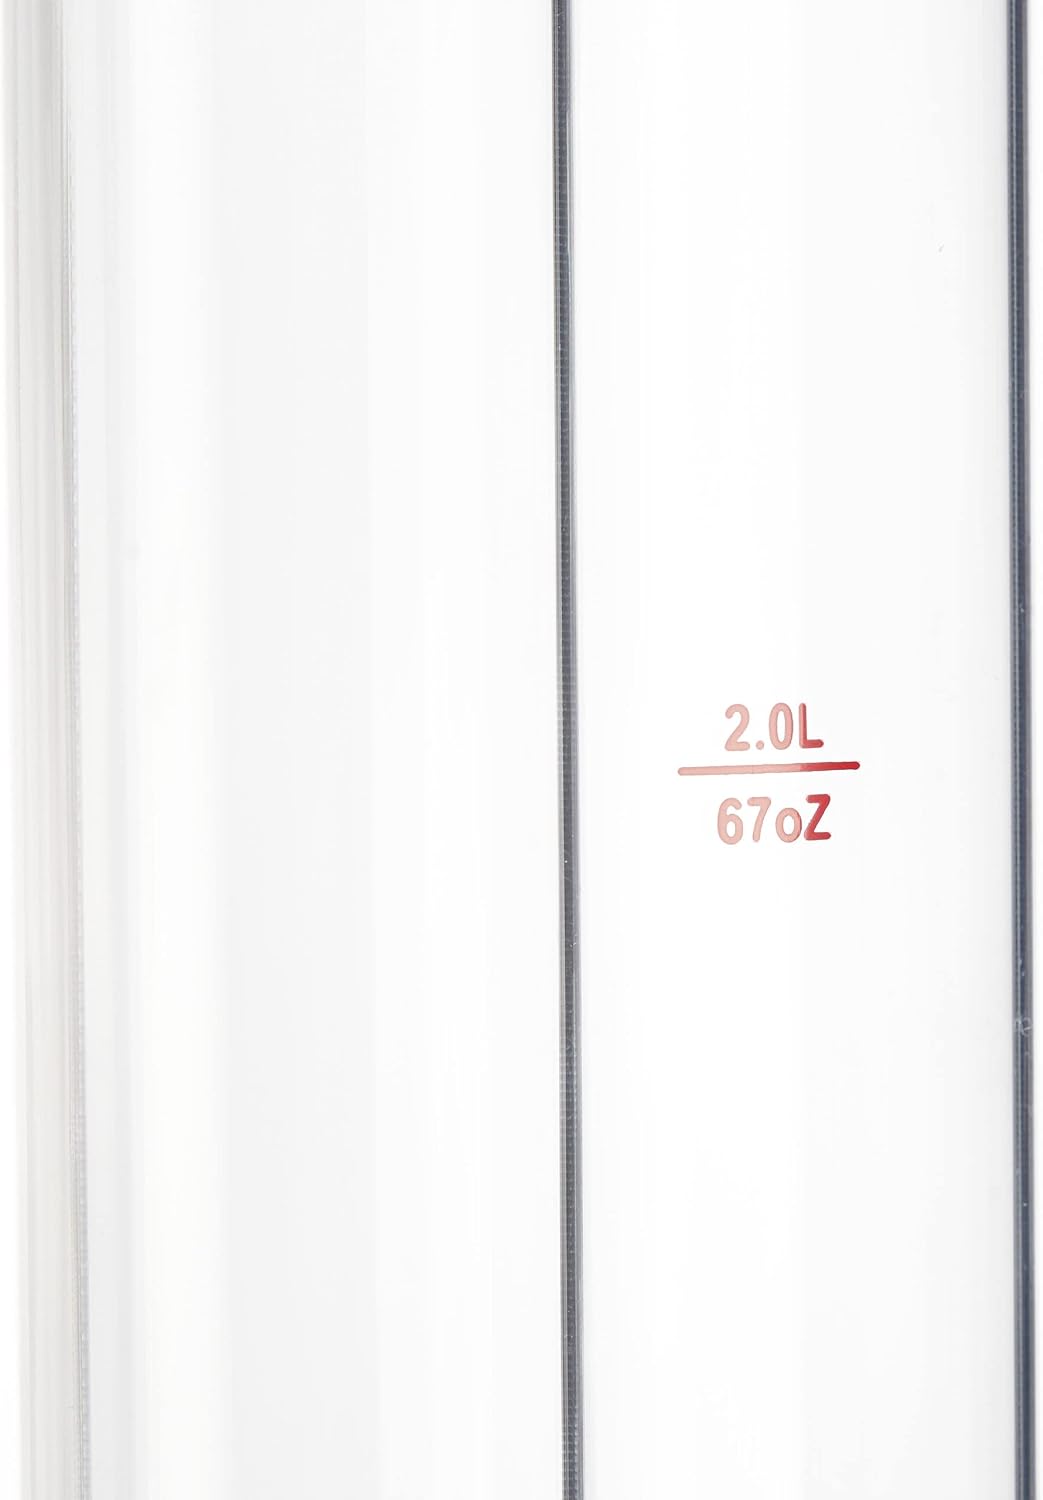
Image: Detailed view of the volume markings on the dispenser column.

Image: The black top cap on the dispenser.
Operating Instructions
To dispense a beverage, simply push the tap lever downwards. To stop the flow, release the lever. For continuous flow, some taps may have a locking mechanism; refer to the tap design for specific operation.

Image: A close-up of the dispenser's tap, illustrating its operation.
Maintenance and Cleaning
Regular cleaning is crucial for hygiene and longevity of your dispenser.
- Empty and Disassemble: After each use, empty any remaining beverage. Carefully disassemble the dispenser by removing the top cap, ice compartment, and then separating the column from the base.
- Hand Wash: Wash all parts by hand using warm water and mild dish soap. Use a soft brush for the inside of the column and the tap mechanism to ensure thorough cleaning.
- Rinse Thoroughly: Rinse all components thoroughly with clean water to remove any soap residue.
- Dry Completely: Allow all parts to air dry completely before reassembling or storing. This prevents water spots and bacterial growth.
- Storage: Store the dispenser in a clean, dry place.
Troubleshooting
- Leakage from Tap: Ensure the tap is fully closed. Check if the tap is securely tightened to the base. If leakage persists, inspect the tap's internal seals for damage.
- Leakage from Base: Ensure the transparent column is correctly and firmly seated on the base. Check for any cracks in the column or base.
- Beverage Not Cooling: Ensure the ice compartment is filled with sufficient ice or frozen water. For optimal cooling, pre-chill your beverage before pouring it into the dispenser.
- Slow Flow: Check if the tap is fully open. Ensure there are no obstructions in the tap or the dispenser's outlet.
Specifications
| Feature | Detail |
|---|---|
| Model Number | 10043160 |
| Material | Plastic |
| Color | Transparent Black |
| Capacity | 3 Liters (3.7 Liters without ice compartment) |
| Dimensions (H x W x D) | 81 x 20 x 22 cm (approx. 31.9 x 7.9 x 8.7 inches) |
| Item Weight | 1.4 Kilograms |
| Components Included | 1 Beer Dispenser Column |

Image: Dimensional drawing of the dispenser.
Warranty and Support
For warranty information or technical support, please refer to the retailer where you purchased the product or visit the official Relaxdays website. Keep your proof of purchase for any warranty claims.
You can visit the Relaxdays store for more products: Relaxdays Store.
