Introduction
Thank you for choosing the TOOLPORT 4x4m Garden Gazebo with a steel roof. This manual provides essential information for the safe assembly, operation, and maintenance of your new gazebo. Please read these instructions carefully before beginning assembly and retain them for future reference. Proper assembly and care will ensure the longevity and optimal performance of your gazebo.

Image 1: Fully assembled TOOLPORT 4x4m Garden Gazebo, showcasing its spacious design and steel roof, suitable for outdoor living spaces.
Safety Information
- Read All Instructions: Before assembly, carefully read and understand all instructions.
- Two-Person Assembly: Assembly requires at least two adults. Do not attempt to assemble alone.
- Clear Area: Assemble the gazebo in a clear, level area, free from obstructions.
- Secure Anchoring: Always anchor the gazebo securely to the ground using the provided anchors or suitable alternatives. Failure to do so may result in damage or injury in windy conditions.
- Weather Conditions: While designed for all-season use, extreme weather conditions (e.g., heavy snow, strong winds, hail) may require additional precautions or temporary disassembly.
- Inspect Regularly: Periodically inspect all connections and components for tightness and damage.
- No Climbing: Do not climb on the gazebo structure.
- Fire Safety: Keep all heat sources and open flames away from the gazebo.
Package Contents
Please verify that all components listed below are present before beginning assembly. If any parts are missing or damaged, contact TOOLPORT customer service.
- Weather-resistant aluminum posts
- Steel roof panels (approx. 0.5 mm galvanized steel)
- 8 ground anchors for secure fastening
- Assembly instructions (this manual)
- All necessary connection profiles and fasteners
Setup and Assembly Instructions
The TOOLPORT 4x4m Garden Gazebo is designed for straightforward assembly. It is recommended that two people perform the assembly, which typically takes approximately 4 hours.
1. Preparation
- Unpack all components and lay them out in an organized manner.
- Identify all parts using the included parts list (if provided separately).
- Ensure you have the necessary tools (e.g., wrench, screwdriver, ladder).
- Choose a level and stable location for your gazebo.
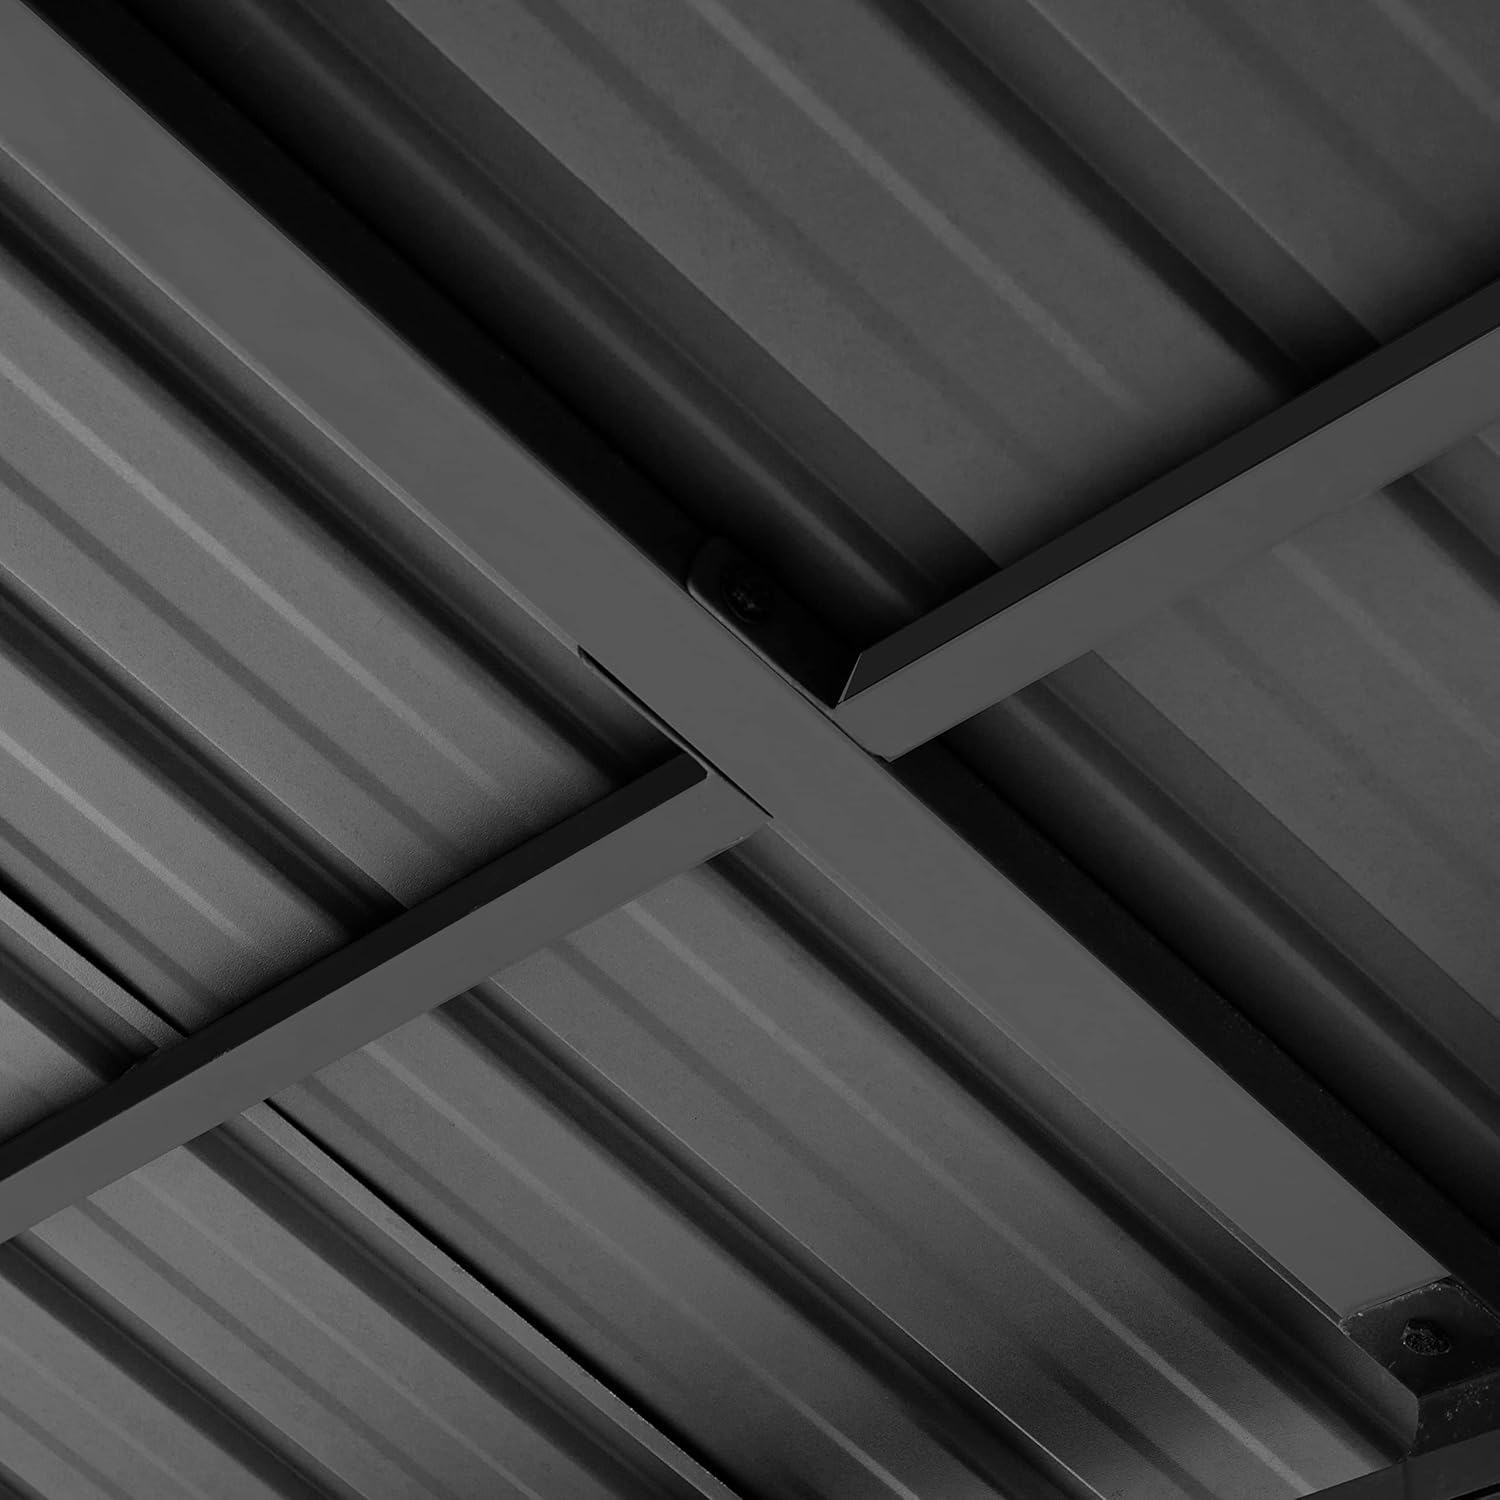
Image 2: Close-up of a roof corner, showing the robust connection points and the corrugated steel roof panels.
2. Frame Assembly
- Begin by assembling the main support posts. The square profiles are approximately 9x9 cm.
- Connect the horizontal beams to the top of the posts using the pre-drilled profiles and high-quality connection system.
- Ensure all bolts are finger-tight at this stage to allow for minor adjustments.

Image 3: Detailed view of a frame connection, highlighting the secure bolting mechanism for structural integrity.
3. Roof Structure Assembly
- Assemble the roof frame components according to the diagrams.
- Carefully lift and secure the roof frame onto the main support structure. This step requires multiple people.
- Ensure all roof frame connections are secure.

Image 4: View from underneath the gazebo roof, showing the intricate steel frame that supports the roof panels.
4. Roof Panel Installation
- Attach the galvanized steel roof panels to the roof frame. Overlap panels as instructed to ensure 100% waterproofing.
- Secure each panel firmly with the provided fasteners.

Image 5: Close-up of the corrugated steel roof, highlighting its robust construction and weather-resistant design.
5. Final Tightening and Anchoring
- Once all components are in place, go back and securely tighten all bolts and fasteners.
- Attach the 8 ground anchors to the base of each post and secure them firmly into the ground. This is crucial for stability.

Image 6: Detail of the gazebo post base plate, showing the pre-drilled holes for secure ground anchoring.

Image 7: Close-up of a roof beam connection, illustrating the precise fit and secure fastening points.
Operating Instructions
Your TOOLPORT 4x4m Garden Gazebo is designed for year-round use, offering optimal protection in all seasons.
- All-Season Protection: The galvanized steel roof (approx. 0.5 mm) is robust, reliable, and 100% waterproof, allowing for use throughout the year.
- UV Protection: The structure provides protection against ultraviolet rays, making it a comfortable shaded area.
- Stability: The robust aluminum structure ensures resistance to UV, corrosion, and general weather conditions.

Image 8: The gazebo providing a sheltered area for a hot tub, demonstrating its versatility and all-season utility in a garden.
Maintenance
Regular maintenance will extend the life and appearance of your gazebo.
- Cleaning: Clean the steel roof and aluminum frame periodically with mild soap and water. Avoid abrasive cleaners or harsh chemicals that could damage the finish.
- Inspection: Annually inspect all bolts, screws, and connections to ensure they remain tight. Re-tighten as necessary.
- Drainage: Ensure that water drains properly from the roof and does not accumulate, especially during heavy rainfall or snow.
- Snow Removal: In areas with heavy snowfall, it is advisable to regularly remove accumulated snow from the roof to prevent excessive weight and potential damage.
Troubleshooting
| Problem | Possible Cause | Solution |
|---|---|---|
| Gazebo feels unstable or wobbly. | Loose connections; inadequate anchoring; uneven ground. | Ensure all bolts are tightened. Verify ground anchors are securely installed. Relocate to a level surface if possible. |
| Water leakage from the roof. | Improperly installed roof panels; damaged roof panels; sealant failure. | Check roof panel overlap and fastening. Inspect panels for damage and replace if necessary. Apply waterproof sealant to seams if required. |
| Difficulty during assembly. | Incorrect part orientation; missing parts; attempting assembly alone. | Refer to the assembly diagrams. Verify all parts are present. Ensure two people are performing the assembly. |
Specifications

Image 9: Dimensional diagram of the gazebo, indicating its length, width, and height for planning purposes.
| Feature | Detail |
|---|---|
| Brand | TOOLPORT |
| Model | 4x4m Garden Gazebo (B0BWDVYR4F) |
| Product Dimensions | 4L x 4W x 3.04H meters (13.12L x 13.12W x 9.97H feet) |
| Item Weight | 181 Kilograms (approx. 399 lbs) |
| Frame Material | Aluminum |
| Roof Material | Galvanized Steel (approx. 0.5 mm) |
| Water Resistance Level | Waterproof |
| UV Protection | Yes |
| Assembly Required | Yes (approx. 4 hours for two people) |
| Shape | Square |
Warranty and Support
For specific warranty information, please refer to the documentation included with your purchase or contact TOOLPORT customer service directly.
If you encounter any issues or have questions regarding your TOOLPORT 4x4m Garden Gazebo, please contact the seller or TOOLPORT customer support for assistance.