KENTEER T568T22-3-B
KENTEER T568 License-Free Transceiver User Manual
Model: T568T22-3-B
1. Introduction
Thank you for purchasing the KENTEER T568 License-Free Transceiver. This device is designed for reliable and easy communication in various environments, from leisure activities to business operations. It operates on specific low-power frequencies, requiring no license for use. This manual provides detailed instructions on how to set up, operate, and maintain your transceiver to ensure optimal performance and longevity.
The T568 features VOX hands-free operation, an integrated LED flashlight, durable construction, clear audio, automatic power saving, a low battery alarm, and auto channel scanning. Its compact and lightweight design makes it convenient for carrying in a pocket or attaching to a belt.
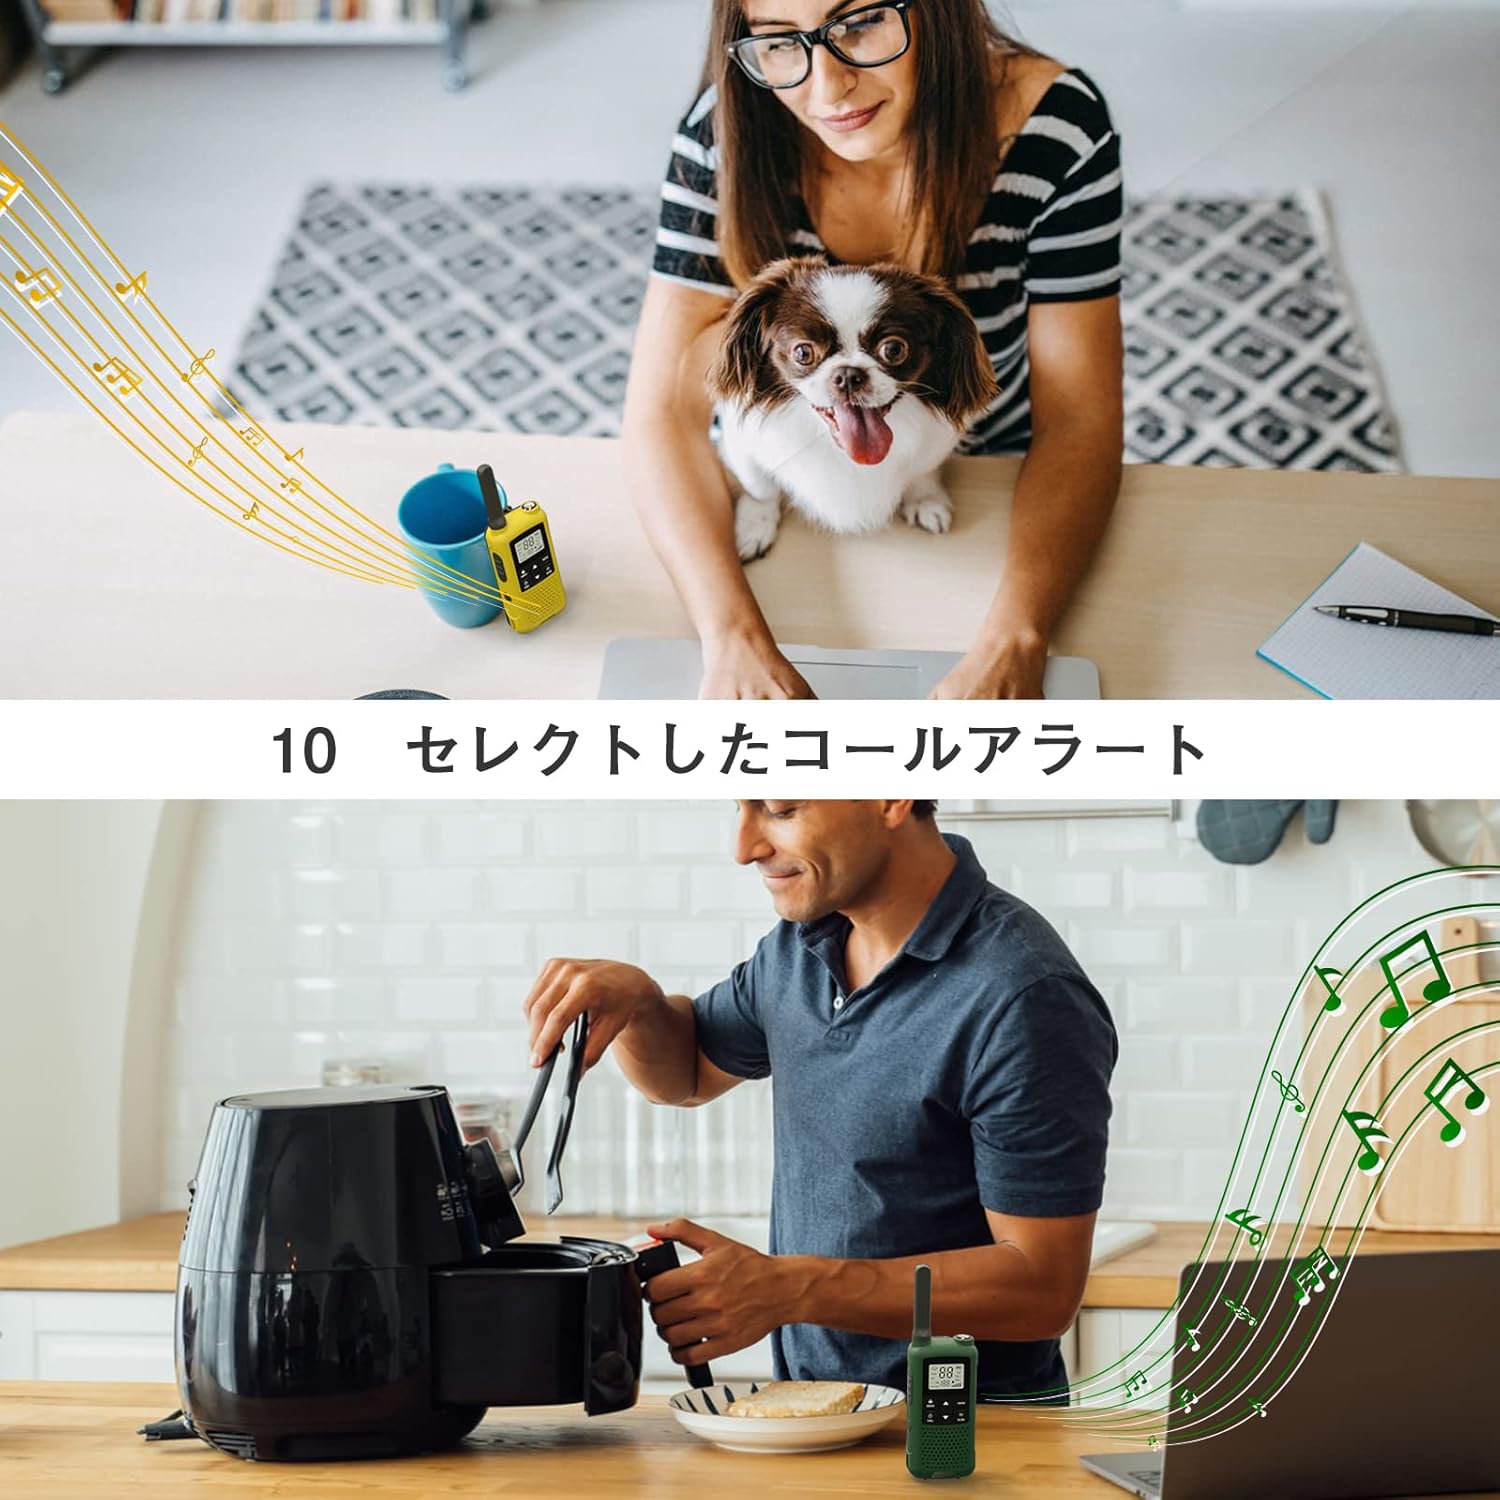
Figure 1: KENTEER T568 transceivers in various usage scenarios.
2. Package Contents
Please check the package contents to ensure all items are present:
- KENTEER T568 Transceiver Unit (3 units)
- USB Charging Cable (3 cables)
- Earphone Microphone (3 units)
- Belt Clip (3 units)
- User Manual (Japanese, but this document serves as the English version)

Figure 2: Contents of the KENTEER T568 package.
3. Product Overview
Familiarize yourself with the various parts of your KENTEER T568 transceiver:
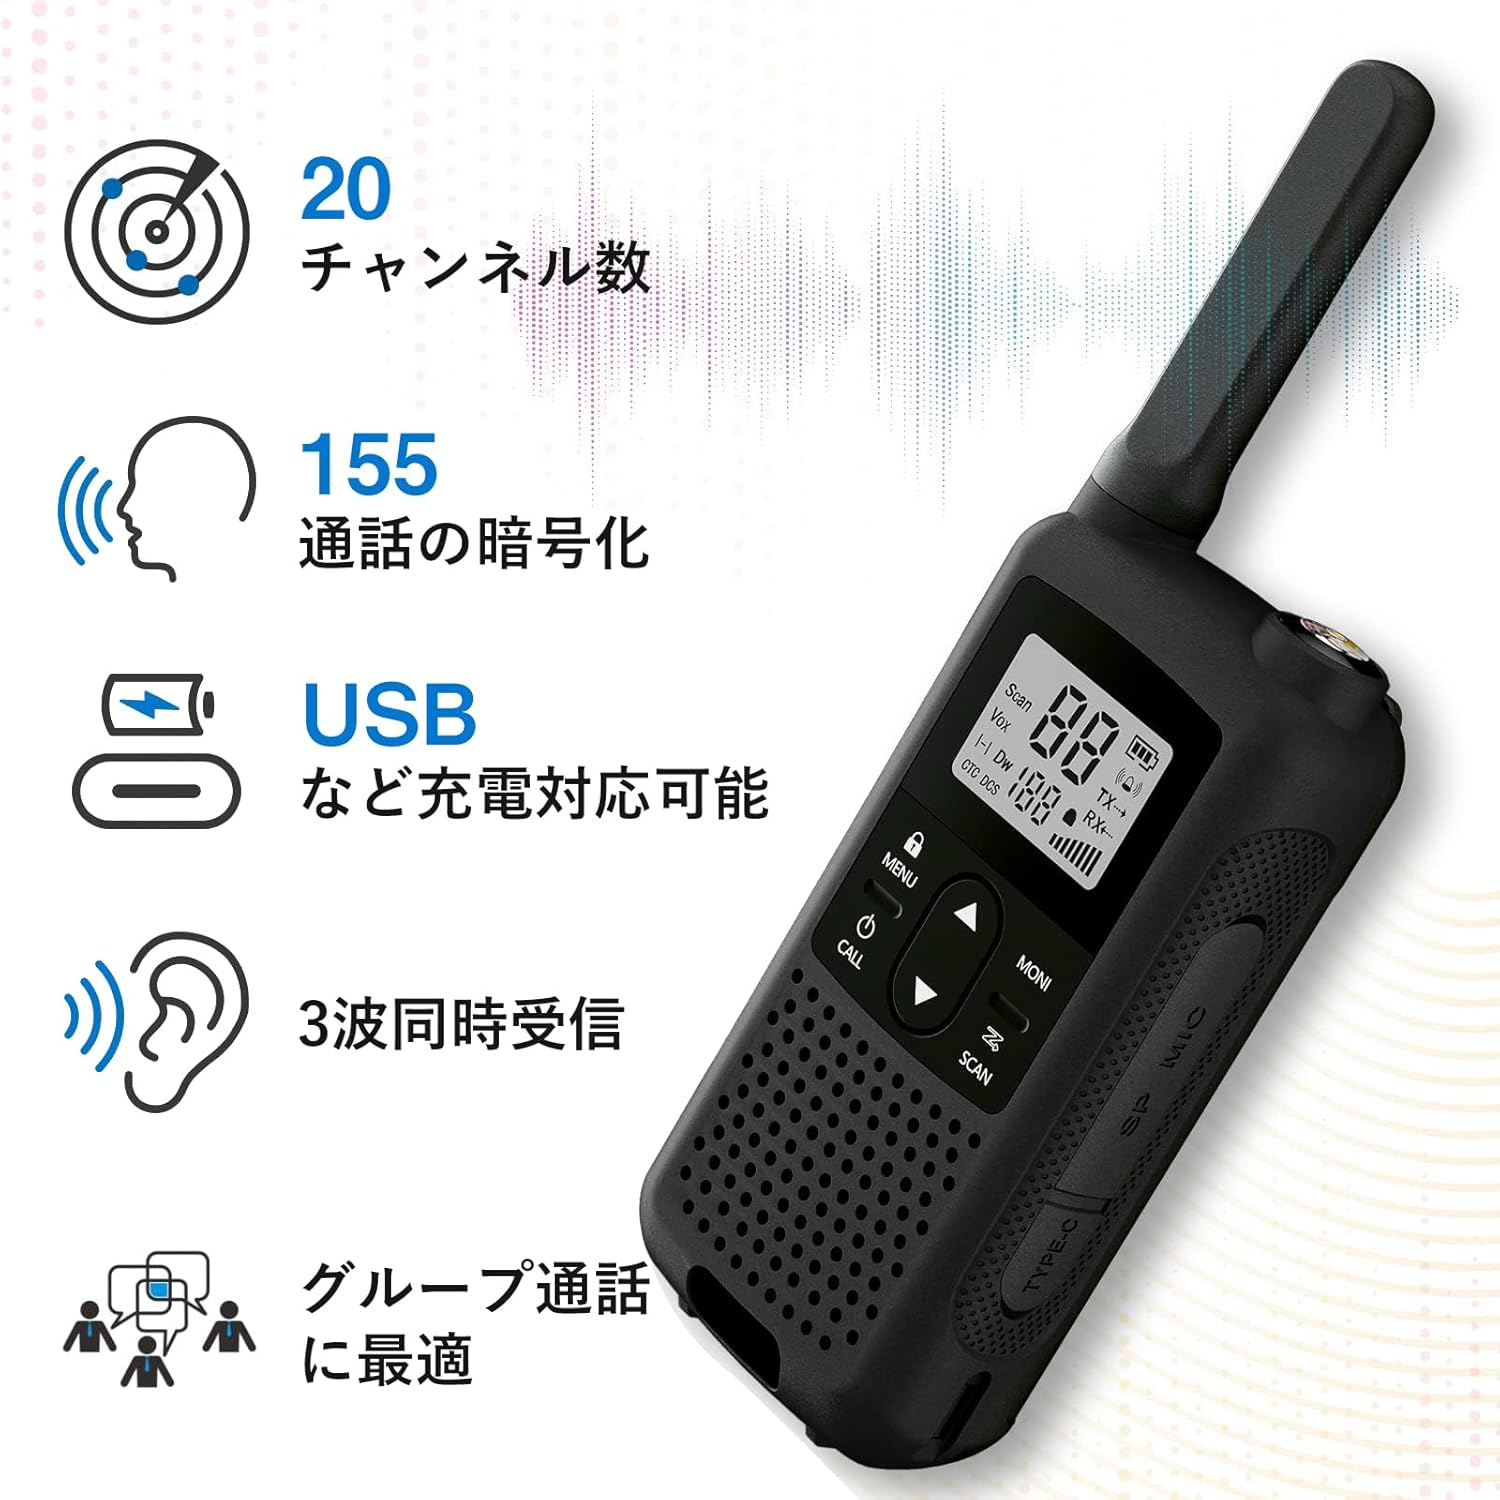
Figure 3: KENTEER T568 Transceiver Components.
- Antenna: For transmitting and receiving signals.
- LCD Screen: Displays channel number, battery status, and other indicators.
- Flashlight: Built-in LED light for illumination.
- Speaker/Microphone: For audio output and input.
- MENU/LOCK Button: Accesses menu settings or locks/unlocks the keypad.
- Power/CALL Button: Turns the unit on/off (long press) or sends a call tone (short press).
- Up/Down Buttons: Adjusts volume, changes channels, or navigates menu options.
- MONI Button: Opens the squelch to listen for weak signals.
- SCAN Button: Initiates channel scanning.
- PTT (Push-to-Talk) Button: Press and hold to transmit, release to receive.
- Charging Jack (USB Type-C): For connecting the USB charging cable.
4. Setup
4.1. Initial Charging
Before first use, fully charge the transceiver's battery. The T568 uses 3 AAA batteries (not included, but rechargeable NiMH AAA batteries are recommended for in-device charging). The device supports USB Type-C charging.
- Connect the provided USB charging cable to the charging jack on the side of the transceiver.
- Connect the other end of the USB cable to a USB power source (e.g., computer, USB wall adapter, power bank).
- The battery icon on the LCD screen will animate during charging. Once fully charged, the battery icon will show full.
Note: If using alkaline batteries, remove them if the transceiver will not be used for an extended period (e.g., over a week) to prevent leakage and damage to the device.

Figure 4: Charging options for the KENTEER T568.
4.2. Attaching Accessories
- Belt Clip: Align the belt clip with the slots on the back of the transceiver and slide it down until it clicks into place.
- Earphone Microphone: Insert the earphone microphone plug into the dedicated jack on the side of the transceiver. Ensure it is fully inserted for proper function.
5. Operating Instructions
5.1. Power On/Off
To power on the transceiver, press and hold the Power/CALL button for approximately 3 seconds. To power off, press and hold the same button again.
5.2. Volume Adjustment
In normal operating mode, press the Up or Down arrow buttons to adjust the speaker volume. There are 9 volume levels.
5.3. Channel Selection
The T568 has 20 channels. To change channels:
- Press the MENU button once. The channel number on the LCD will flash.
- Use the Up or Down arrow buttons to select the desired channel (1-20).
- Press the MENU button again or the PTT button to confirm and exit.
For multiple transceivers to communicate, they must be set to the same channel and CTCSS/DCS code (if enabled).
5.4. Transmitting and Receiving (PTT)
To transmit, press and hold the PTT button located on the side of the transceiver. Speak clearly into the microphone. Release the PTT button to receive messages. Only one person can transmit at a time.
5.5. VOX (Voice Operated Exchange) Function
VOX allows hands-free transmission. When VOX is enabled, the transceiver will automatically transmit when it detects your voice, without needing to press the PTT button.
- Press the MENU button repeatedly until "VOX" appears on the screen.
- Use the Up or Down arrow buttons to select the VOX sensitivity level (1-3, or OFF). Level 1 is most sensitive, 3 is least sensitive.
- Press MENU or PTT to confirm.
5.6. LED Flashlight
To activate the LED flashlight, short press the Flashlight button. Press again for flashing mode, and a third time to turn it off.
5.7. Call Tone
To send a call tone to other transceivers on the same channel, short press the Power/CALL button. You can select from 10 different call tones in the menu settings.

Figure 5: Call alert feature in use.
5.8. Emergency SOS Function
For emergency situations, press and hold the Flashlight button for 3 seconds to activate the SOS alarm. The light will flash, and an alarm sound will be emitted. This can be configured to sound only on your unit or on all units in your group.
5.9. Scan Function
To scan for active channels, short press the SCAN button. The transceiver will cycle through channels until it finds an active one. It will pause on the active channel for a few seconds. Press PTT to transmit on that channel or press SCAN again to resume scanning.
5.10. CTCSS/DCS Codes (Squelch Codes)
CTCSS (Continuous Tone-Coded Squelch System) and DCS (Digitally Coded Squelch) codes allow you to communicate with a specific group of users on the same channel, filtering out unwanted conversations. There are 50 CTCSS tones and 105 DCS codes.
- Press the MENU button repeatedly until the CTCSS or DCS setting appears.
- Use the Up or Down arrow buttons to select the desired code or OFF.
- Press MENU or PTT to confirm.
All transceivers in your group must have the same channel and CTCSS/DCS code set to communicate.
6. Communication Range
The communication range of the KENTEER T568 varies significantly depending on the environment and obstacles. The following are approximate ranges:
- Urban Areas (with buildings and obstructions): Approximately 0.1 km to 0.5 km (0.06 to 0.3 miles)
- Suburban Areas (with some obstructions): Approximately 0.5 km to 1.5 km (0.3 to 0.9 miles)
- Open Areas (line of sight, e.g., mountains, open fields): Approximately 1.5 km to 3 km (0.9 to 1.8 miles)
Obstacles such as thick walls, floors, and dense foliage can significantly reduce the effective communication range.

Figure 6: Approximate communication ranges.
7. Maintenance
- Cleaning: Use a soft, damp cloth to clean the exterior of the transceiver. Do not use harsh chemicals or abrasive cleaners.
- Battery Care: For optimal battery life, avoid overcharging or completely draining the batteries. If storing the transceiver for an extended period, remove alkaline batteries to prevent leakage. Rechargeable NiMH batteries can generally be left in, but periodic charging is recommended.
- Water Resistance: The T568 has an IP65 rating, meaning it is protected from dust ingress and low-pressure water jets from any direction. It is not designed for submersion. Ensure the USB port cover is securely closed to maintain water resistance.
- Storage: Store the transceiver in a cool, dry place away from direct sunlight and extreme temperatures.
8. Troubleshooting
| Problem | Possible Cause | Solution |
|---|---|---|
| No power | Battery is low or dead. | Charge the battery. |
| Cannot communicate with other units | Different channels or CTCSS/DCS codes. | Ensure all units are on the same channel and have matching CTCSS/DCS codes (or all off). |
| Short communication range or poor audio | Obstructions, interference, or low battery. | Move to an open area, avoid large obstructions. Charge the battery. |
| Unit not charging | Cable not connected properly, faulty cable/adapter, or battery issue. | Check cable connections. Try a different USB cable or power adapter. Ensure rechargeable batteries are used if charging in-device. |
| Keypad locked | Keypad lock activated. | Press and hold the MENU/LOCK button to unlock. |
9. Specifications
| Feature | Specification |
|---|---|
| Model Number | T568T22-3-B |
| Brand | KENTEER |
| Color | Black (3-unit set) |
| Channels | 20 Channels |
| Frequency Band | UHF (422.050-422.300 MHz) |
| Max Communication Distance | Up to 2 km (1.24 miles) in ideal conditions |
| Water Resistance | IP65 |
| Product Dimensions (L x W x H) | 3.2 x 5.6 x 16.9 cm (1.3 x 2.2 x 6.7 inches) |
| Product Weight | Approximately 680 g (for the set) |
| Battery Type | Requires 3 AAA batteries (rechargeable NiMH recommended for in-device charging) |
| Charging Port | USB Type-C |

Figure 7: KENTEER T568 dimensions.
10. Warranty and Support
Your KENTEER T568 Transceiver comes with a 1-year manufacturer's warranty from the date of purchase. Additionally, a 45-day return policy is available. Please retain your proof of purchase for warranty claims.
For technical support, troubleshooting assistance, or warranty inquiries, please contact the seller, Raoendis Tool Specialty Store, through the Amazon platform. Our experienced engineers have carefully designed and customized this radio for safe use in Japan, ensuring compliance with local regulations.
Using unregistered products is illegal. This product has obtained wireless certification in Japan, ensuring its legal and safe use.
Ask a question about this manual
Ask about setup, troubleshooting, compatibility, parts, safety, or missing instructions. Manuals+ will review the question and use this page’s manual context to help answer it.