
Introduction
Thank you for purchasing the COSTWAY 3-in-1 Portable Air Cooler. This appliance is designed to provide cooling, fan, and humidification functions for your indoor comfort. Please read this manual thoroughly before operation to ensure proper use, maintenance, and safety.
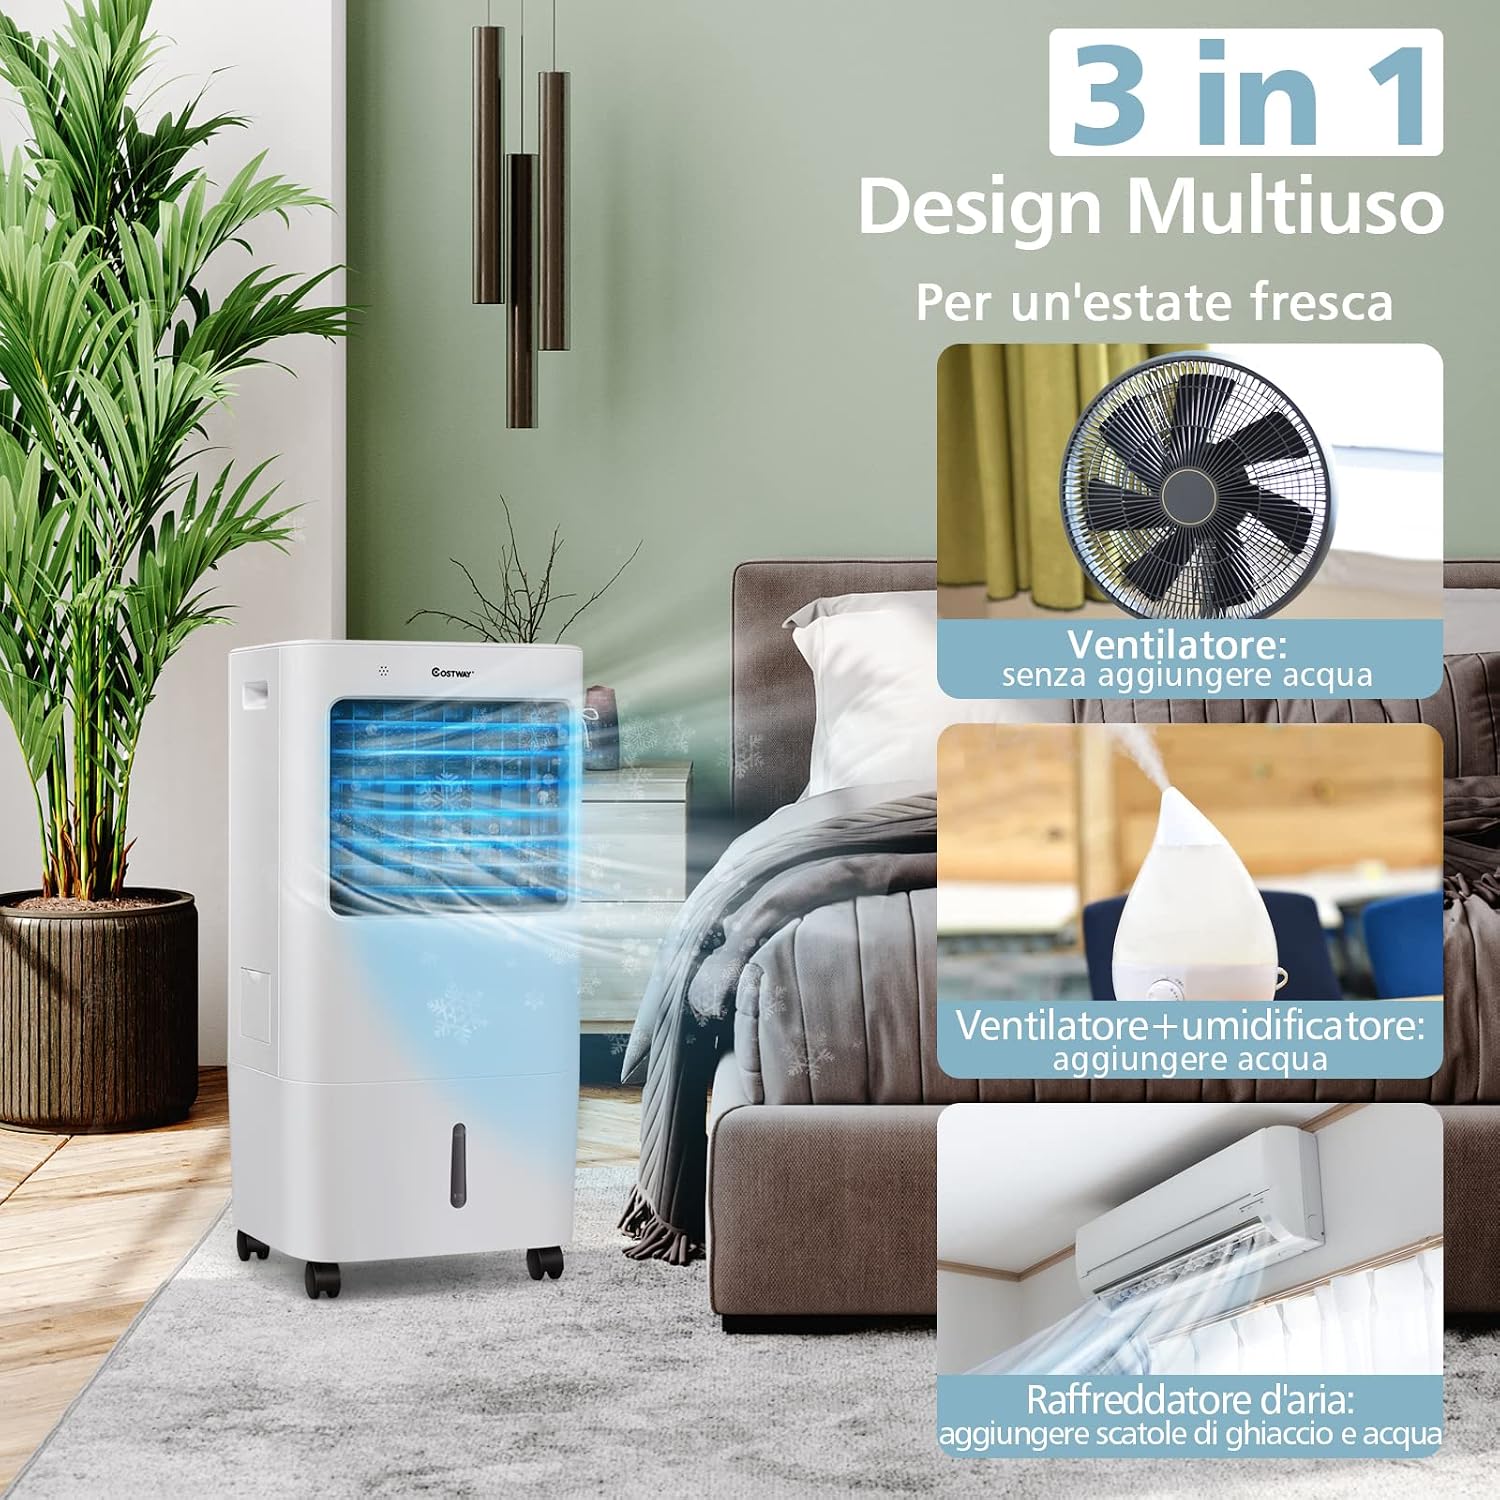
Image: The COSTWAY 3-in-1 Portable Air Cooler in a modern bedroom, showcasing its compact design and air circulation.
Safety Instructions
- Read all instructions before using the appliance.
- Ensure the power supply voltage matches the rating label on the appliance.
- Do not operate the appliance with a damaged cord or plug.
- Unplug the appliance from the power outlet before cleaning, maintenance, or when not in use.
- Do not immerse the appliance, cord, or plug in water or other liquids.
- Keep the appliance out of reach of children.
- Do not block the air inlets or outlets.
- Place the appliance on a stable, level surface.
- Do not use the appliance near flammable materials or in wet environments.
- Only use attachments recommended by the manufacturer.
Product Overview
Components Included:
- Portable Air Cooler Unit
- Remote Control
- Washable Air Filter (pre-installed)
- Ice Packs (quantity may vary)
Key Features:
- 3-in-1 Functionality: Fan, Humidifier, and Air Cooler.
- 20 Liter Water Tank: Large capacity for extended operation.
- 4 Fan Speeds: Breeze, Low, Medium, High.
- 3 Operating Modes: Normal, Natural, Sleep.
- 7.5-Hour Timer: Programmable shut-off.
- Automatic Oscillation: Wide-angle horizontal air distribution (up to 40°).
- Dual Control: Touch panel and remote control for convenience.
- Portable Design: Built-in handle and universal wheels for easy movement.
- Low Noise Operation: Less than 60 dB for quiet use.

Image: A detailed diagram highlighting the visible water level indicator, removable and washable dust filter, integrated handle, drainage outlet, and cable organizer for the portable air cooler.
Setup
1. Unpacking
Carefully remove the air cooler from its packaging. Retain the packaging for future storage or transport. Inspect the unit for any damage. If damaged, do not operate and contact customer support.
2. Positioning the Unit
Place the air cooler on a firm, level surface. Ensure there is adequate space around the unit for proper airflow (at least 20 cm from walls or furniture). The unit is equipped with universal wheels for easy relocation.

Image: A person demonstrating the portability of the air cooler, highlighting its integrated handle, universal wheels, 20L water tank, and visible water level indicator.
3. Filling the Water Tank
- Pull out the water tank from the bottom rear of the unit.
- Fill the tank with clean water up to the 'MAX' line indicated on the tank. Do not overfill.
- Carefully slide the water tank back into the unit until it clicks into place.
4. Adding Ice Packs (Optional for Enhanced Cooling)
For a stronger cooling effect, you can use the provided ice packs:
- Fill the ice packs with water and place them in a freezer for several hours until completely frozen.
- Once frozen, place the ice packs directly into the water tank along with the water.

Image: A visual guide demonstrating the process of preparing and adding ice packs to the water tank for rapid cooling.
Operating Instructions
The air cooler can be controlled via the touch panel on the top of the unit or the included remote control.

Image: A user operating the air cooler with the remote control, illustrating the convenience of dual control options (touch panel and remote).
1. Power On/Off
- Press the On/Off button on the control panel or remote to turn the unit on or off.
2. Selecting Operating Mode
Press the Mode button to cycle through the available modes:
- Normal Mode: Provides a consistent airflow at the selected speed.
- Natural Mode: Simulates natural breeze by varying fan speeds.
- Sleep Mode: Operates at a lower speed and noise level for quiet operation, ideal for sleeping.

Image: An illustration detailing the three wind modes and four fan speed settings available on the air cooler.
3. Adjusting Fan Speed
Press the Speed button to select one of the four fan speeds:
- Breeze
- Low
- Medium
- High (Maximum wind speed at air outlet is 10 m/s)
4. Timer Function
Press the Timer button to set the automatic shut-off time. The timer can be set from 0 to 7.5 hours in increments. The unit operates at a low noise level (less than 60 dB) for undisturbed rest.

Image: The air cooler operating in a quiet environment, emphasizing its low noise output and timer function for comfortable sleep.
5. Oscillation Function
Press the Swing button to activate or deactivate the automatic horizontal oscillation. This feature distributes air across a wide area (up to 40°). The vertical airflow can be adjusted manually.

Image: A visual representation of the air cooler's wide-angle oscillation, demonstrating how it circulates air throughout a room.
6. Cooling/Humidification Function
Press the Cool button to activate the cooling and humidification function. Ensure the water tank is filled before activating this mode. The unit will draw water from the tank to cool and humidify the air.

Image: An illustration explaining the three operational modes: fan-only, fan with humidification, and air cooling with ice.
Maintenance
Regular maintenance ensures optimal performance and extends the lifespan of your air cooler.
1. Cleaning the Air Filter
The air cooler is equipped with a washable air filter. It is recommended to clean the filter every two weeks, or more frequently depending on usage and air quality.
- Unplug the appliance from the power outlet.
- Remove the air filter from the back of the unit.
- Rinse the filter under running water to remove dust and debris. For stubborn dirt, use a soft brush and mild detergent.
- Allow the filter to air dry completely before re-installing it. Do not expose to direct sunlight.
2. Draining and Cleaning the Water Tank
To prevent mold and mildew growth, regularly drain and clean the water tank, especially if the unit will not be used for an extended period.
- Unplug the appliance.
- Pull out the water tank.
- Open the drainage plug at the bottom of the unit to empty any remaining water.
- Clean the inside of the tank with a soft cloth and mild detergent. Rinse thoroughly.
- Allow the tank to dry completely before re-inserting it.
3. General Cleaning
Wipe the exterior of the unit with a soft, damp cloth. Do not use abrasive cleaners or solvents. Ensure no water enters the control panel or other electrical components.
4. Storage
If storing the unit for a long period, ensure the water tank is empty and clean, and the air filter is dry. Store the unit in a cool, dry place, preferably in its original packaging.
Troubleshooting
| Problem | Possible Cause | Solution |
|---|---|---|
| Unit does not turn on | No power supply Power cord not properly connected | Check if the unit is plugged into a working outlet Ensure the power cord is securely connected |
| No cool air / Weak cooling effect | Water tank is empty Cooling function not activated Air filter is dirty Ice packs not used or frozen | Fill the water tank Press the 'Cool' button Clean the air filter Add frozen ice packs to the water tank |
| Weak airflow | Fan speed is too low Air inlets/outlets are blocked Air filter is dirty | Increase fan speed Clear any obstructions Clean the air filter |
| Unusual noise | Unit not on a level surface Foreign object inside the unit | Place the unit on a flat, stable surface Unplug and inspect for foreign objects (if safe to do so) |
| Remote control not working | Batteries are dead or incorrectly inserted Obstruction between remote and unit | Replace batteries; ensure correct polarity Remove any obstructions |
Specifications
| Feature | Specification |
|---|---|
| Brand | COSTWAY |
| Model Number | 905637 |
| Functions | Cooling, Fan, Humidification |
| Water Tank Capacity | 20 Liters |
| Cooling Power | 65 Watts |
| Voltage | 240 Volts |
| Noise Level | 60 Decibels |
| Product Dimensions (D x W x H) | 32 cm x 37 cm x 75 cm |
| Item Weight | 7 Kilograms |
| Filter Type | Washable Air Filter |
| Control Method | Remote, Touch Panel |
| Timer | Up to 7.5 Hours |
| Oscillation | Automatic Horizontal (up to 40°) |

Image: Technical specifications and dimensions of the air cooler, including rated voltage, power, water tank capacity, airflow, and power cord length.
Warranty and Support
This product comes with a limited warranty. For detailed warranty information, please refer to the warranty card included with your purchase or contact COSTWAY customer service.
For technical support, troubleshooting assistance, or replacement parts, please contact COSTWAY customer service through the retailer where the product was purchased or visit the official COSTWAY website.


