HERISKEER JT-48E
HERISKEER 29.4V Scooter Quick Charger User Manual
Model: JT-48E
Product Overview
This HERISKEER 29.4V Scooter Quick Charger is designed for efficient and safe charging of electric equipment utilizing 25.2V/24V Lithium-ion battery packs with a specific barrel connector. It is compatible with various scooter models including GoTrax G1 Glider, Edge, Nova, GKS Pro Plus Lumios, Flash, Ho.verfly, Remix, SRX A6 Mini, Glide Chrome, and Fluxx FX3.
The charger features intelligent high-speed charging and built-in safety protections to ensure optimal battery health and user safety.

Figure 1: Overview of the HERISKEER 29.4V Scooter Quick Charger.
Important Compatibility Information
Before using the charger, it is crucial to verify compatibility with your device. This charger is specifically designed for 25.2V/24V Lithium-ion batteries and uses a barrel connector. It is NOT compatible with 12V or 36V battery versions.
Always check the voltage requirements of your scooter's battery and the connector type to ensure proper fit and function. Using an incompatible charger may damage the battery, the charger, or both.

Figure 2: Detailed dimensions of the DC 5.5mm x 2.1mm barrel connector.
Setup and Connection
- Inspect the Charger: Before each use, visually inspect the charger and its cables for any signs of damage, fraying, or exposed wires. Do not use if damaged.
- Connect to Power: Plug the AC power cord into a standard 110V-220V AC wall outlet.
- Connect to Device: Carefully insert the barrel connector of the charger into the charging port of your scooter or electric equipment. Ensure the connection is firm and secure.
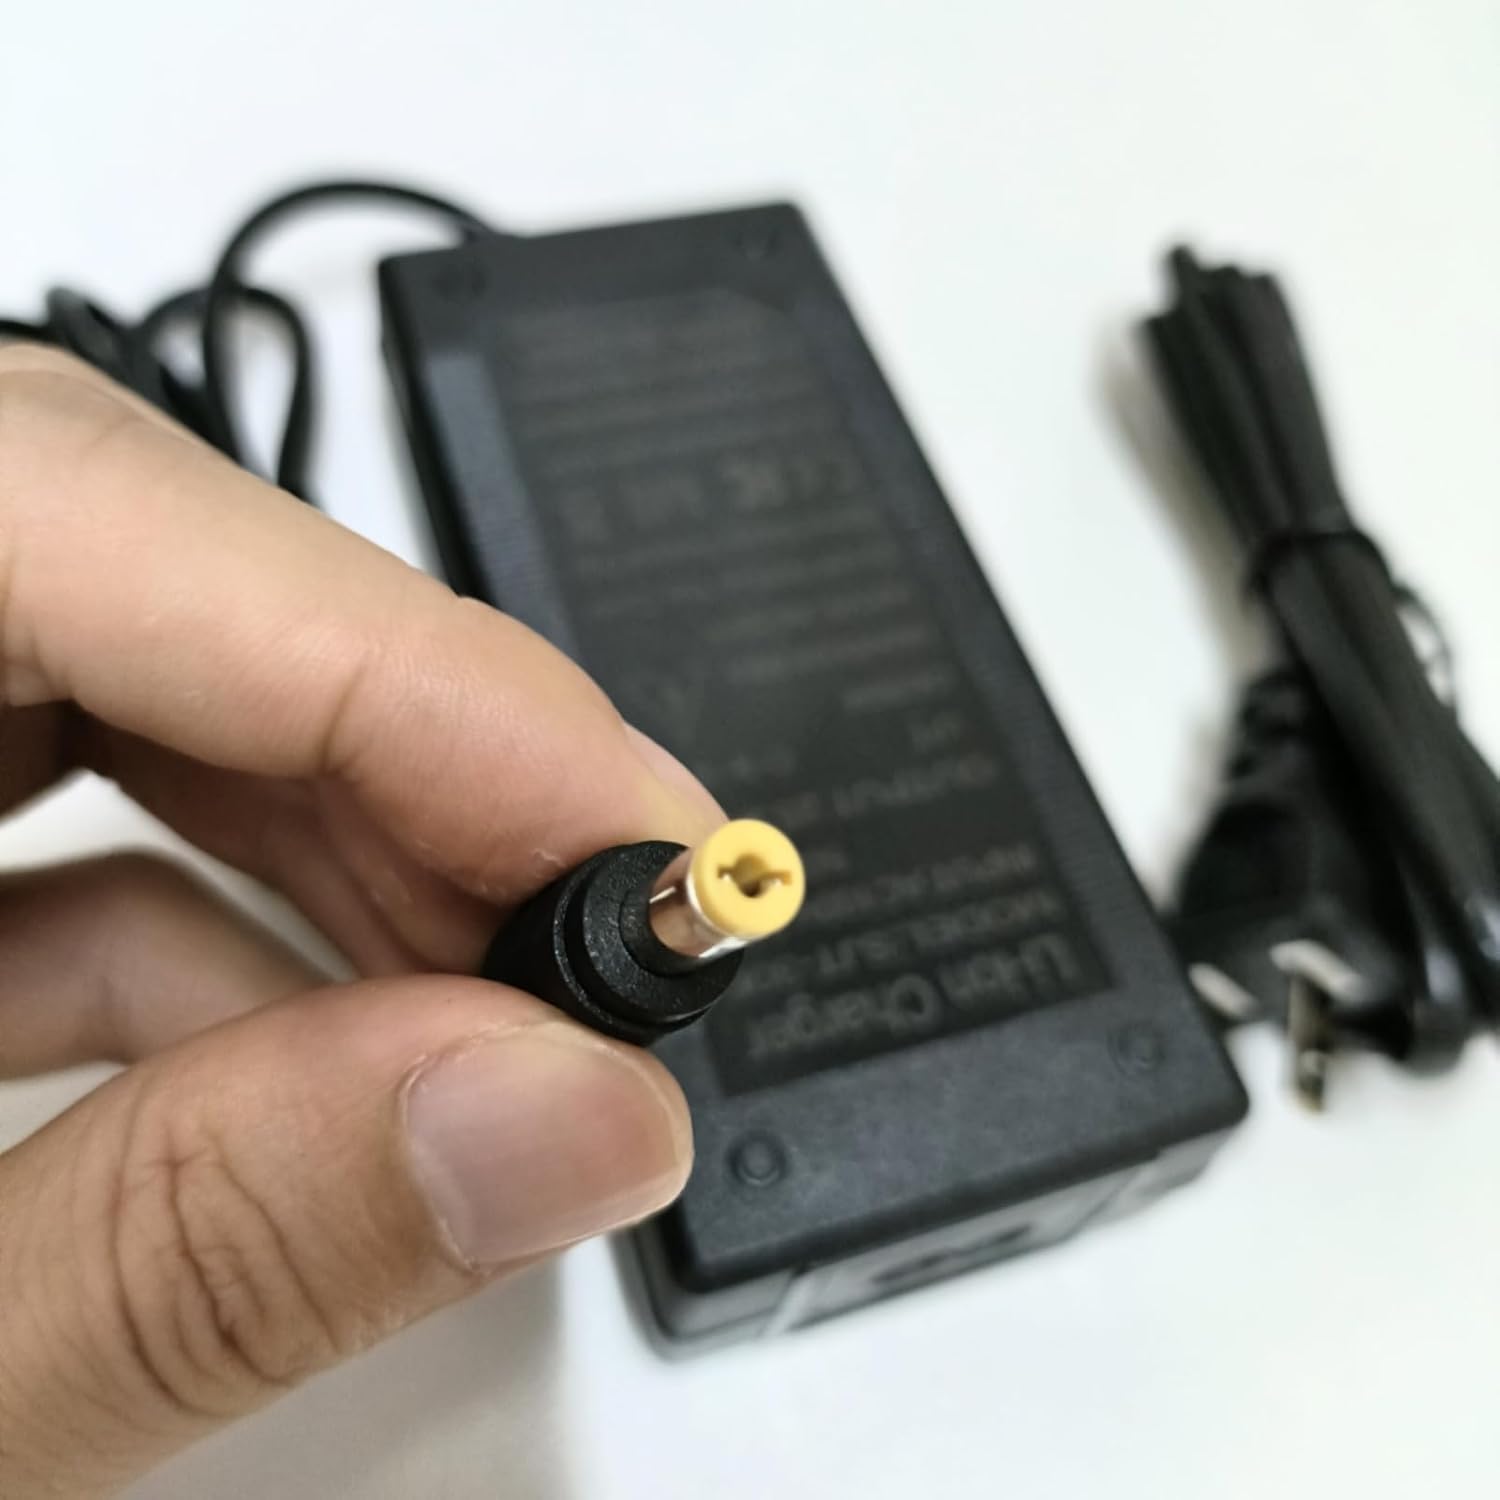
Figure 3: Proper handling of the barrel connector during connection.
Operating Instructions
Once connected, the charger will automatically begin the charging process. The LED indicator on the charger provides status updates:
- RED LED: Indicates that the battery is currently charging.
- GREEN LED: Indicates that the battery is fully charged or the charger is disconnected from the device.
It is recommended to disconnect the charger once the GREEN LED illuminates to prevent overcharging, although the charger has built-in overcharge protection.

Figure 4: LED indicator status meanings.
Maintenance and Safety
- Indoor Use Only: This charger is designed for indoor use. Do not expose it to rain, moisture, or extreme temperatures.
- Handle with Care: Avoid dropping the charger, as its delicate internal electronics may be damaged.
- Do Not Disassemble: The charger contains no serviceable parts inside. Do not attempt to open or repair the unit. Refer to qualified personnel for any issues.
- Storage: Store the charger in a cool, dry place away from direct sunlight and out of reach of children when not in use.
- Proper Battery Charging: Always charge Lithium-ion batteries with a Lithium-compatible charger. Using a standard charger made for Sealed Lead Acid (SLA) batteries can damage both the charger and the batteries.
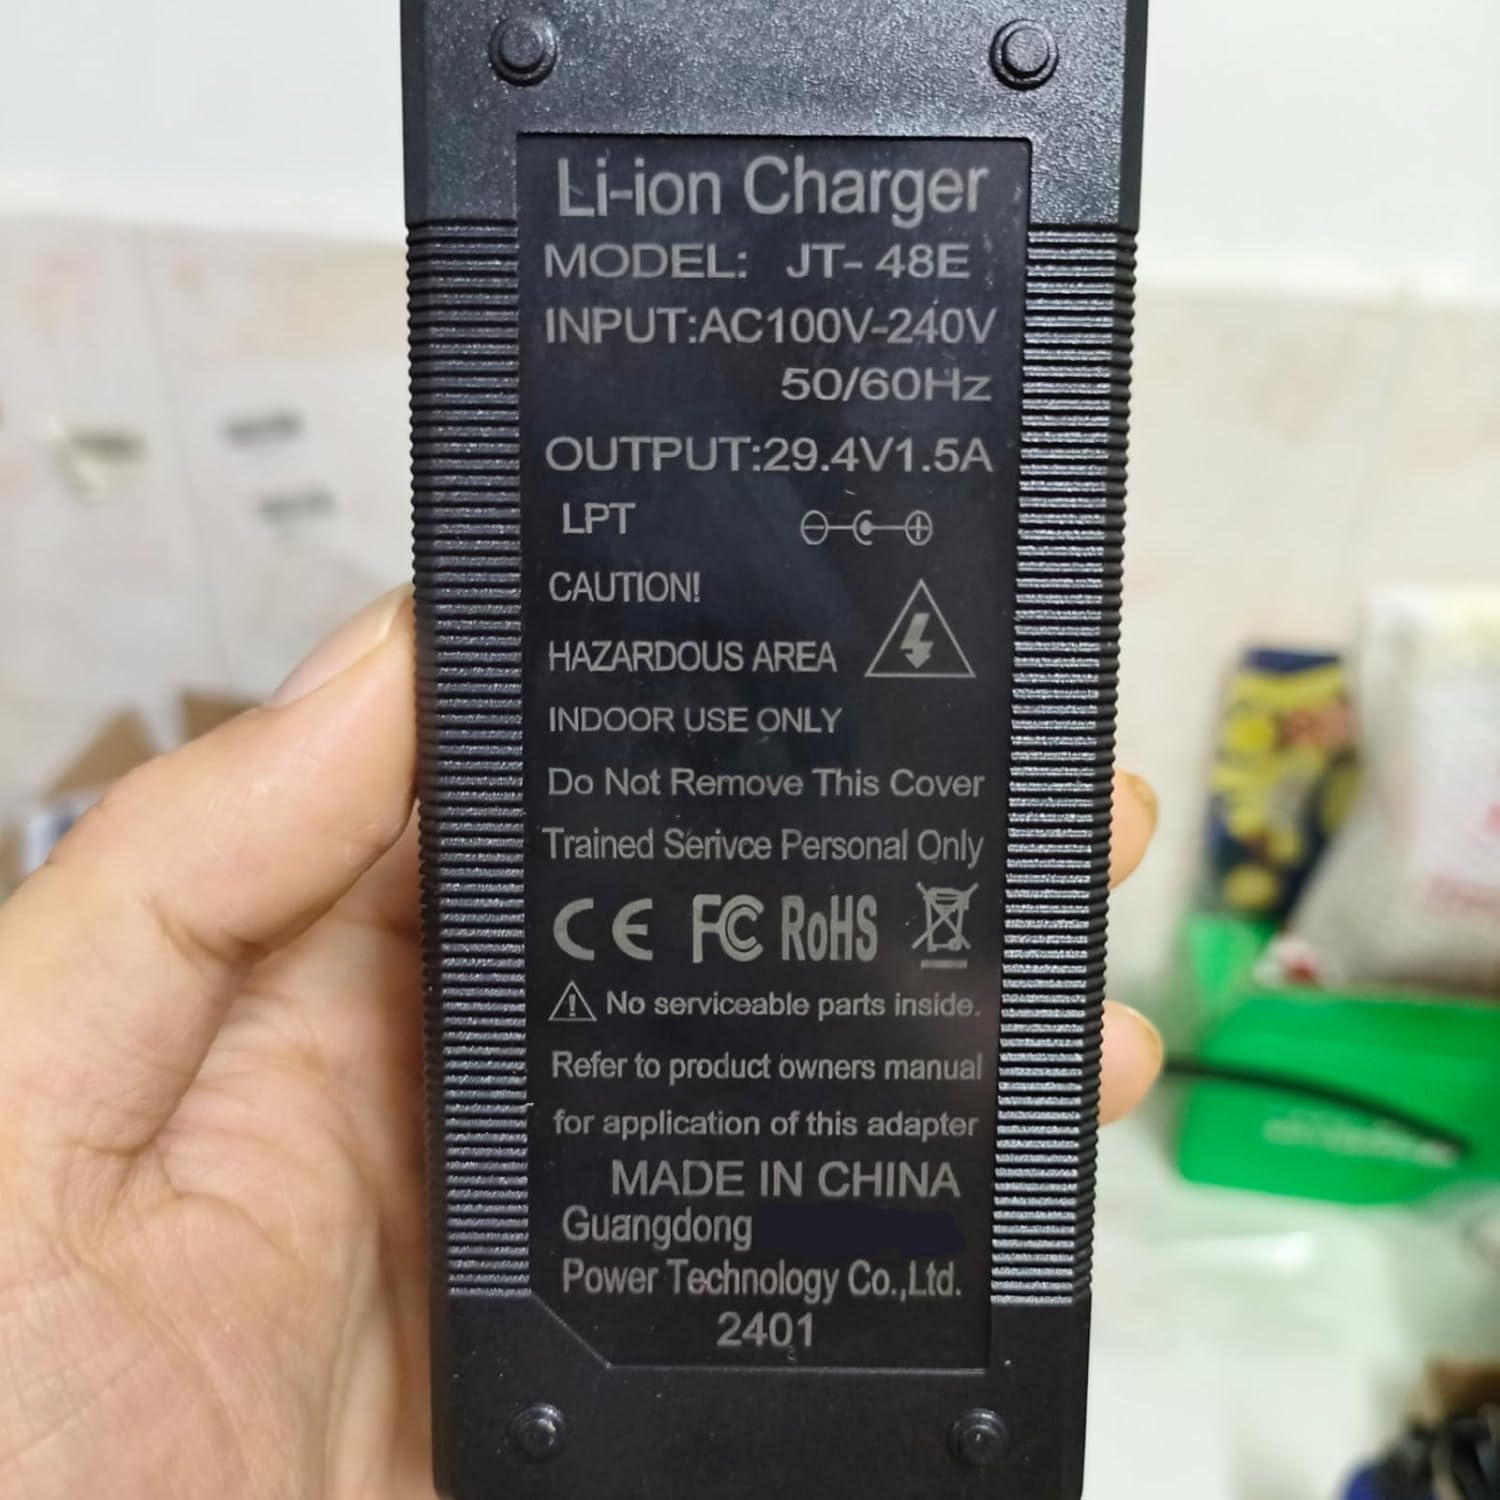
Figure 5: Charger label with important safety warnings and specifications.
Troubleshooting
| Problem | Possible Cause | Solution |
|---|---|---|
| Charger LED does not light up. | No power from outlet, loose connection, or charger malfunction. | Check wall outlet with another device. Ensure all connections are secure. If problem persists, charger may be faulty. |
| LED remains RED after extended charging. | Battery not fully charged, or battery issue. | Allow more time for charging. If charging time is excessive, the battery may be degraded or faulty. |
| Charger gets excessively hot. | Overload, poor ventilation, or internal fault. | Ensure charger is in a well-ventilated area. Disconnect immediately if overheating occurs. Do not use if it continues to overheat. |
| Device not charging. | Incompatible voltage/connector, faulty charging port on device, or charger malfunction. | Verify battery voltage and connector type (DC 5.5mm x 2.1mm). Test charger with another compatible device if possible. Inspect device's charging port. |
Product Specifications
- Model: JT-48E
- Input: 110V-220V AC ~50/60Hz, 2A
- Output: 29.4V, 1.5A Max (compatible with 1A / 0.6A)
- Connector Type: DC 5.5mm x 2.1mm Barrel Plug
- Cord Length: Approximately 7.5 ft
- Compatible Battery Voltage: 25.2V / 24V Lithium-ion Battery Packs
- Safety Protections: Over Voltage Protection (OVP), Over Current Protection (OCP), Overload Protection, Short-circuit Protection
- Product Dimensions: 4.05 x 1.65 x 1 inches (approx.)
- Item Weight: 8.6 ounces (approx.)

Figure 6: Overview of the charger's intelligent protection features.

Figure 7: Internal components demonstrating precise engineering and workmanship.
Warranty and Support
HERISKEER stands behind the quality of its products. If you are not satisfied with your purchase, a full refund or replacement will be offered. Please refer to your point of purchase or the HERISKEER official channels for specific warranty terms and conditions.
For technical support, troubleshooting assistance, or warranty claims, please contact HERISKEER customer service through the retailer where the product was purchased or visit the official HERISKEER website for contact information.