
1. Introduction
Thank you for choosing the HLR 54-inch Kitchen Pantry Storage Cabinet. This manual provides essential information for the safe assembly, operation, and maintenance of your new cabinet. Please read these instructions thoroughly before beginning assembly and retain them for future reference.

Image 1.1: The HLR 54-inch Kitchen Pantry Storage Cabinet, showcasing its design and potential use in a living room.
This versatile cabinet is designed to enhance storage in various rooms, including kitchens, bathrooms, and hallways. It features a classic design with functional elements to help keep your items organized and add elegance to your home.
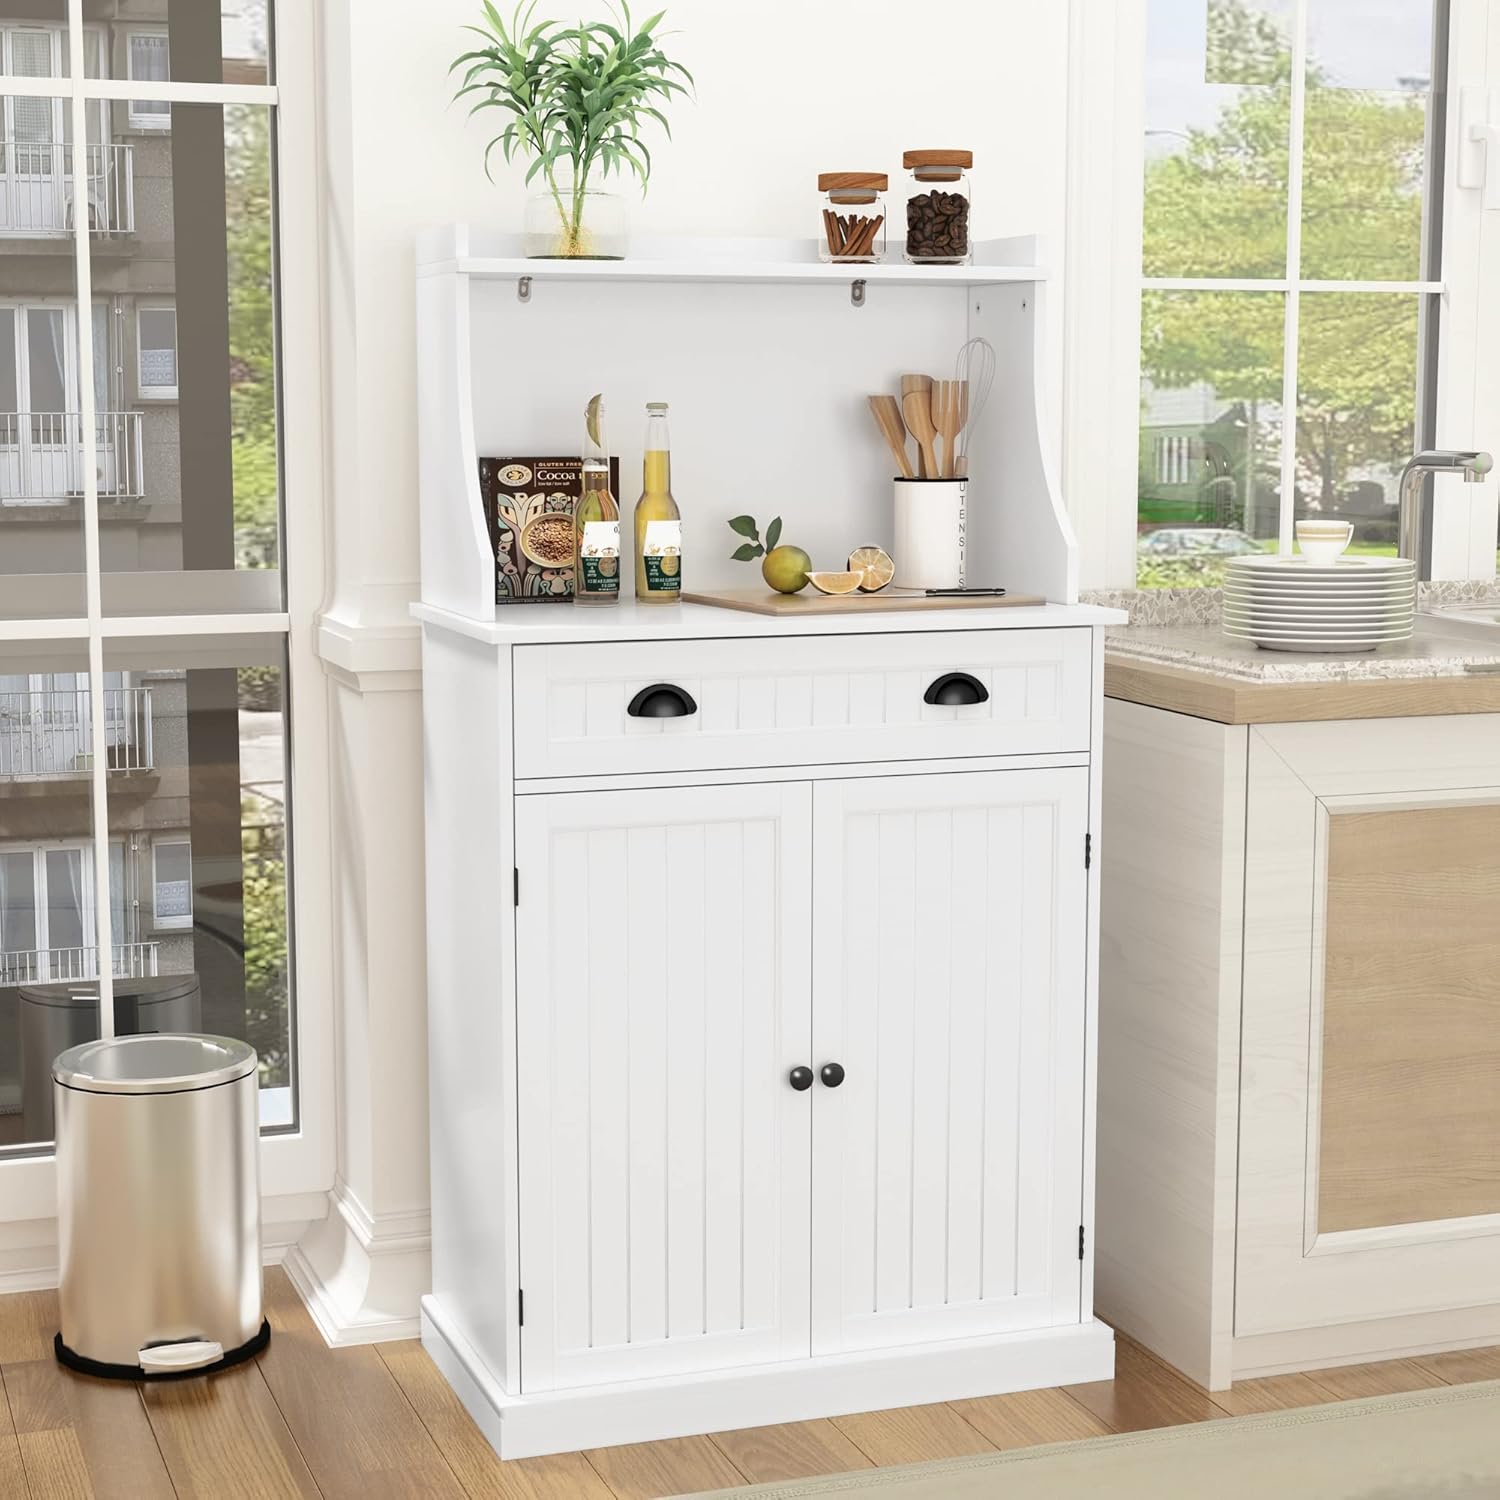
Image 1.2: The HLR 54-inch Kitchen Pantry Storage Cabinet positioned in a kitchen, demonstrating its compact footprint.
2. Safety Information
To ensure safe use and prevent injury or damage, please observe the following safety guidelines:
- Always assemble the cabinet on a soft, clean surface to prevent scratches.
- Ensure all screws and fasteners are securely tightened before use. Periodically check and re-tighten as necessary.
- Do not overload shelves or drawers. The maximum weight limit for the cabinet is 120 pounds.
- Utilize the provided anti-tipping device to secure the cabinet to a wall, especially in homes with children or pets, to prevent accidental tipping.
- Keep small parts and packaging materials away from children during assembly.
- This cabinet is constructed from high-grade engineered wood with an environment-friendly and formaldehyde-free paint finish.

Image 2.1: Safety features including the anti-tipping device for wall attachment and the sturdy tall foot design.
3. Package Contents
Before assembly, verify that all components listed below are present and undamaged. If any parts are missing or damaged, please contact customer support.
- Cabinet Panels (various sizes)
- Drawer Components
- Adjustable Shelves (6 total)
- Hardware Pack (screws, dowels, cam locks, hinges, drawer slides, handles, anti-tipping device)
- Instruction Manual
4. Assembly Instructions
Assembly is required for this product. Please follow the detailed, numbered instructions provided in the separate assembly guide included in your package. The process is designed to be straightforward with clearly marked parts.
Tools Required (Not Included):
- Phillips Head Screwdriver
- Hammer (for dowels)
- Drill (optional, for wall mounting anti-tipping device)
Key Assembly Steps:
- Unpack all components and verify against the parts list.
- Assemble the base frame of the cabinet.
- Attach side panels and back panel.
- Install drawer slides and assemble the drawer.
- Insert adjustable shelf pins and place shelves.
- Attach cabinet doors and adjust hinges for proper alignment.
- Install handles on the drawer and doors.
- Secure the anti-tipping device to the cabinet and wall.
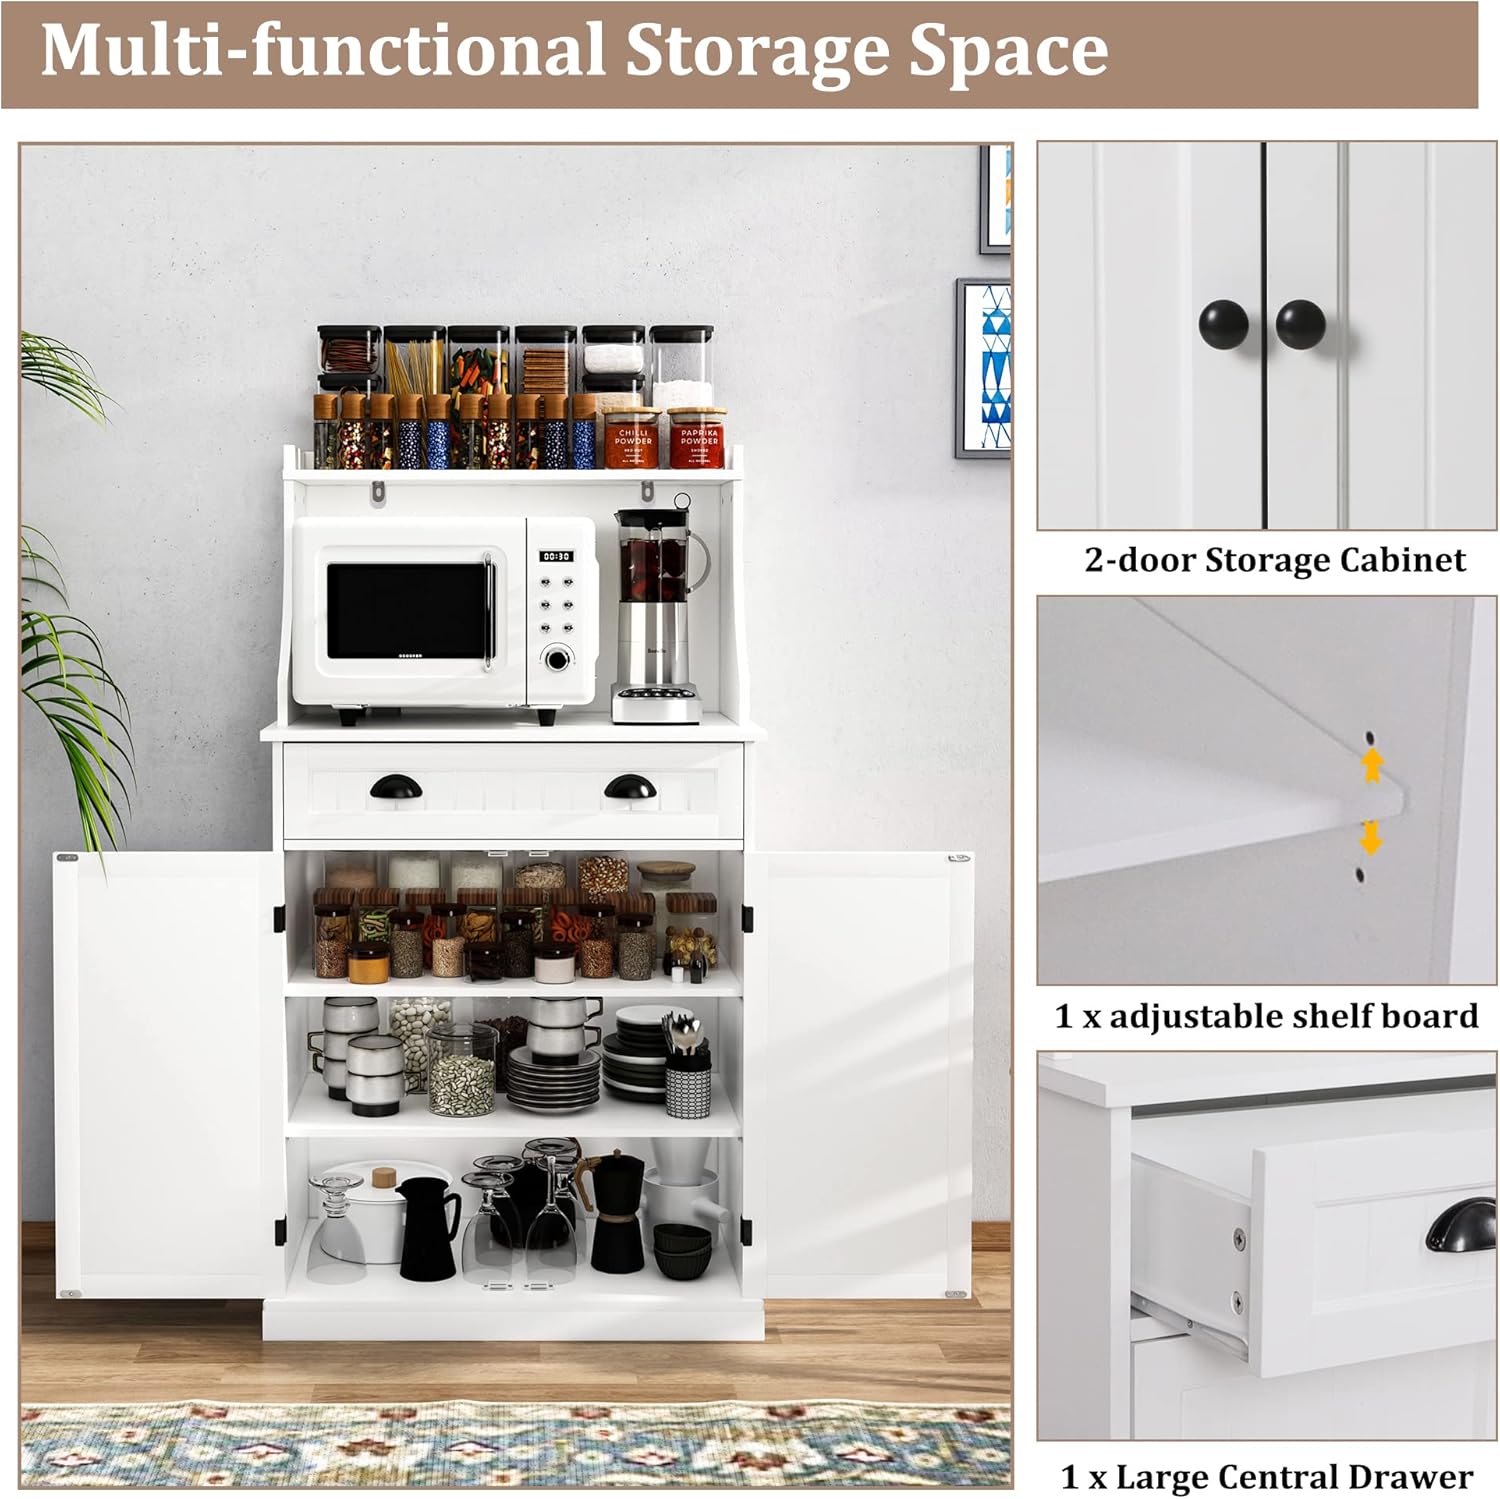
Image 4.1: Overview of the cabinet's storage sections, including the central drawer, adjustable shelves, and two-door cabinet.

Image 4.2: Illustration of the adjustable shelves, demonstrating how to customize storage space for different sized items.
5. Operating Instructions
The HLR Kitchen Pantry Storage Cabinet offers versatile storage solutions for various items.
Adjustable Shelves:
- The two double-door cabinets feature three levels of adjustable shelves.
- To adjust a shelf, remove all items from the shelf. Carefully lift the shelf and remove the shelf pins from their current holes. Reinsert the pins into the desired new holes and place the shelf back onto the pins.
- This allows for customized storage of items such as dishes, books, bottles, or small appliances.
Central Drawer:
- The large central drawer provides enclosed storage for utensils, linens, or other small items.
- Ensure the drawer slides smoothly and is not overloaded.
Microwave Countertop:
- The wide tabletop is designed to accommodate a microwave oven, toaster, coffee maker, or other kitchen appliances.
- Ensure appliances are placed securely and do not exceed the weight capacity of the countertop.
6. Maintenance
Proper care and maintenance will extend the life and appearance of your cabinet.
- Cleaning: The cabinet features a special waterproof coating, making its surface smooth and easy to clean. Wipe surfaces with a soft, damp cloth. Avoid abrasive cleaners or harsh chemicals that could damage the finish.
- Spills: Immediately wipe up any spills to prevent moisture damage.
- Inspection: Periodically check all hardware (screws, hinges, drawer slides) for tightness and re-tighten if necessary.
- Placement: Avoid placing the cabinet in direct sunlight or near heat sources to prevent warping or discoloration.
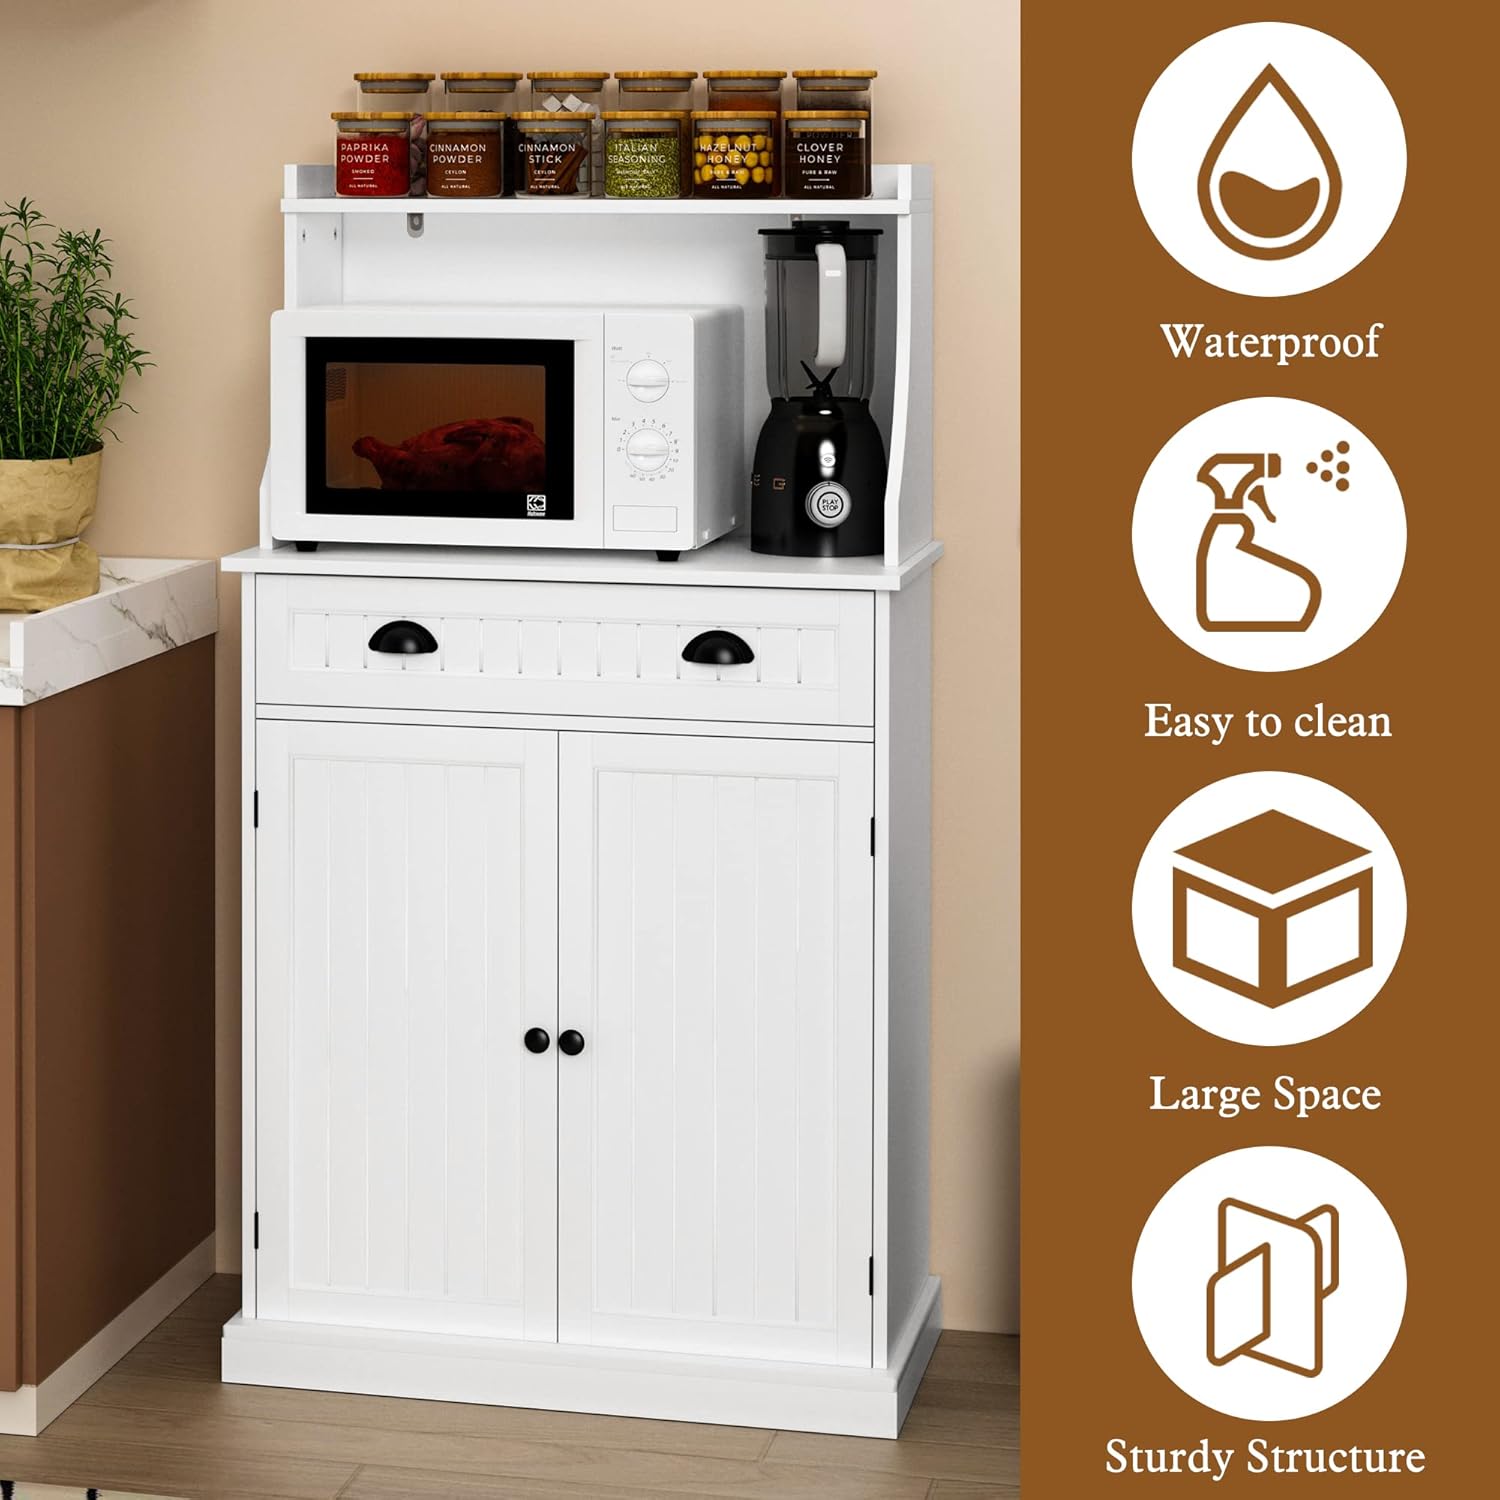
Image 6.1: Key features for maintenance and durability: waterproof, easy to clean, large space, and sturdy structure.
7. Troubleshooting
If you encounter any issues with your HLR Kitchen Pantry Storage Cabinet, please refer to the following common solutions:
- Wobbly Cabinet: Ensure all assembly screws are fully tightened. Verify the cabinet is placed on a level surface. Adjust leg levelers if applicable (not explicitly mentioned but common for furniture).
- Drawer Not Sliding Smoothly: Check that the drawer slides are correctly installed and aligned. Ensure no obstructions are in the drawer tracks. Lubricate slides with a silicone-based lubricant if needed.
- Doors Not Closing Properly: Adjust the hinges on the cabinet doors. Most hinges allow for minor adjustments to align doors. Check for any obstructions preventing the doors from closing fully.
- Missing Parts: If you discover missing parts during assembly, do not proceed. Contact customer support immediately for assistance.
8. Specifications
| Feature | Detail |
|---|---|
| Brand | HLR |
| Model Name | 54-inch Kitchen Pantry Storage Cabinet |
| Product Dimensions (D x W x H) | 12.4"D x 30.31"W x 53.94"H |
| Material | Engineered Wood |
| Finish Type | Painted |
| Color | White |
| Mounting Type | Floor Mount (Freestanding) |
| Weight Limit | 120 Pounds |
| Number of Shelves | 6 (Adjustable) |
| Number of Drawers | 1 |
| Assembly Required | Yes |
| Special Features | Adjustable Shelves, Durable, Waterproof, Anti-Tipping Device |
| Recommended Uses | Dishes, Books, Bottles, Coffee Maker, Toaster |

Image 8.1: Detailed dimensions of the HLR Kitchen Pantry Storage Cabinet.
9. Warranty and Support
HLR is committed to providing high-quality products and customer satisfaction. This product comes with a standard manufacturer's warranty against defects in materials and workmanship.
Warranty Information:
Please refer to the warranty card included in your package for specific terms, conditions, and duration of coverage. Keep your proof of purchase for warranty claims.
Customer Support:
If you have any questions, encounter difficulties during assembly, or experience any issues with your product, our professional after-sales guidance team is available to assist you. Please contact us via the contact information provided on your purchase receipt or the HLR official website.
When contacting support, please have your model number (B0BVVCNXXW) and a description of the issue ready to expedite assistance.