
1. Safety Instructions
Read all safety warnings and instructions carefully before installing or operating the pump. Failure to follow these instructions may result in electric shock, fire, serious injury, or property damage.
- Electrical Safety: Ensure the power supply matches the pump's voltage (110V 60Hz). Always disconnect power before performing any maintenance or installation. Use a ground fault circuit interrupter (GFCI) for electrical connections. Do not operate the pump with damaged cables or plugs.
- Installation Safety: The pump is designed for deep well applications. Ensure the well diameter is greater than 3.5 inches. Use appropriate lifting equipment and safety ropes when lowering or retrieving the pump. Do not operate the pump dry.
- General Safety: Keep children and unauthorized persons away from the pump during operation. Wear appropriate personal protective equipment (PPE) such as gloves and eye protection.
2. Product Overview
The HYYKJ-US Deep Well Submersible Pump (Model 3SDM1.8/10) is designed for efficient water extraction from deep wells, suitable for farm irrigation, ranch water supply, and other water-lifting projects. It features a durable stainless steel construction and a high-efficiency motor.

Figure 2.1: Main view of the HYYKJ-US Deep Well Submersible Pump.
2.1 Key Components
- Pump Body: Stainless steel casing for corrosion resistance and durability.
- Motor: High-quality copper motor, 110V 370W, designed for efficient and quiet operation.
- Control Box: External control unit for pump operation and protection.
- Cable: 33 ft flat blue cable connecting the pump to the control box.
- Outlet: 1-inch discharge outlet for water connection.
- Impellers: 10-stage thermoplastic impellers for high flow and lift.
- Check Valve: Built-in to prevent backflow and protect impellers.
- Filter Mesh: Stainless steel filter to prevent debris from entering the pump.

Figure 2.2: Included components: submersible pump, control box, power cable, and outlet.
3. Specifications
| Feature | Specification |
|---|---|
| Model | 3SDM1.8/10 |
| Brand | HYYKJ-US |
| Voltage | 110V 60Hz |
| Power | 370W (0.5HP) |
| Max. Lift | 216 ft (66 meters) |
| Max. Flow Rate | 16 GPM (3.6 m³/h) |
| Max. Speed | 3420 RPM |
| Noise Level | <65 dB |
| Outlet Diameter | 1 inch |
| Pump OD Pipe | 3 inches |
| Applicable Well Diameter | >3.5 inches |
| Cable Length | 33 ft (10 meters) |
| Number of Impellers | 10 |
| Pump Height | 31 inches |
| Material | Stainless Steel Casing & Motor Shaft + Copper Motor |
| Item Weight | 21 lbs |

Figure 3.1: Pump dimensions showing 31 inches height and 3 inches diameter.
4. Setup and Installation
4.1 Pre-Installation Checks
- Verify that the well casing is clean and free of debris.
- Ensure the well diameter is at least 3.5 inches to accommodate the 3-inch pump body.
- Confirm that the power supply (110V 60Hz) is available and properly grounded.
- Inspect the pump, cable, and control box for any visible damage.
4.2 Connecting the Control Box
The control box manages the pump's power and provides protection. Connect the pump's flat blue cable to the designated terminals within the control box. Ensure all connections are secure and insulated.

Figure 4.1: The US plug for connecting the control box to a power outlet.
4.3 Lowering the Pump into the Well
- Attach a strong, non-corrosive safety rope or steel wire to the pump's lifting eye holes. Do not use the power cable to support the pump's weight.
- Connect the discharge pipe (1-inch) to the pump's outlet. Secure the connection to prevent leaks.
- Carefully lower the pump into the well, ensuring the power cable and safety rope are managed to prevent tangling or damage.
- Ensure the pump is submerged sufficiently below the water level but above the bottom of the well to avoid drawing sediment.

Figure 4.2: Close-up of the pump's top section, showing the outlet and lifting eye holes for secure installation.
4.4 Electrical Connection
Connect the control box to a dedicated 110V 60Hz power outlet. Ensure the circuit is protected by a GFCI. Consult a qualified electrician if you are unsure about electrical connections.
5. Operating Instructions
5.1 Initial Startup
- After installation, ensure all connections are secure and the pump is fully submerged.
- Turn on the power supply to the control box. The pump should start operating.
- Monitor the water flow from the discharge pipe. It may take a few moments for water to reach the surface.
- Check for any unusual noises or vibrations. If detected, immediately shut off the pump and investigate.
5.2 Continuous Operation
The pump is designed for continuous operation within its specified limits. Avoid running the pump dry, as this can cause severe damage. Ensure the water level in the well remains above the pump's intake.

Figure 5.1: Examples of pump applications, such as irrigation systems for agriculture.
5.3 Shutting Down
To shut down the pump, simply turn off the power supply at the control box or the main circuit breaker.
6. Maintenance
Regular maintenance ensures the longevity and efficient operation of your submersible pump. Always disconnect power before performing any maintenance.
- Periodic Inspection: Periodically check the pump's performance, water flow, and pressure. Listen for any unusual noises.
- Filter Cleaning: The stainless steel filter mesh prevents debris from entering. If water flow decreases, the filter may be clogged. Retrieve the pump and clean the filter mesh. For new wells with high sediment, consider adding an additional gauze layer before the filter inlet.
- Cable and Connections: Inspect the power cable and all electrical connections for wear, damage, or corrosion.
- Winterization (if applicable): In freezing climates, if the pump is not in continuous use, it should be removed from the well and stored in a frost-free location to prevent damage from freezing water. Drain all water from the pump and discharge pipe.
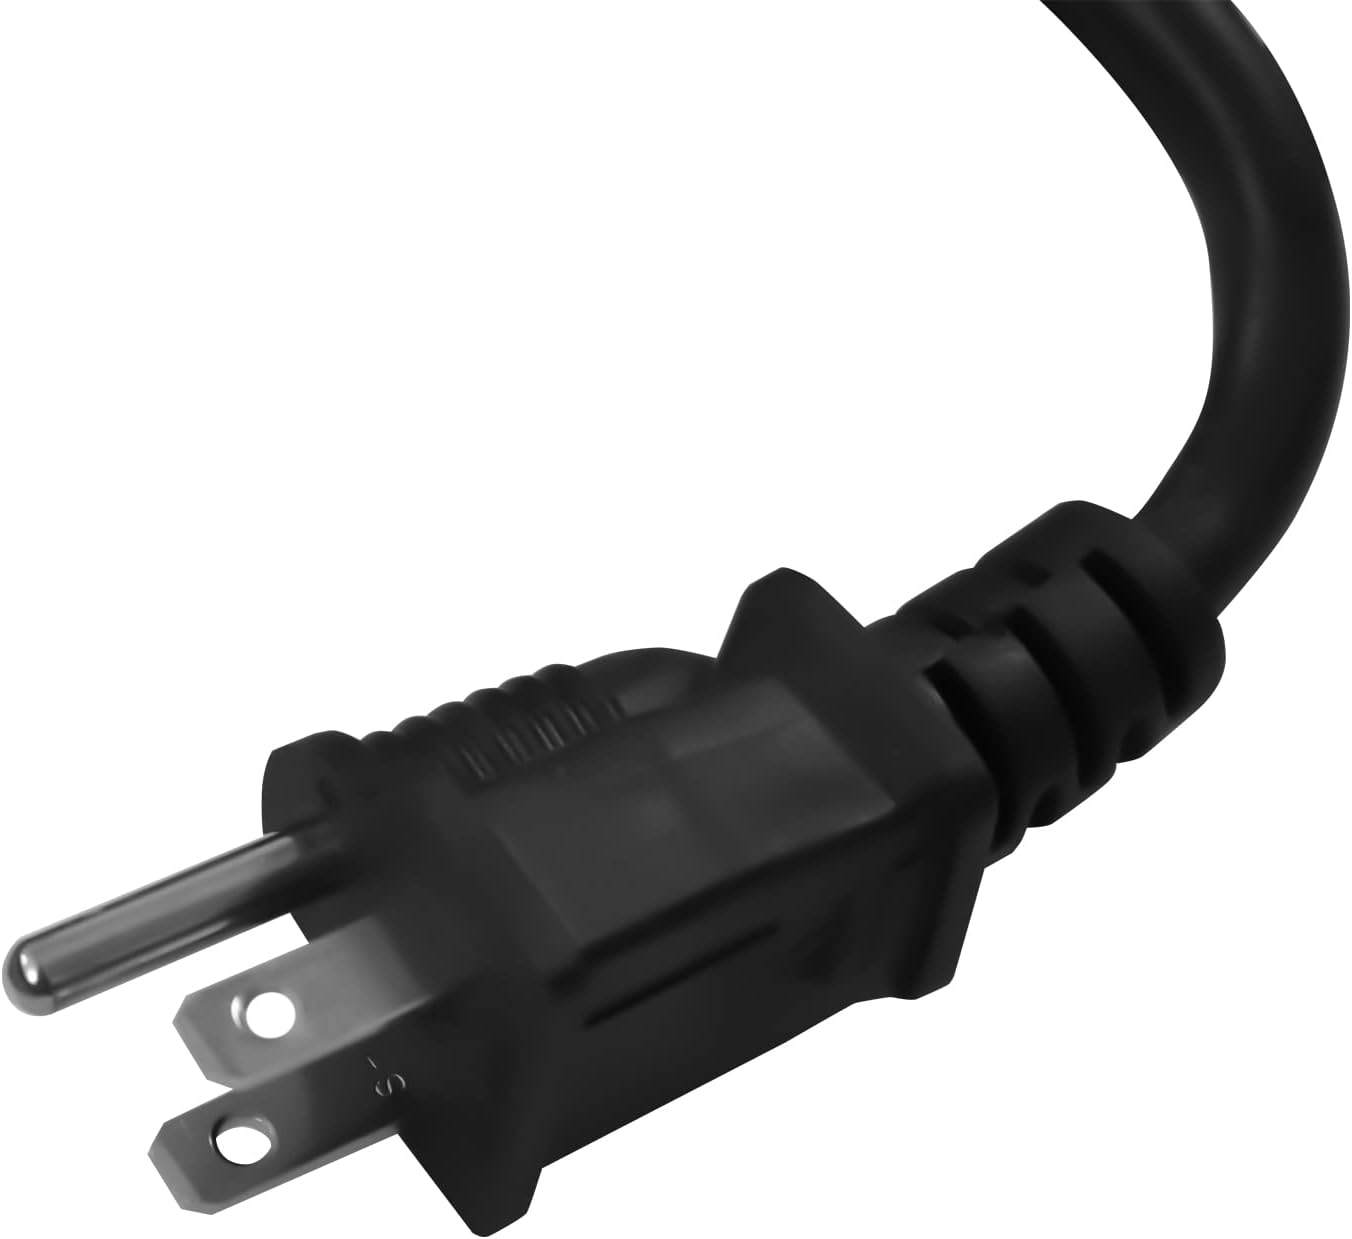
Figure 6.1: Close-up of the stainless steel filter mesh at the pump's intake, designed to prevent debris entry.
7. Troubleshooting
This section provides solutions to common issues you might encounter. For problems not listed here, contact customer support.
| Problem | Possible Cause | Solution |
|---|---|---|
| Pump does not start | No power; tripped circuit breaker/GFCI; faulty control box; motor issue. | Check power supply and connections. Reset circuit breaker/GFCI. Inspect control box. Consult a technician if motor is suspected. |
| Low water flow or pressure | Clogged filter/intake; low well water level; air in system; damaged impellers/pump. | Clean filter mesh. Check well water level. Bleed air from the system. Inspect pump for damage. |
| Pump runs but no water | Pump not submerged; discharge pipe leak; check valve stuck; severe impeller damage. | Ensure pump is fully submerged. Check for leaks in the discharge line. Inspect check valve. |
| Pump cycles on and off frequently | Low well water level; faulty pressure switch (if external); check valve issue. | Check well water level. Inspect pressure switch. Verify check valve function. |
| Excessive noise or vibration | Debris in pump; worn bearings; improper installation; dry running. | Retrieve and inspect pump for debris. Ensure proper submersion. Avoid dry running. |
8. Warranty and Support
8.1 Warranty Information
Specific warranty details for the HYYKJ-US Deep Well Submersible Pump are typically provided with the product packaging or can be obtained by contacting the manufacturer directly. Please retain your proof of purchase for warranty claims.
8.2 Customer Support
For technical assistance, troubleshooting guidance, or warranty inquiries, please contact HYYKJ-US customer support through their official channels. Refer to the contact information provided on the product packaging or the official HYYKJ-US website.
Manufacturer: LianDu-US