1. Product Overview
This Projection Alarm Clock is a multifunctional device designed to display time, temperature, and humidity. It features a projection function, dual alarm settings, a backlit LCD screen, and a USB charging port for mobile devices. The clock is powered by either a DC power supply via USB cable or 2 AAA batteries (not included).
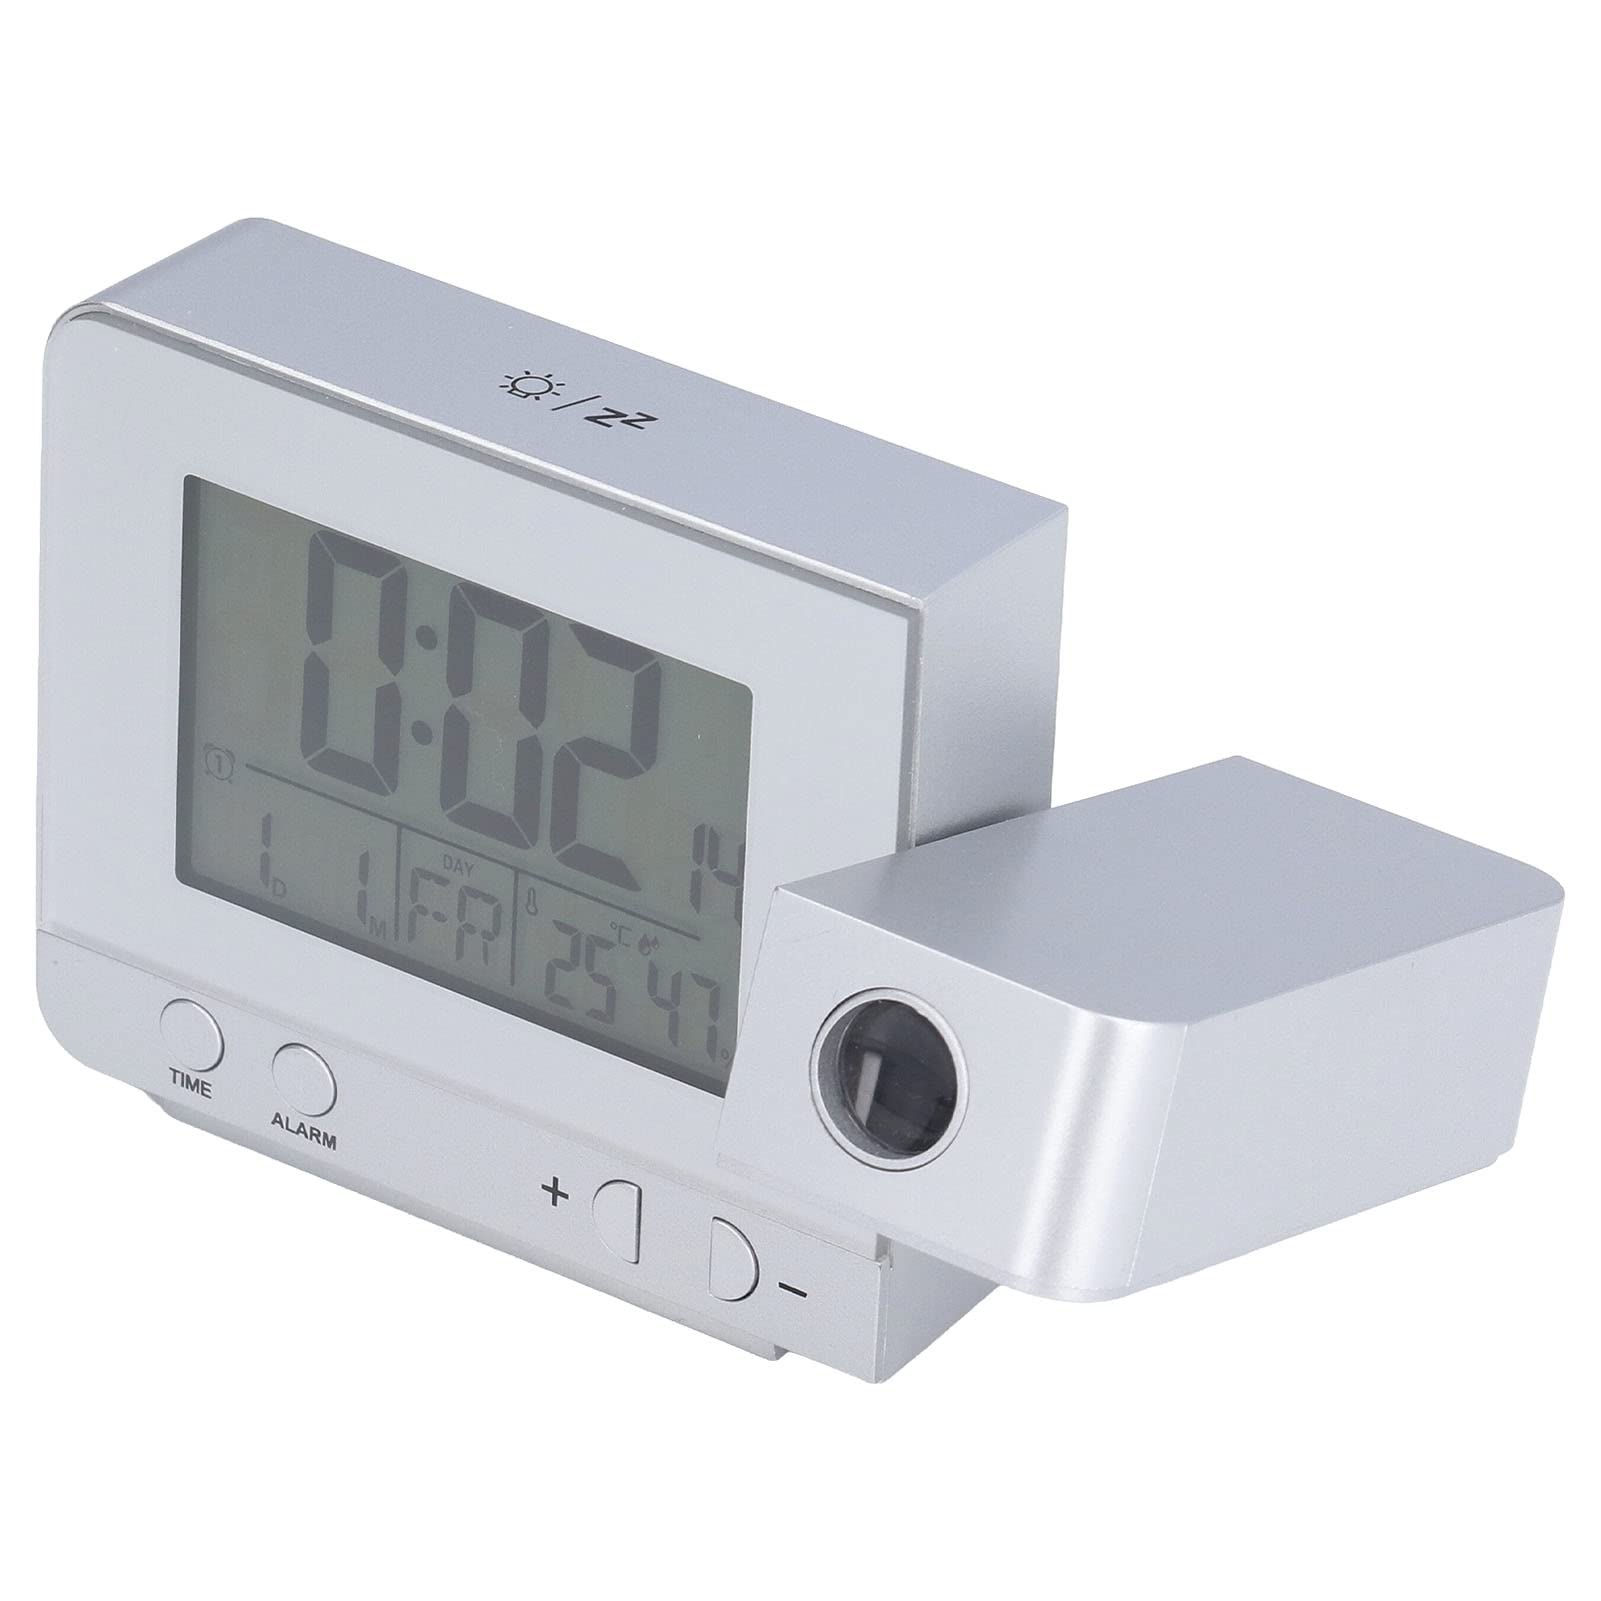
Figure 1: Front view of the Projection Alarm Clock displaying time, date, temperature, and humidity.
2. Package Contents
- 1 x Projection Alarm Clock (Batteries Not Included)
- 1 x USB Cable
- 1 x English User Manual
3. Key Features
- Projection Function: Projects time and temperature onto a wall or ceiling with nearly 180-degree rotation.
- Dual Alarm Clock: Set two independent alarms with a slowly rising volume.
- Snooze Function: Provides a 5-minute snooze period.
- Backlit LCD Screen: Displays time, date, day of the week, temperature, and humidity. Adjustable backlight with 4 levels (High, Medium, Low, Off) when DC powered, or 8-second highlight when battery powered.
- Temperature & Humidity Display: Detects indoor temperature (-9℃ to +50℃) and humidity (20% to 95%).
- USB Charging Port: 5V USB output interface for charging mobile phones.
- Time System: Supports 12HR/24HR format.
- Automatic Temperature Prediction: Automatically predicts changes in indoor temperature.
4. Product Components

Figure 2: Side panel with Alarm ON/OFF switches and USB charging port.

Figure 3: Front display and control buttons (TIME, ALARM, +, -).
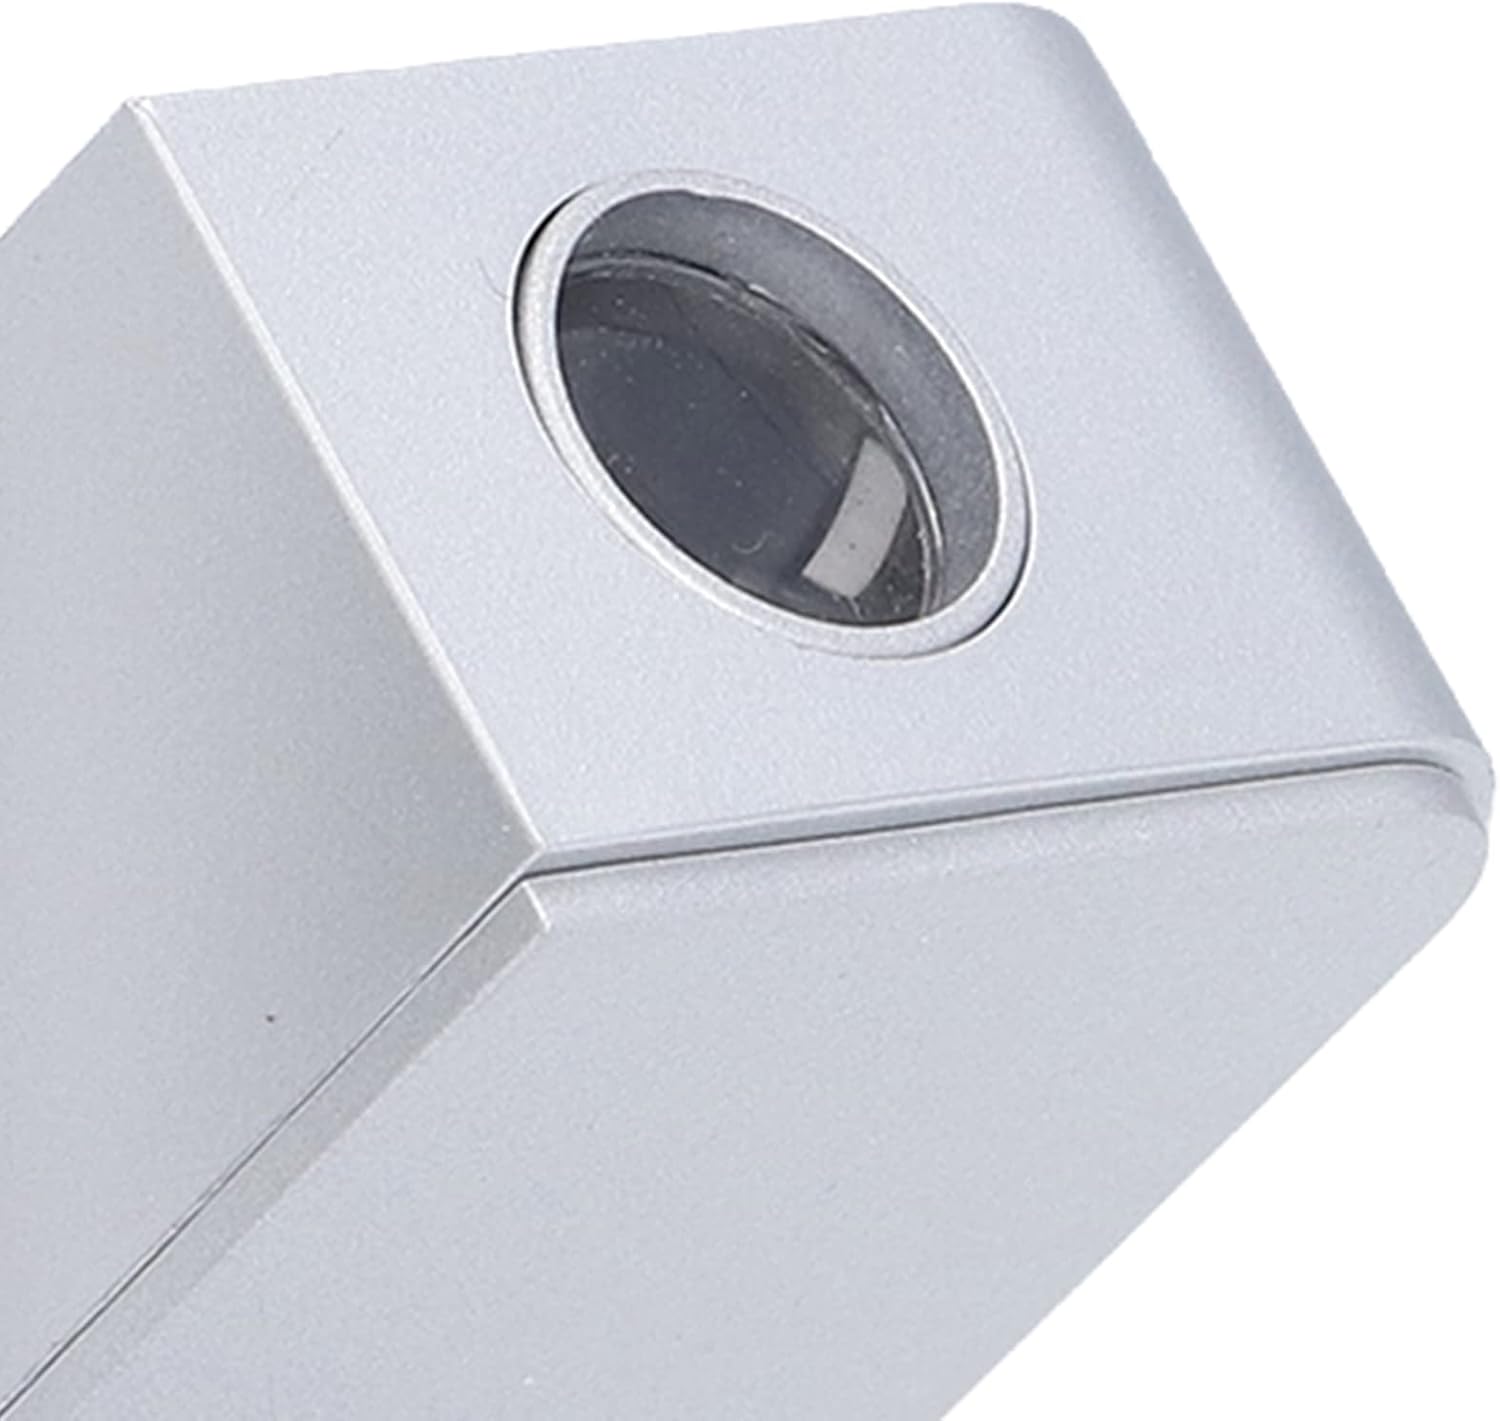
Figure 4: Projection lens.
5. Setup
5.1 Power Source
The alarm clock can be powered by two methods:
- USB Cable (DC Power Supply): Connect the provided USB cable to the clock and a 5V USB power adapter (not included). This is the recommended power source for continuous backlight and projection.
- AAA Batteries: Insert 2 AAA batteries (not included) into the battery compartment. When powered by batteries, the backlight and projection will only illuminate for 8 seconds after a button press to conserve power.
5.2 Initial Power On
Once connected to a power source, the clock will power on and display default settings. It is recommended to use the USB cable for initial setup and continuous operation.
6. Operating Instructions
6.1 Setting Time and Date
- Press and hold the TIME button for 3 seconds to enter time setting mode. The hour display will flash.
- Use the + or - buttons to adjust the hour.
- Press TIME again to confirm the hour and move to minute setting. Adjust minutes with + or -.
- Continue pressing TIME to cycle through and set Year, Month, Day, and 12HR/24HR format.
- Press TIME one last time or wait 15 seconds for the settings to be saved automatically.
6.2 Setting Alarms
- Press and hold the ALARM button for 3 seconds to enter Alarm 1 setting mode. The Alarm 1 hour display will flash.
- Use the + or - buttons to adjust the alarm hour.
- Press ALARM again to confirm the hour and move to minute setting. Adjust minutes with + or -.
- Press ALARM again to set the alarm sound.
- Repeat steps for Alarm 2 by pressing ALARM until Alarm 2 settings appear.
- To activate/deactivate an alarm, use the physical ON/OFF switches on the side of the clock (refer to Figure 2).
6.3 Snooze Function
When an alarm sounds, press any button (except the alarm ON/OFF switch) to activate the 5-minute snooze function. The alarm will sound again after 5 minutes.
6.4 Projection Function
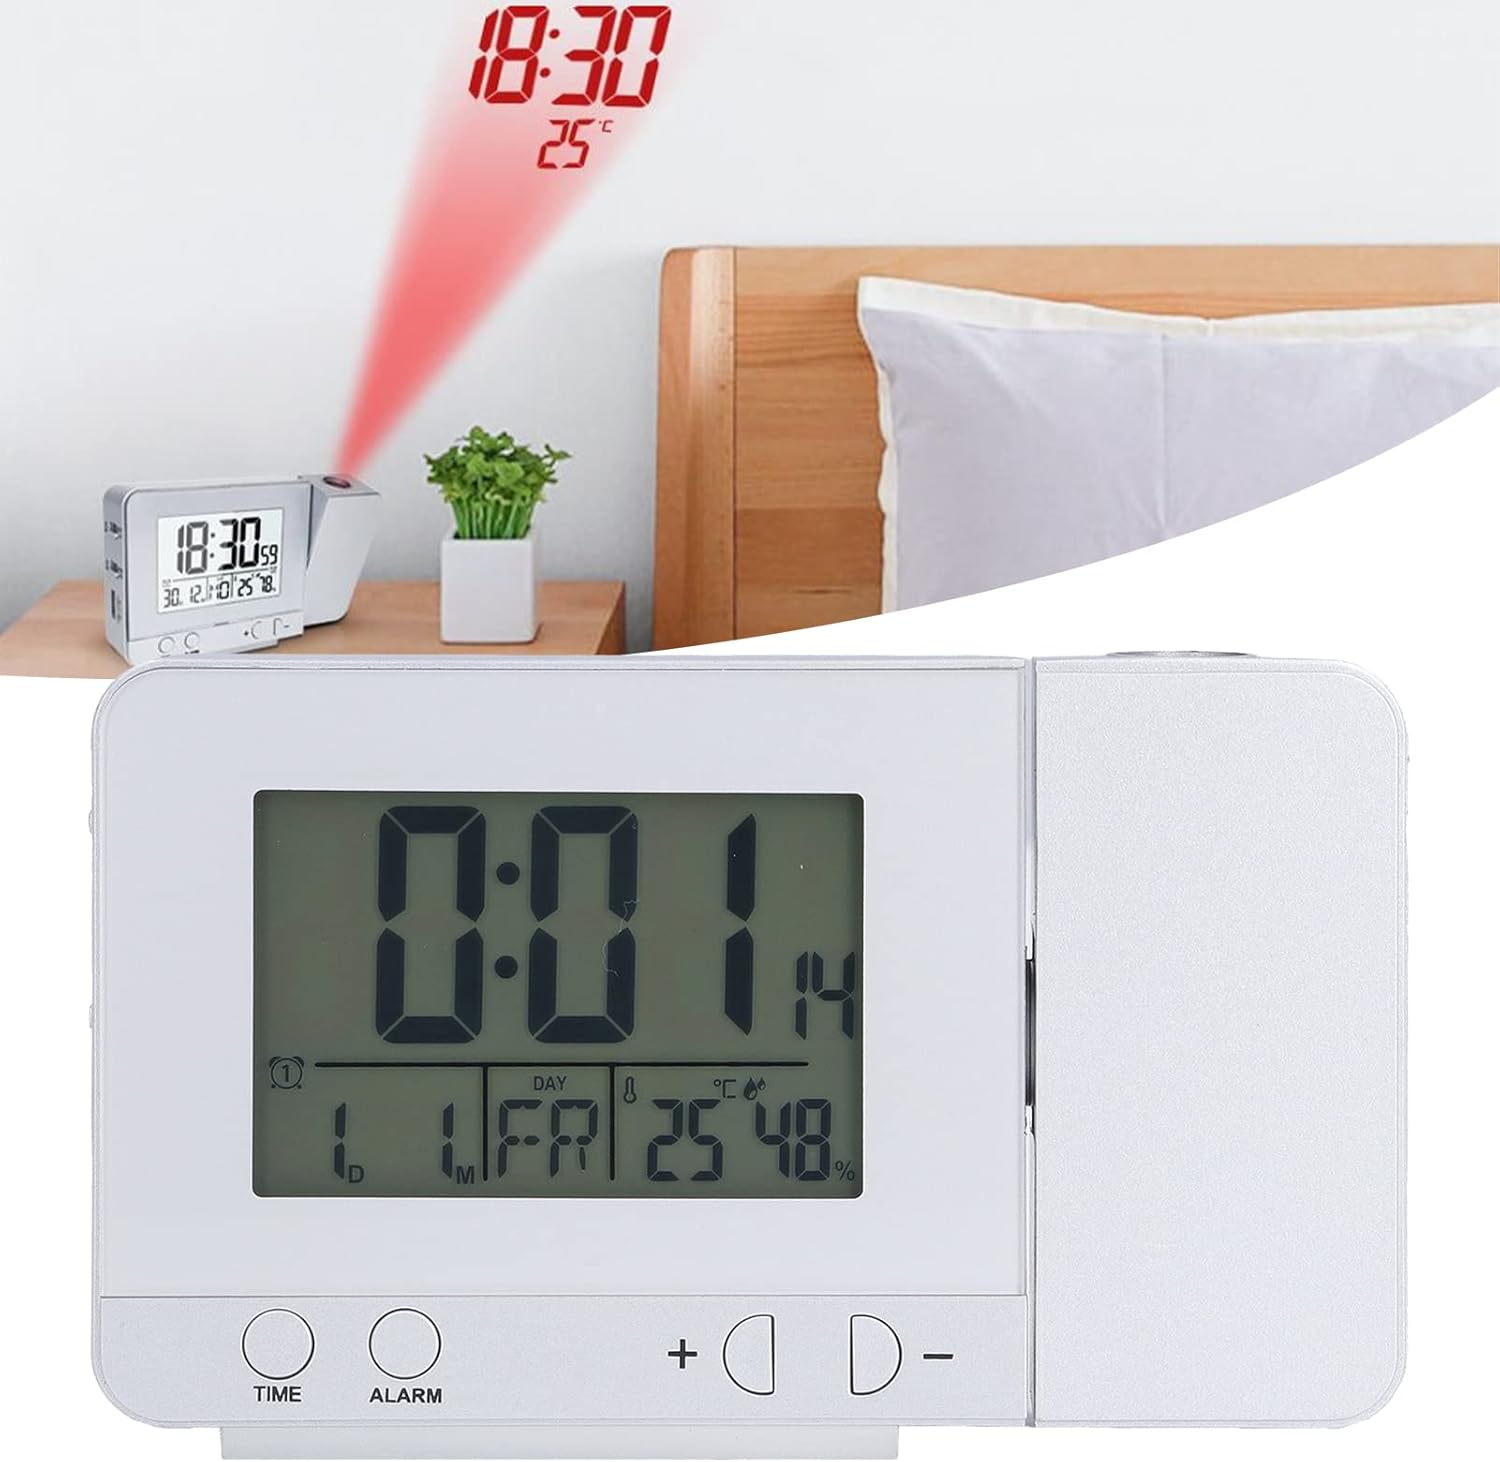
Figure 5: Time and temperature projected onto a surface.
- The projection lens (Figure 4) can be rotated nearly 180 degrees to adjust the projection angle.
- When DC powered, the projection lamp is always on. When battery powered, it lights up for 8 seconds.
- The projection displays time and temperature.
6.5 Backlight Adjustment
- When DC powered, press the + button to cycle through 4 backlight levels: High, Medium, Low, and Off.
- When battery powered, the backlight will illuminate for 8 seconds after any button press.
6.6 USB Charging
The 5V USB output port (Figure 2) can be used to charge compatible mobile phones and other small electronic devices. Ensure the alarm clock is connected to a DC power source for this function.
6.7 Temperature and Humidity Display
The clock automatically detects and displays indoor temperature and humidity. The temperature can be switched between Celsius (℃) and Fahrenheit (℉) by pressing the - button. The temperature and humidity calibration time is approximately 30 seconds.
7. Maintenance
- Cleaning: Wipe the clock with a soft, dry cloth. Do not use abrasive cleaners or solvents.
- Battery Replacement: If using batteries, replace them when the display becomes dim or functions are inconsistent. Ensure correct polarity.
- Storage: If storing the clock for an extended period, remove the batteries to prevent leakage.
8. Troubleshooting
| Problem | Possible Cause | Solution |
|---|---|---|
| Display is blank or dim. | No power, low batteries, or backlight is off. | Check USB connection or replace AAA batteries. Adjust backlight brightness with the '+' button. |
| Projection is unclear or not visible. | Projection lens obstructed, incorrect angle, or battery power. | Ensure the lens is clean and unobstructed. Adjust the projection angle. Connect to DC power for continuous projection. |
| Alarm does not sound. | Alarm is not set or is switched off. | Verify alarm settings (Section 6.2). Ensure the alarm ON/OFF switch on the side is in the 'ON' position. |
| USB charging not working. | Clock not connected to DC power. | Ensure the clock is powered via the USB cable and a 5V adapter. |
9. Specifications
- Item Type: Projection Alarm Clock
- Material: Plastic
- Product Size: 13.5 x 8 x 3 cm (5.3 x 3.1 x 1.2 inches)
- Weight: 250g (8.8 oz)
- Battery Parameters: 2 x AAA Batteries (Not Included)
- Power Source: Battery Powered, Corded Electric (USB)
- Display Type: Digital
- Temperature Detection: -9℃ to +50℃ (Resolution 1℃/℉)
- Humidity Detection: 20% to 95% (Resolution 1%)
- USB Charger Output: 5V – 1A

Figure 6: Product dimensions.
10. Warranty and Support
For warranty information or technical support, please refer to the seller's policy or contact the retailer where the product was purchased. Keep your purchase receipt for any warranty claims.