1. Introduction
Thank you for choosing the Bincoo 120ML Stovetop Espresso Maker, Model GYKF0540. This manual provides essential information for the safe and efficient operation, maintenance, and care of your new moka pot. Please read these instructions thoroughly before first use and retain them for future reference.
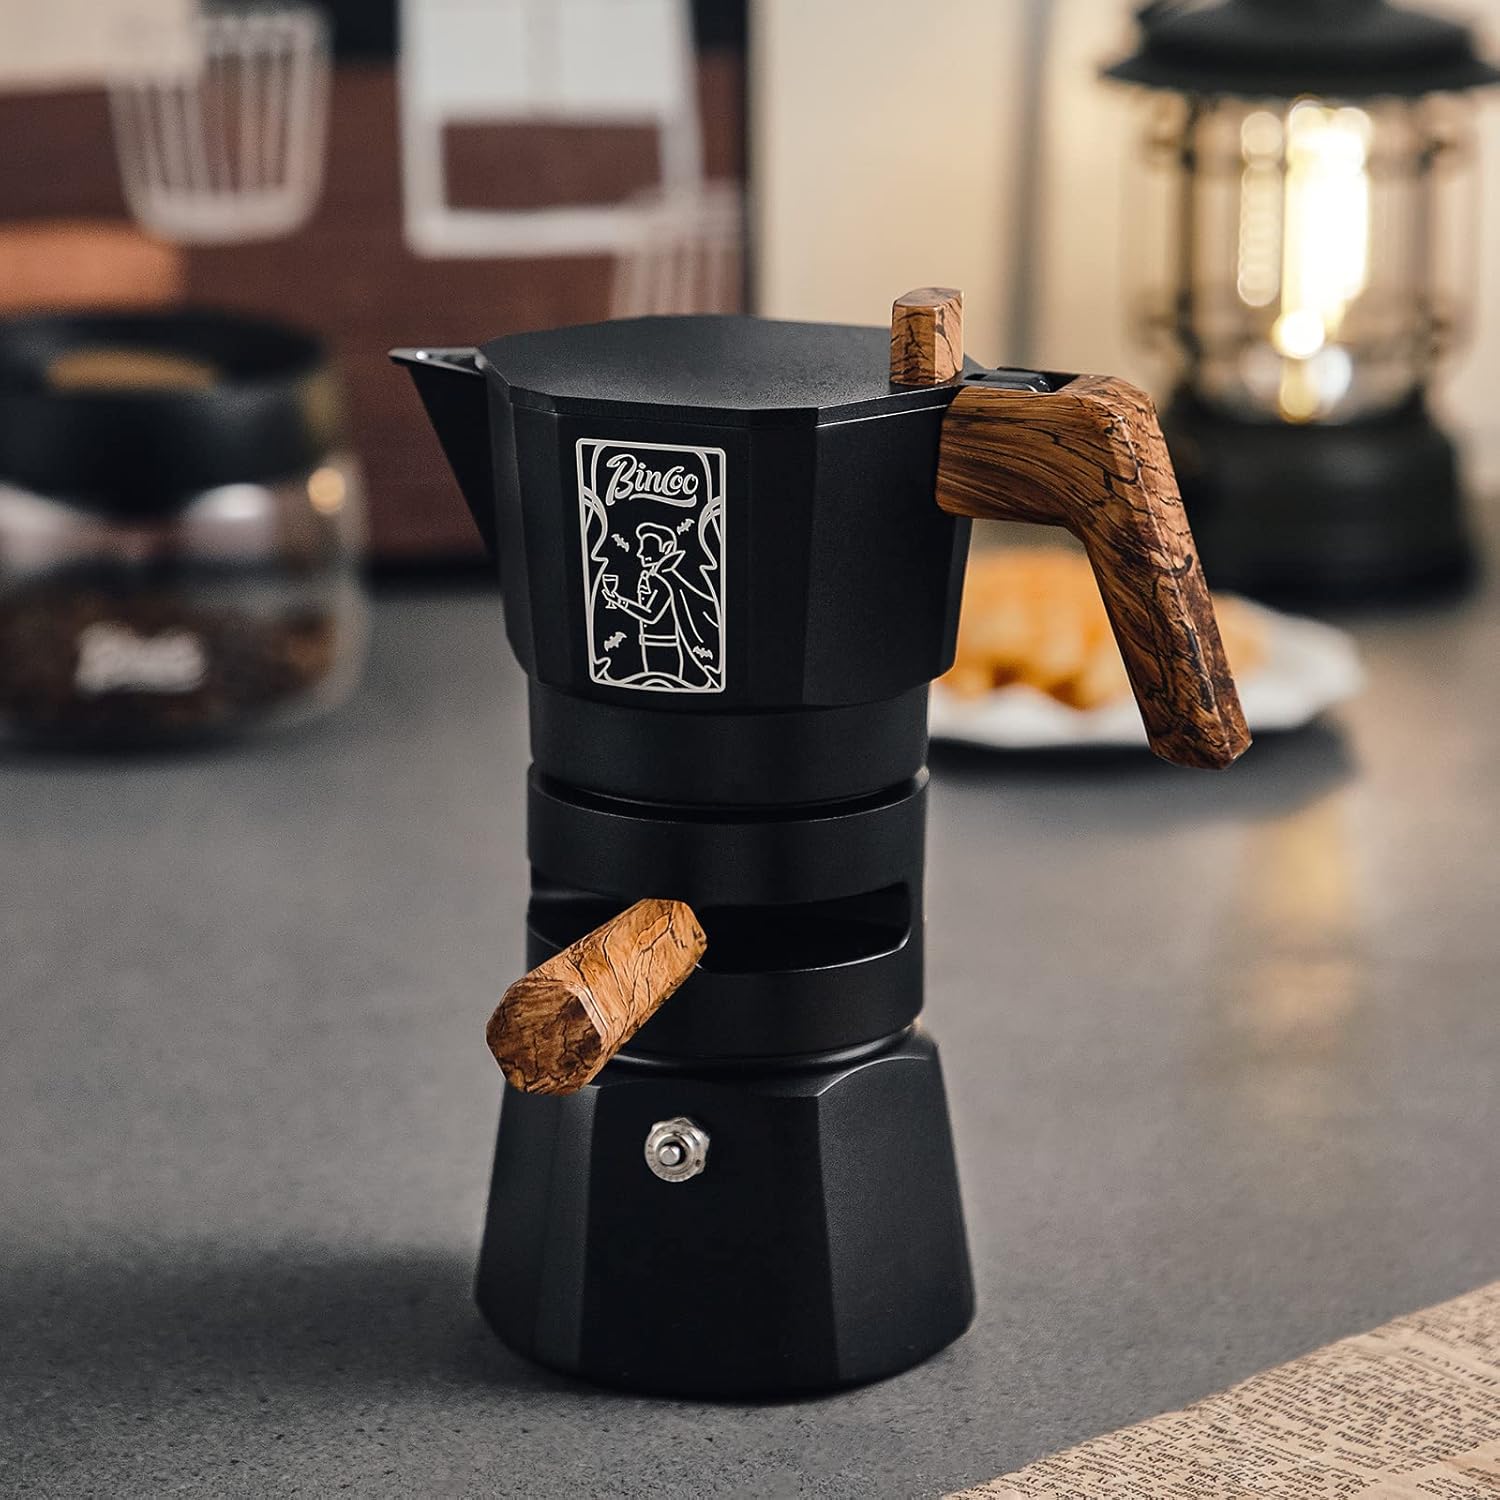
Image: The Bincoo 120ML Stovetop Espresso Maker, Model GYKF0540, displayed on a kitchen counter, showcasing its design.
2. Safety Instructions
- Always ensure the moka pot is securely assembled before placing it on a heat source.
- Do not overfill the lower chamber with water beyond the safety valve level.
- Use only medium-fine ground coffee. Do not use instant coffee or coarse grounds.
- Never press or tamp the coffee grounds in the filter basket.
- Use a heat source appropriate for the moka pot's base size to prevent handle damage.
- Always use the anti-scald handle when handling the hot moka pot.
- Do not open the moka pot while it is brewing or still hot and under pressure.
- Keep out of reach of children.
- This product is not dishwasher safe. Refer to cleaning instructions.
3. Parts List
Familiarize yourself with the components of your Bincoo Stovetop Espresso Maker:

Image: An exploded diagram showing the individual parts of the Bincoo Moka Pot, including the upper pot, anti-scald handle, silicone ring, powder bin, thermostat, safe valve, and lower pot.
- Upper Pot: Collects the brewed coffee.
- Anti-scald Handle: For safe handling when hot.
- Silicone Ring: Creates a seal between the upper and lower pots.
- Powder Bin (Filter Basket): Holds the ground coffee.
- Thermostat (Middle Section): Helps regulate water flow and temperature.
- Safe Valve: Pressure release valve in the lower pot.
- Lower Pot (Water Chamber): Holds the water for brewing.
- Powder Dispenser: Included accessory for precise coffee dosing.
4. Setup and First Use
Before using your moka pot for the first time, it is recommended to clean it thoroughly and perform a test brew.
- Disassemble: Unscrew the upper pot from the lower pot. Remove the filter basket and thermostat section.
- Clean: Wash all parts with warm water and a mild detergent. Rinse thoroughly to remove any manufacturing residues. Do not use abrasive materials.
- First Brew (Seasoning):
- Fill the lower pot with water up to the level of the safety valve.
- Insert the thermostat section, then the filter basket. Add a small amount of inexpensive ground coffee to the filter basket (do not tamp).
- Screw the upper pot firmly onto the lower pot, ensuring a tight seal.
- Place the moka pot on a stovetop over medium heat.
- Allow the coffee to brew. Discard this first brew. This process helps to season the pot and remove any metallic taste.
- Repeat the seasoning process 2-3 times with fresh water and coffee for optimal results.
5. Operating Instructions (Brewing Coffee)
Follow these steps to brew delicious espresso-style coffee:
- Fill Water Chamber: Unscrew the upper pot from the lower pot. Fill the lower pot with cold water up to the line indicated inside the pot, or just below the safety valve. Do not exceed the safety valve.
- Add Coffee Grounds: Insert the thermostat section into the lower pot, then place the filter basket into the thermostat section. Fill the filter basket with medium-fine ground coffee. Use the included powder dispenser to prevent spillage and ensure even distribution. Do not tamp the coffee grounds; simply level them gently.
- Assemble Pot: Screw the upper pot firmly onto the lower pot. Ensure a tight seal to prevent steam leakage during brewing.
- Heat: Place the moka pot on a stovetop over medium heat. Keep the handle away from direct heat.
- Brew: As the water heats, pressure will build, forcing hot water through the coffee grounds and up into the upper pot. You will hear a gurgling sound as the coffee begins to flow.
- Remove from Heat: Once the upper pot is filled with coffee and you hear a sputtering sound, remove the moka pot from the heat source immediately to prevent over-extraction and a burnt taste.
- Serve: Pour the freshly brewed coffee into small cups. Be cautious as the pot will be very hot.

Image: The Bincoo Moka Pot actively brewing coffee on a stovetop, with coffee collecting in the upper chamber and a visible crema layer.
The Bincoo moka pot features a double valve design and thermostat extractor to help prevent over-extraction and produce a strong coffee with a crema-like foam on top. The "elephant spout" design ensures smooth pouring without leakage.

Image: A detailed view highlighting the heat-resistant handle, the "elephant spout" for drip-free pouring, and the double valve system designed to prevent coffee splashing.
6. Cleaning and Maintenance
Proper cleaning ensures the longevity and optimal performance of your moka pot.
- After Each Use: Allow the moka pot to cool completely before disassembling. Discard used coffee grounds. Rinse all parts (upper pot, filter basket, thermostat section, lower pot) with warm water.
- Hand Wash Only: This moka pot is not dishwasher safe. Washing in a dishwasher can damage the aluminum and affect the taste of your coffee.
- Avoid Harsh Cleaners: Do not use abrasive sponges, steel wool, or harsh detergents, as these can scratch the surface and damage the finish.
- Drying: Dry all components thoroughly before reassembling or storing to prevent water spots and corrosion.
- Gasket and Filter Plate: Periodically check the silicone ring and filter plate for wear and tear. Replace if necessary to maintain a proper seal.
7. Troubleshooting
| Problem | Possible Cause | Solution |
|---|---|---|
| Coffee not brewing or very slow |
|
|
| Coffee tastes burnt or bitter |
|
|
| Water/steam leaking from sides |
|
|
| Coffee splashes during brewing |
|
|
8. Specifications
- Model Name: GYKF0540
- Brand: Bincoo
- Capacity: 120 Milliliters (approx. 2 espresso cups)
- Product Dimensions: 4"D x 9"W x 9"H (approximate)
- Item Weight: 1.87 pounds
- Material: Aluminum (main body)
- Operation Mode: Manual
- Power Source: Stovetop Heat
- Dishwasher Safe: No

Image: A diagram illustrating the dimensions of the Bincoo 120ML Stovetop Espresso Maker, showing its height and width.
9. Warranty and Support
For warranty information or technical support, please contact Bincoo customer service through the retailer where the product was purchased or visit the official Bincoo website. Please have your model number (GYKF0540) and purchase date available when contacting support.
Bincoo Official Store: Visit Bincoo Store on Amazon