
swertoy B0BVFSVD2T (100 PCS)
Instruction Manual: Assorted Sealing Gasket Set
Model: B0BVFSVD2T | Brand: swertoy
1. Introduction
This manual provides essential information for the proper use, installation, and maintenance of your swertoy Assorted Sealing Gasket Set. This kit contains a variety of rubber O-rings designed for sealing applications in automotive, plumbing, and general repair contexts. The O-rings are engineered to resist oil and heat, ensuring reliable performance in demanding environments.

Image 1.1: The Assorted Sealing Gasket Set, neatly organized in a clear plastic case, showcasing various sizes and colors of O-rings.
2. Key Features
- Fine Sealing Performance: O-rings are manufactured from high-quality rubber, providing excellent sealing capabilities to effectively prevent leaks of oil, water, and air.
- Assorted Sizes: This set includes 100 pieces of O-rings in 12 different sizes, ranging from M6 to M30 (6mm to 30mm), catering to a wide array of home and automotive repair requirements.
- High Quality Material: The rubber washers exhibit strong resistance to both high and low temperatures, ozone, and weathering. They are also waterproof, flame retardant, wear-resistant, and oil-resistant.
- Easy Installation & Storage: The O-rings are soft and flexible, allowing for simple snap-on installation. The assortment comes in a convenient plastic box with divided compartments for easy organization and selection.
- Wide Application: Suitable for use in automobiles, boats, engines, oil plumbing, gas control systems, faucets, hoses, nozzles, and various kitchen and bathroom applications.
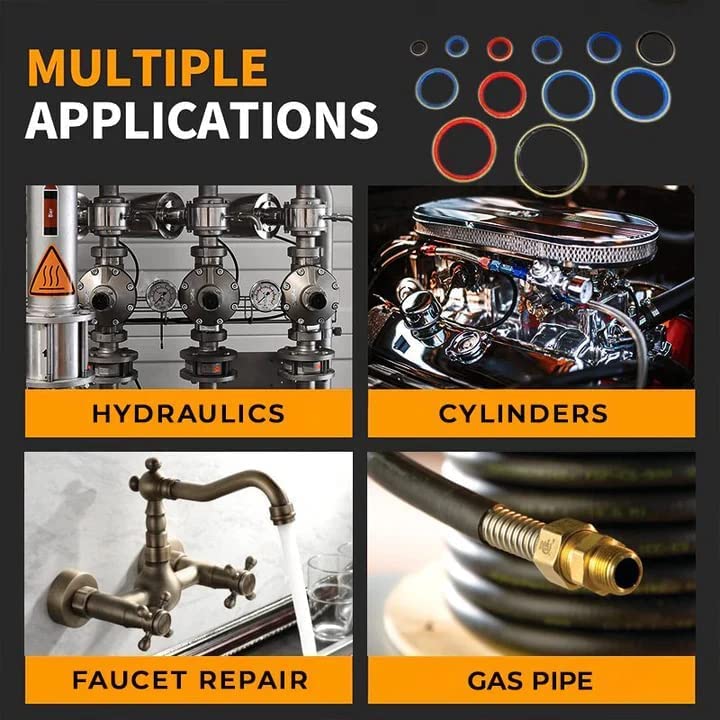
Image 2.1: Illustration of the diverse applications for the O-ring set, including hydraulic systems, engine cylinders, faucet repairs, and gas pipe connections.
3. Package Contents
Your swertoy Assorted Sealing Gasket Set (100 PCS) includes:
- 100 x Assorted Rubber O-Rings (12 different sizes from M6 to M30)
- 1 x Clear Plastic Storage Box with Divided Compartments
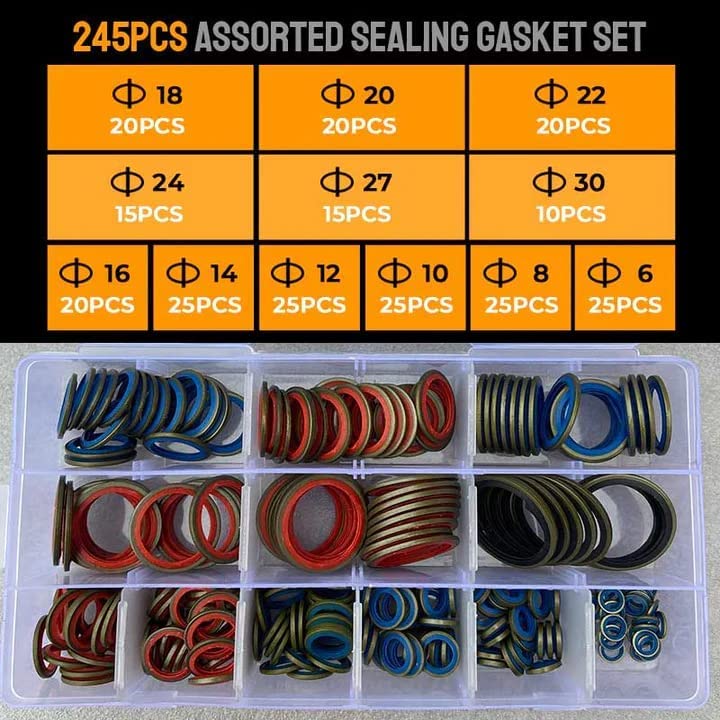
Image 3.1: A visual representation of the various O-ring sizes included in an assorted set, demonstrating the range of diameters and quantities for each size. While this image shows a 245-piece set, the 100-piece set also contains a similar variety of sizes.
4. Specifications
| Attribute | Detail |
|---|---|
| Material | Rubber |
| Sizes Included | M6, M8, M10, M12, M14, M16, M18, M20, M22, M24, M27, M30 |
| Total Quantity | 100 pieces |
| Color | Assorted (various colors for different sizes) |
| Manufacturer | swertoy |
| UPC | 761016284913 |
5. Setup and Preparation
Before installing a new O-ring, ensure the application area is clean and free from old gasket material, dirt, oil, or debris. Proper preparation is crucial for an effective seal.
- Clean Surfaces: Thoroughly clean both mating surfaces where the O-ring will be seated. Use a suitable cleaner to remove any residues.
- Inspect Groove: Check the O-ring groove for any damage, burrs, or irregularities that could compromise the seal.
- Select Correct Size: Identify the appropriate O-ring size from your assortment. The O-ring should fit snugly in the groove without being stretched or compressed excessively.
- Lubricate (Optional): For easier installation and to prevent damage during assembly, a thin layer of compatible lubricant (e.g., silicone grease for water applications, specific oil for automotive) can be applied to the O-ring.
6. Operating and Installation
Follow these steps for effective installation of the O-rings to ensure a leak-free seal:
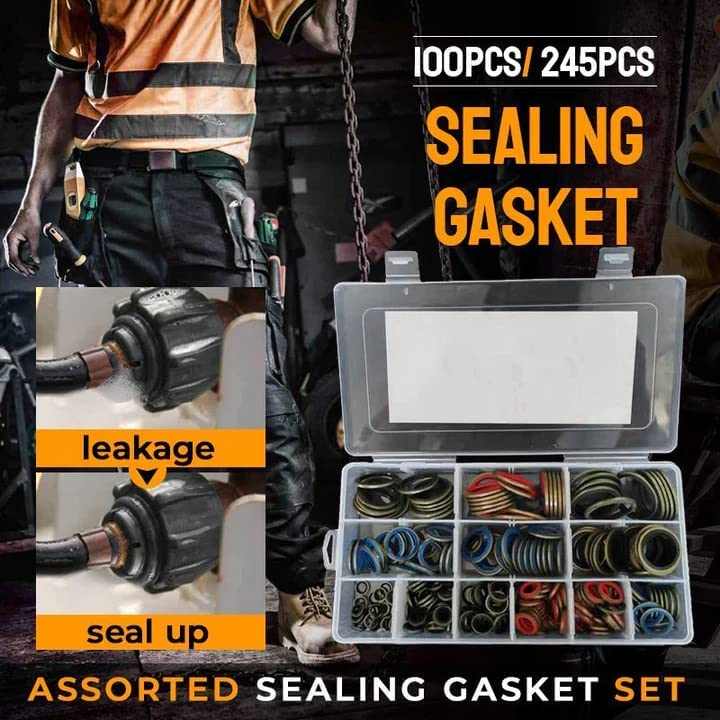
Image 6.1: Visual demonstration of how a proper gasket installation can prevent leakage, showing a "leakage" state versus a "seal up" state.
- Remove Old Gasket: Carefully remove the old, worn, or damaged gasket from the connection point. Ensure no residue remains.
- Clean Area: As mentioned in Setup, clean the surfaces thoroughly.
- Select New O-Ring: Choose the correct size O-ring from the assortment that matches the original or fits the application perfectly.
- Position O-Ring: Gently place the new O-ring into its designated groove or onto the component. Ensure it is seated evenly and not twisted.
- Assemble Components: Carefully bring the two components together, ensuring the O-ring remains in place and is not pinched or rolled during assembly.
- Tighten Connection: Secure the connection according to the equipment manufacturer's specifications. Avoid over-tightening, which can damage the O-ring.
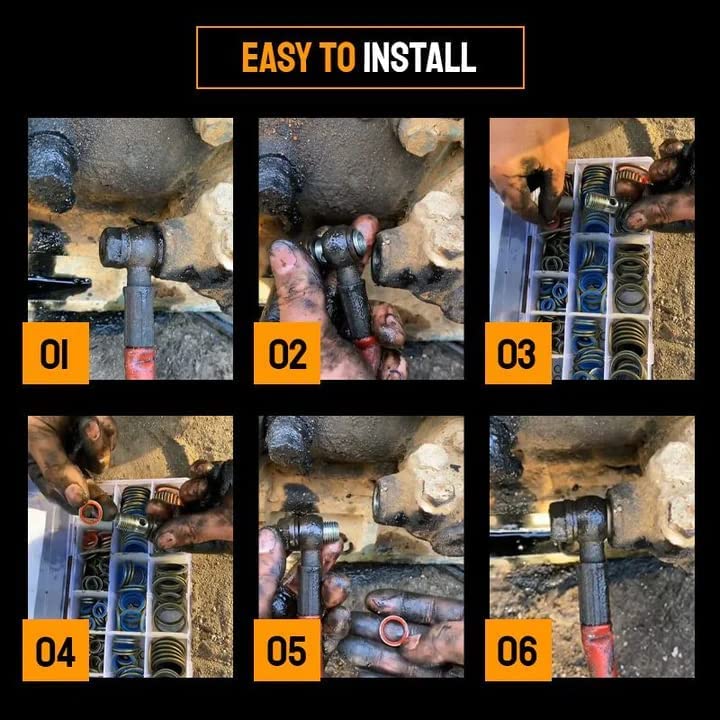
Image 6.2: A step-by-step visual guide illustrating the process of O-ring installation, from removing the old part to securing the new O-ring in place.
7. Care and Maintenance
Proper care and storage will extend the lifespan of your O-rings and ensure they are ready for use when needed.
- Storage: Store O-rings in their original plastic case in a cool, dry place away from direct sunlight, extreme temperatures, and ozone-generating equipment (e.g., electric motors).
- Avoid Contaminants: Keep O-rings away from oils, greases, and solvents that are not compatible with rubber, as these can degrade the material.
- Inspection: Before each use, inspect the O-ring for any signs of cracking, hardening, swelling, or other damage. Replace any compromised O-rings.
- Cleaning: If an O-ring needs cleaning, use mild soap and water, then rinse thoroughly and allow to air dry completely before storage or installation.
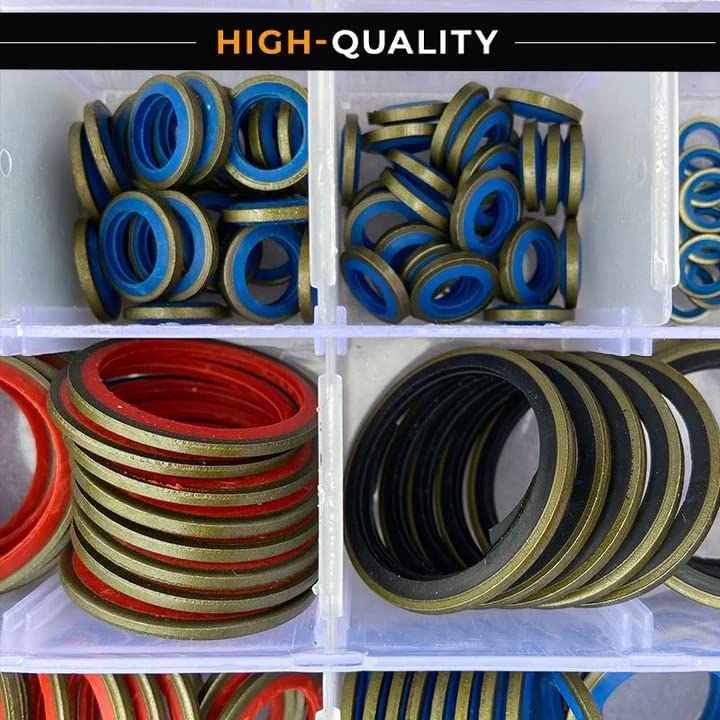
Image 7.1: A close-up view of the O-rings within their storage compartments, emphasizing their material quality and organized presentation.
8. Troubleshooting
If you encounter issues after installing an O-ring, consider the following common problems and solutions:
- Leakage After Installation:
- Cause: Incorrect O-ring size (too small or too large), O-ring pinched or twisted during installation, damaged O-ring, dirty sealing surfaces, or insufficient tightening.
- Solution: Disassemble, inspect the O-ring and surfaces for damage or debris. Ensure the correct size O-ring is used and installed without twisting. Reassemble and tighten properly.
- O-Ring Degradation (Cracking, Swelling, Hardening):
- Cause: Exposure to incompatible chemicals, excessive heat, prolonged UV exposure, or improper storage.
- Solution: Replace the O-ring. Ensure proper storage conditions and verify material compatibility with the application environment.
9. Warranty and Support
For any questions regarding your swertoy Assorted Sealing Gasket Set, or if you require technical assistance, please contact the manufacturer directly through their official channels. Please refer to your purchase documentation for specific warranty terms and conditions.
Manufacturer: swertoy
For support, please visit the swertoy Store on Amazon or contact their customer service as indicated on the product packaging or purchase receipt.
Ask a question about this manual
Ask about setup, troubleshooting, compatibility, parts, safety, or missing instructions. Manuals+ will review the question and use this page’s manual context to help answer it.