RIVERWELD WSD-60P
RIVERWELD WSD-60P Plasma Cutting Torch Instruction Manual
Model: WSD-60P
1. Introduction
This manual provides essential information for the safe and effective use of your RIVERWELD WSD-60P Plasma Cutting Torch. Please read this manual thoroughly before operation and retain it for future reference. This torch is designed for plasma cutting applications, featuring a 60Amp capacity and pilot arc start functionality.
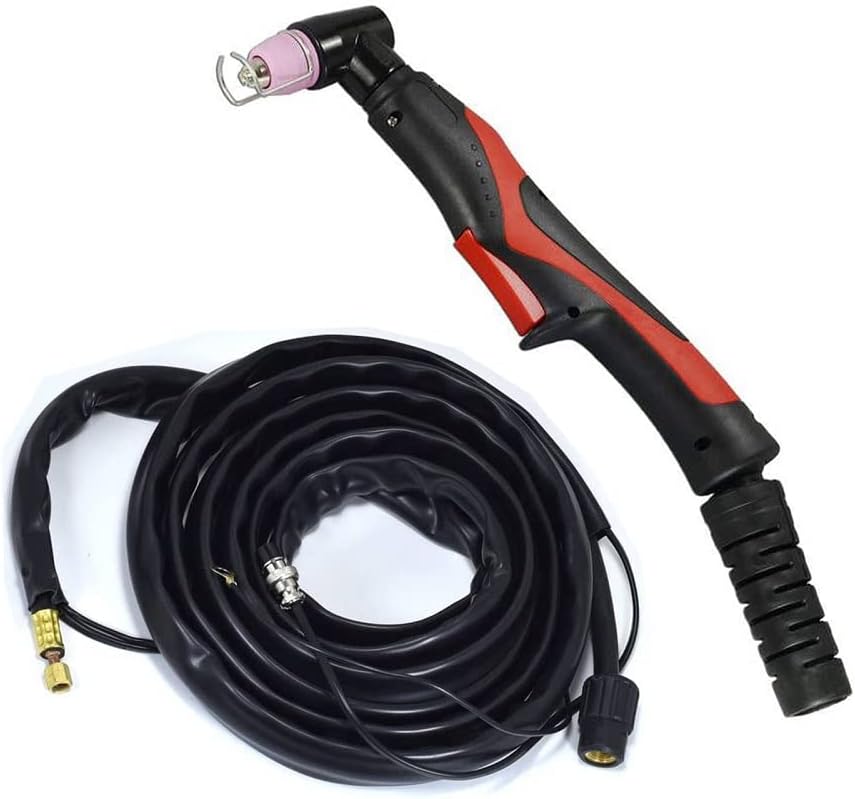
Figure 1.1: The RIVERWELD WSD-60P Plasma Cutting Torch, coiled for storage.
2. Safety Information
Always prioritize safety when operating plasma cutting equipment. Failure to follow safety guidelines can result in serious injury or equipment damage.
- Wear appropriate Personal Protective Equipment (PPE), including welding helmet, gloves, and protective clothing.
- Ensure adequate ventilation to disperse fumes.
- Do not operate in wet conditions or near flammable materials.
- Disconnect power before performing any maintenance or changing consumables.
- Keep children and unauthorized personnel away from the work area.
3. Components and Features
The RIVERWELD WSD-60P Plasma Cutting Torch consists of the following main components:
- Torch Handle: Ergonomically designed for comfortable grip and control.
- Torch Head: Houses the consumables (electrode, swirl ring, nozzle, shield cup).
- Trigger Switch: Activates the plasma arc.
- Cable Assembly: Connects the torch to the plasma cutter power source and air supply. Includes power cable, air hose, and pilot arc wire.
- Connectors: M16*1.5 for power/air and 2-pin connector for the trigger switch.
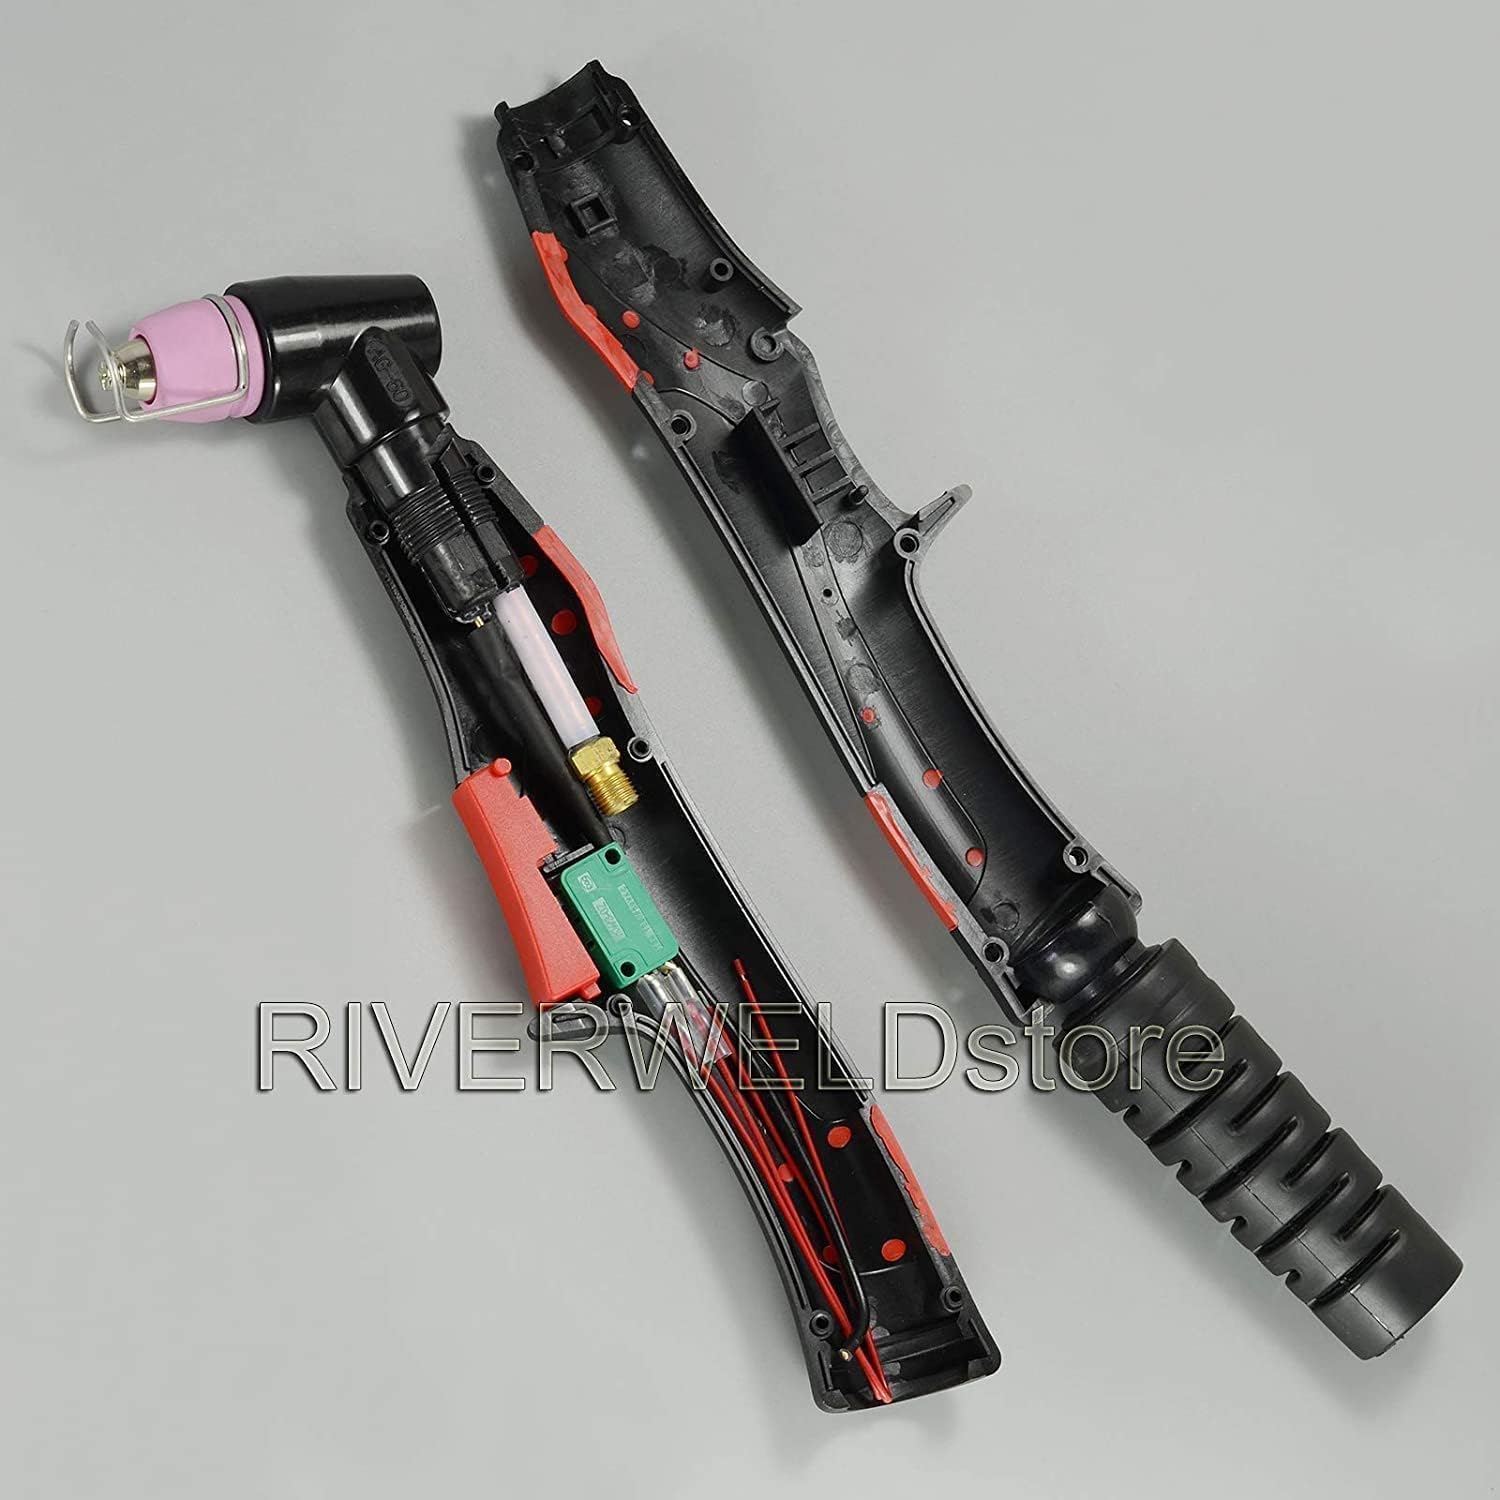
Figure 3.1: View of the torch handle disassembled, revealing the internal wiring and trigger mechanism.
4. Setup and Installation
Follow these steps to properly set up your plasma cutting torch:
- Inspect Components: Before installation, verify all components are present and undamaged.
- Connect Power/Air Cable: Connect the main cable assembly (M16*1.5 connector) to the corresponding port on your plasma cutter. Ensure a secure, hand-tight connection.
- Connect Trigger Cable: Plug the 2-pin trigger connector into the designated socket on your plasma cutter.
- Ground Clamp: Attach the ground clamp from your plasma cutter to the workpiece or work table, ensuring good electrical contact.
- Air Supply: Connect your compressed air supply to the plasma cutter's air inlet. Set the air pressure according to your plasma cutter's specifications and the material thickness being cut.
- Install Consumables: Ensure the correct electrode, swirl ring, nozzle, and shield cup are properly installed in the torch head. Refer to the maintenance section for details on consumable replacement.

Figure 4.1: The plasma torch showing the main cable and the 2-pin trigger connector, ready for connection to a plasma cutter.
5. Operating Instructions
Operating the WSD-60P torch requires adherence to proper techniques for optimal cutting performance and safety.
- Power On: Turn on your plasma cutter and allow it to complete its self-check.
- Set Amperage: Adjust the amperage setting on your plasma cutter according to the material type and thickness you intend to cut.
- Pilot Arc Start: The WSD-60P features a pilot arc start. This means the arc initiates without direct contact with the workpiece, allowing for easier starting and cutting of painted or rusty materials.
- Cutting Technique:
- Hold the torch perpendicular to the workpiece.
- Press the trigger to initiate the pilot arc.
- Move the torch steadily along the cut line. Maintain a consistent standoff distance (distance between the nozzle and the workpiece) for a clean cut.
- Observe the molten metal (dross) exiting the bottom of the cut. If it's trailing behind the arc, your travel speed is too slow. If it's spraying forward, your travel speed is too fast.
- Shut Down: Release the trigger to stop the arc. Turn off the plasma cutter and disconnect the air supply after use.
Video 5.1: An overview of the WSD-60P Plasma Cutting Torch, demonstrating its components and general appearance. This video is provided by RIVERWELDstore.
6. Maintenance
Regular maintenance ensures optimal performance and extends the lifespan of your torch.
6.1 Consumable Replacement
Consumables (electrode, nozzle, swirl ring, shield cup) wear out during use and must be replaced regularly. Always use genuine RIVERWELD replacement parts.
- Disconnect Power: Ensure the plasma cutter is turned off and unplugged.
- Remove Shield Cup: Unscrew the shield cup from the torch head.
- Remove Nozzle and Swirl Ring: Carefully remove the nozzle, then the swirl ring.
- Remove Electrode: Unscrew the electrode.
- Inspect and Clean: Inspect the torch head for any damage or debris. Clean if necessary.
- Install New Consumables: Install new consumables in reverse order: electrode, swirl ring, nozzle, then shield cup. Ensure all components are seated correctly and tightened appropriately (hand-tight is usually sufficient for most parts).
6.2 General Cleaning
- Wipe down the torch handle and cable with a clean, dry cloth after each use.
- Periodically check the cable for cuts, abrasions, or damage. Replace the cable assembly if damage is found.
- Ensure all electrical connections are clean and secure.
7. Troubleshooting
This section addresses common issues you might encounter with your WSD-60P Plasma Cutting Torch.
| Problem | Possible Cause | Solution |
|---|---|---|
| No Arc / Arc Fails to Start |
|
|
| Poor Cut Quality / Excessive Dross |
|
|
| Torch Overheating |
|
|
If problems persist after attempting these solutions, contact RIVERWELD customer support.
8. Specifications
Key technical specifications for the RIVERWELD WSD-60P Plasma Cutting Torch:
- Model: WSD-60P
- Max Current: 60 Amp
- Arc Starting: Pilot Arc Start
- Cooling Method: Air-Cooled
- Length: 5 Meters (16-3/8 Feet)
- Main Connector: M16*1.5
- Trigger Connector: 2-pin
- Materials: Copper, Brass, Epoxy, PVC
- Item Weight: 4.4 pounds
- Product Dimensions: 11.81 x 11.81 x 3.94 inches (packaged)
9. Warranty and Support
For warranty information, technical support, or to purchase replacement parts, please contact RIVERWELD customer service through their official channels. Refer to your purchase documentation for specific warranty terms and conditions.
RIVERWELD Store: Visit the RIVERWELD Store on Amazon