Introduction
This manual provides detailed instructions for the setup, operation, and maintenance of your JKHFDDIG FanJu FJ3364 Digital Alarm Clock Weather Station. This device combines a digital alarm clock with a weather station, offering indoor and outdoor temperature and humidity readings, along with a weather forecast function. Please read this manual thoroughly before using the product to ensure correct operation and to maximize its features.
Product Features
- Weather Forecast display based on air pressure changes.
- DCF Radio Control Clock for automatic time synchronization (where available).
- Time display in optional 12 or 24-hour format.
- Daily Alarm with Snooze Function.
- Indoor and Outdoor Temperature display (Celsius or Fahrenheit).
- Indoor and Outdoor Humidity display.
- Minimum and Maximum temperature and humidity records.
- Ice Alert function for outdoor temperatures between -1°C and 2.8°C.
- Backlight function activated by touching the LIGHT button.
- Wireless remote sensor with a transmission range of up to 60 meters (open area).
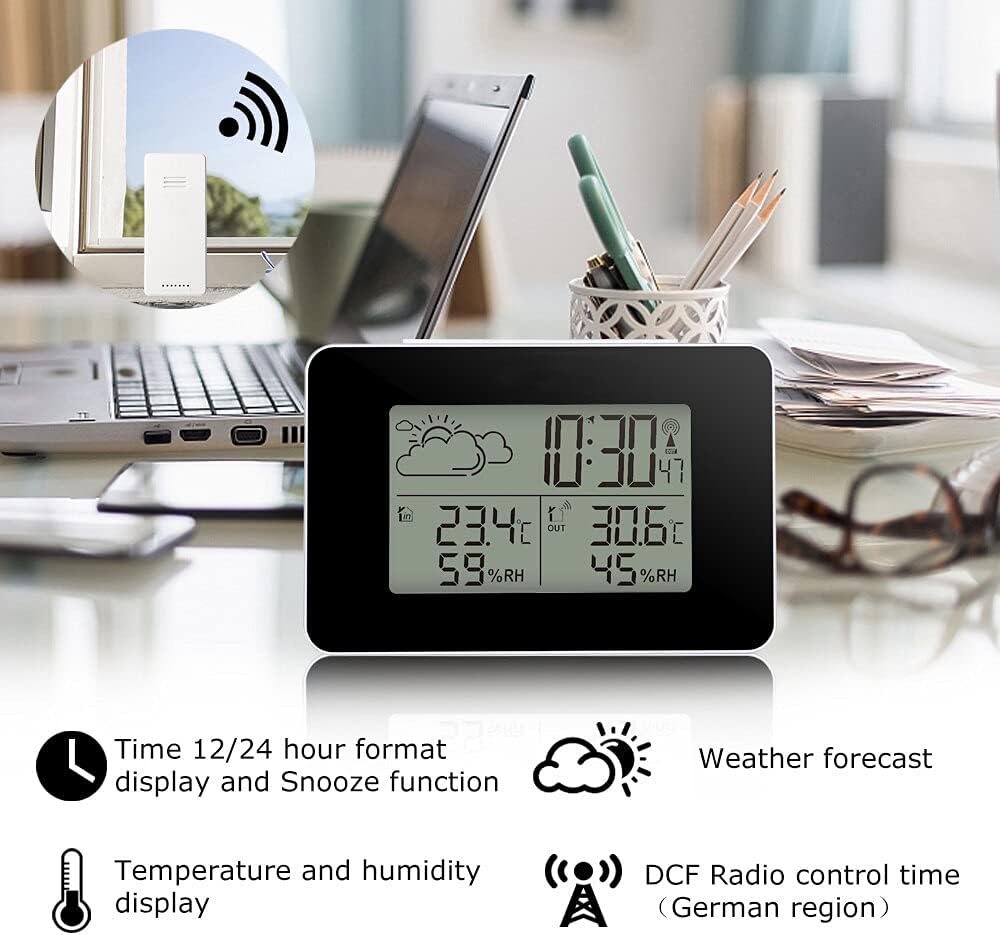
This image illustrates the main unit of the weather station displaying various data points, including time, weather forecast, and temperature/humidity for both indoor and outdoor environments. The wireless outdoor sensor is also shown in an inset, indicating its remote placement capability.
Package Contents
Please check the package contents to ensure all items are present:
- 1 x FanJu FJ3364 Digital Alarm Clock Weather Station (Main Unit)
- 1 x Wireless Remote Sensor
- 1 x User Manual (this document)
Note: Batteries are not included. The main unit requires 2 x AA batteries, and the wireless remote sensor requires 2 x AAA batteries.
Product Overview
Familiarize yourself with the main unit and wireless sensor components and their functions.

This diagram provides a detailed view of the weather station's main unit (Part A and B) and the wireless outdoor sensor (Part C), with each component clearly labeled for identification.
Part A - LCD Display
- A1: Weather Forecasting Icons
- A2: Outdoor Temperature Display
- A3: Outdoor Humidity Display
- A4: Indoor Temperature Display
- A5: Indoor Humidity Display
- A6: Time Display
Part B - Back Buttons and Battery Compartment (Main Unit)
- B1: "SNOOZE/LIGHT" Touch Key (Top of unit)
- B2: "SET" Button
- B3: "MEM" Button
- B4: "+" Button
- B5: "-" Button
- B6: Battery Compartment
Part C - Wireless Outdoor Sensor
- C1: Wireless Outdoor Sensor Battery Compartment
Setup
1. Battery Installation
Main Unit:
- Open the battery compartment (B6) on the back of the main unit.
- Insert 2 x AA batteries, observing the correct polarity (+/-).
- Close the battery compartment cover.
Wireless Remote Sensor:
- Open the battery compartment (C1) on the back of the wireless sensor.
- Insert 2 x AAA batteries, observing the correct polarity (+/-).
- Close the battery compartment cover.
It is recommended to insert batteries into the outdoor sensor first, then into the main unit, to ensure proper synchronization.
2. Sensor Pairing
After battery installation, the main unit will automatically attempt to connect with the wireless sensor. The outdoor temperature and humidity readings (A2, A3) should appear on the display within a few minutes. If the connection is not established:
- Ensure batteries are correctly installed in the sensor.
- Move the sensor closer to the main unit.
- Remove and reinsert batteries from both units, starting with the sensor.
3. Placement Guidelines
Main Unit: Place the main unit indoors on a desktop or table. Avoid direct sunlight or areas near heat sources or vents, which can affect indoor temperature readings.
Wireless Remote Sensor: Place the sensor outdoors in a shaded, dry location, protected from direct rain and sunlight. This ensures accurate outdoor temperature and humidity readings. The maximum transmission range is 60 meters in an open area. Walls and other obstacles will reduce this range.

This image demonstrates typical placement for the main unit on a kitchen counter, while an inset shows the wireless sensor positioned outdoors for optimal signal and environmental data collection.
Operating Instructions
1. Manual Time Setting / DCF Synchronization
Upon initial power-up, the unit will attempt to synchronize with the DCF radio signal (if available in your region). This process can take several minutes to hours. If DCF synchronization is successful, the time will be set automatically.
To set the time manually or adjust settings:
- Press and hold the "SET" button (B2) for a few seconds until the time display (A6) starts flashing.
- Use the "+" (B4) or "-" (B5) buttons to adjust the flashing value (e.g., hour, minute, year, month, day).
- Press "SET" (B2) again to confirm the setting and move to the next adjustable item.
- Repeat until all desired settings are configured. The unit will exit setup mode automatically if no button is pressed for a few seconds.
2. 12/24 Hour Format
During time setting, you can select between 12-hour (with AM/PM indicator) or 24-hour format using the "+" (B4) or "-" (B5) buttons when the hour setting is flashing.
3. Daily Alarm and Snooze Function
Setting the Alarm:
- Press the "SET" button (B2) once to enter alarm setting mode. The alarm time will be displayed.
- Press and hold "SET" (B2) until the alarm hour starts flashing.
- Use the "+" (B4) or "-" (B5) buttons to adjust the hour.
- Press "SET" (B2) to confirm and move to minutes. Adjust minutes with "+" (B4) or "-" (B5).
- Press "SET" (B2) to confirm and exit alarm setting.
Activating/Deactivating Alarm:
- In normal time display mode, press the "+" (B4) button to toggle the alarm ON or OFF. An alarm icon will appear on the display when activated.
Snooze Function:
- When the alarm sounds, touch the "SNOOZE/LIGHT" key (B1) to activate the snooze function. The alarm will temporarily stop and sound again after a few minutes.
- To stop the alarm completely, press any other button (B2, B3, B4, B5).
4. Temperature Unit Selection (°C / °F)
In normal time display mode, press the "-" (B5) button to switch between Celsius (°C) and Fahrenheit (°F) for both indoor and outdoor temperature readings.
5. Minimum/Maximum Temperature and Humidity Display
Press the "MEM" button (B3) repeatedly to cycle through the current, maximum (MAX), and minimum (MIN) recorded values for indoor and outdoor temperature and humidity. The MAX/MIN values are reset daily or when batteries are replaced.
6. Weather Forecast Display
The weather station predicts weather conditions for the next 12-24 hours based on atmospheric pressure changes. The forecast icons (A1) include Sunny, Partly Cloudy, Cloudy, Rainy, and Snowy. These are predictions and may not always reflect current weather conditions.
7. Backlight Operation
Touch the "SNOOZE/LIGHT" key (B1) on the top of the main unit to activate the backlight for approximately 8 seconds, improving visibility in low-light conditions.
Maintenance
1. Battery Replacement
When the battery indicator appears on the display, replace the batteries in the respective unit (main unit or sensor). Always replace all batteries in a unit at the same time with new ones of the same type. Dispose of old batteries responsibly.
2. Cleaning
Clean the display and casing of both units with a soft, damp cloth. Do not use abrasive cleaners or solvents, as these can damage the surfaces. Ensure no moisture enters the battery compartments or other openings.
Troubleshooting
| Problem | Possible Cause | Solution |
|---|---|---|
| No outdoor temperature/humidity reading. | Sensor not paired, out of range, or low battery. |
|
| Inaccurate temperature/humidity readings. | Sensor exposed to direct sunlight, rain, or heat sources. Product recently started operation. |
|
| DCF time synchronization fails. | Out of DCF signal range, interference, or incorrect time zone setting. |
|
| Display is dim or blank. | Low batteries. |
|
Specifications
- Model: FJ3364
- Indoor Temperature Range: -9.9°C (14.2°F) to 50°C (122°F)
- Outdoor Temperature Range: -25°C (-13°F) to 50°C (122°F)
- Humidity Range: 20% RH to 95% RH
- Wireless Transmission Frequency: 433.92MHz RF
- Wireless Transmission Range: Up to 60 meters (open area)
- Main Unit Power: 2 x AA Batteries (not included)
- Sensor Power: 2 x AAA Batteries (not included)
- Display Type: Digital LCD
- Dimensions (Main Unit): Approximately 12.7cm (W) x 8.5cm (H) x 4cm (D)
- Dimensions (Sensor): Approximately 4cm (W) x 9.1cm (H) x 2cm (D)

This image provides a visual representation of the main unit and wireless sensor with their respective dimensions in centimeters.
Warranty and Support
Specific warranty information and direct customer support contact details are not provided in the product description. For warranty claims or technical assistance, please refer to the retailer or the point of purchase for further guidance.