1. Introduction
The NUCOUN NC-5 Money Counter Machine is designed for efficient and accurate counting of banknotes. It features multiple counting modes and advanced counterfeit detection capabilities to ensure the integrity of your cash handling processes. This manual provides detailed instructions for setup, operation, maintenance, and troubleshooting to help you maximize the performance and lifespan of your device.
2. Safety Instructions
- Read all instructions before operating the machine.
- Keep the machine away from water or other liquids.
- Do not open the machine casing; refer servicing to qualified personnel.
- Use only the provided power adapter.
- Ensure proper ventilation around the machine during operation.
3. Package Contents
Verify that all items are present in the package:
- NUCOUN NC-5 Money Counter Machine
- Power Cable
- Cleaning Brush
- Quick Manual

Figure 3.1: Package Contents
4. Product Overview
The NUCOUN NC-5 features a user-friendly interface with a 3.5-inch LED display and a comprehensive control panel.

Figure 4.1: NUCOUN NC-5 Money Counter Machine
Control Panel and Display

Figure 4.2: Control Panel and LED Display
- 3.5-inch LED Display: Provides clear visibility of counting results and operational status.
- 10 Numeric Keys: For inputting batch numbers and other numerical settings.
- 9 Function Keys: For switching between various counting modes and settings.
5. Setup
- Unpack: Carefully remove the money counter from its packaging.
- Placement: Place the machine on a stable, flat surface.
- Power Connection: Connect the power cable to the machine and then to a suitable power outlet.
- Power On: Press the power button to turn on the machine.
6. Operating Instructions
This section details the various counting modes and features of the NC-5 Money Counter Machine.
Video Demonstration: NC-5 Money Counter Features
Video 6.1: This video provides a comprehensive demonstration of the NUCOUN NC-5 Money Counter Machine's key features, including initial setup, counterfeit detection, value counting, batch counting, add mode functionality, connecting to a thermal printer, and proper banknote placement for optimal performance.
6.1. Note Compatibility
The NC-5 is designed to count both paper and polymer banknotes, including currencies like the Canadian dollar and Mexican peso, making it suitable for North American customers.

Figure 6.1.1: Paper and Polymer Banknote Compatibility
6.2. Counterfeit Detection
The machine incorporates multiple detection methods to identify suspicious bills:
- UV (Ultraviolet) Detection: Checks for UV security features on banknotes.
- MG (Magnetic) Detection: Verifies magnetic ink patterns.
- IR (Infrared) Detection: Scans for infrared security marks.
- DD (Dimensional Detection): Checks for correct bill size and thickness.
If a suspicious bill is detected, the machine will emit a sound alarm and display a warning message on the LED screen.

Figure 6.2.1: Counterfeit Detection Capabilities
6.3. Single Denomination Value Counting
This machine is designed for single denomination value counting, meaning it does not recognize mixed denominations automatically. To count the value of a specific denomination:
- Press the 'Denom' button to select the desired denomination (e.g., $10, $20, $100).
- Feed the banknotes of that specific denomination into the hopper. The machine will count the number of bills and calculate the total value based on the selected denomination.
6.4. Add Mode
In Add mode, the machine accumulates the total count of bills across multiple batches. This is useful for counting large volumes of cash that exceed the hopper capacity or for combining counts from different stacks.

Figure 6.4.1: Add Mode Display
6.5. Batch Mode
Batch mode allows you to set a desired number of bills for each batch. The machine will stop counting once the preset number is reached, enabling easy bundling of banknotes.
- Press the 'Batch' button.
- Use the numeric keys to input the desired batch number (e.g., 10, 20, 50).
- Feed the banknotes. The machine will pause after counting the set batch quantity.
6.6. Speed Selection
The NC-5 offers three counting speeds to optimize efficiency based on your needs.
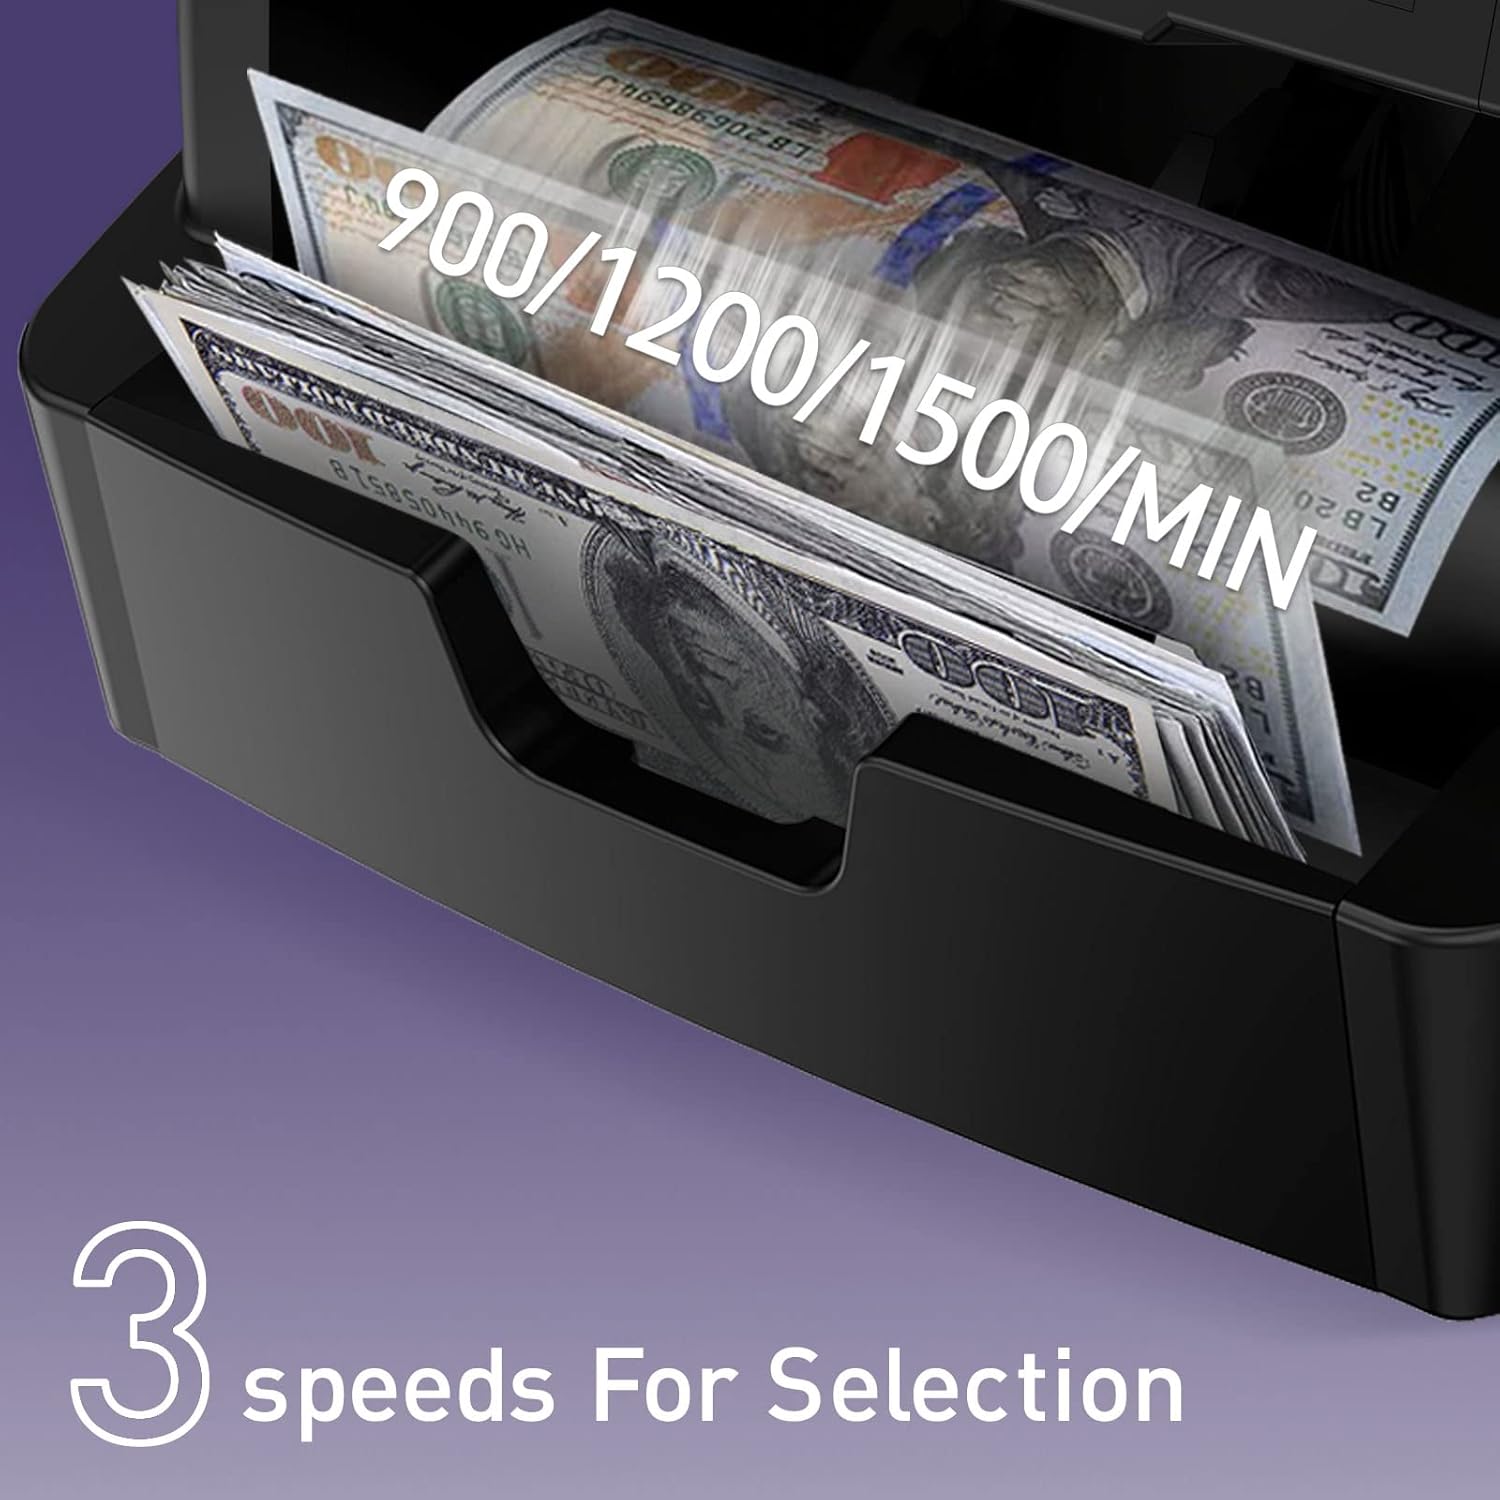
Figure 6.6.1: Counting Speeds
- Press the 'Speed' button to cycle through the available counting speeds.
- Select the speed that best suits the condition of the banknotes and your counting volume.
6.7. Connecting to a Printer or PC
The counting data can be outputted for record-keeping or further analysis:
- Printer Connection: Connect a thermal printer to the machine to print counting details directly.
- PC Connection: Use the provided special PC software to output counting data to a computer. The default baud rate of the machine is 115200.

Figure 6.7.1: Printer and PC Connectivity
7. Maintenance
Regular maintenance ensures optimal performance and longevity of your money counter.
7.1. Cleaning
The entire passage of the machine can be opened from the rear side for convenient internal cleaning. Use the provided cleaning brush to remove dust and debris from sensors and rollers.
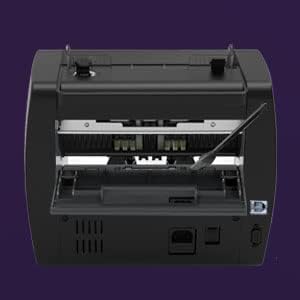
Figure 7.1.1: Open Passage for Cleaning
7.2. General Care
- Keep the machine in a clean, dry environment.
- Avoid exposing the machine to direct sunlight or extreme temperatures.
- Do not use abrasive cleaners or solvents on the machine's surface.
8. Troubleshooting
This section addresses common issues you might encounter with the NC-5 Money Counter Machine.
| Problem | Possible Cause | Solution |
|---|---|---|
| Machine does not power on | Power cable not connected; Power outlet faulty | Check power cable connection; Try a different outlet |
| Bills are not feeding smoothly | Dust/debris on rollers; Worn rollers; Improper bill placement | Clean rollers with brush; Ensure bills are neatly stacked and aligned; Contact support if rollers are worn |
| Counterfeit detection errors | Sensors are dirty; Bills are damaged or very old; Actual counterfeit bill | Clean sensors; Try counting new bills; Verify suspicious bills manually |
| Incorrect count results | Bills are stuck together; Sensors are dirty; Improper bill placement | Fan out bills before placing in hopper; Clean sensors; Ensure bills are neatly stacked and aligned |
9. Specifications
| Feature | Detail |
|---|---|
| Brand | NUCOUN |
| Model Number | NC-5 |
| Item Weight | 14.92 pounds |
| Product Dimensions | 11.42 x 9.65 x 9.84 inches |
| Material Type | Polycarbonate |
| Display | 3.5 inch LED Display |
| Counterfeit Detection | UV, MG, IR, DD |
| Noise Level | Less than 75dB |
| Connectivity | Printer, PC (Baud Rate: 115200) |
10. Warranty and Support
NUCOUN provides comprehensive support for your NC-5 Money Counter Machine:
- Quality Protection: Two years of quality protection from the date of purchase.
- Technical Support: Lifetime technical support for the bill counter.
- Dedicated Support Team: A dedicated US-based support team is available to answer questions within 12 hours.

Figure 10.1: Two-Year Quality Protection

Figure 10.2: Dedicated Support