Introduction
This manual provides detailed instructions for the assembly, operation, and maintenance of your AX WABER Single Monitor Desk Stand, model AX05TB01. Please read this manual thoroughly before installation and use to ensure proper function and safety. Keep this manual for future reference.
Safety Information
- Ensure the desk surface is stable and capable of supporting the combined weight of the stand and your monitor (up to 77 lbs).
- Do not exceed the maximum weight capacity of 77 lbs (35 kg).
- Verify that your monitor has VESA mounting holes (75x75mm or 100x100mm) before installation.
- Keep children and pets away during assembly. Small parts may be a choking hazard.
- Tighten all screws securely, but do not overtighten to avoid stripping threads.
- Regularly check all connections to ensure they remain secure.
- Use only the provided hardware. If any parts are missing or damaged, contact customer support.
Package Contents
Please verify that all components are present and undamaged before proceeding with assembly.
- Base Plate (Tempered Glass)
- Support Pole
- VESA Monitor Plate
- Cable Management Clips
- Non-slip Foot Pads
- Assembly Hardware Kit (Screws, Washers, Allen Keys)
- Instruction Manual
Setup Instructions
Follow these steps carefully to assemble your monitor stand.
Step 1: Attach Non-slip Foot Pads to the Base
Carefully place the non-slip foot pads onto the bottom corners of the tempered glass base plate. This prevents scratching and provides stability.

Image: Close-up of the non-slip foot mat attached to the bottom of the stand's base.
Step 2: Assemble the Support Pole to the Base
Secure the support pole to the center of the base plate using the provided screws and tools. Ensure it is firmly attached and upright.

Image: Diagram illustrating the reinforcing screw connecting the support pole to the base plate.
Step 3: Attach VESA Plate to Your Monitor
Align the VESA monitor plate with the mounting holes on the back of your monitor. Use the appropriate screws from the hardware kit (M4, M5, or M6 depending on your monitor) and tighten them securely. Do not overtighten.

Image: The AX WABER Single Monitor Desk Stand with a monitor attached, showing the VESA plate connection.
Step 4: Mount Monitor to the Support Pole
Carefully slide the VESA plate (with the monitor attached) onto the support pole's mounting bracket. Ensure it slots in correctly. Secure it with the safety screw provided to prevent accidental dislodgement.

Image: Close-up view of the safety screw mechanism on the monitor stand, ensuring the monitor is securely mounted.
Step 5: Cable Management
Route your monitor cables through the integrated cable management clips on the support pole to maintain a tidy workspace.
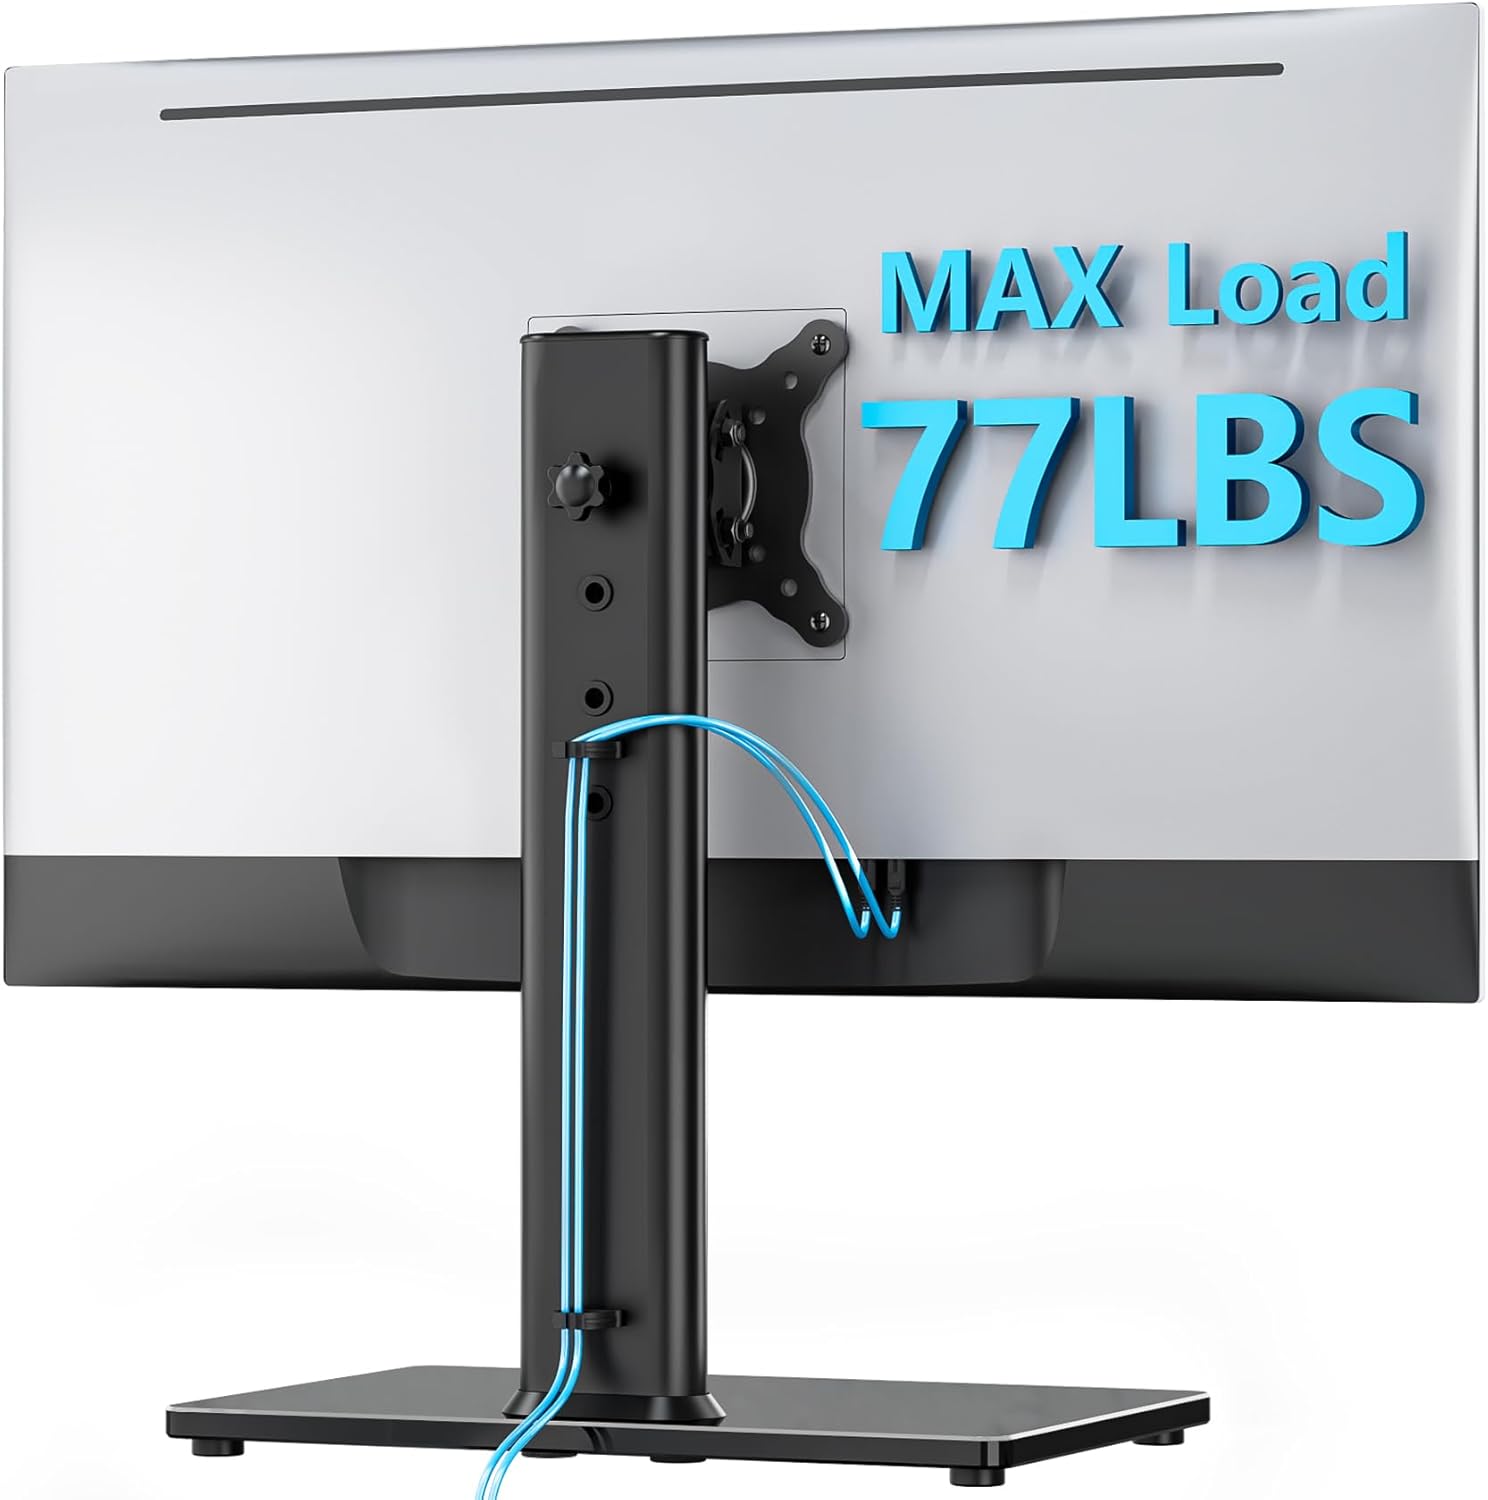
Image: Rear view of the monitor stand showing cables neatly routed through the cable management system on the support pole.
Operating Instructions
The AX WABER Single Monitor Desk Stand offers multiple adjustment options for optimal viewing comfort.
Height Adjustment
The monitor can be adjusted to various heights along the support pole. Loosen the height adjustment knob on the back of the pole, slide the monitor to your desired height (between 11.2" and 16"), and then re-tighten the knob to secure it. There are 4 distinct levels for height adjustment.

Image: Illustration demonstrating the four distinct height adjustment levels of the monitor stand, ranging from 11.2 inches to 16 inches.
Tilt Adjustment
Adjust the monitor's vertical angle by tilting it forward or backward. The stand allows for a tilt range of +15° to -15°. Loosen the tilt mechanism, adjust the angle, and then tighten to fix the position.
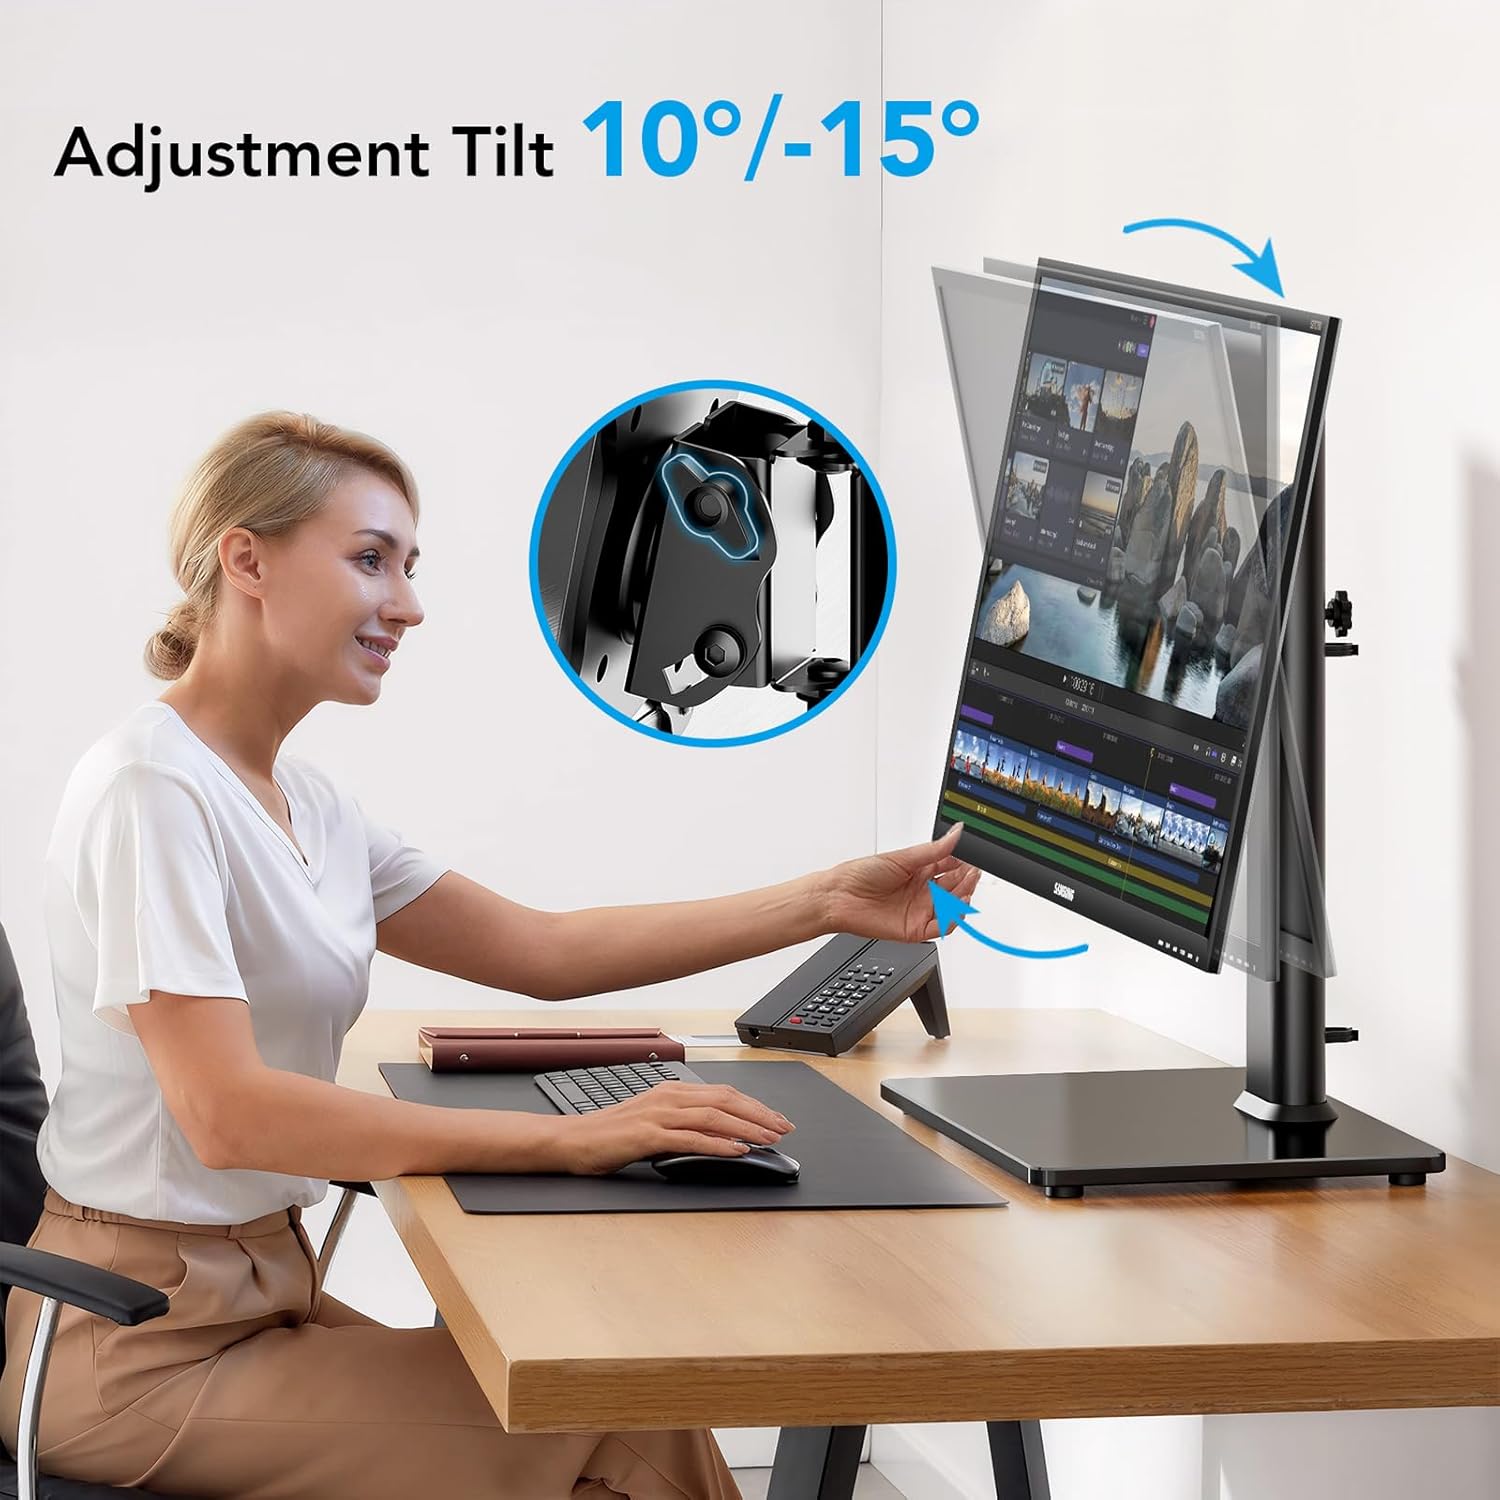
Image: A user adjusting the monitor's tilt angle, illustrating the +10° to -15° tilt range.
Swivel Adjustment
The monitor can swivel up to 90° (45° left and 45° right) to share your screen or adjust your viewing angle without moving the base. Gently rotate the monitor to the desired position.
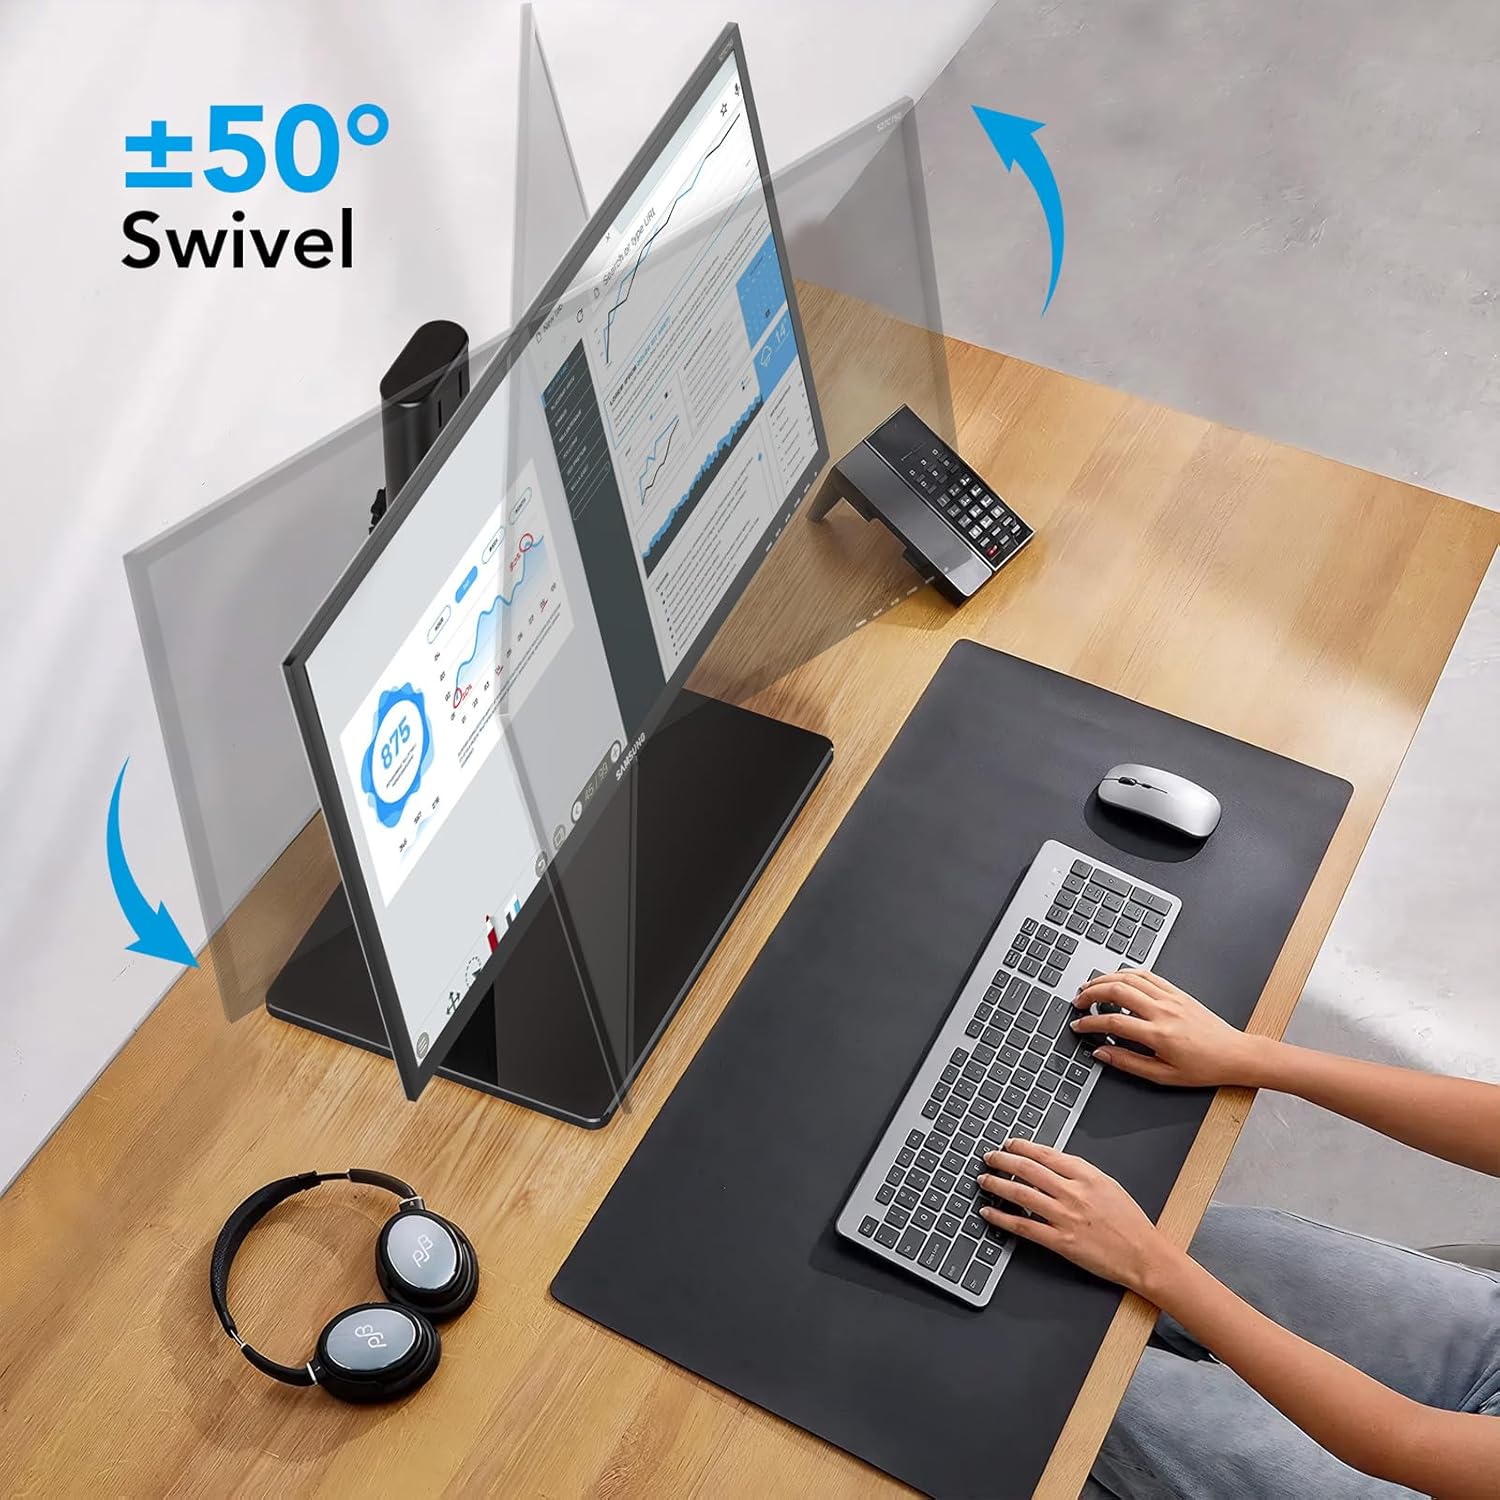
Image: A monitor swiveling left and right, demonstrating the ±50° swivel capability of the stand.
Rotation Adjustment
Rotate your monitor 360° to switch between landscape and portrait orientations. This is useful for various tasks such as coding or document viewing. Simply rotate the monitor until it clicks into the desired orientation.

Image: A monitor rotating 360 degrees on the stand, illustrating its full rotational capability.
Maintenance
- Cleaning: Wipe the stand with a soft, damp cloth. Avoid abrasive cleaners or solvents that could damage the finish.
- Periodic Checks: Periodically check all screws and connections to ensure they remain tight and secure. Re-tighten if necessary.
- Weight Capacity: Do not place items heavier than the specified maximum weight on the stand.
Troubleshooting
| Problem | Possible Cause | Solution |
|---|---|---|
| Monitor is unstable or wobbles. | Screws are loose; monitor too heavy; uneven desk surface. | Ensure all assembly screws are tightened. Verify monitor weight is within 77 lbs limit. Move to a flat, stable surface. |
| Monitor cannot be adjusted (tilt/swivel/rotation). | Adjustment mechanisms are too tight or not properly engaged. | Loosen the relevant adjustment knob/screw slightly. Ensure the monitor is correctly seated on the VESA plate. |
| Monitor slides down after height adjustment. | Height adjustment knob is not tightened sufficiently. | Re-tighten the height adjustment knob firmly after setting the desired height. |
| VESA plate does not fit monitor. | Incorrect VESA pattern or monitor size. | Verify your monitor's VESA pattern is 75x75mm or 100x100mm and its size is between 13" and 32". |
Specifications
| Model Number | AX05TB01 |
| Brand | AX WABER |
| Compatible Monitor Size | 13" to 32" |
| Maximum Weight Capacity | 77 lbs (35 kg) |
| VESA Compatibility | 75x75mm, 100x100mm |
| Height Adjustment Range | 11.2" to 16" (4 levels) |
| Tilt Angle | +15° to -15° |
| Swivel Angle | 90° (±45°) |
| Rotation | 360° (Landscape/Portrait) |
| Mounting Type | Tabletop Freestanding |
| Material | Alloy Steel, Tempered Glass |
| Color | Black |
| Item Weight | 4.86 lbs |
Note: Specifications are subject to change without notice.
Warranty and Support
For warranty information or technical support, please refer to the warranty card included with your product or contact AX WABER customer service directly. Contact details can typically be found on the manufacturer's official website or on the product packaging.
Manufacturer: AX
Brand: AX WABER
For further assistance, please visit the AX WABER Store on Amazon.