1. Important Safety Instructions
Read all instructions carefully before using the appliance. Keep this manual for future reference.
- This appliance is for indoor use only.
- Ensure the power supply matches the voltage specified on the rating label.
- Do not operate the unit with a damaged cord or plug.
- Always place the unit on a flat, stable surface.
- Maintain a minimum distance of 30 cm (12 inches) from walls or other objects to ensure proper airflow.
- Do not block the air inlets or outlets.
- Unplug the unit before cleaning or performing any maintenance.
- Do not insert objects into the air outlets.
- Keep children and pets away from the unit during operation.
2. Product Overview
The bion HEATING Portable Air Conditioner is designed to provide efficient cooling for your indoor space. It features a compact design and easy-to-use controls.
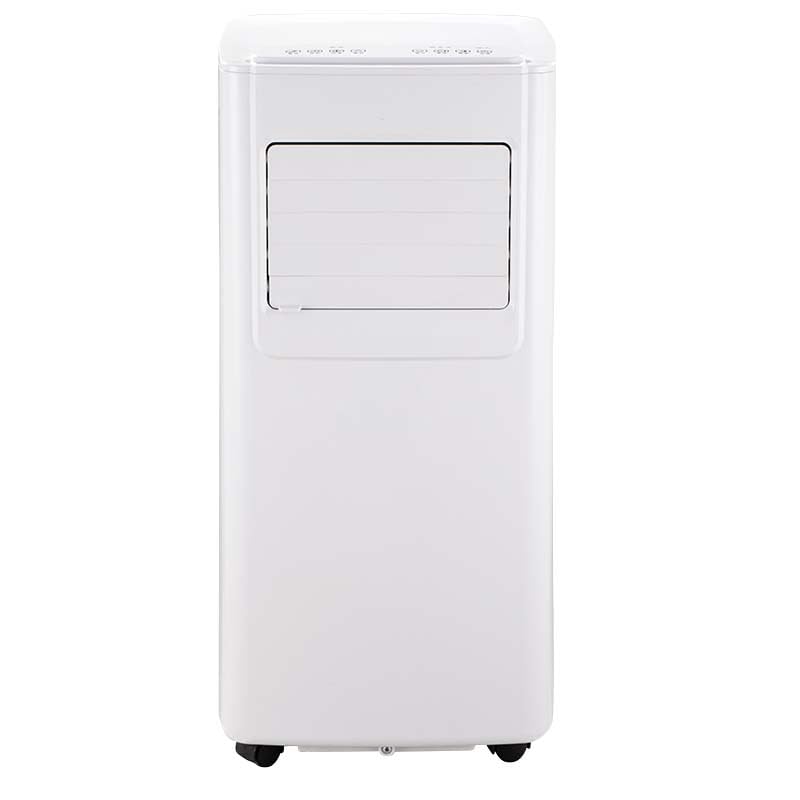
Figure 2.1: Front view of the bion HEATING Portable Air Conditioner. This image shows the main unit with its control panel and air outlet louvers.
2.1 Components
- Main Air Conditioner Unit
- Exhaust Hose
- Window Sealing Kit (Adapter, Plate)
- Remote Control
- Drain Hose
2.2 Control Panel
The control panel is located on the top of the unit and includes buttons for power, mode selection, fan speed, timer, and temperature adjustment.

Figure 2.2: Illustration of the control panel. This image displays the buttons and indicators for operating the unit directly.
3. Setup and Installation
3.1 Unpacking
- Carefully remove the air conditioner and all accessories from the packaging.
- Inspect the unit for any damage. If damaged, do not operate and contact customer support.
- Retain the original packaging for future storage or transport.
3.2 Placement
Place the air conditioner on a firm, level surface in a location that allows for proper exhaust ventilation. Ensure there is at least 30 cm (12 inches) of clear space around the unit for optimal airflow.
3.3 Exhaust Hose Installation
The exhaust hose expels hot air from the room. Proper installation is crucial for efficient cooling.
- Attach the exhaust hose adapter to one end of the exhaust hose.
- Connect the other end of the exhaust hose to the exhaust outlet on the back of the air conditioner unit.
- Install the window sealing plate into a partially open window. Adjust the plate to fit snugly.
- Insert the exhaust hose adapter (with hose attached) into the opening of the window sealing plate. Ensure a tight seal to prevent hot air from re-entering the room.

Figure 3.1: Diagram illustrating the correct installation of the exhaust hose and window sealing kit. This shows how to connect the hose to the unit and vent it through a window.
4. Operating Instructions
4.1 Power On/Off
Press the POWER button on the control panel or remote control to turn the unit on or off.
4.2 Mode Selection
Press the MODE button to cycle through the available operating modes:
- Cool Mode: Provides cooling. Adjust the temperature using the UP and DOWN buttons.
- Fan Mode: Circulates air without cooling. Fan speed can be adjusted.
- Dry Mode: Dehumidifies the air. Fan speed is typically fixed in this mode.
4.3 Temperature Adjustment
In Cool Mode, use the UP (▲) and DOWN (▼) buttons to set the desired room temperature. The temperature range is typically 16°C to 30°C (61°F to 86°F).
4.4 Fan Speed Adjustment
Press the FAN SPEED button to select between Low, Medium, and High fan speeds. This function is available in Cool and Fan modes.
4.5 Timer Function
The timer function allows you to set a specific time for the unit to turn on or off automatically.
- To set Auto-Off: While the unit is running, press the TIMER button. Use the UP and DOWN buttons to set the desired number of hours (1-24) after which the unit will turn off.
- To set Auto-On: While the unit is off, press the TIMER button. Use the UP and DOWN buttons to set the desired number of hours (1-24) after which the unit will turn on.
4.6 Remote Control
The remote control duplicates most functions of the control panel for convenient operation from a distance. Ensure the remote control batteries are correctly installed.

Figure 4.1: Image of the remote control. This shows the layout of buttons for remote operation of the air conditioner.
5. Maintenance
Regular maintenance ensures optimal performance and extends the lifespan of your air conditioner.
5.1 Cleaning the Air Filter
The air filter should be cleaned every two weeks, or more frequently depending on usage and air quality.
- Unplug the air conditioner from the power outlet.
- Locate the air filter panel, usually on the back or side of the unit.
- Remove the filter by pulling it out gently.
- Wash the filter with lukewarm water and a mild detergent. Rinse thoroughly.
- Allow the filter to air dry completely before reinserting it into the unit. Do not expose to direct sunlight.

Figure 5.1: Step-by-step guide on removing and cleaning the air filter. This image demonstrates the process for maintaining air quality and unit efficiency.
5.2 Draining Water
The unit collects condensation during operation. When the internal water tank is full, the unit will stop operating and display an indicator (e.g., 'FL' or 'P1').
- Unplug the air conditioner.
- Place a shallow pan or tray under the drain outlet, located at the bottom rear of the unit.
- Remove the drain plug/cap. Water will begin to flow out.
- Once all water has drained, replace the drain plug/cap securely.
- For continuous drainage, attach the provided drain hose to the drain outlet and direct it to a floor drain or suitable container.
5.3 Cleaning the Unit Exterior
Wipe the exterior of the unit with a soft, damp cloth. Do not use harsh chemicals or abrasive cleaners.
6. Troubleshooting
Before contacting customer support, refer to the following table for common issues and solutions.
| Problem | Possible Cause | Solution |
|---|---|---|
| Unit does not turn on | No power supply Power cord not plugged in Circuit breaker tripped | Check power outlet Ensure cord is securely plugged in Reset circuit breaker |
| Unit not cooling effectively | Air filter dirty Exhaust hose not properly installed Windows/doors open Room too large | Clean air filter Ensure exhaust hose is sealed Close all windows and doors Unit may be undersized for the room |
| Water leakage | Drain plug loose Unit not level | Tighten drain plug Ensure unit is on a level surface |
| Unit displays 'FL' or 'P1' | Internal water tank full | Drain the water tank as per Section 5.2 |
7. Specifications
| Feature | Detail |
|---|---|
| Model Number | 8059304859823 |
| Cooling Capacity | 7000 BTU |
| Power Source | Electrics |
| Voltage | 240 Volt |
| Weight | 25 Kilograms |
| Control Method | Remote / Manual |
| Installation Type | Portable (Packaged) |
8. Warranty and Support
This product comes with a standard manufacturer's warranty. For specific warranty terms and conditions, please refer to the warranty card included with your purchase or contact the retailer.
For technical assistance, troubleshooting beyond this manual, or to inquire about replacement parts, please contact bion HEATING customer support. Contact information can typically be found on the product packaging or the official bion HEATING website.
When contacting support, please have your model number (8059304859823) and purchase date available.