XTUGA U500
XTUGA U500 Rechargeable Wireless Microphone System User Manual
Model: U500
1. Introduction
Thank you for choosing the XTUGA U500 Rechargeable Wireless Microphone System. This professional UHF wireless microphone system is designed for various applications including church events, weddings, karaoke, and other performances. It offers reliable wireless connectivity, excellent sound quality, and user-friendly features. Please read this manual carefully before operating the system to ensure proper use and optimal performance.
2. Package Contents
Upon unboxing your XTUGA U500 system, please verify that all the following components are included:
- U500 UHF Wireless Receiver (1 unit)
- UHF Wireless Handheld Microphones (2 units)
- USB Port Lithium Battery (2 units)
- 1.5V Battery Mounting Adapter (2 units)
- USB Power Cable (1 unit)
- User Manual (1 unit)
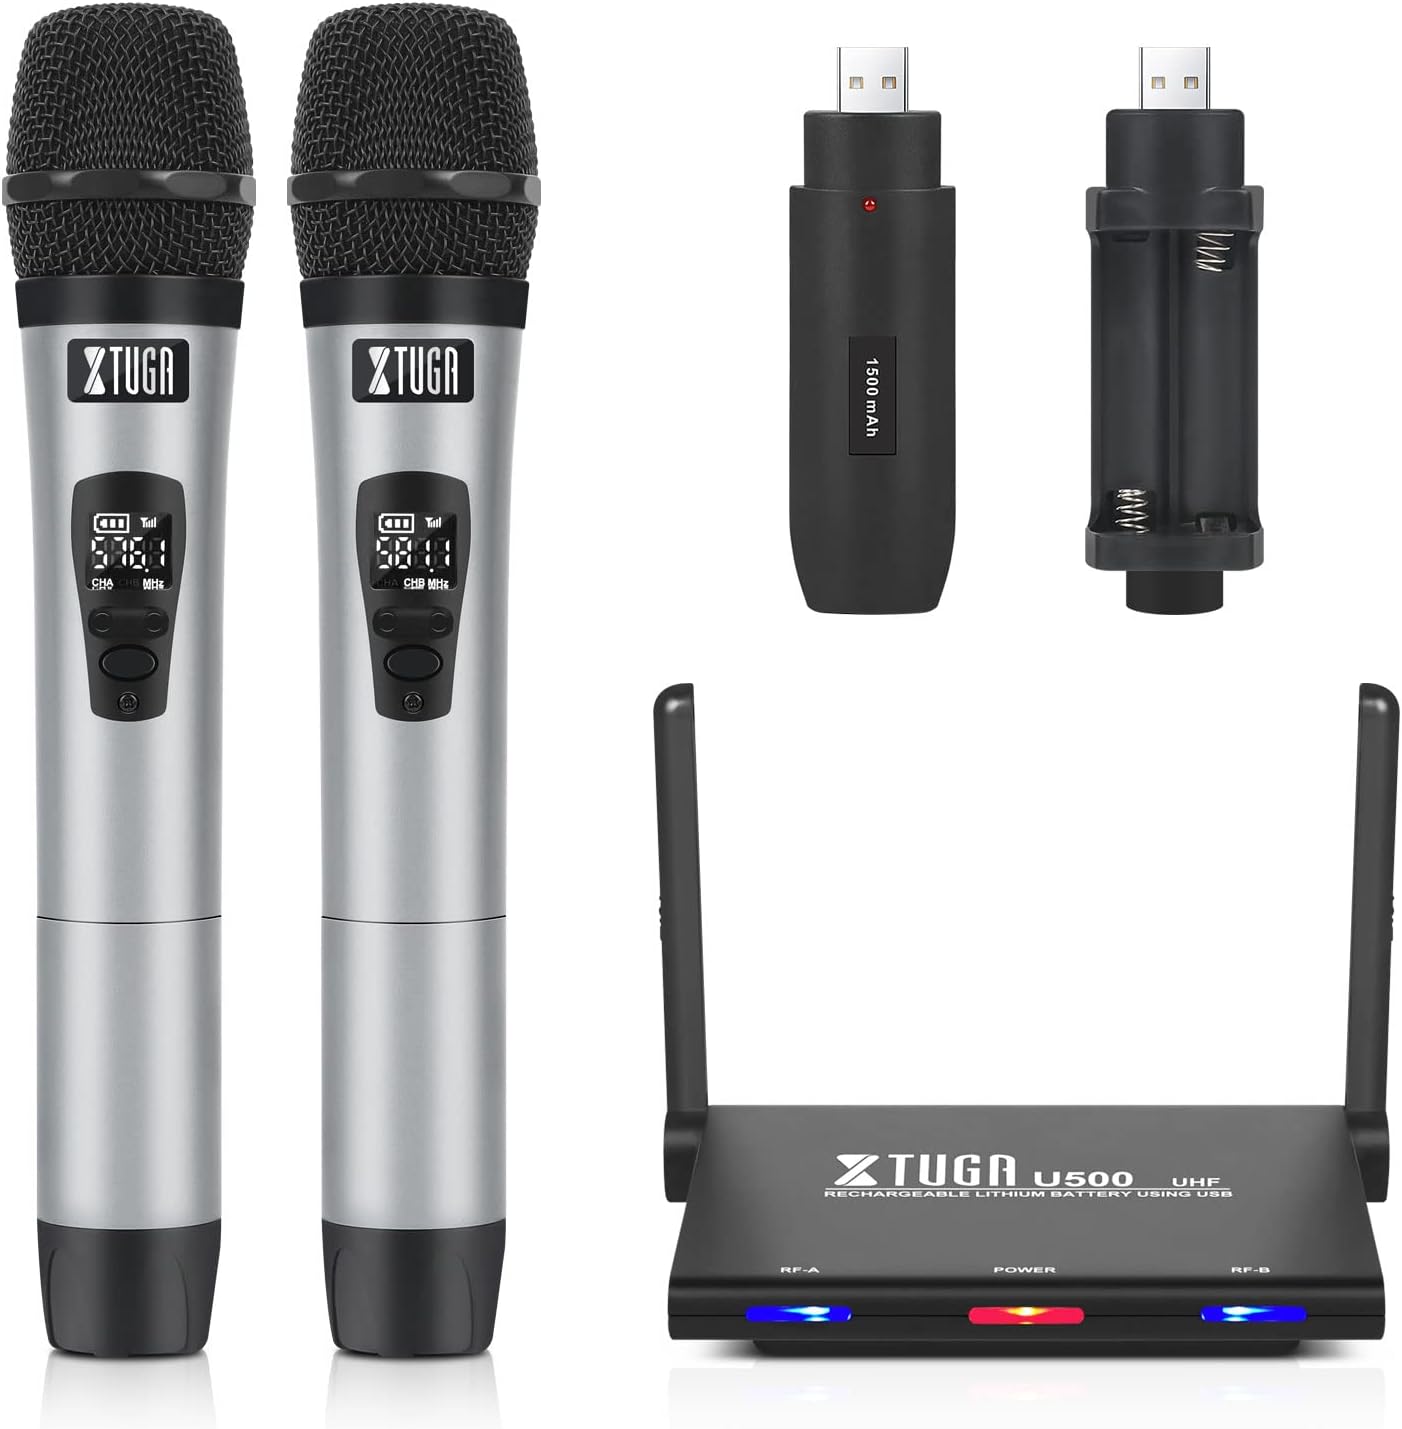
Image: All components of the XTUGA U500 Wireless Microphone System, including the receiver, two handheld microphones, and charging accessories.
3. Setup Guide
3.1 Powering the System
The XTUGA U500 offers flexible power options for the handheld microphones:
- AA Batteries: Each microphone can be powered by two standard AA batteries (not included).
- USB Rechargeable Batteries: Alternatively, use the provided USB rechargeable lithium batteries. These batteries can be charged directly via the USB port on the receiver unit.
The receiver unit is powered via the included USB power cable.

Image: Illustration showing the two power supply methods for the microphones: standard AA batteries and USB rechargeable batteries.

Image: The USB rechargeable batteries can be connected to the receiver for convenient charging.
3.2 Connecting to Audio Equipment
Connect the U500 receiver's output to your audio mixer, amplifier, or powered speaker using an appropriate XLR or auxiliary cable. Ensure the volume on your audio equipment is set to a low level before turning on the system.
3.3 Antenna Setup
The receiver features an integrated antenna design that requires no installation. The antennas can be adjusted 90 degrees up or down for optimal signal reception. Position the receiver in an open area, away from large metal objects or other wireless devices that may cause interference.

Image: The XTUGA U500 receiver with its high-quality, adjustable antennas, which can be folded 90 degrees for convenience and optimal signal.
4. Operation Guide
4.1 Turning On/Off
To turn on the receiver, connect the USB power cable. The power indicator LED will illuminate. To turn on each microphone, press and hold the power button until the display screen lights up.
4.2 Frequency Pairing (Auto Scan)
The U500 system features an automatic scanning function to find the least interfered channels. Each channel has 10 selectable frequencies within the 530MHz-590MHz range. The system can support up to 5 devices simultaneously without interference. To pair, ensure the receiver and microphone are on, and the system will automatically connect to an available frequency.

Image: Diagram illustrating the auto frequency connect feature and the operational range of up to 262 feet for the XTUGA U500 system.
4.3 Adjusting Volume
The receiver unit has individual volume controls for each microphone channel. Adjust the appropriate volume levels using the dedicated knobs on the receiver to achieve desired audio output.

Image: Close-up of the XTUGA U500 receiver showing the individual volume adjustment controls for each microphone channel.
4.4 Battery Status and Life
The microphone display shows the current battery level. With fully charged lithium batteries, the microphones can operate for up to 8 hours. The receiver also features unique LED indicators to show the working status, even in low-light environments.
4.5 Sound Quality
The XTUGA U500 system is designed to reduce noise and realistically restore the picked-up sound. The microphones feature a cardioid pickup pattern, which helps in isolating the main sound source and minimizing background noise.
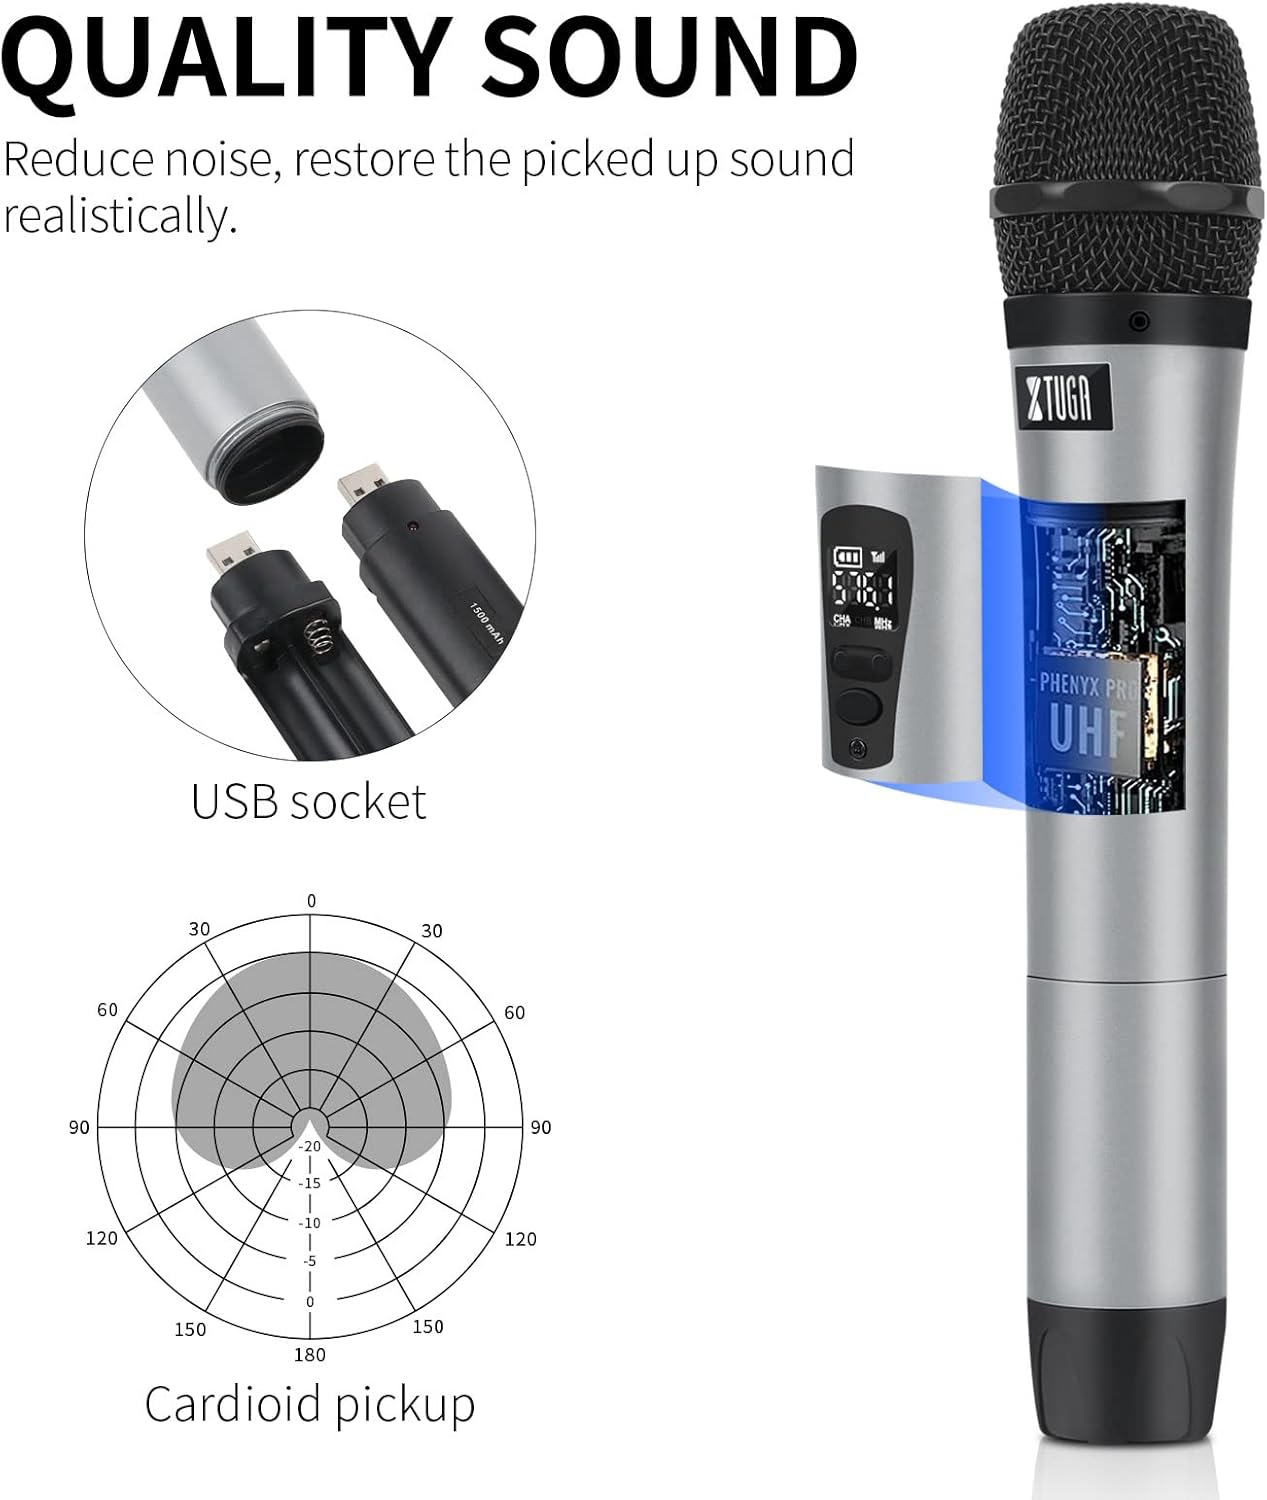
Image: An illustration highlighting the sound quality features of the XTUGA U500 microphone, including its USB socket and cardioid pickup pattern for realistic sound reproduction.
5. Maintenance
To ensure the longevity and optimal performance of your XTUGA U500 system, follow these maintenance guidelines:
- Cleaning: Use a soft, dry cloth to clean the receiver and microphones. Do not use liquid cleaners or abrasive materials.
- Battery Care: If using rechargeable batteries, ensure they are fully charged before long periods of storage. For long-term storage, remove all batteries from the microphones.
- Storage: Store the system in a cool, dry place away from direct sunlight, extreme temperatures, and high humidity.
- Handling: Handle the microphones and receiver with care. Avoid dropping or subjecting them to strong impacts.
6. Troubleshooting
If you encounter issues with your XTUGA U500 system, please refer to the following common troubleshooting steps:
| Problem | Possible Cause | Solution |
|---|---|---|
| Microphone not connecting or no sound | Low battery; Microphone not powered on; Receiver not powered on; Frequency interference; Microphone out of range. | Check microphone batteries and replace/recharge if low. Ensure both microphone and receiver are powered on. Try moving closer to the receiver. The system has an auto-scan function to find clear frequencies. |
| Base unit (receiver) not functioning / LED indicators off | Power cable disconnected; Faulty power source. | Ensure the USB power cable is securely connected to the receiver and a working power source. Try a different USB port or power adapter. |
| Poor sound quality / Static / Dropouts | Interference from other wireless devices; Obstructions between microphone and receiver; Microphone too far from receiver. | Relocate the receiver to an open area. Ensure line of sight between microphones and receiver. Avoid placing the receiver near Wi-Fi routers, cordless phones, or other wireless electronics. Try a different frequency if available. |
| Low volume output | Microphone volume too low; Receiver volume too low; Audio equipment volume too low. | Increase the volume on the microphone (if applicable), receiver, and your connected audio equipment (mixer/speaker). |
If the problem persists after trying these solutions, please contact XTUGA customer support for further assistance.
7. Specifications
Below are the technical specifications for the XTUGA U500 Wireless Microphone System:
| Feature | Detail |
|---|---|
| Brand | XTUGA |
| Model Name | U500 |
| Connectivity Technology | Auxiliary, Wireless (UHF) |
| Connector Type | XLR |
| Special Feature | Rechargeable |
| Compatible Devices | Speaker |
| Audio Sensitivity | 95 dB |
| Item Dimensions (L x W x H) | 7.5 x 25.5 x 31.5 centimeters |
| Power Source | Cable Electric |
| Number of Channels | 32 |
| Battery Composition | Lithium-ion (for rechargeable batteries) |
| Recommended Uses for Product | Singing |
| Operating Range | Up to 262ft (line of sight in open space) |
| Frequency Range | 530MHz-590MHz |
8. Warranty and Support
Products bearing authentic brand logos are eligible for a one-year free warranty period. If you have any quality complaints or other questions regarding your XTUGA U500 system, the brand's after-sales team is available to assist you at any time.
For support, please refer to the contact information provided with your purchase or visit the official XTUGA website.