1. Introduction
1.1 Welcome
Thank you for choosing the TEELODANE Q200 Industrial Wireless Crane Remote Control Kit. This manual provides essential information for the safe and efficient operation, installation, and maintenance of your device. Please read this manual thoroughly before use and retain it for future reference.
1.2 Safety Information
Always prioritize safety when operating industrial equipment. Failure to follow these instructions may result in serious injury or equipment damage.
- Ensure all wiring is performed by a qualified electrician.
- Always test the emergency stop function before each use.
- Do not operate the remote control if you are unfamiliar with its functions or the crane's operation.
- Keep the transmitter dry and clean.
- Do not attempt to repair the unit yourself; contact qualified service personnel.
2. Product Overview
2.1 Components
The TEELODANE Q200 kit typically includes the following:
- 1 x Transmitter (Handheld Remote)
- 1 x Receiver Unit
- Mounting Accessories
- Instruction Manual
- Button Function Stickers

Figure 1: Main components of the Q200 kit, including the transmitter, receiver, and button stickers.

Figure 2: Contents of the Q200 kit packaging.
2.2 Features
- High Quality Antenna: Provides a remote control distance of up to 100 meters in open areas.
- Robust and Durable: The shell is constructed from PA6 (30%GF) material, offering IP65 protection against water and dust, and resistance to rolling. Certified with FCC and CE.
- Easy to Operate: Transmitter features LED lights to indicate operating status clearly.
- Button Function Modification: Buttons can be customized by connecting to a computer (Windows system) via a separately purchased data line.
- Wireless Pairing: Allows for easy replacement of lost transmitters or receivers by purchasing a separate unit and following the pairing instructions.
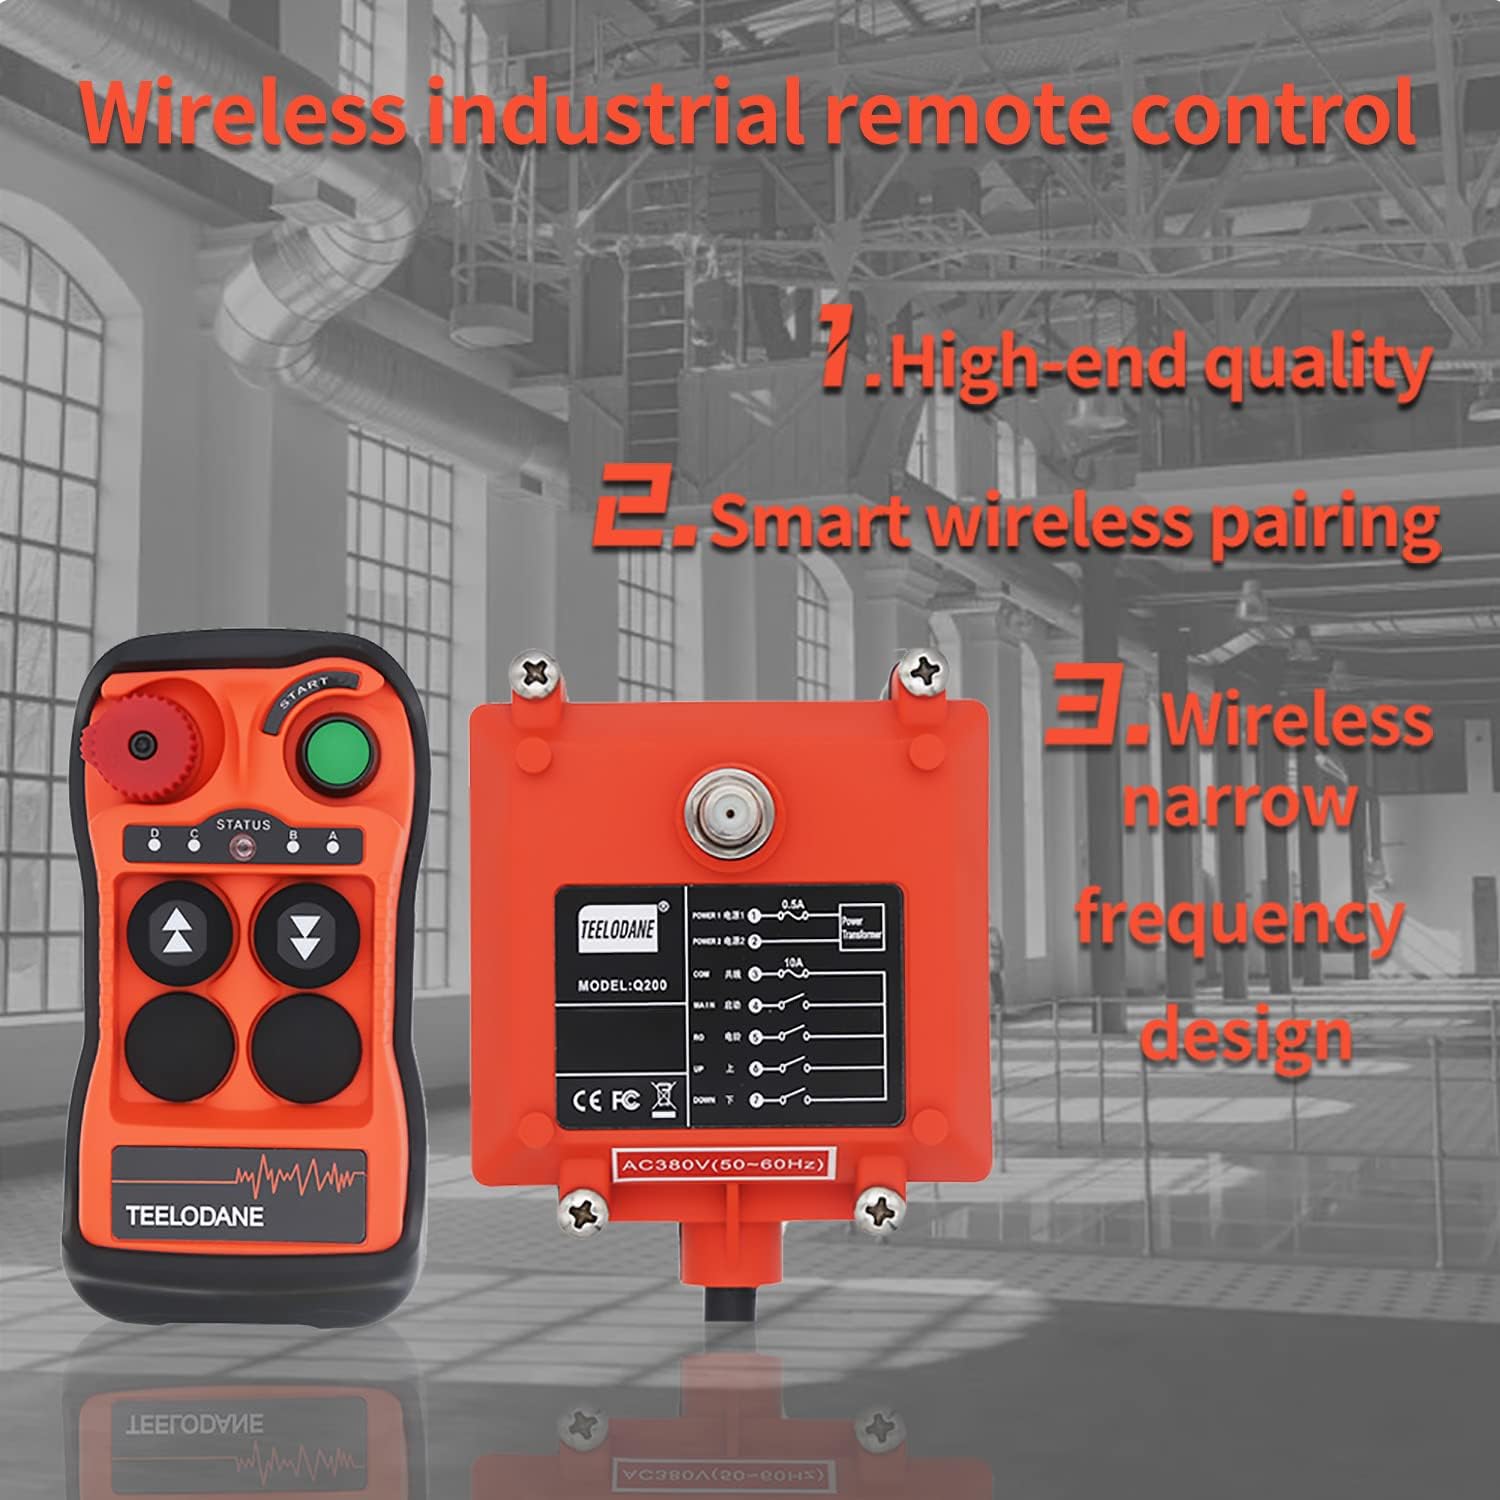
Figure 3: The Q200 system highlighting its wireless industrial control capabilities.

Figure 4: Reinforced nylon shell for durability and protection.
2.3 Technical Specifications
| Specification | Value |
|---|---|
| Product Dimensions | 9.45 x 7.87 x 2.76 inches |
| Item Weight | 2.12 pounds |
| Item Model Number | Q200 |
| Batteries | 2 AAA batteries required |
| Brand | TEELODANE |
| Special Feature | Universal |
| Color | Red and Black |
| Max Number of Supported Devices | 1 |
| Compatible Devices | Crane |
3. Setup
3.1 Unboxing
Carefully open the packaging and verify that all components listed in Section 2.1 are present and undamaged. Keep the packaging for potential future transport or returns.
3.2 Battery Installation (Transmitter)
The transmitter requires 2 AAA batteries. Open the battery compartment on the back of the transmitter, insert the batteries according to the polarity markings, and close the compartment securely.
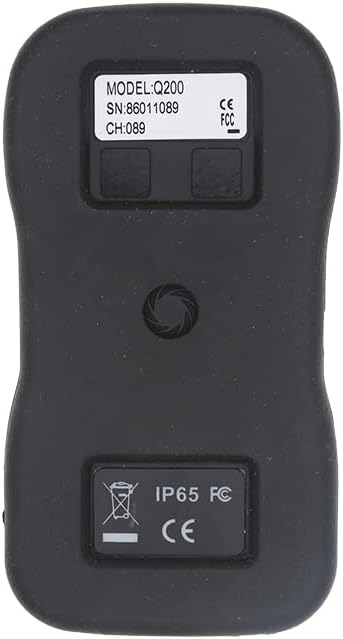
Figure 5: Back of the transmitter, showing the battery compartment.
3.3 Wiring the Receiver
The receiver unit must be wired correctly to the crane's electrical system. Refer to the wiring diagram below and consult a qualified electrician for installation.

Figure 6: Q200 Wiring Diagram. Ensure correct connections for POWER1, POWER2, COM, MAIN, UP, DOWN, and other auxiliary functions.
Video 1: This video demonstrates the proper wiring procedure for the remote control receiver. It shows how to connect the power lines and control lines to the crane's system, emphasizing the importance of correct voltage and connections to avoid damage.
3.4 Pairing Transmitter and Receiver
To establish communication between the transmitter and receiver, follow these pairing steps:
- Ensure the receiver is powered on. The receiver's indicator light should be red.
- Install batteries into the transmitter.
- Press and hold the black pairing button on the receiver for three seconds until the red and green lights on the receiver's main board flash alternately.
- Turn on the emergency stop button on the transmitter (rotate to release).
- Press the 'UP' and 'DOWN' buttons on the transmitter four times each, alternating between them.
- The indicator lights on the transmitter should now flash red and green alternately.
- Press the 'START' button and the 'DOWN' button on the transmitter simultaneously.
- The receiver's lights will stop flashing alternately, and the code inside the receiver will be paired with the transmitter. The system is now ready for normal operation.
Video 2: This video demonstrates the automatic pairing process for Q series remote controls, showing the steps to link the transmitter and receiver.
Video 3: A short preview video illustrating the automatic pairing method for the remote control system.

Figure 7: Visual representation of the smart wireless pairing process.
4. Operating Instructions
4.1 Basic Operation
After successful pairing, the transmitter can control the crane's movements. The buttons are typically labeled for directional control (UP, DOWN, EAST, WEST, NORTH, SOUTH) and other functions. Press the corresponding button to activate the desired movement.
Video 4: This video demonstrates the operation of the Q series crane wireless remote control, showing how to use the buttons for various crane movements.
Video 5: A demonstration of the TEELODANE Q200 wireless industrial remote control in action, showcasing its functionality.
4.2 Emergency Stop
The red rotary button on the transmitter is the emergency stop. In case of an emergency, press this button immediately to halt all crane operations. To reset, rotate the button clockwise until it pops out.
4.3 Button Function Modification
The functions of the buttons can be customized. This requires connecting the transmitter to a computer running a Windows operating system using a special data line (purchased separately). Refer to the software instructions for detailed customization procedures.
5. Maintenance
5.1 Cleaning
Regularly clean the transmitter and receiver with a soft, dry cloth. For stubborn dirt, a slightly damp cloth can be used, ensuring no moisture enters the internal components. Do not use harsh chemicals or abrasive cleaners.
5.2 Battery Replacement
When the transmitter's indicator lights show low battery or the range decreases, replace the AAA batteries. Always use new, high-quality batteries and dispose of old batteries responsibly.
6. Troubleshooting
6.1 Common Issues and Solutions
| Problem | Possible Cause | Solution |
|---|---|---|
| Transmitter not responding | Low batteries; Emergency stop engaged; Not paired; Out of range. | Replace batteries; Release emergency stop; Re-pair units (Section 3.4); Move closer to receiver. |
| Receiver indicator light off | No power to receiver; Faulty wiring. | Check power supply to receiver; Verify wiring connections (Section 3.3). |
| Intermittent control | Interference; Low transmitter battery; Obstructions. | Move away from sources of interference; Replace batteries; Ensure clear line of sight. |
7. Warranty and Support
7.1 Warranty Information
The TEELODANE Q200 Industrial Wireless Crane Remote Control Kit comes with a standard manufacturer's warranty. Please refer to the warranty card included in your packaging or contact the seller for specific terms and conditions. Keep your proof of purchase for warranty claims.
7.2 Contact Support
For technical assistance, troubleshooting beyond this manual, or warranty inquiries, please contact your retailer or the TEELODANE customer support team. Contact details can usually be found on the product packaging or the seller's website.