1. Introduction
The ZOEYEC Smart Sensor AR856 is a split digital anemometer designed for precise measurement of wind speed, wind temperature, and air volume. This versatile instrument is suitable for a wide range of applications, including heating, ventilation, air conditioning (HVAC), environmental protection, energy conservation monitoring, meteorology, agriculture, refrigeration, drying processes, labor health surveys, clean workshops, chemical fiber and textile industries, and various wind laboratory settings.
Key features include a telescopic probe for extended reach, a 3-in-1 measurement function, and USB connectivity with software for data transfer and analysis on a computer.
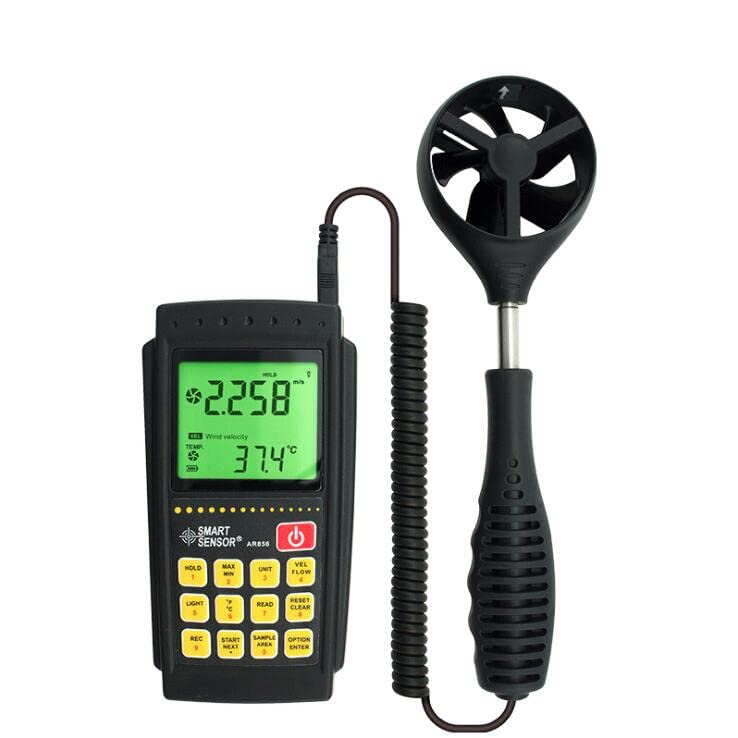
Image 1.1: The ZOEYEC Smart Sensor AR856 Split Digital Anemometer, showing the main display unit and the detachable, coiled probe with its impeller.
2. Package Contents
Before proceeding with setup, please verify that all items are present in the package:
- 1x AR856 Anemometer (Main Unit and Probe)
- 1x USB Cable
- 1x Software CD
- 1x User Manual (this document)
- 1x Calibration Certificate
- 1x Hard Carrying Case (Blue)
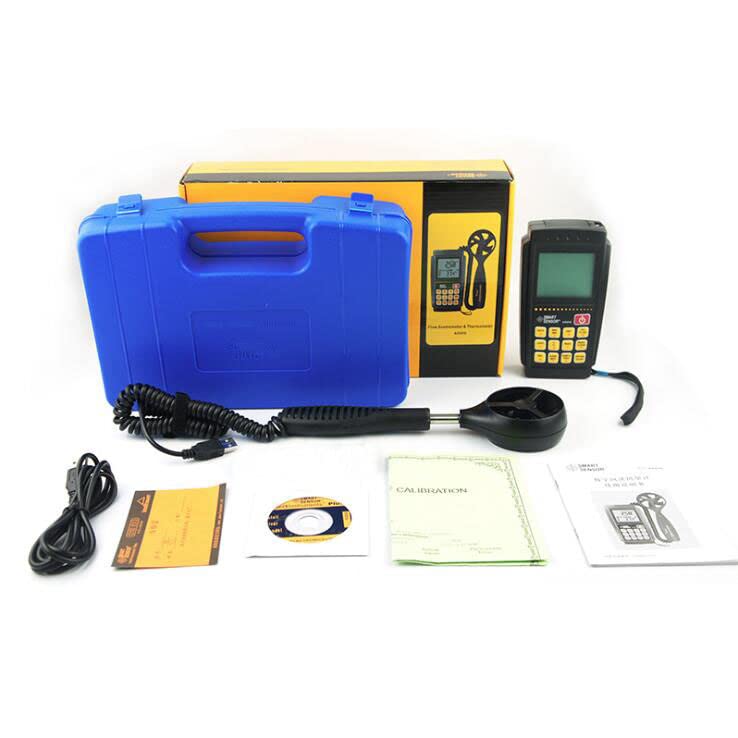
Image 2.1: All components included in the product package, laid out for inspection.
3. Setup
3.1. Battery Installation
- Locate the battery compartment on the back of the main unit.
- Open the battery compartment cover.
- Insert four (4) 1.5V AA batteries, ensuring correct polarity (+/-). Batteries are not included.
- Close the battery compartment cover securely.
3.2. Probe Connection
- Connect the coiled cable from the probe to the designated port on the main unit. Ensure a firm connection.
- The probe is telescopic. Gently extend the probe to the desired length (up to 365mm) for measurement.
3.3. Software Installation (Optional)
To utilize the data communication features, install the provided software from the CD onto your computer. Follow the on-screen instructions during installation.
4. Operating Instructions
4.1. Power On/Off
- To power on the device, press the Power button (red button with power symbol).
- To power off, press and hold the Power button until the display turns off.
4.2. Basic Measurement
Once powered on, the device will typically display real-time wind speed and temperature. Position the probe's impeller in the airflow you wish to measure.
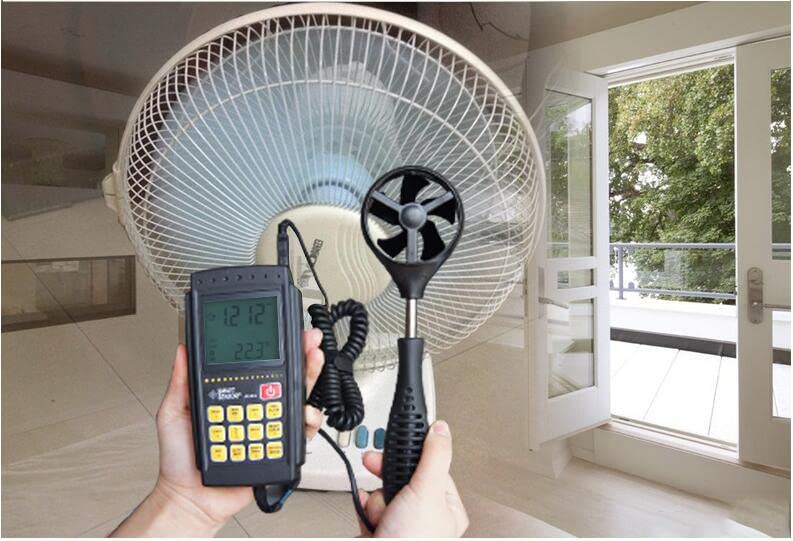
Image 4.1: The anemometer probe positioned to measure airflow from a fan.
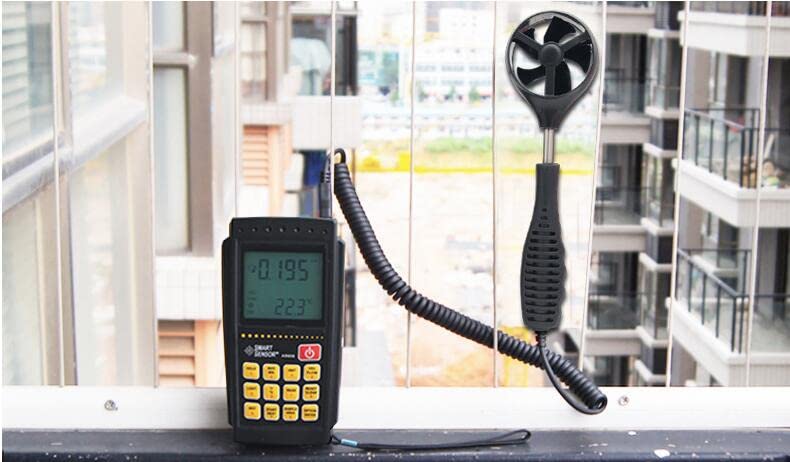
Image 4.2: The anemometer being used to measure wind speed in an outdoor environment.
4.3. Key Functions
- HOLD: Press to freeze the current reading on the display. Press again to release.
- LIGHT: Activates or deactivates the display backlight.
- REC: Initiates data recording.
- MAX/MIN: Displays the maximum or minimum recorded values.
- UNIT: Cycles through wind speed units (m/s, Ft/min, Knots).
- READ: Used to review stored data.
- °C/°F: Toggles between Celsius and Fahrenheit for temperature display.
- RESET/CLEAR: Resets or clears certain settings or data.
- START/NEXT: Used for starting measurements or navigating through menus.
- SAMPLE AREA: Likely used to input or select the measurement area for air volume calculations.
- OPTION/ENTER: Confirms selections or accesses options.
4.4. Data Storage and Communication
The AR856 can store up to 500 groups of measurement data. To transfer data to a computer:
- Ensure the software is installed on your computer.
- Connect the anemometer to your computer using the provided USB cable.
- Launch the software and follow its instructions to download and analyze the stored data.

Image 4.3: The anemometer connected to a laptop, demonstrating its data communication capability.
5. Maintenance
5.1. Cleaning
- Wipe the main unit and probe with a soft, dry cloth.
- Do not use abrasive cleaners or solvents, as these may damage the plastic housing or display.
- Ensure the impeller on the probe is free from dust and debris for accurate readings.
5.2. Battery Replacement
When the low battery indicator appears on the display, replace all four 1.5V AA batteries promptly to ensure continuous operation and accurate measurements. Refer to section 3.1 for battery installation instructions.
5.3. Storage
When not in use for extended periods, remove the batteries to prevent leakage. Store the anemometer in its protective carrying case in a cool, dry place, away from direct sunlight and extreme temperatures.
6. Troubleshooting
- Device does not power on: Check battery installation and ensure batteries are fresh.
- No reading or unstable readings: Ensure the probe is securely connected. Check if the impeller is obstructed or damaged. Ensure the probe is positioned correctly in the airflow.
- Low Battery Indicator: Replace batteries as described in section 5.2.
- Data transfer issues: Verify USB cable connection, ensure software is correctly installed, and check computer's USB port functionality.
7. Specifications
| Parameter | Value |
|---|---|
| Model | AR856 |
| Brand | ZOEYEC |
| Manufacturer | Smart Sensor |
| Wind Speed Measurement Range | 0 ~ 45 m/s |
| Wind Speed Accuracy | ±3% + 0.1 digit |
| Wind Speed Resolution | 0.1 m/s |
| Wind Volume Range | 0 ~ 999900 m³/min |
| Wind Temperature Measurement Range | 0 ~ 45°C |
| Temperature Error | ±2°C |
| Temperature Resolution | 2°C |
| Probe Retractable Length | 245 ~ 365 mm |
| Power Supply | 4 x 1.5V AA Batteries (not included) |
| Dimensions (Main Unit) | Approx. 176 x 165 x 50 mm |
| Data Storage | 500 Groups |
| Material | Plastic |
| UPC | 746664402711 |
8. Warranty Information
Specific warranty details for the ZOEYEC Smart Sensor AR856 are not provided in this manual. For information regarding warranty coverage, duration, and claims, please refer to the documentation included with your purchase or contact the seller or manufacturer directly.
9. Support
If you encounter any issues or have questions regarding the operation, maintenance, or troubleshooting of your ZOEYEC Smart Sensor AR856, please contact the retailer from whom you purchased the product or the manufacturer, Smart Sensor, for assistance.