1. Introduction
This manual provides essential information for the safe and effective use of your Lovskoo Mini Video Projector. Please read these instructions thoroughly before operating the device and retain them for future reference.
2. Safety Information
- Do not expose the projector to rain or moisture to prevent fire or electric shock.
- Do not open the casing. Refer all servicing to qualified personnel.
- Ensure proper ventilation. Do not block ventilation openings.
- Use only the power adapter specified for this device.
- Avoid direct eye exposure to the projector lens when the device is operating.
- Keep the projector away from heat sources and direct sunlight.
3. Package Contents
Verify that all items are present in the package:
- Lovskoo Mini Video Projector (Host)
- USB Power Cable
- Remote Control
- User Manual
4. Product Overview
Familiarize yourself with the components and dimensions of your projector.

Figure 4.1: Front view of the Lovskoo Mini Video Projector.

Figure 4.2: Dimensions of the Lovskoo Mini Video Projector (approximately 4.3 x 1.9 x 3.5 inches).
The projector features a compact design with a lens at the front and control buttons on the top surface. Connectivity ports are located on the sides or rear, typically including USB and a 3.5mm audio output.
5. Setup
Follow these steps to set up your projector for first use:
- Power Connection: Connect the provided USB power cable to the projector's micro USB input and then to a compatible 5V 2A power source (e.g., a wall adapter or power bank).
- Placement: Place the projector on a stable, flat surface. Ensure there are no obstructions in front of the lens. The recommended projection distance is 2-13.1 feet for a 14-100 inch screen size. For optimal viewing, a 9.32 feet distance is suggested for a 100-inch display.
- Power On: Press the power button on the projector or the remote control to turn on the device.
- Focus Adjustment: Adjust the focus ring (if available) near the lens until the projected image is clear and sharp.
Video 5.1: This video demonstrates the projector's capability to display various screen sizes (40" to 60") and shows the projector in different color variants. It illustrates the projection distance and how the image scales.
6. Operating
Once powered on, the projector will display its main interface. Use the remote control or the buttons on the projector to navigate menus and select input sources.
6.1 Basic Controls
- Power Button: Turns the projector on or off.
- Navigation Buttons: Used to move through menu options (Up, Down, Left, Right).
- OK/Enter Button: Confirms selections.
- Back/Exit Button: Returns to the previous menu or exits the current function.
- Volume Buttons: Adjusts the audio output level.
6.2 Connectivity
The projector supports various input methods:
- USB Input: Connect a USB drive to play media files directly.
- 3.5mm Audio Output: Connect external speakers or headphones for enhanced audio.
- Mobile Phone Connection: Connect your Android or iOS phone to the projector to mirror content. Specific connection methods (e.g., wired screen mirroring) may vary by phone model and require additional adapters (not included).

Figure 6.1: The projector can be powered by a mobile power supply (power bank) for portable use.
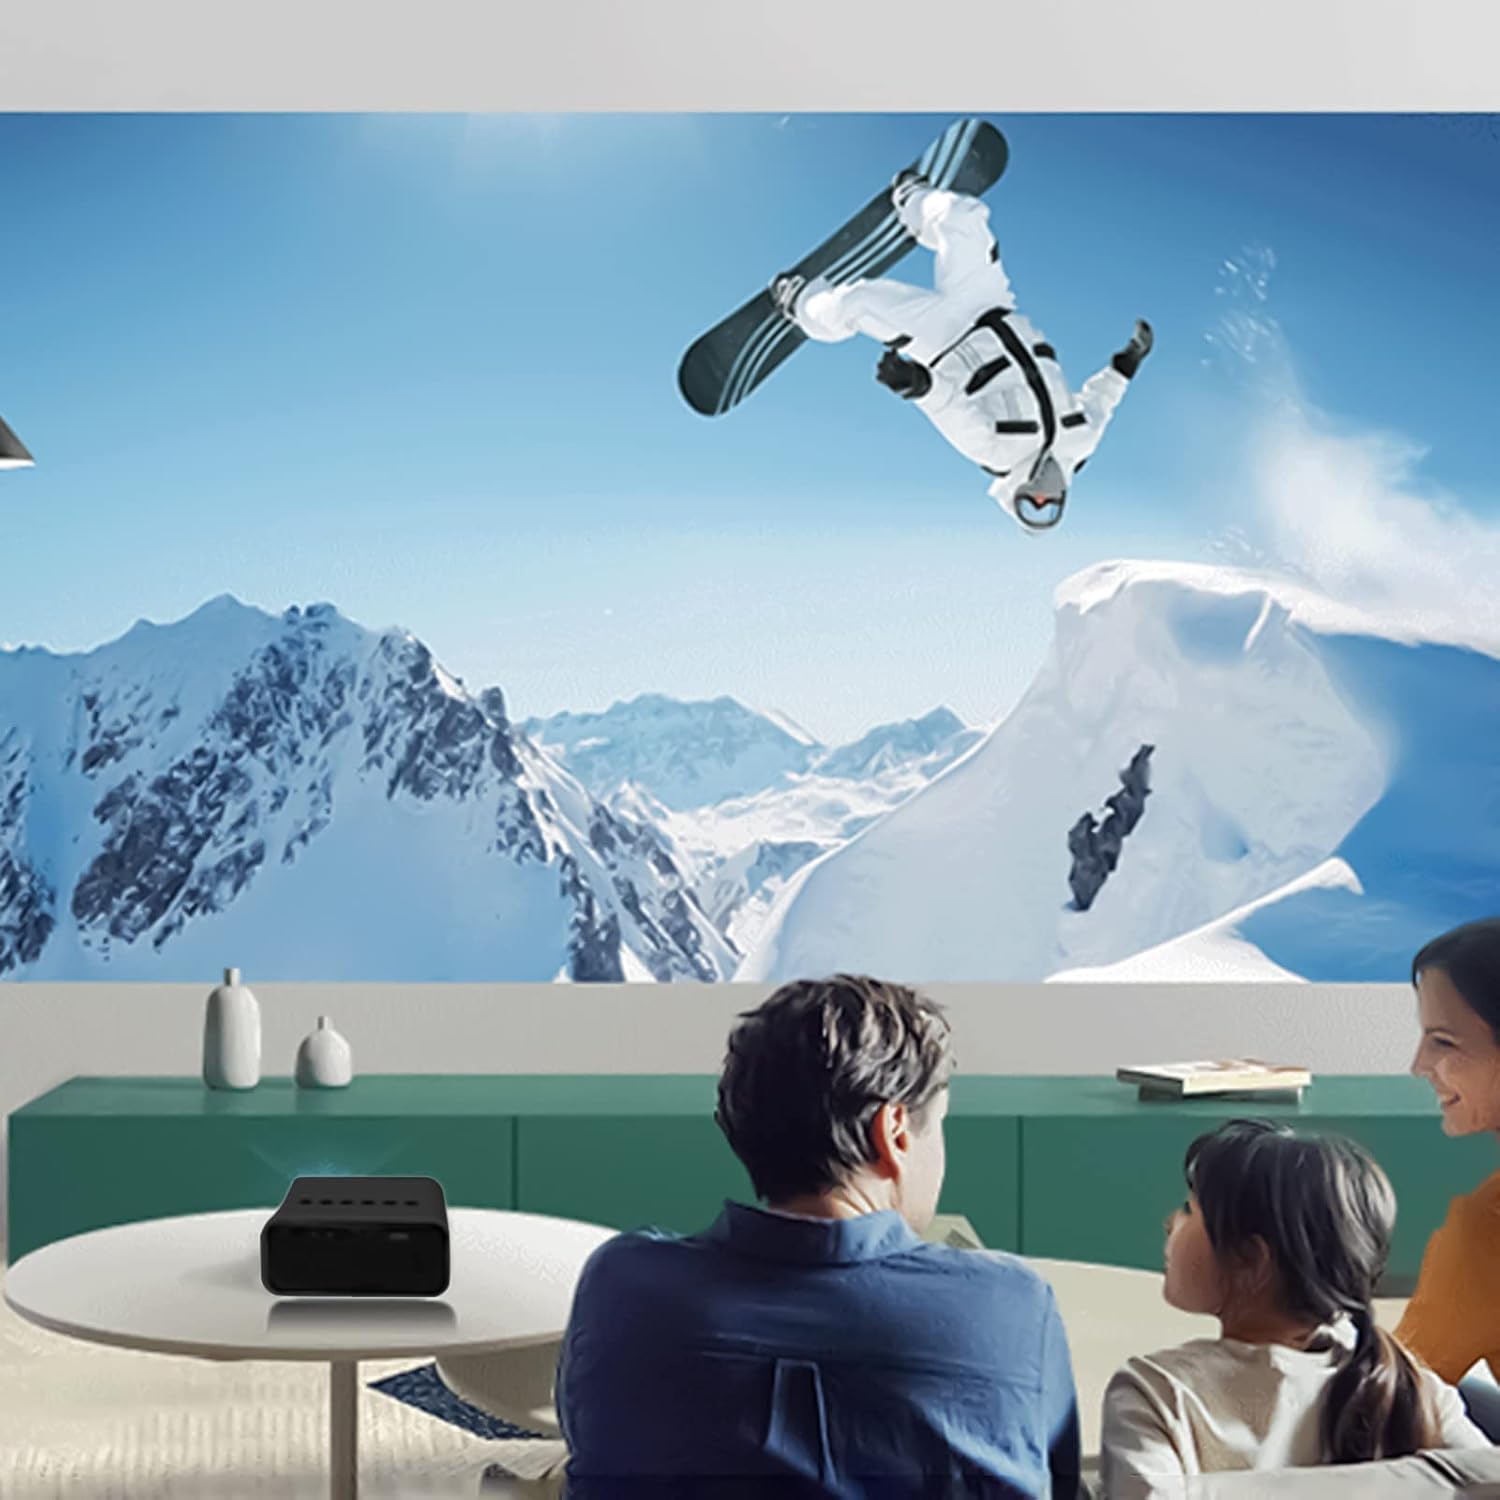
Figure 6.2: Example of indoor projection setup.

Figure 6.3: Example of outdoor projection setup, ideal for camping.
7. Maintenance
Proper maintenance ensures the longevity and performance of your projector.
- Lens Cleaning: Use a soft, lint-free cloth specifically designed for optical lenses to gently wipe the projector lens. Do not use abrasive cleaners or excessive force.
- Dust Removal: Periodically clean the projector's exterior with a soft, dry cloth. Ensure ventilation openings are free from dust and debris.
- Storage: When not in use, store the projector in a cool, dry place, away from direct sunlight and extreme temperatures.
8. Troubleshooting
If you encounter issues with your projector, refer to the following common problems and solutions:
| Problem | Possible Cause | Solution |
|---|---|---|
| No Power | Power cable not connected properly; faulty power source. | Ensure the USB power cable is securely connected. Try a different power adapter or USB port. |
| No Image | Incorrect input source selected; lens cap on; focus issue. | Select the correct input source (e.g., USB). Remove any lens cap. Adjust the focus. |
| Blurred Image | Out of focus; incorrect projection distance. | Adjust the focus ring. Ensure the projector is within the recommended projection distance. |
| No Sound | Volume too low; external speakers not connected or faulty. | Increase the volume. Check external speaker connections if used. |
9. Specifications
Key technical specifications for the Lovskoo Mini Video Projector:
- Model: Mini Video Projector
- Supported Resolution: 1080P HD (1920 x 1080 Max)
- Native Resolution: 320 x 180
- Display Technology: TFT LCD
- Projection Size: 14-100 inches
- Projection Distance: 2-13.1 feet
- LED Life: Up to 30,000 hours
- Power Consumption: 10 W
- Voltage/Current: 5V 2A
- Control Mode: Manual buttons / Remote control
- Interfaces: USB x 1, 3.5mm Audio Output x 1, Micro USB (Power Input)
- Dimensions: Approximately 4.3 x 1.9 x 3.5 inches (11 x 4.7 cm)
- Weight: Approximately 11.3 ounces
- Built-in Speaker: Yes
10. Warranty and Support
For warranty information and customer support, please refer to the documentation provided at the time of purchase or contact Lovskoo customer service through their official channels. Keep your purchase receipt as proof of purchase.