1. Safety Information
Please read this manual carefully before using the camera to ensure safe and proper operation. Keep this manual for future reference.
- Do not expose the camera to water or moisture.
- Avoid dropping the camera or subjecting it to strong impacts.
- Do not attempt to disassemble or modify the camera. Repairs should only be performed by qualified personnel.
- Keep the camera away from direct sunlight and high temperatures.
- Use only the specified battery type and charging cable.
- Dispose of batteries properly according to local regulations.
- Clean the camera lens and screen with a soft, dry cloth.
2. Package Contents
Verify that all items listed below are included in your package:
- Andoer Digital Camera Body
- Lithium Battery (3.7V 550mAh)
- USB Charging Cable
- Carry Bag
- User Manual (this document)

Image: Contents of the Andoer Digital Camera package, showing the camera, wrist strap, USB charging cable, carry bag, and user manual.
3. Product Overview
3.1 Front View

Image: Front view of the Andoer Digital Camera, displaying the lens, built-in flash, and indicating 2.7" TFT screen and 18 Megapixels.
3.2 Rear View (Display and Controls)
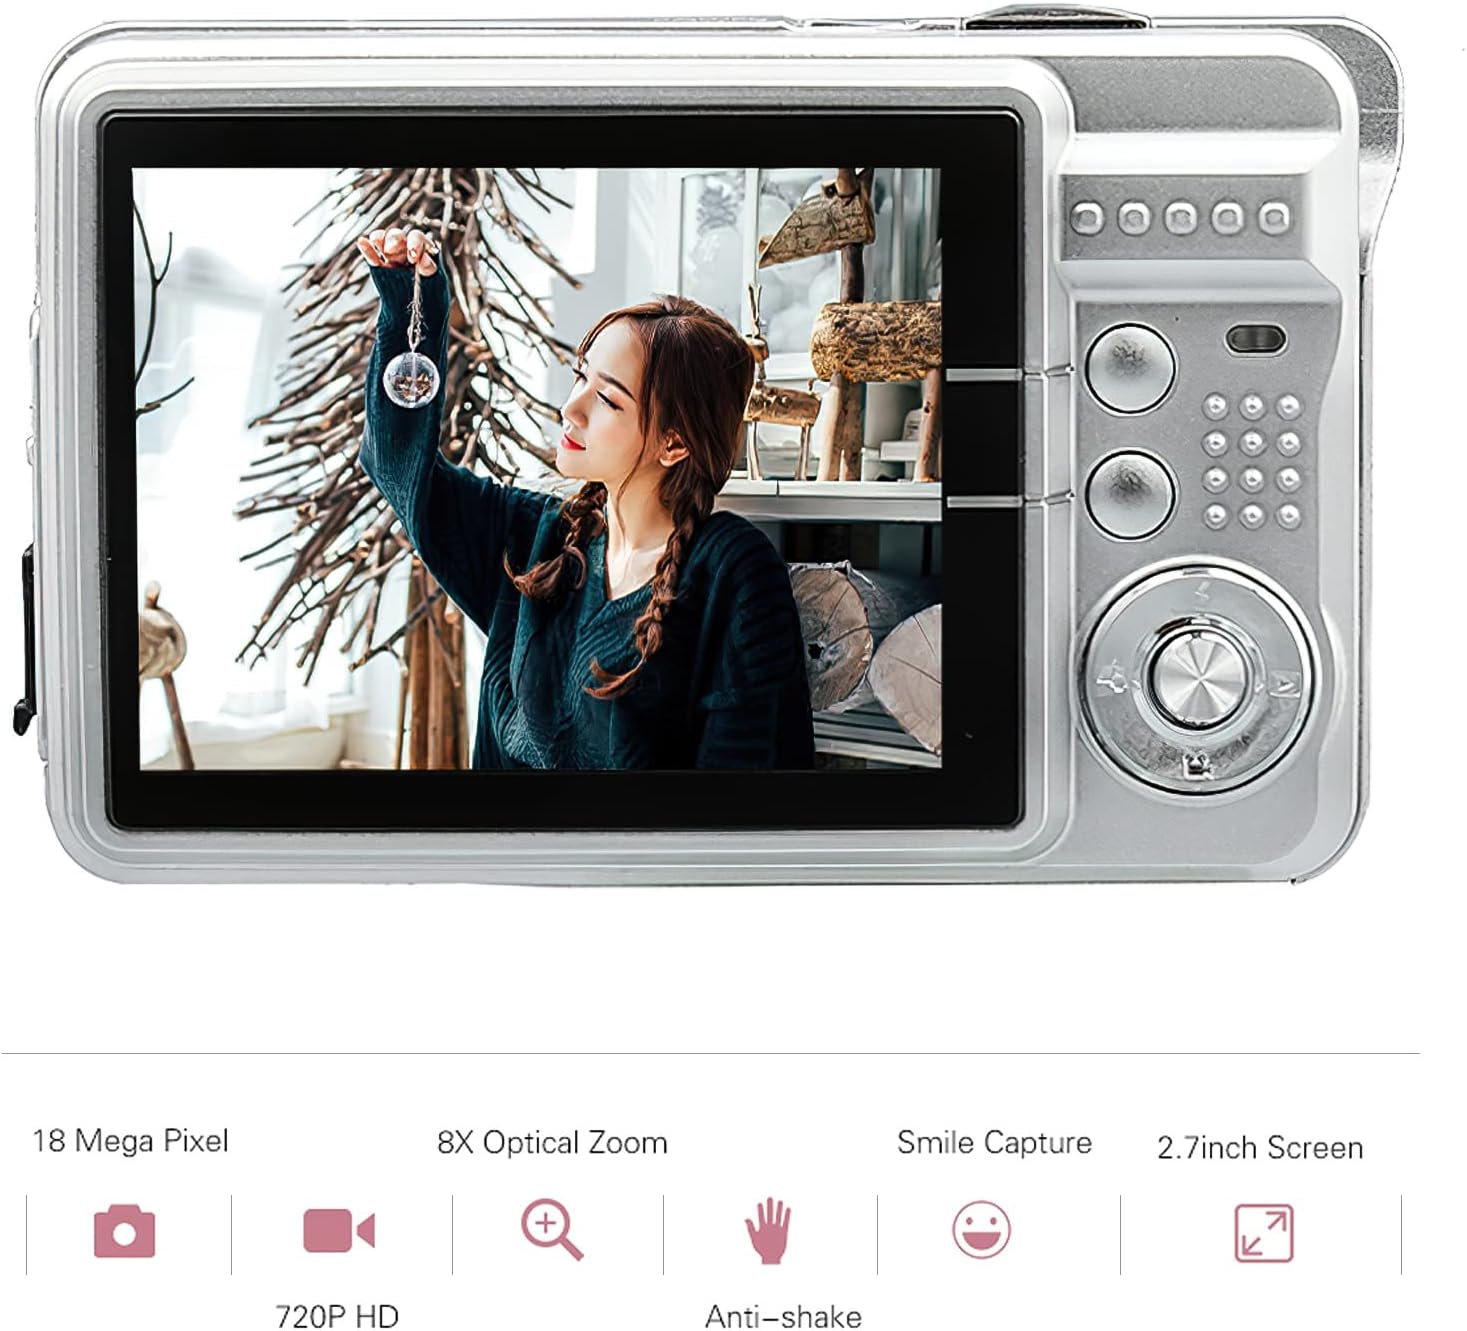
Image: Rear view of the Andoer Digital Camera, featuring the 2.7-inch TFT display and various control buttons on the right side.
The camera features a 2.7-inch TFT display for viewing photos and videos, along with intuitive controls for navigation and settings adjustment.
4. Setup
4.1 Charging the Battery
- Open the battery compartment cover on the side of the camera.
- Insert the provided Lithium battery (3.7V 550mAh) into the compartment, ensuring correct polarity.
- Close the battery compartment cover securely.
- Connect the camera to a USB power source (e.g., computer, USB wall adapter) using the supplied USB charging cable.
- The charging indicator light will illuminate. Charging is complete when the light turns off or changes color (refer to camera display for battery status).
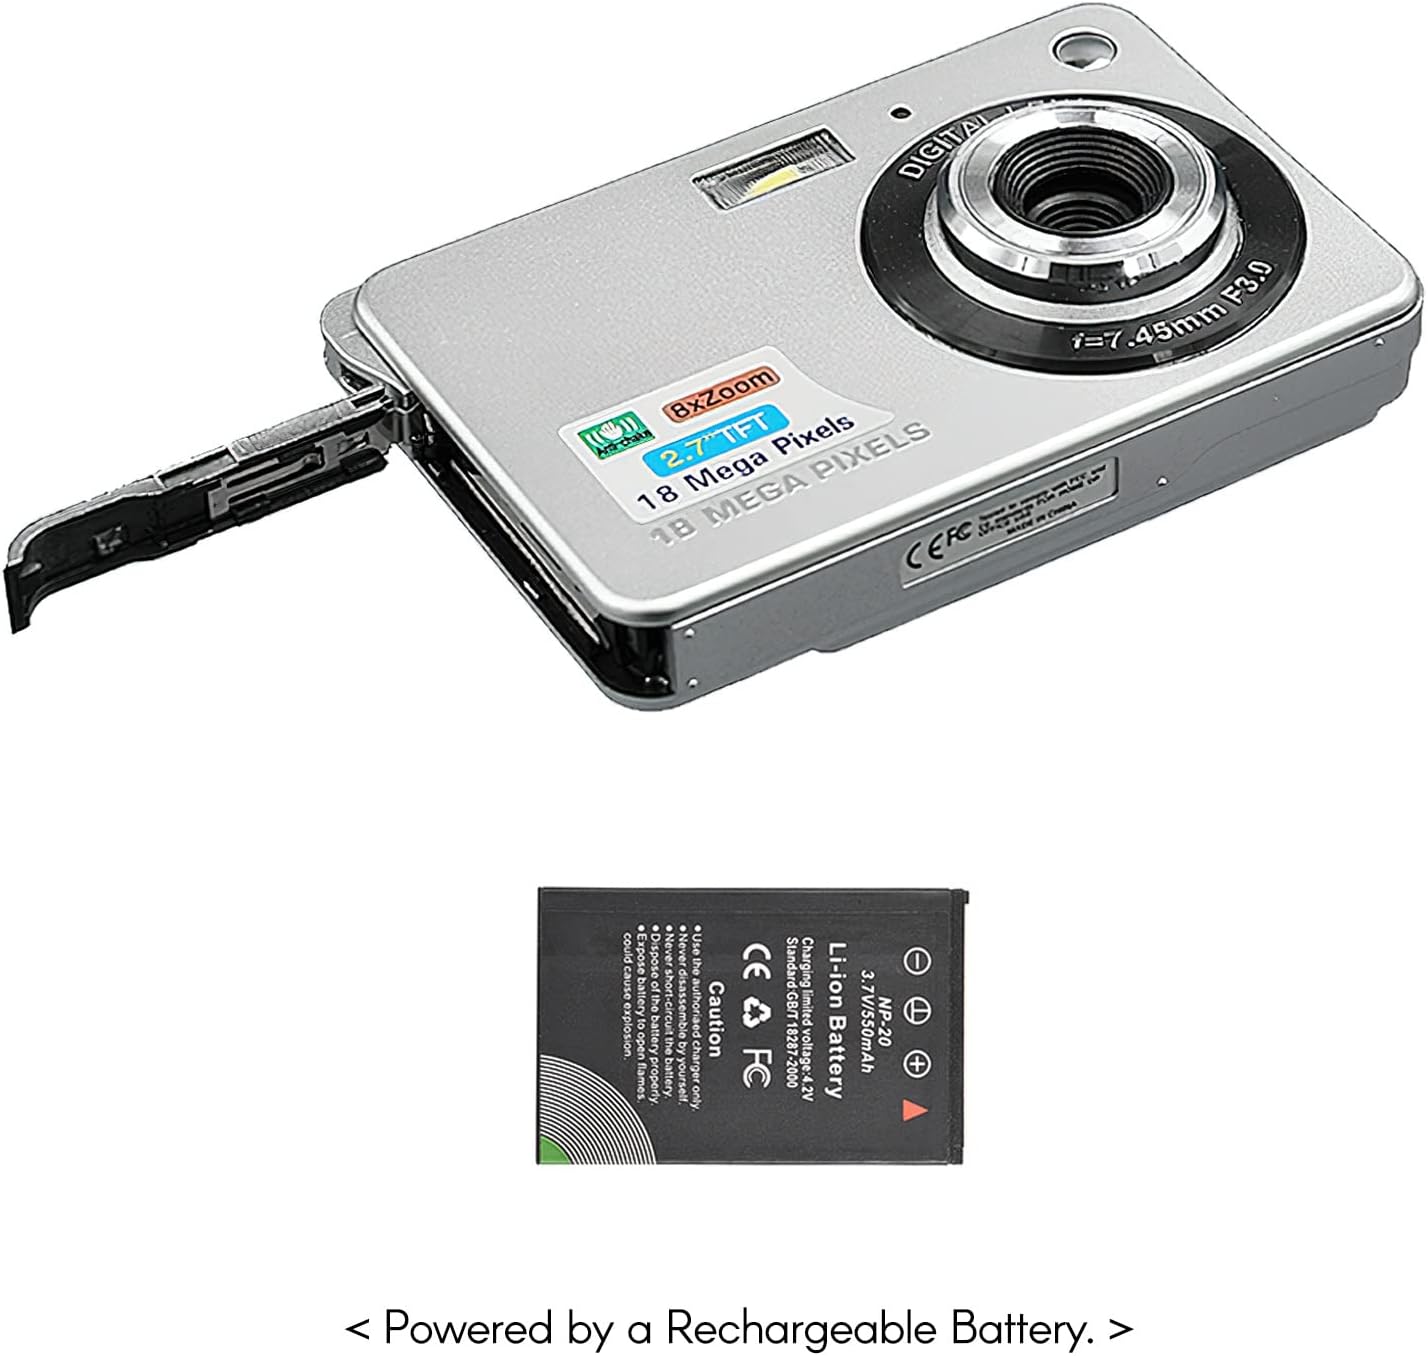
Image: Side view of the camera with the battery compartment open, illustrating how to insert the rechargeable lithium battery.
4.2 Inserting a Memory Card (Not Included)
This camera supports SD memory cards up to 32GB. A memory card is required to save photos and videos.
- Locate the memory card slot, usually near the battery compartment.
- Insert the SD card with the metal contacts facing down (or as indicated by the diagram near the slot) until it clicks into place.
- To remove, gently push the card in until it springs out.
5. Operating Instructions
5.1 Powering On/Off
Press and hold the Power button (usually located on the top or side) to turn the camera on or off.
5.2 Taking Photos
- Turn on the camera.
- Frame your shot using the 2.7-inch TFT display.
- Press the Shutter button (typically on top) halfway down to focus, then press fully to capture the image.

Image: The camera's screen showing a captured image, demonstrating the 18 Megapixel photo capability.
5.3 Recording Videos
- Turn on the camera.
- Switch to video recording mode (usually via a mode button or menu option).
- Press the Record button (often marked with a red dot) to start recording. Press again to stop.

Image: The camera's screen displaying a video playback, illustrating its 720P high-definition video recording function.
5.4 Digital Zoom
The camera features 8X digital zoom. Use the zoom buttons (often labeled 'W' for Wide and 'T' for Telephoto) to adjust the zoom level.

Image: A visual representation of the 8x digital zoom capability, showing a scene at 1x magnification and then zoomed in at 8x.
5.5 Menu Navigation
Press the 'Menu' button to access camera settings. Use the directional buttons to navigate and the 'OK' or 'Set' button to confirm selections. Available settings include:
- Self-Timer: Off/ 2 sec/ 5 sec/ 10 sec
- Exposure: EV-3 to EV+3
- White Balance: Auto/ Daylight/ Cloudy/ Incandescent/ Fluorescent
- Scene Modes: Auto/ Night Portrait/ Night Scenery/ Portrait/ Scenery/ Sport/ Party/ Beach/ High sensitivity
- Other Features: Anti-Shake, Face Detect, Smile Capture
6. Maintenance
6.1 Cleaning the Camera
- Use a soft, lint-free cloth to clean the camera body.
- For the lens and screen, use a specialized lens cleaning cloth and solution if necessary. Avoid abrasive materials.
- Do not use organic solvents to clean the camera.
6.2 Battery Care
- Charge the battery fully before first use.
- If the camera will not be used for an extended period, remove the battery.
- Store batteries in a cool, dry place.
7. Troubleshooting
| Problem | Possible Cause | Solution |
|---|---|---|
| Camera does not power on. | Battery is depleted or incorrectly inserted. | Charge the battery. Ensure the battery is inserted with correct polarity. |
| Cannot take photos/record videos. | No memory card inserted or card is full/corrupted. | Insert a compatible SD card. Delete unnecessary files or format the card (this will erase all data). |
| Images are blurry. | Lens is dirty, insufficient light, or camera shake. | Clean the lens. Use the flash in low light. Hold the camera steady or use anti-shake feature. |
| Camera freezes or becomes unresponsive. | Temporary software glitch. | Remove and reinsert the battery to reset the camera. |
8. Specifications
| Feature | Detail |
|---|---|
| Model | IAT4319650447530BC |
| Image Sensor | CMOS Sensor |
| Display | 2.7 Inch TFT LCD |
| Photo Resolution | Up to 18 Megapixels |
| Video Resolution | 1280x720 (720P), 720x480, 640x480 (VGA), 320x240 (QVGA) |
| Digital Zoom | 8X |
| Image Stabilization | Digital Anti-Shake |
| Exposure Compensation | EV-3 to EV+3 |
| White Balance | Auto/ Daylight/ Cloudy/ Incandescent/ Fluorescent |
| File Format | JPEG (Photo), AVI (Video) |
| Storage Media | SD Card (up to 32GB, not included) |
| Power Supply | 1 * Lithium battery (3.7V 550mAh) |
| Supported System | Windows XP, VISTA, WIN7, MAC |
| Item Size | 9 * 6 * 2cm / 3.5 * 2.4 * 0.8in |
| Item Weight | 90g / 3.2oz |
9. Warranty and Support
Andoer products are designed and manufactured to the highest quality standards. For warranty information and customer support, please refer to the documentation provided at the time of purchase or visit the official Andoer website.
If you encounter any issues not covered in this manual, please contact Andoer customer service for assistance.
Note: Specifications are subject to change without prior notice.