1. Introduction
This manual provides essential information for the installation, operation, and maintenance of the RYOBI Carburetor h142a-30. This carburetor is designed for use with various Ryobi and Homelite brushcutters, trimmers, and leaf blowers, including models Hbc30sbs, Rbc30ses, Rbl30mva 5133000040, and Rlt30cd 5133000050. Proper understanding and adherence to these instructions will ensure optimal performance and longevity of the component.

Figure 1: Front view of the RYOBI Carburetor h142a-30, showing the primer bulb and adjustment screws.
2. Setup and Installation
The carburetor is a critical component of your engine's fuel system. Incorrect installation can lead to engine malfunction or damage. It is highly recommended that installation be performed by a qualified technician or an individual with experience in small engine repair.
- Safety First: Always disconnect the spark plug wire before beginning any work on the engine to prevent accidental starting.
- Fuel Drainage: Drain all fuel from the fuel tank and fuel lines.
- Removal of Old Carburetor: Carefully disconnect fuel lines, throttle linkage, and mounting bolts from the old carburetor. Note the orientation of all components for reassembly.
- Gaskets: Ensure new gaskets are used during installation to prevent air leaks, which can affect engine performance.
- Mounting: Mount the new h142a-30 carburetor securely, ensuring all bolts are tightened to the manufacturer's specifications for your specific equipment model.
- Connections: Reconnect fuel lines, ensuring they are properly routed and secured. Reattach the throttle linkage.
- Fueling: Refill the fuel tank with the correct fuel mixture as specified by your equipment's manufacturer.
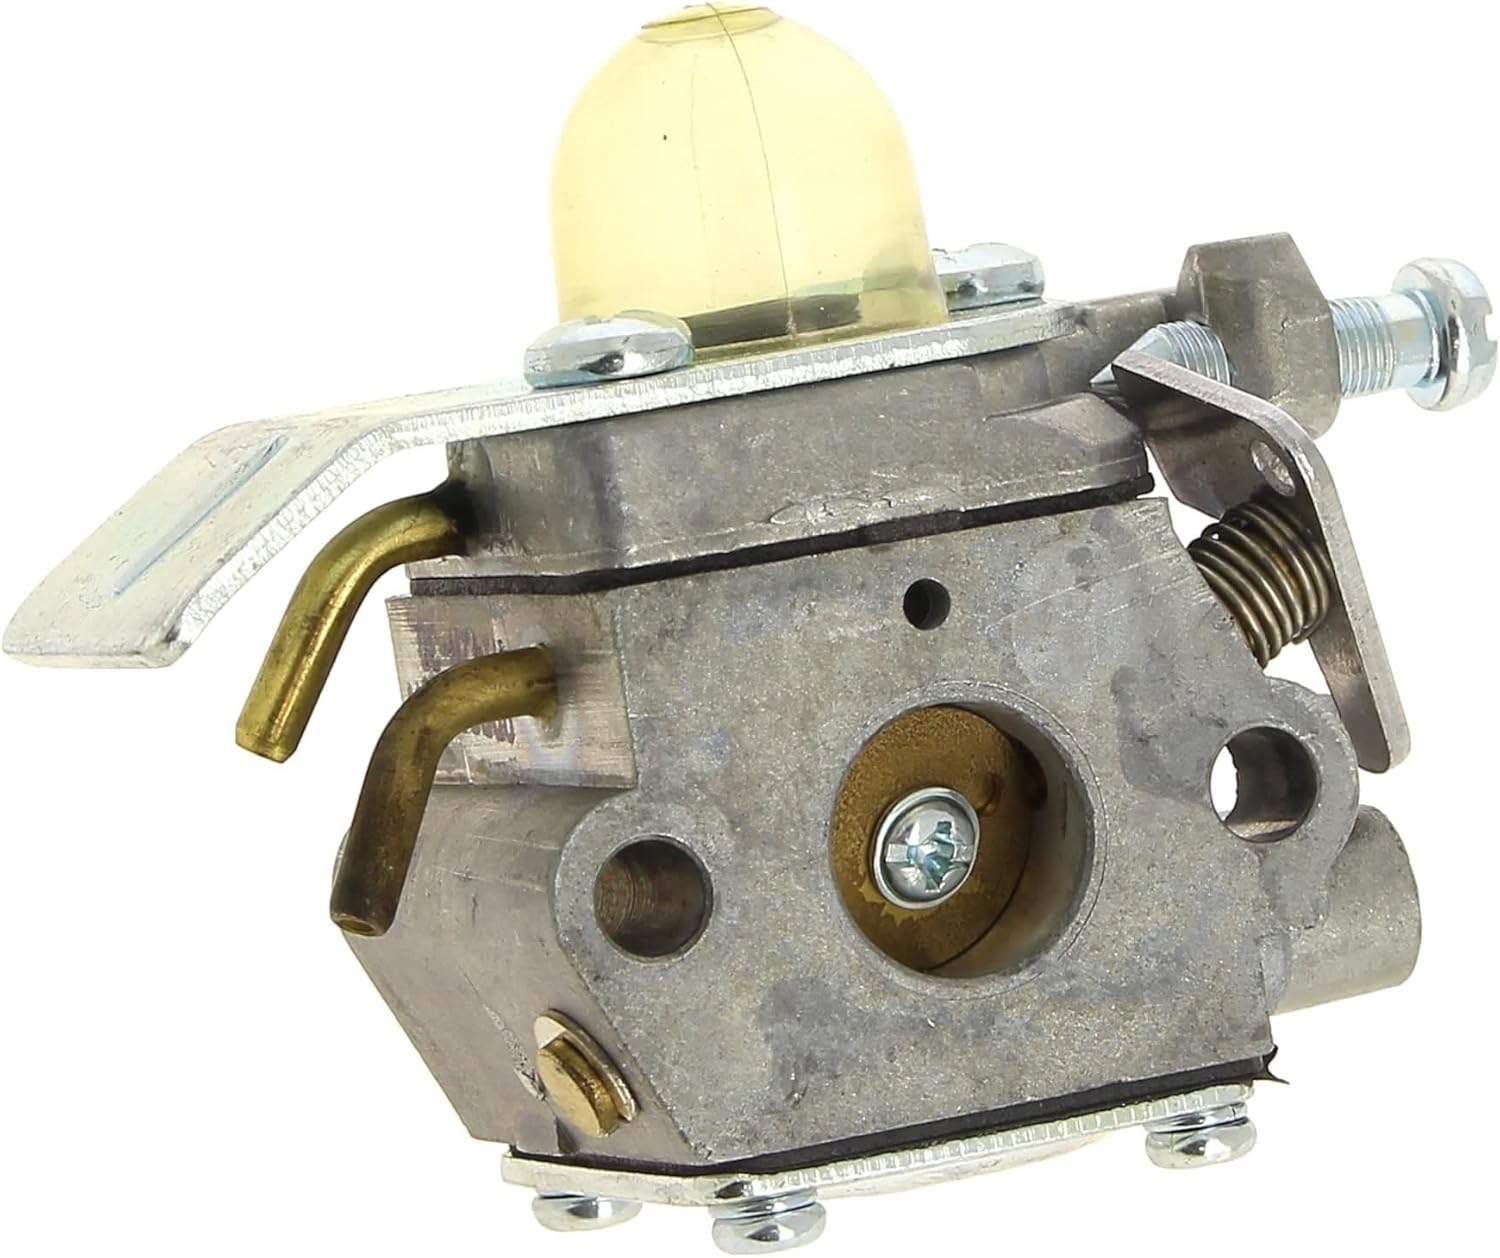
Figure 2: Side view of the RYOBI Carburetor h142a-30, showing fuel line connections and mounting points.
3. Operating Principles
The carburetor's primary function is to mix air and fuel in the correct ratio for combustion. Once installed, the carburetor operates in conjunction with the engine's intake system. Ensure that the air filter is clean and properly installed to allow for adequate airflow and prevent debris from entering the carburetor.
For initial startup after installation, prime the carburetor using the primer bulb until fuel is visible in the return line. Follow your equipment's specific starting procedure.
4. Maintenance
Regular maintenance of your carburetor and associated components is crucial for reliable operation and extended lifespan.
- Air Filter: Inspect and clean or replace the air filter regularly, especially in dusty conditions. A clogged air filter can restrict airflow and cause the engine to run rich.
- Fuel Filter: Check and replace the in-tank fuel filter periodically. A dirty fuel filter can restrict fuel flow to the carburetor.
- Fuel Quality: Always use fresh, clean fuel mixed with the correct oil ratio for 2-stroke engines. Stale fuel or incorrect mixtures can cause carburetor clogging and damage.
- Storage: Before long-term storage, drain the fuel tank and run the engine until it stops to clear the carburetor of fuel. This prevents gum and varnish buildup.
- External Cleaning: Keep the exterior of the carburetor clean from dirt and debris.
5. Troubleshooting
If your equipment experiences issues after carburetor installation, consider the following common problems and solutions:
| Problem | Possible Cause | Solution |
|---|---|---|
| Engine won't start | No fuel, clogged fuel filter, air leak, incorrect primer operation. | Check fuel level and quality. Replace fuel filter. Inspect gaskets for leaks. Ensure primer bulb is working correctly. |
| Engine runs rough/stalls | Dirty air filter, clogged fuel passages, incorrect fuel mixture. | Clean/replace air filter. Inspect and clean carburetor passages (professional service recommended). Verify fuel/oil mix ratio. |
| Lack of power | Restricted fuel flow, dirty air filter, carburetor out of adjustment. | Check fuel lines and filters. Clean air filter. Carburetor adjustment may be required (consult equipment manual or professional). |
For issues not listed or if solutions do not resolve the problem, consult a qualified service technician.
6. Specifications
| Attribute | Value |
|---|---|
| Product Dimensions (L x W x H) | 21 x 17 x 14 cm (8.27 x 6.69 x 5.51 inches) |
| Weight | 110 grams (0.24 lbs) |
| Manufacturer | Ryobi |
| Model Number | 4058546078171 |
| ASIN | B0BTDBJ98X |
7. Warranty Information
All items sold benefit from the legal guarantee of conformity and the guarantee against hidden defects. For specific warranty terms and conditions, please refer to the original purchase documentation or contact your retailer.
8. Support
For technical assistance, spare parts, or service inquiries, please contact the retailer where the product was purchased or refer to the official RYOBI support channels available in your region. When contacting support, please have your product model number (4058546078171) and purchase details readily available.
You may also find useful information and resources on the official RYOBI website.