Introduction
Thank you for choosing the FRIDEKO HOME Semi Flush Mount Ceiling Light. This manual provides important information regarding the installation, operation, and maintenance of your new lighting fixture. Please read it thoroughly before attempting installation or use. This fixture is designed to enhance your home with its elegant crystal and metal design, providing both functional illumination and a decorative touch.
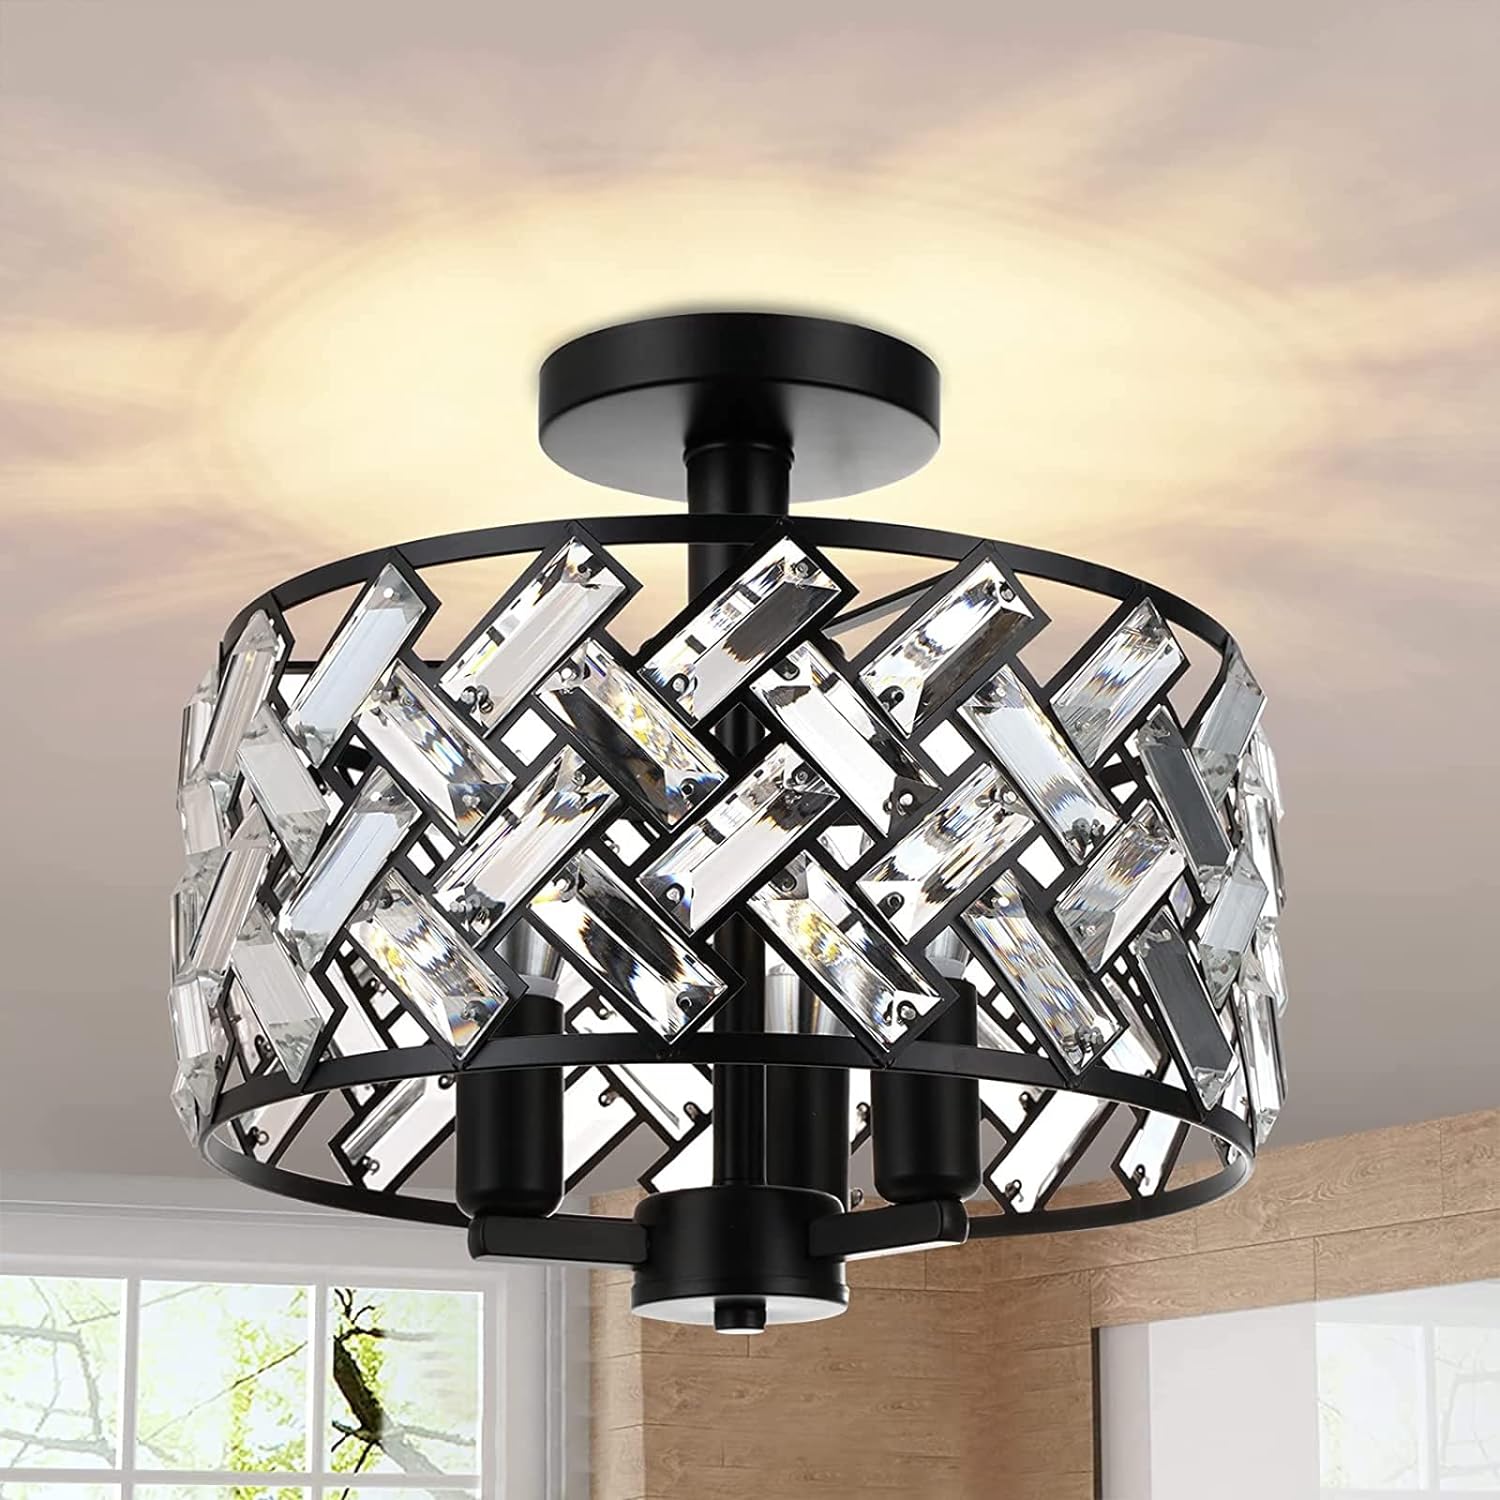
Figure 1: FRIDEKO HOME Semi Flush Mount Ceiling Light
What's in the Box
Please check the contents of your package to ensure all parts are included:
- Light Fixture Assembly
- Mounting Hardware (screws, wire nuts, mounting plate)
- Instruction Manual
- Shade (pre-assembled with crystal rods)

Figure 2: Detail of K9 Crystal Shade
Specifications
| Feature | Specification |
|---|---|
| Brand | FRIDEKO HOME |
| Model Number | 3af994ec-b0be-4c2a-ae6d-cbe4e15abd07 |
| Size | 11.81 inch Ceiling Light |
| Product Dimensions | 11.81"L x 5.71"W x 11.02"H |
| Color | Black |
| Material | Metal + Crystal |
| Style | Modern, Industrial |
| Light Fixture Form | Close to Ceiling |
| Number of Light Sources | 3 |
| Bulb Base | E12 (Bulbs NOT INCLUDED) |
| Maximum Compatible Wattage | 40 Watts per bulb |
| Voltage | 120 Volts |
| Special Feature | Dimmable (with dimmable bulbs and compatible dimmer) |
| Installation Type | Semi Flush Mount |
| Indoor/Outdoor Usage | Indoor |

Figure 3: Product Dimensions and Bulb Compatibility
Safety Information
- WARNING: Always turn off the power supply at the main circuit breaker before installing, cleaning, or servicing the light fixture.
- Consult a qualified electrician if you are not familiar with electrical installations.
- Ensure all electrical connections are made in accordance with local codes, ordinances, and the National Electric Code (NEC).
- Do not exceed the maximum wattage specified for the bulbs (40W per E12 bulb).
- Handle glass components with care to prevent breakage.
- Keep the instruction manual for future reference.
Setup & Installation
This light fixture is designed for easy installation. Follow these steps carefully:
- Prepare for Installation: Turn off the electricity at the main fuse box or circuit breaker. Ensure the power is completely off before proceeding.
- Mount the Hanging Plate: Remove the hanging plate from the fixture. Determine the screw pitch according to the distance between the two holes of the chassis. Then, fix the tube plate onto the ceiling using the self-tapping screws.
- Assemble the Lamp Body: Assemble the lamp body structure as shown in the provided diagram (refer to the manual included in the box for detailed diagrams).
- Connect Wiring: Connect the power cord wires to your household electrical wires. Typically, black to black (live), white to white (neutral), and green/bare copper to green/bare copper (ground). Secure connections with wire nuts.
- Secure the Fixture: Install the chassis onto the hanging plate on the ceiling using the decorative screws.
- Install the Lampshade: Carefully attach the lampshade to the main fixture body.
- Install Bulbs: Screw in three E12 base bulbs (not included) into the sockets. Do not exceed 40W per bulb.
- Restore Power: Once installation is complete and all connections are secure, turn the electricity back on at the main circuit breaker.

Figure 4: Example of installed light in a hallway
Operating Instructions
Once installed, operate the light fixture using your standard wall switch. This fixture is dimmable when used with dimmable E12 bulbs and a compatible dimmer switch (both sold separately). Adjust the dimmer to achieve your desired lighting ambiance, from bright daylight to a soft, romantic glow.
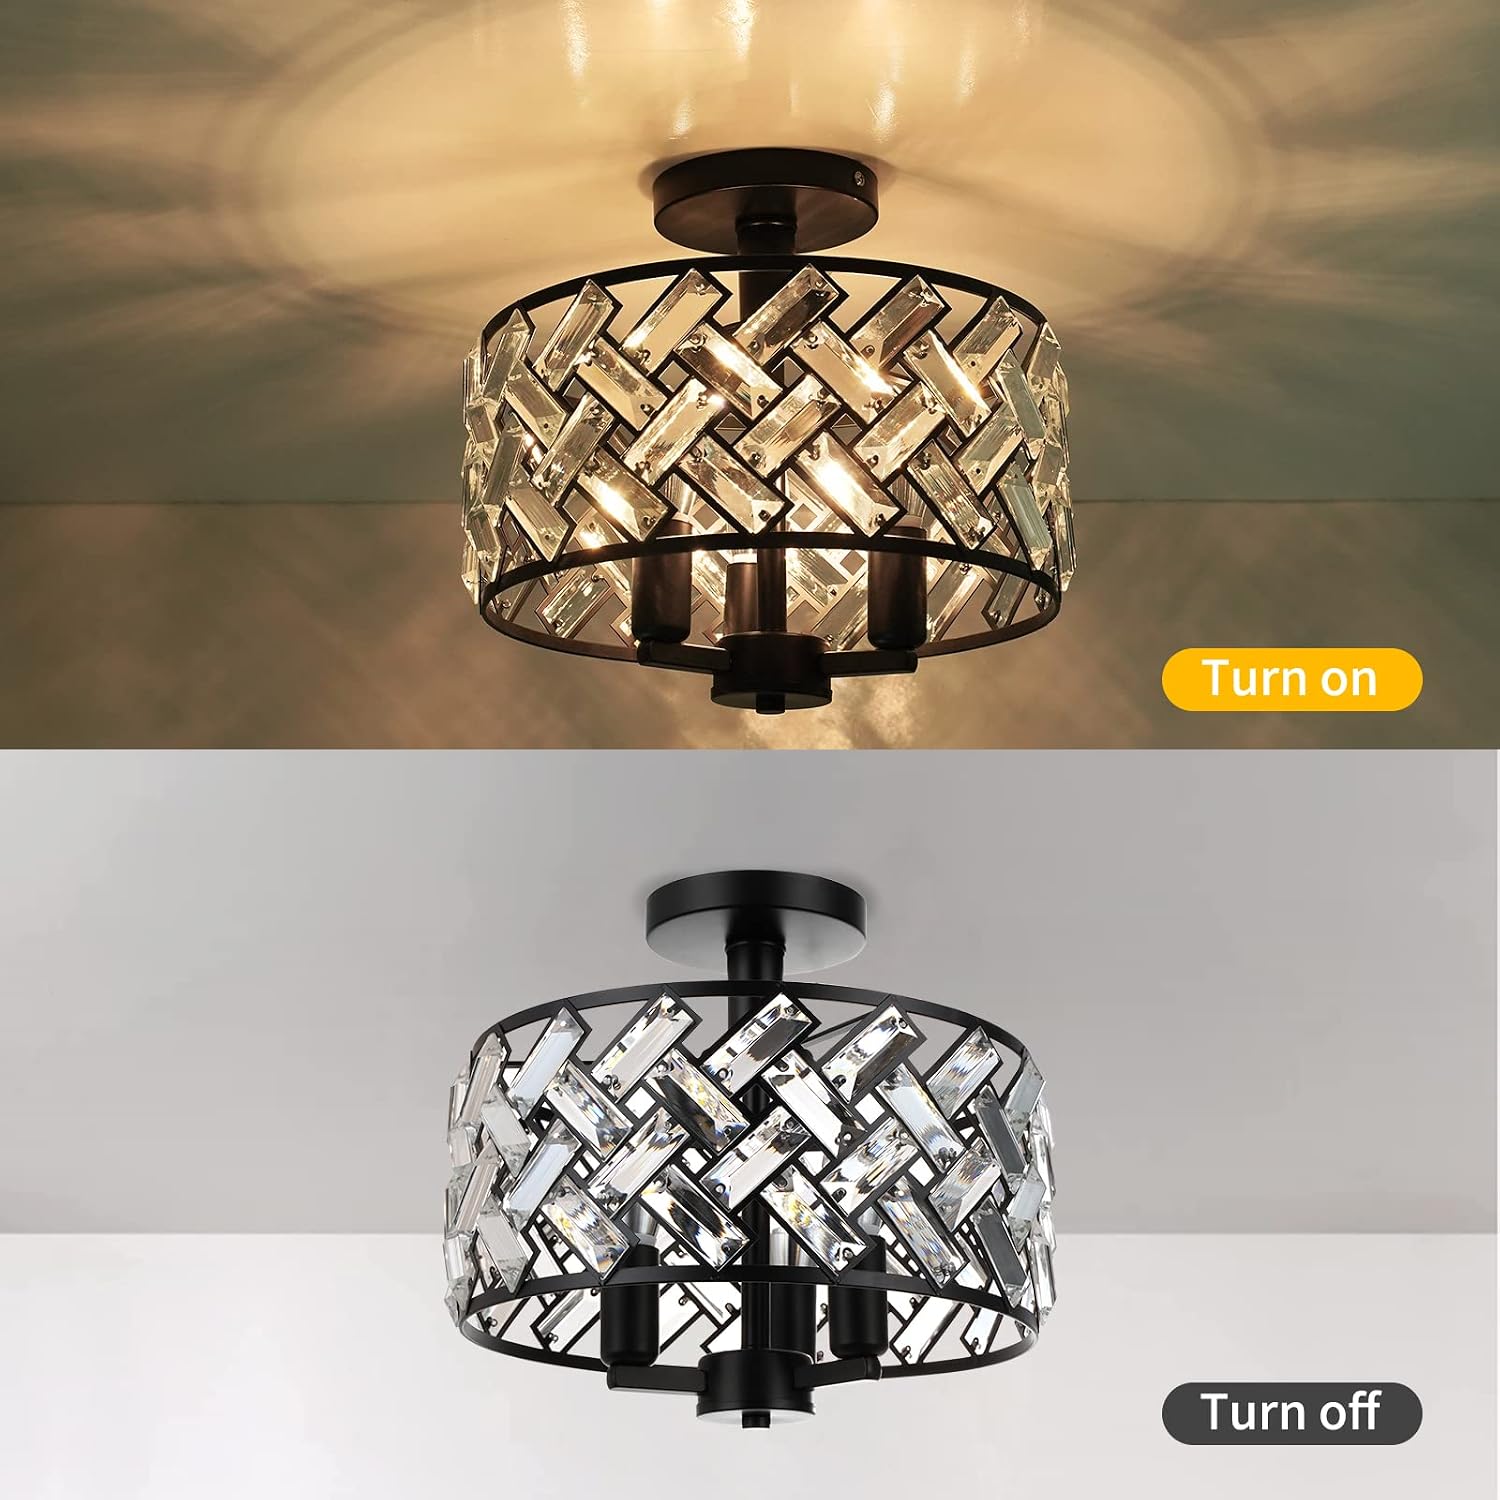
Figure 5: Light fixture in 'on' and 'off' states
Maintenance
To maintain the appearance and longevity of your FRIDEKO HOME ceiling light, follow these maintenance guidelines:
- Cleaning: It is strictly forbidden to wipe the surface of the lamp with a chemical solvent such as Bananaoil. It is recommended to wipe the fixture with a clean, soft cotton cloth. For the crystal components, a slightly damp cloth can be used, followed by a dry cloth to prevent water spots.
- Bulb Replacement: Ensure the power is off before replacing bulbs. Allow bulbs to cool completely before touching them.
- Regular Inspection: Periodically check all connections and mounting hardware to ensure they remain secure.
Troubleshooting
If you encounter any issues with your light fixture, please refer to the following common problems and solutions:
| Problem | Possible Cause | Solution |
|---|---|---|
| Light does not turn on | No power, loose wiring, faulty bulb, faulty switch | Check circuit breaker. Ensure all wires are securely connected. Replace bulb. Test switch. |
| Light flickers | Loose bulb, incompatible dimmer, unstable power supply | Tighten bulb. Ensure dimmer is compatible with bulbs. Consult electrician for power issues. |
| Dimming not working | Non-dimmable bulbs, incompatible dimmer switch | Use dimmable E12 bulbs. Ensure dimmer switch is compatible with LED/incandescent bulbs. |
If the problem persists after attempting these solutions, please contact customer service.
Warranty & Support
FRIDEKO HOME products are backed by a 2-year manufacturer's warranty. This warranty covers any defects that may have occurred during shipping or manufacturing.
Customer Service:
- To avoid any damage or inconvenience, please assemble the product on a soft surface.
- Check each part for defects that may have occurred during shipping before your installation.
- Keep your receipt and these instructions for proof of purchase.
- If the product needs to be returned, the item should be returned in its original condition, including packaging, in order to get a refund or replacement.
- For customer service inquiries, please refer to the contact information provided with your purchase or on the FRIDEKO HOME official website.