1. Introduction
Thank you for choosing the QWORK Multifunction Airbrush Kit. This manual provides essential information for the safe and effective use of your airbrush kit. Please read it thoroughly before initial use and retain it for future reference.
Package Contents:
- 1 x Airbrush Gun
- 3 x Nozzles (0.3 mm, 0.5 mm, 0.8 mm)
- 3 x Paint Cups (2 cc, 5 cc, 13 cc)
- 1 x Air Hose (1.9 m / 6.23 ft)
- 1 x Wrench
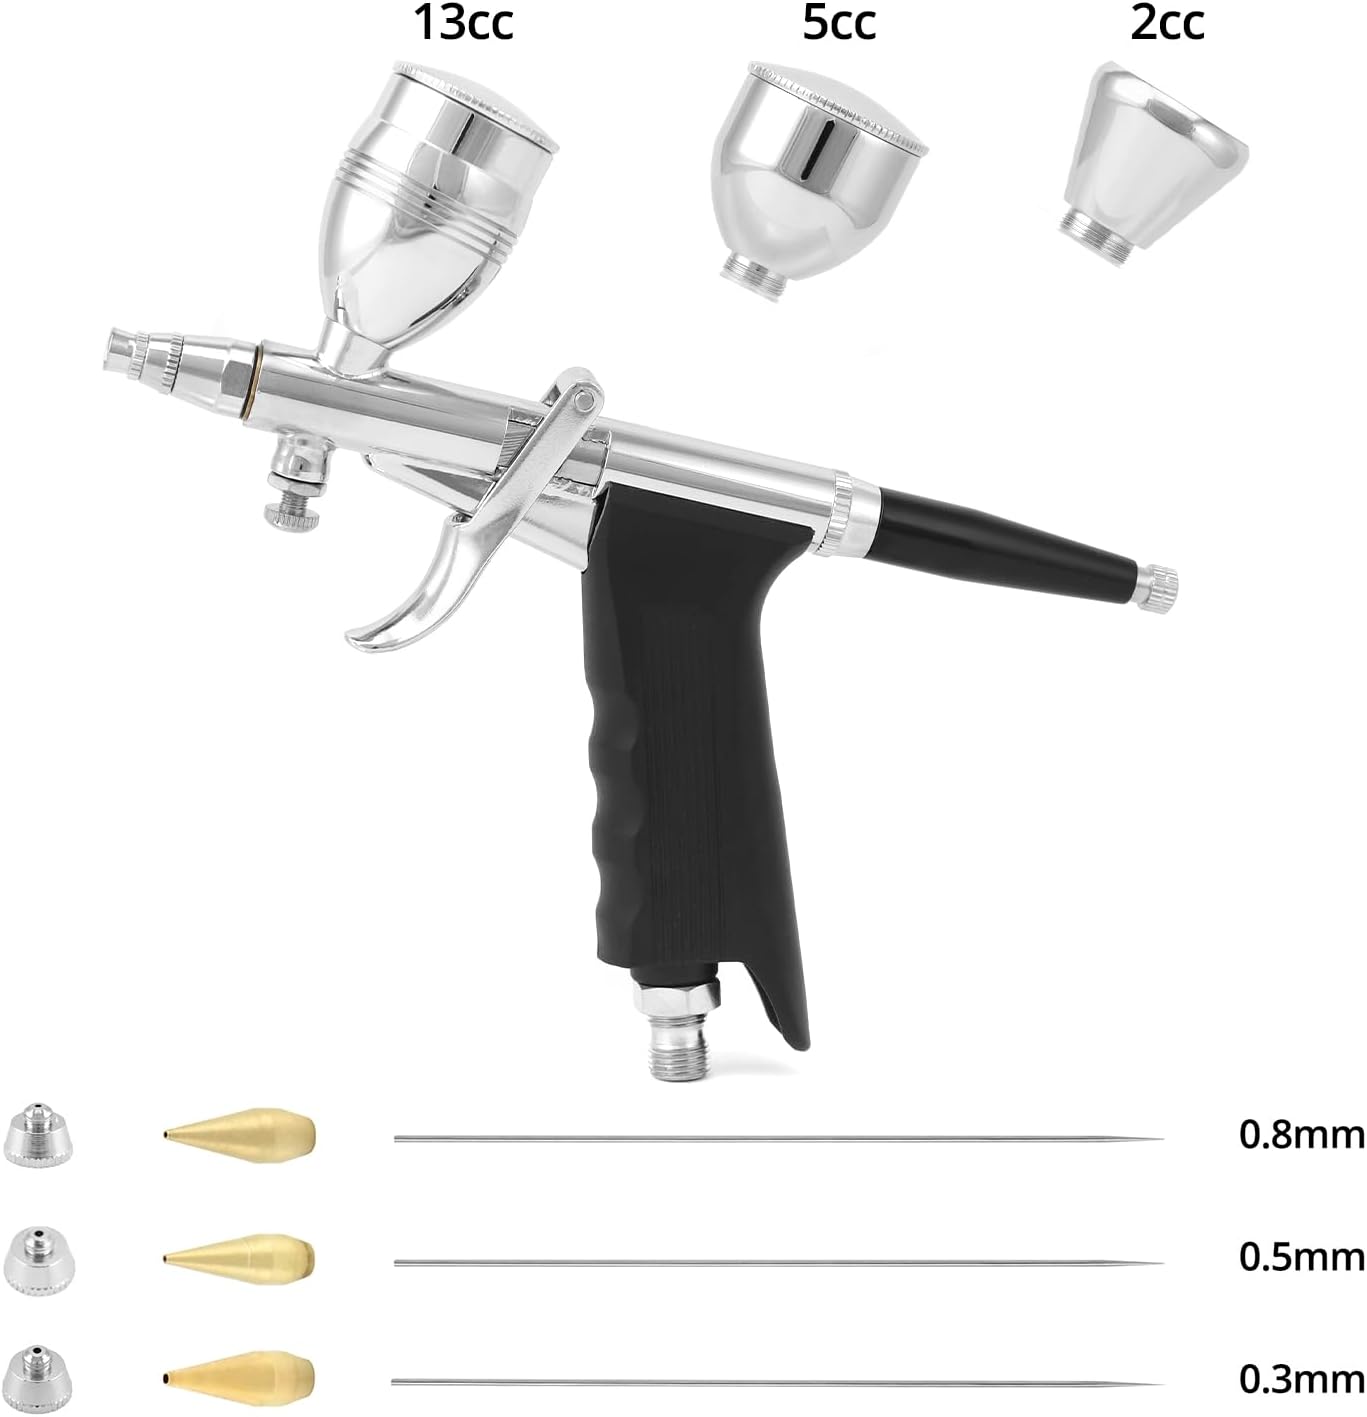
Image: The QWORK Multifunction Airbrush Kit showing the airbrush gun, three interchangeable nozzles (0.3mm, 0.5mm, 0.8mm), and three paint cups (13cc, 5cc, 2cc).
Intended Use:
This airbrush kit is designed for a wide range of applications, including art painting, model painting (e.g., cars, bikes), temporary tattoos, body painting, nail art, and cake decoration. Its versatile design makes it suitable for various DIY projects.

Image: A collage demonstrating the diverse uses of the airbrush kit, such as painting a model tank, intricate face art, decorating a cake, and automotive touch-ups.
2. Setup
2.1 Initial Assembly
- Connect the Air Hose: Attach one end of the 1.9m air hose to the airbrush gun's inlet and the other end to your air compressor (not included). Ensure connections are secure to prevent air leaks.
- Select Nozzle and Cup: Choose the appropriate nozzle (0.3mm, 0.5mm, or 0.8mm) and paint cup (2cc, 5cc, or 13cc) for your project. The split design allows for easy interchangeability. Use the provided wrench if needed for nozzle changes.
- Attach Paint Cup: Screw the selected paint cup onto the top of the airbrush gun.
2.2 Pre-Use Test
Before using paint, it is crucial to test the airbrush with clean water to ensure proper atomization and function. This helps prevent clogging and familiarizes you with the airbrush's operation.
- Fill the paint cup with clean water.
- Connect the airbrush to your compressor and turn on the compressor.
- Depress the trigger to release air, then pull back to release water. Observe the spray pattern for evenness.
- If the spray is uneven or there is no flow, refer to the Troubleshooting section.
3. Operating Instructions
3.1 Paint Preparation
Always thin your paint to the consistency of milk for optimal airbrush performance. Different paints may require different thinning ratios. Consult your paint manufacturer's recommendations.
3.2 Filling the Paint Cup
Carefully pour the prepared paint into the selected paint cup. Do not overfill.
3.3 Airbrush Control
The airbrush features a dual-action trigger design, allowing precise control over both air and paint flow:
- Depress Trigger: Releases air only.
- Pull Back Trigger: Releases paint. The further back you pull, the more paint is released.
Practice on scrap material to get a feel for the trigger control and achieve desired spray patterns.

Image: An illustration of the airbrush in use, highlighting a 0.3mm spray diameter, a 15mm spray width, and an optimal 10mm spray distance for fine detail work.
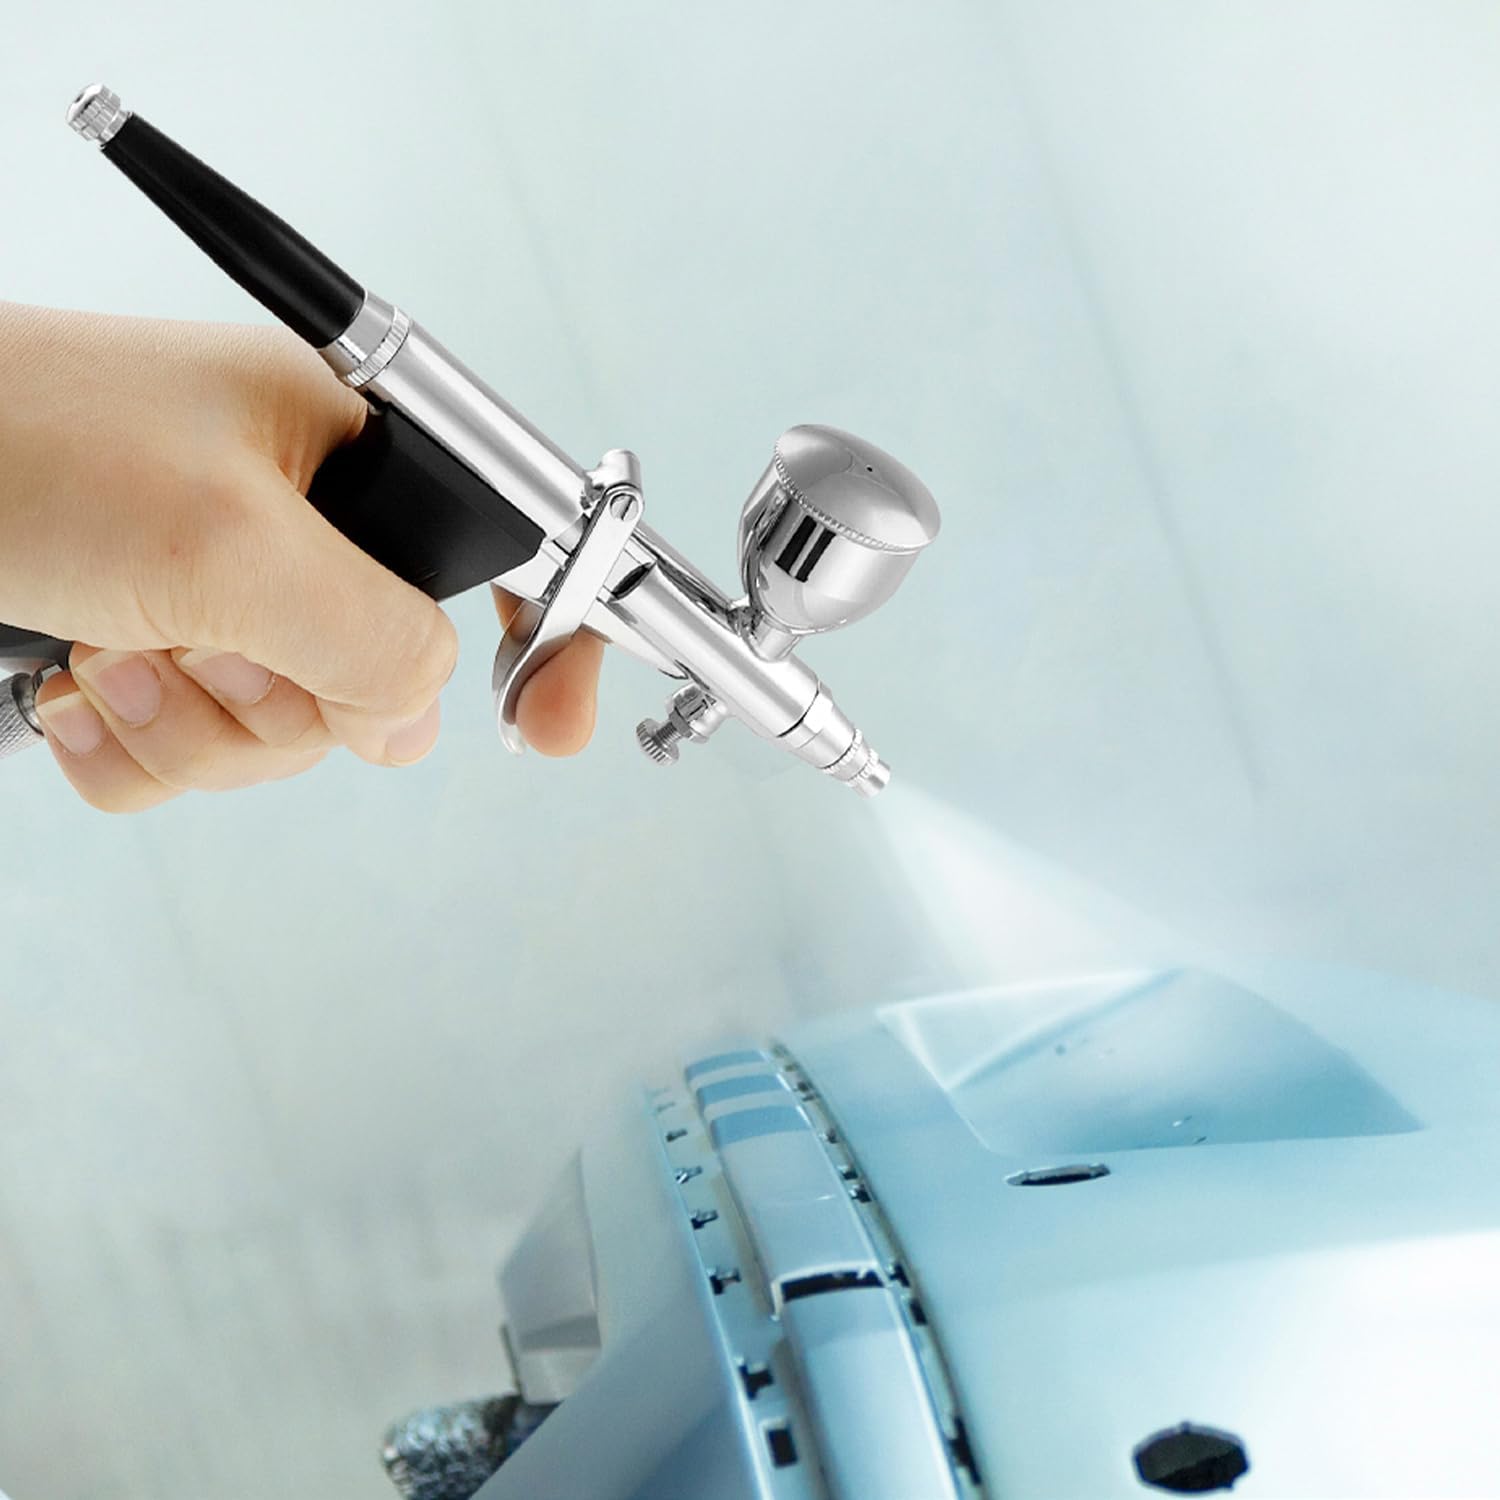
Image: A user's hand holding the airbrush gun, actively spraying paint onto a light-colored surface, illustrating typical operation.
4. Maintenance
Proper cleaning and maintenance are essential for the longevity and optimal performance of your airbrush kit. Always clean the airbrush immediately after each use.
4.1 Daily Cleaning
- Empty Paint Cup: Remove any remaining paint from the cup.
- Rinse: Fill the cup with appropriate cleaner (water for water-based paints, solvent for solvent-based paints) and spray it through the airbrush until the spray runs clear.
- Brush Clean: Use a small cleaning brush to clean the inside of the paint cup and around the nozzle area.
- Wipe Down: Wipe the exterior of the airbrush with a clean cloth.
4.2 Deep Cleaning (As Needed)
For thorough cleaning or if clogging occurs, disassemble the airbrush components:
- Carefully unscrew the nozzle cap, nozzle, and needle.
- Soak all disassembled parts in an appropriate cleaning solution.
- Use specialized cleaning brushes and needles to remove any dried paint from the internal passages, especially the nozzle and needle tip.
- Rinse all parts thoroughly with clean water or cleaner.
- Allow parts to dry completely before reassembly.
- Reassemble the airbrush carefully, ensuring all parts are correctly seated. Do not overtighten.
Caution: The nozzle and needle are delicate. Handle them with extreme care to avoid bending or damage.
5. Troubleshooting
If you encounter issues with your QWORK airbrush, refer to the following common problems and solutions:
| Problem | Possible Cause | Solution |
|---|---|---|
| No paint flow | Clogged nozzle or air cap; paint too thick; bent needle; air pressure too low. | Clean nozzle and air cap; thin paint; check needle for damage; increase air pressure. |
| Uneven spray pattern | Partially clogged nozzle; damaged nozzle or needle; inconsistent air pressure. | Perform deep cleaning; inspect and replace damaged parts; ensure stable air pressure. |
| Air bubbles in paint cup | Loose nozzle; damaged nozzle; dried paint around nozzle. | Tighten nozzle; replace damaged nozzle; clean nozzle area thoroughly. |
| Paint leaks from trigger area | Damaged needle packing; loose components. | Inspect and replace needle packing; ensure all parts are securely tightened. |
6. Specifications
Below are the technical specifications for the QWORK Multifunction Airbrush Kit, Model WD10618:
| Feature | Detail |
|---|---|
| Model Number | WD10618 |
| Brand | QWORK |
| Nozzle Sizes | 0.3 mm, 0.5 mm, 0.8 mm |
| Paint Cup Capacities | 2 cc, 5 cc, 13 cc |
| Hose Length | 1.9 meters (6.23 feet) |
| Product Dimensions (L x W x H) | 23.5 x 18 x 4 cm (9.25 x 7.09 x 1.57 inches) |
| Item Weight | 483.5 Grams (1.07 lbs) |
| Material | Plastic (handle), Metal (body) |
| Color | Black and Silver |
| Power Source | Pneumatic (Air Powered) |
| UPC | 795973625076 |

Image: A technical drawing illustrating the dimensions of the airbrush gun (160mm length, 95mm height) and the air hose (1.9m overall length, 8mm diameter, 19mm connector).