1. Introduction
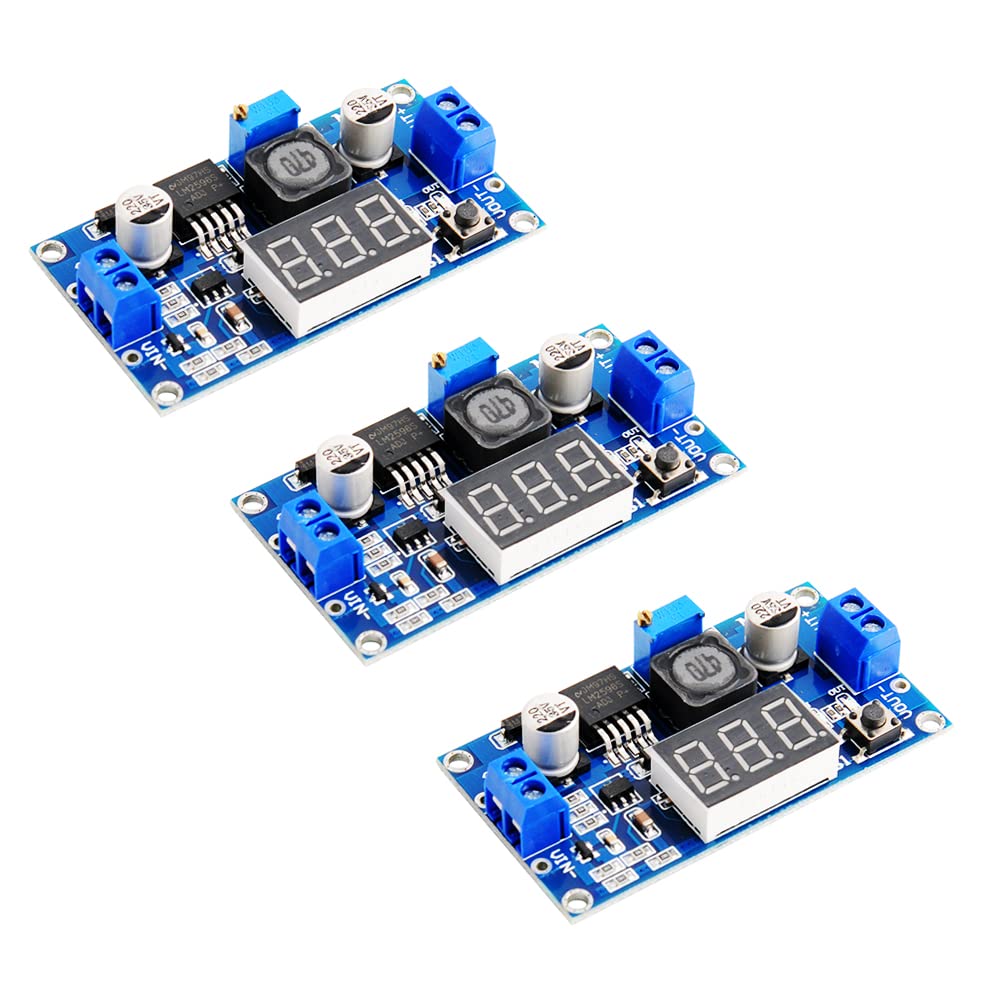
The Stemedu LM2596 Adjustable DC-DC Buck Converter Module is a voltage regulator designed to step down a higher input voltage to a lower, adjustable output voltage. It features an integrated LED voltmeter display for real-time monitoring of input and output voltages, making it suitable for various electronic projects, DIY power supplies, and battery charging applications. This manual provides essential information for safe and effective use of the module.
2. Safety Information
- Always ensure correct polarity when connecting power to the module. Reverse polarity protection is built-in, but incorrect wiring can still cause damage to connected components.
- Do not exceed the maximum input voltage of 40V DC or the maximum output current of 3A.
- For continuous operation above 15W or 2A, a heatsink is recommended to prevent overheating.
- Exercise caution when adjusting the potentiometer, as output voltage changes can affect connected devices.
- Keep the module away from moisture and extreme temperatures.
- This product is intended for experienced users familiar with electronics and DC power circuits.
3. Product Overview
3.1 Features
- LED Voltmeter Display: Built-in digital display with a push-button to switch between input and output voltage measurements.
- Easy Wiring: Equipped with screw terminal blocks for convenient, solder-free connections. Soldering pads are also available.
- Wide Input/Output Range: Accepts DC 4V to 40V input, providing an adjustable output from 1.25V to 37V.
- High Efficiency: Up to 92% conversion efficiency.
- Protection Features: Includes input diode protection against reverse polarity, thermal overload, and short circuit protection.
- Compact Design: Suitable for various embedded applications.
3.2 Components
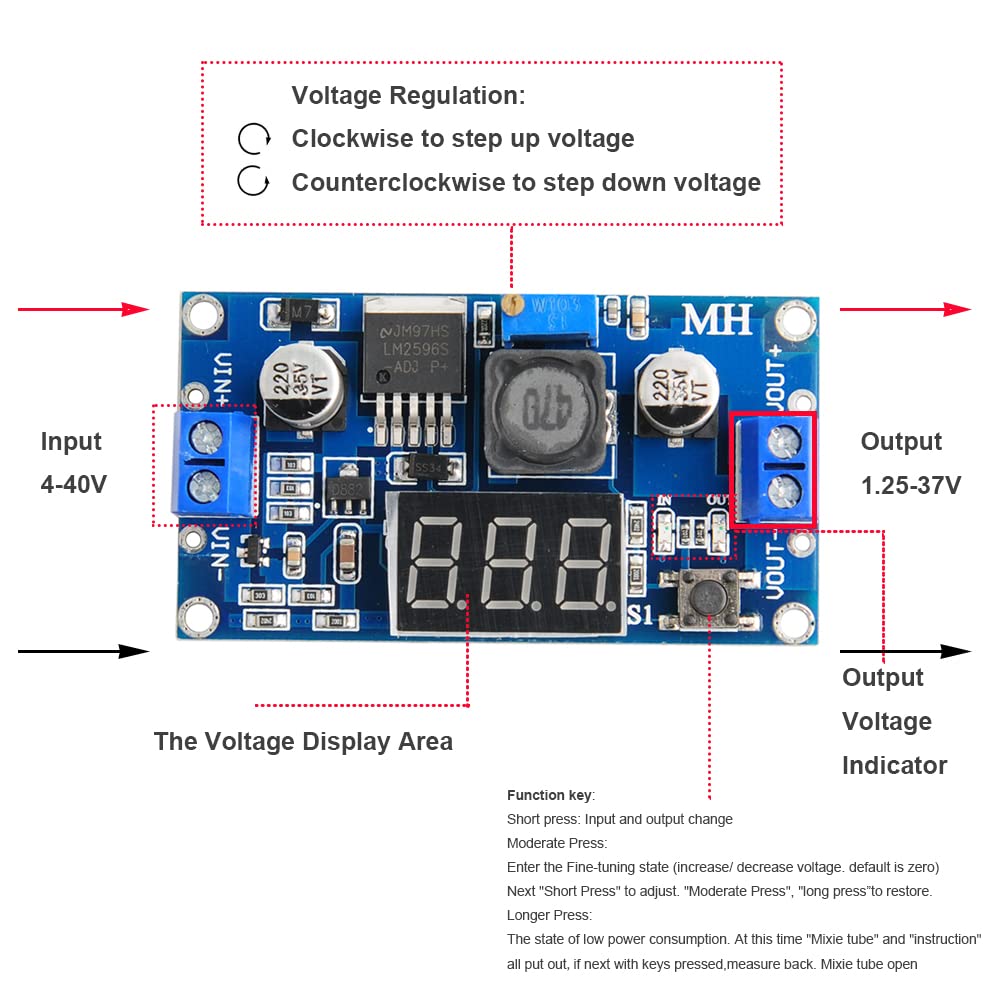
Refer to the diagram below for identification of key components on the LM2596 module.
- VIN+ / VIN-: Input voltage terminals (DC 4V-40V).
- VOUT+ / VOUT-: Output voltage terminals (DC 1.25V-37V).
- Voltage Display Area: 3-digit LED display for voltage readings.
- Function Key (S1): Short press to switch between input and output voltage display. Long press to enter/exit low power mode.
- Potentiometer (Blue Trimmer): Used to adjust the output voltage.
- Voltage Indicator (IN/OUT LEDs): Indicates whether the display shows input (IN) or output (OUT) voltage.

4. Specifications
| Parameter | Value |
|---|---|
| Input Voltage | DC 4V - 40V |
| Output Voltage | DC 1.25V - 37V (Adjustable) |
| Output Current | 3A (Max) |
| Conversion Efficiency | Up to 92% |
| Switching Frequency | 150 KHz |
| Operating Temperature | -45℃ to +85℃ |
| Dimensions (L x W x H) | 66mm x 36mm x 10mm (2.6"D x 1.4"W x 0.4"H) |
| Weight | 22 Grams |
5. Setup
Follow these steps to set up your LM2596 Buck Converter Module:
- Connect Input Power: Connect your DC power source (4V-40V) to the VIN+ (positive) and VIN- (negative) terminals. Ensure correct polarity.
- Connect Load: Connect your load device to the VOUT+ (positive) and VOUT- (negative) terminals. Do not connect the load until the output voltage has been adjusted to the desired level.
- Initial Check: Before applying power, double-check all connections to prevent damage.
6. Operating Instructions
6.1 Powering On and Display Modes
- Apply power to the VIN terminals. The LED display will light up.
- Switching Display: Short press the function key (S1) to toggle between displaying the input voltage (IN LED lit) and the output voltage (OUT LED lit).
- Low Power Mode: Long press the function key (S1) to enter or exit low power mode, which turns off the display.
6.2 Adjusting Output Voltage
The output voltage is adjusted using the blue potentiometer (trimmer) on the module. It is recommended to adjust the voltage before connecting your sensitive load.
- Ensure the module is powered on and displaying the output voltage (OUT LED lit).
- Using a small screwdriver, carefully turn the potentiometer.
- Turning the potentiometer clockwise will generally increase the output voltage.
- Turning the potentiometer counter-clockwise will generally decrease the output voltage.
- Rotate the potentiometer multiple turns (up to 20 or more) to observe significant changes in voltage. Adjust until the desired output voltage is displayed.
- Once the desired voltage is set, you can connect your load.
7. Maintenance
- Keep the module clean and free from dust and debris.
- Regularly inspect connections for looseness or corrosion.
- If operating at higher power levels, ensure adequate ventilation or consider adding a heatsink if not already present.
8. Troubleshooting
| Problem | Possible Cause | Solution |
|---|---|---|
| No display/No output | No input power, incorrect wiring, or module failure. | Check input power source. Verify input wiring polarity. Ensure input voltage is within 4V-40V range. |
| Output voltage cannot be adjusted | Potentiometer not turned enough, or faulty potentiometer/module. | Turn the potentiometer multiple turns (20+ times) in both directions. If still no change, the module may be faulty. |
| Output voltage is unstable | Input power fluctuations, excessive load, or faulty components. | Ensure stable input power. Reduce load current. Check for loose connections. |
| Module overheating | Excessive load current or insufficient cooling. | Reduce load current. Add a heatsink to the main IC. Ensure proper ventilation. |
9. Warranty and Support
This Stemedu LM2596 DC-DC Buck Converter Module comes with a limited warranty. For specific warranty details and duration, please refer to your purchase documentation or contact the seller directly.
For technical support, questions, or assistance with your product, please contact Stemedu customer service through the platform where you purchased the item or visit the official Stemedu store page.
Stemedu Store: Visit the Stemedu Store on Amazon