
1. Introduction
Thank you for choosing the suptek SPM201SB Small Bookshelf Speaker Wall Mount. This bracket is designed to securely hold small surrounding sound speakers, providing an optimal listening experience by allowing flexible placement and angle adjustments. Please read this manual carefully before installation and use to ensure proper setup and safe operation.
2. Safety Information
- Weight Capacity: Do not exceed the maximum weight capacity of 55 lbs (25 kg) per bracket. Overloading can cause instability and potential damage or injury.
- Wall Type: This mount is designed for installation on concrete walls, brick walls, or single wood studs. DO NOT install on drywall alone without securing to a stud.
- Secure Installation: Ensure all screws and bolts are tightened securely before placing speakers on the mounts. Loose connections can lead to speaker falls.
- Professional Installation: If you are unsure about the installation process or wall type, consult a qualified professional.
- Children and Pets: Keep children and pets away from the installation area during setup.
- Regular Checks: Periodically check the mounts and connections to ensure they remain secure.
3. Package Contents
Verify that all components are present before beginning installation:
- 2 x Speaker Wall Mount Brackets
- 1 x Mounting Hardware Kit (includes concrete anchors, self-tapping screws, washers)
- 1 x User Manual (this document)
4. Specifications
| Feature | Detail |
|---|---|
| Model Name | SPM201SB |
| Brand | suptek |
| Color | Black |
| Mounting Type | Wall Mount |
| Material | Alloy Steel |
| Weight Capacity | Up to 55 lbs (25 kg) per bracket |
| Adjustable Tilt | ±7.5 degrees |
| Adjustable Swivel | ±45 degrees |
| Speaker Width Compatibility | 95-145 mm (3.8-5.7 inches) |
| Unit Count | 2 Count |
| Item Weight | 4.8 pounds (2.18 kg) |
5. Speaker Compatibility
This suptek SPM201SB model is designed for small bookshelf and satellite speakers. Before installation, ensure your speaker's width is between 95 mm (3.8 inches) and 145 mm (5.7 inches).
If your speaker width exceeds 145 mm (5.7 inches), please consider suptek models SPM201 (5.5-11 inches) or SPM201L (9.5-15.1 inches) for proper fit and support.

Image: Comparison of suptek speaker mount models, illustrating the compatible speaker width ranges for SPM201S (3.8-5.7 inches), SPM201 (5.5-11 inches), and SPM201L (9.5-15.1 inches).
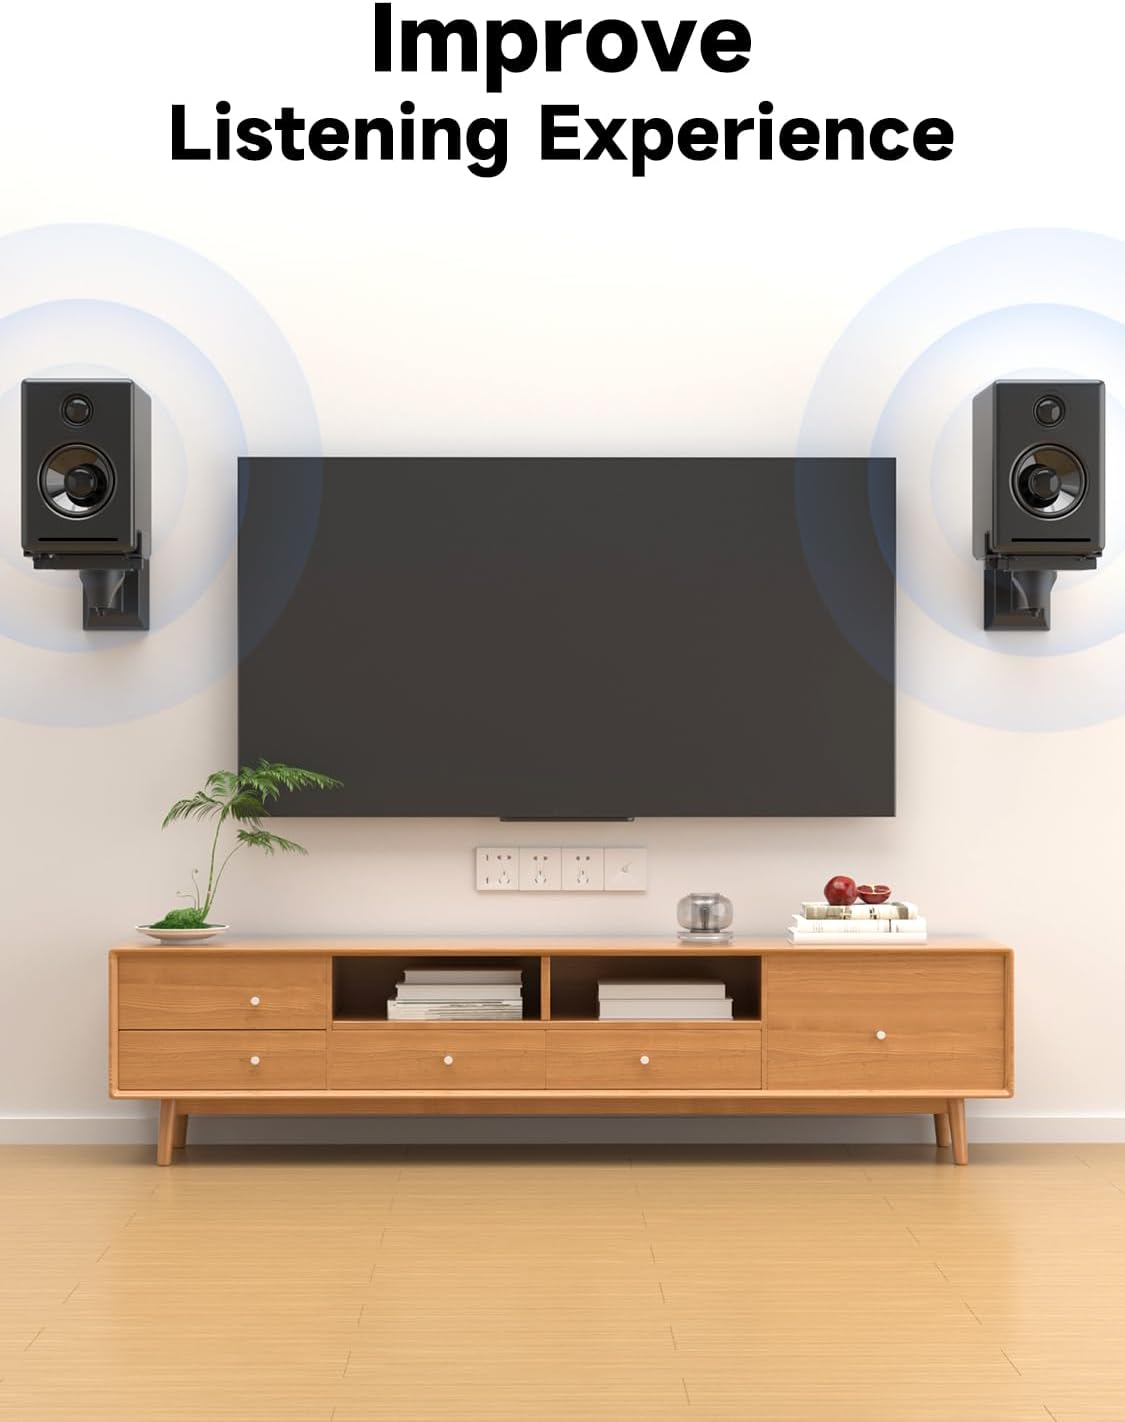
Image: A speaker placed on the mount, with an arrow indicating the measurement of speaker width between 3.8 to 5.7 inches (95-145mm) for the SPM201S model.
6. Setup & Installation
Follow these steps for secure installation of your speaker wall mounts.
6.1 Choose Mounting Location
Select a suitable location on a concrete wall, brick wall, or a single wood stud. Do not mount on drywall without securing to a stud. Ensure there are no hidden electrical wires or plumbing in the wall before drilling.

Image: Illustration of acceptable mounting surfaces (concrete/brick wall and single wood stud) and the included mounting hardware (concrete anchors, self-tapping screws, washers).
6.2 Installation Steps
- Mount the Wall Plate: Position the wall plate at your desired height. Mark the drilling points. Drill pilot holes according to the size of the provided anchors/screws. Secure the wall plate to the wall using the appropriate mounting hardware for your wall type.
- Attach the Arm: Slide the arm onto the wall plate.
- Attach Speaker Platform: Connect the speaker platform to the arm using the provided screw and nut. Ensure it is securely fastened but allows for rotation.
- Place Speaker: Carefully place your speaker onto the platform. Adjust the side clamps to firmly grip the speaker. Tighten the clamping mechanisms to secure the speaker.

Image: A visual guide showing four steps: 1) Mounting the wall plate, 2) Attaching the arm, 3) Connecting the speaker platform, and 4) Placing and securing the speaker.
6.3 Installation Video Guide
Video: Official suptek installation guide for the SPM201S speaker wall mount, demonstrating the assembly and mounting process.
7. Operation & Adjustments
The suptek SPM201SB mount offers versatile adjustments to optimize your speaker's sound direction.
7.1 Angle Adjustment
You can adjust the speaker's tilt and swivel to direct sound precisely where needed.
- Tilt: The speaker can be tilted up or down by ±7.5 degrees. Loosen the tilt adjustment knob, set the desired angle, and then re-tighten the knob to secure.
- Swivel: The speaker can swivel left or right by ±45 degrees. Loosen the swivel mechanism, rotate the speaker to the desired angle, and then re-tighten to secure.

Image: Visual representation of the mount's adjustable bracket, showing ±45° swivel and ±7.5° tilt capabilities.
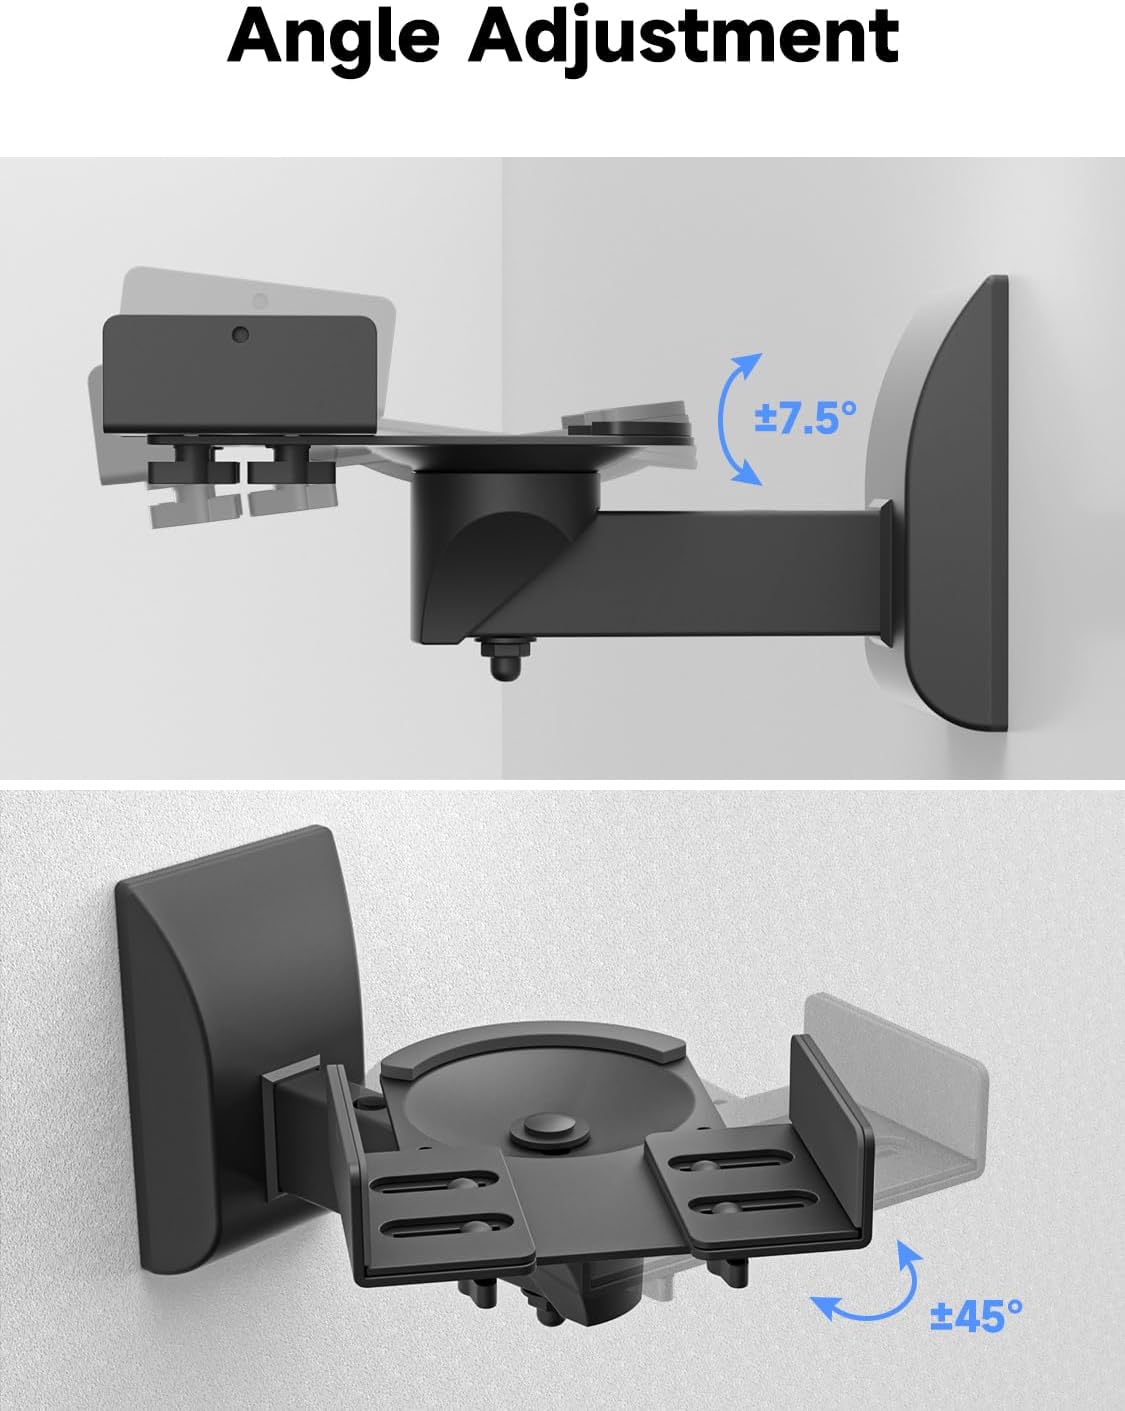
Image: Close-up showing the tilt adjustment (up and down 7.5 degrees) and swivel adjustment (left and right 45 degrees) features of the speaker mount.
7.2 Speaker Width Adjustment
The side clamping mechanisms are independently adjustable to fit your speaker's width. Each clamp has its own fine-threaded screw to extend or retract the steel clamp arms. Ensure both sides are tightened evenly for a secure grip.
7.3 Cable Management
The mount features integrated cable management to keep your speaker wires tidy and out of sight. Route the cables through the designated channels on the mount arm for a clean setup.

Image: Detailed view highlighting anti-slip EVA pads on the speaker platform, the plastic wall cover, integrated cable management, and the tilt adjustment mechanism.
7.4 Product Overview Video
Video: Official suptek product overview video for the SPM201SB speaker wall mount, showcasing its features and design.
8. Maintenance
- Cleaning: Wipe the mount with a soft, dry cloth to remove dust. Avoid using abrasive cleaners or solvents that could damage the finish.
- Periodic Inspection: Regularly check all mounting screws and adjustment knobs to ensure they remain tight and secure. Re-tighten if necessary.
- Damage Check: Inspect the mount for any signs of wear, damage, or corrosion. If any damage is found, discontinue use and replace the unit.
9. Troubleshooting
- Speaker feels loose: Ensure the side clamping mechanisms are fully tightened around the speaker. Verify the speaker width is within the compatible range (95-145mm).
- Mount is wobbly: Check all wall mounting screws and the connection between the arm and the wall plate. Ensure they are securely fastened. Confirm the mount is installed on a solid wall type (concrete, brick, or wood stud).
- Difficulty adjusting angle: Loosen the tilt or swivel adjustment knobs sufficiently before attempting to reposition. Re-tighten firmly once the desired angle is achieved.
- Mounting hardware issues: Ensure you are using the correct hardware for your specific wall type. If drilling into concrete or brick, use the appropriate anchors. For wood studs, use self-tapping screws directly into the center of the stud.
10. Warranty & Support
The suptek SPM201SB speaker wall mount comes with a 10-year protection (warranty) against manufacturing defects. This warranty covers defects in materials and workmanship under normal use.
For warranty claims, technical support, or any questions regarding your product, please contact suptek customer service through the retailer where you purchased the product or visit the official suptek website for contact information.
Please retain your proof of purchase for warranty service.


