1. Introduction
The Viper 3401V car alarm system is designed to provide advanced protection for your vehicle against theft and unauthorized access. This system incorporates multiple layers of security, including perimeter protection, impact sensing, and an ignition immobilizer. This manual provides essential information for understanding, operating, and maintaining your Viper 3401V car alarm system.
For optimal performance and safety, it is highly recommended that installation be performed by a qualified professional.
2. Package Contents
Your Viper 3401V car alarm system package should include the following components:
- One (1) Viper Control Module
- Two (2) 3-Button Remote Controls
- One (1) 128 dB 6-Tone Programmable Siren
- One (1) LED Indicator
- One (1) Valet Switch
- One (1) Alarm Override Device
- One (1) Dual-Zone Impact Sensor
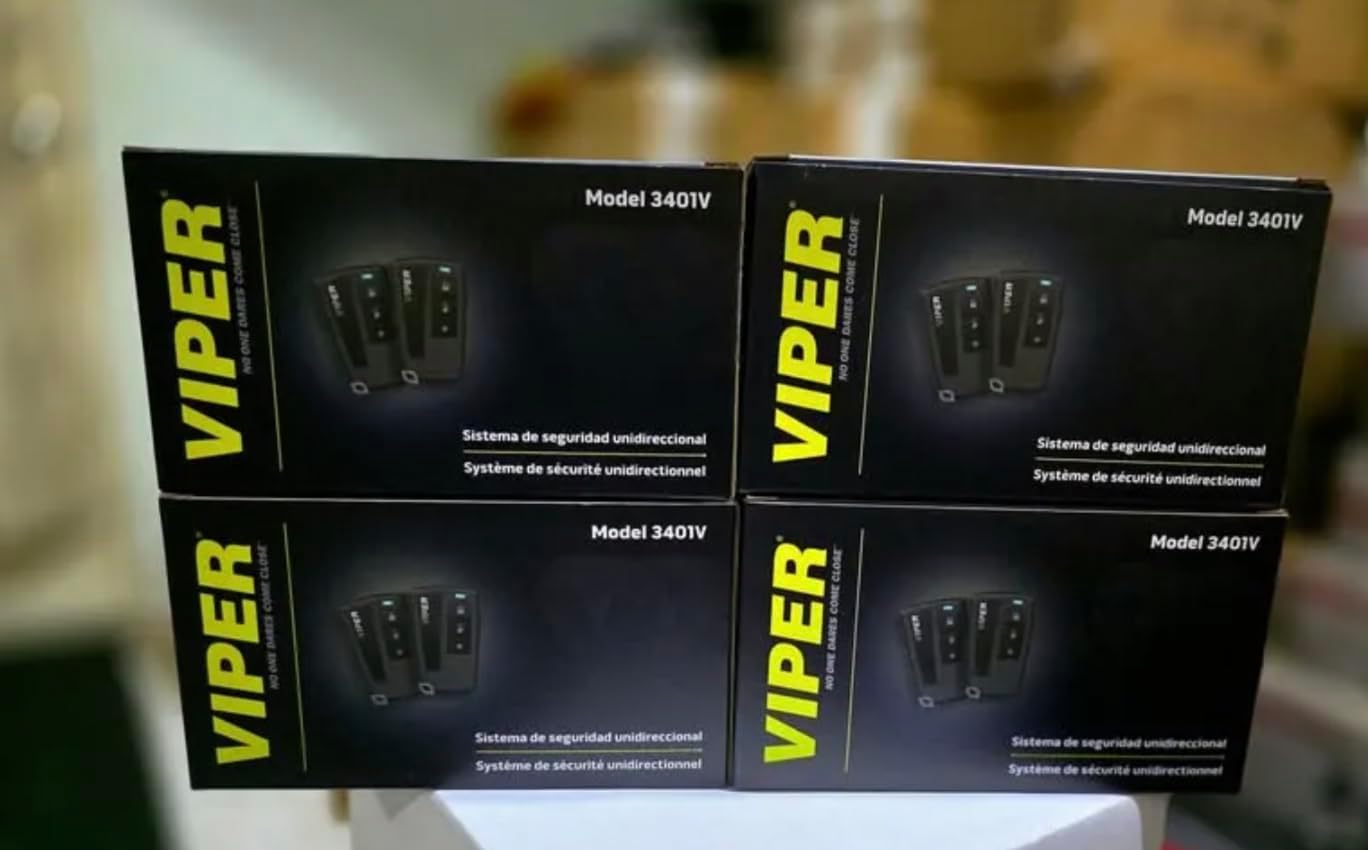
Image: Multiple boxes of the Viper 3401V car alarm system, showing the product packaging.

Image: Two Viper 3-button remote controls displayed next to the product packaging.
3. Setup and Installation
The Viper 3401V car alarm system requires professional installation to ensure proper functionality and to avoid damage to your vehicle's electrical system. This section provides a general overview of the installation process and key considerations.
3.1 Professional Installation Recommended
Due to the complexity of vehicle electrical systems and the critical nature of security components, it is strongly advised that a certified automotive electronics technician install this alarm system. Improper installation can lead to system malfunctions, vehicle damage, or voiding of warranties.
3.2 Key Components Overview
- Control Module: The central processing unit of the alarm system. It should be mounted securely in a hidden location within the vehicle's interior, away from moisture and extreme temperatures.
- Siren: Mount the siren in the engine bay, facing downwards to prevent water accumulation. Ensure it is securely fastened and its wiring is protected from heat and moving parts.
- Impact Sensor: This sensor detects impacts to the vehicle. It should be mounted securely to a rigid part of the vehicle's chassis, typically under the dashboard, and adjusted for sensitivity after installation.
- LED Indicator: Install the LED in a visible location on the dashboard to deter potential thieves and indicate the alarm's status.
- Valet Switch: This switch is used to temporarily bypass the alarm system for servicing or when lending the vehicle. Mount it in a hidden, yet accessible, location.
- Ignition Immobilizer: This feature integrates with the vehicle's ignition system to prevent the engine from starting when the alarm is armed.
3.3 Wiring Considerations
All wiring connections must be secure and properly insulated. Use appropriate gauge wires and fuses as specified in the detailed installation guide provided with the product (not included in this user manual). Ensure all connections are made to the correct vehicle circuits, including power, ground, ignition, door triggers, trunk/hood triggers, and parking lights.
4. Operating Instructions
The Viper 3401V system is operated using the provided 3-button remote controls. Familiarize yourself with the remote's functions for effective use of the alarm system.
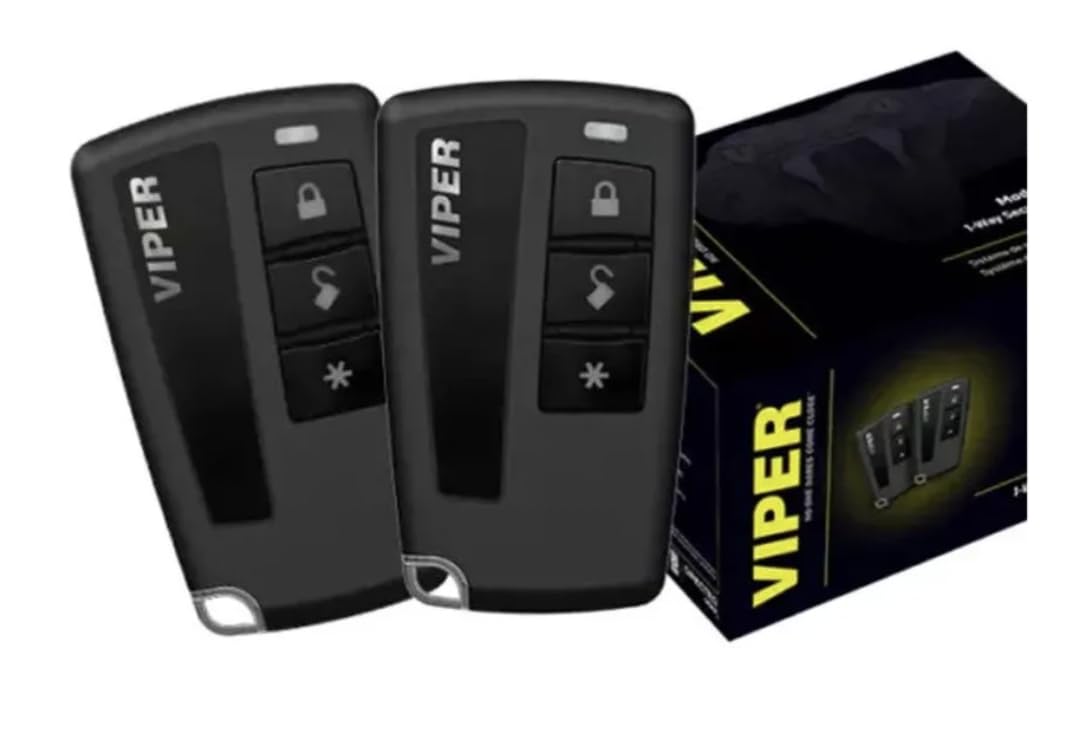
Image: Close-up of a Viper 3-button remote control, showing the lock, unlock, and auxiliary buttons.
4.1 Remote Control Functions
- Lock Button (Closed Padlock Icon):
- Press once to arm the alarm system and lock the vehicle's doors. The siren will chirp once, and the parking lights will flash once.
- The alarm will automatically activate 30 seconds after the last door is closed.
- Unlock Button (Open Padlock Icon):
- Press once to disarm the alarm system and unlock the vehicle's doors. The siren will chirp twice, and the parking lights will flash twice.
- If the alarm was triggered, the siren will chirp four times to indicate a previous intrusion.
- Auxiliary Button (Asterisk Icon):
- This button typically controls an auxiliary function, such as trunk release or a remote start (if an optional module is installed). Refer to your installer for specific programming of this button.

Image: A hand holding a Viper 3-button remote control inside a vehicle, demonstrating its use.
4.2 Valet Mode
Valet mode allows you to temporarily disable the alarm system's security features while keeping keyless entry functional. This is useful when your vehicle is being serviced or parked by a valet.
- To Enter Valet Mode:
- Turn the ignition key to the ON position.
- Within 10 seconds, press and release the Valet Switch.
- The LED indicator will light up solid, indicating the system is in Valet Mode.
- To Exit Valet Mode:
- Turn the ignition key to the ON position.
- Within 10 seconds, press and release the Valet Switch.
- The LED indicator will turn off, indicating the system has exited Valet Mode and is fully armed.
5. Maintenance
Regular maintenance helps ensure the longevity and reliable operation of your Viper 3401V car alarm system.
- Remote Control Batteries: If the remote control range decreases or the LED on the remote dims, it may be time to replace the battery. Refer to the remote control's specific instructions for battery type and replacement procedure.
- Sensor Cleaning: Keep the impact sensor and any other external sensors (if installed) clean and free from debris to ensure accurate detection.
- System Check: Periodically test the alarm system by arming it and then attempting to open a door or gently shaking the vehicle to trigger the impact sensor.
- Professional Inspection: Consider having your system professionally inspected annually to ensure all components are functioning correctly and to check for any potential wiring issues.
6. Troubleshooting
This section addresses common issues you might encounter with your Viper 3401V car alarm system.
| Problem | Possible Cause | Solution |
|---|---|---|
| Alarm does not arm/disarm with remote. |
|
|
| Alarm triggers without apparent reason (false alarms). |
|
|
| Siren does not sound. |
|
|
| Ignition immobilizer prevents starting. |
|
|
If you experience persistent issues or problems not listed here, please contact your professional installer or the manufacturer's customer support for assistance.
7. Specifications
| Brand | Viper (Generic) |
| Model | 3401V |
| Compatible Devices | Vehicles |
| Siren Noise Level | 128 Decibels |
| Remote Control Included | Yes (Two 3-button remotes) |
| Remote Engine Start | Not included with this system |
8. Warranty Information
This Viper 3401V car alarm system is typically covered by a manufacturer's limited warranty. The duration and terms of the warranty may vary. Please retain your proof of purchase and consult the warranty card included with your product for detailed information regarding coverage, limitations, and how to make a claim.
Warranty claims are generally handled through the authorized dealer or installer from whom the product was purchased and installed.
9. Customer Support
For technical assistance, troubleshooting beyond this manual, or warranty inquiries, please contact your professional installer first. They are best equipped to provide support for your specific installation.
You may also visit the official Viper website or contact their customer service department for general product information and support. Contact details are usually available on the product packaging or the manufacturer's website.