
Introduction
This instruction manual provides detailed guidance for assembling and finishing your Revell Boeing 737-800 1:288 Scale Plastic Model Kit. Please read all instructions carefully and familiarize yourself with the components before beginning assembly. This kit is designed for modelers aged 10 years and older.

Image: The Revell Boeing 737-800 model kit box, showing the finished aircraft and kit details.
Safety Information
- WARNING: Not suitable for young children. This kit contains small parts which may present a choking hazard.
- Adult supervision is recommended for users under 10 years of age.
- Use model cement and paints in a well-ventilated area. Avoid prolonged inhalation of fumes.
- Avoid direct contact of cement and paints with skin and eyes. In case of contact, rinse immediately with plenty of water and seek medical advice if irritation persists.
- Keep all tools, model cement, and paints out of reach of small children and pets.
- Exercise caution when using hobby knives or other sharp tools.
Package Contents
Your Revell Boeing 737-800 model kit package should contain the following items:
- One (1) set of plastic parts on sprues (total of 25 parts) for the Boeing 737-800 aircraft.
- One (1) decal sheet for aircraft markings.
- One (1) instruction sheet.
Note: Model cement, paints, and assembly tools (e.g., hobby knife, sandpaper, tweezers) are not included and must be purchased separately.

Image: Unassembled plastic parts for the Boeing 737-800 model kit, still attached to their sprues.
Setup: Assembly Instructions
Follow these steps for the proper assembly of your model kit:
- Preparation of Parts: Carefully remove each part from its sprue using a hobby knife or sprue cutters. Be gentle to avoid damaging the parts. Smooth any rough edges or 'flash' (excess plastic) with fine-grit sandpaper or a small file. Test fit parts together before applying cement to ensure a good fit.
- Fuselage Assembly: Join the two main fuselage halves. Apply a thin, even layer of model cement along the mating surfaces. Press the halves together firmly and hold until the cement sets. Ensure proper alignment to avoid gaps.
- Wing Assembly: Attach the main wing sections to the fuselage. The kit features structured carrying surfaces designed for an authentic look. Ensure the wings are securely attached and aligned correctly.
- Engine Nacelles: Assemble the engine nacelles according to the diagrams in the included instruction sheet. Attach the completed engine assemblies to the designated points on the wings.
- Landing Gear: Assemble the landing gear components, including wheels and struts. Attach the assembled landing gear to the underside of the fuselage and wings. Ensure the landing gear is oriented correctly for display.
- Tail Section: Attach the horizontal and vertical stabilizers to the tail section of the fuselage. Pay attention to alignment for a realistic appearance.
- Final Details: Attach any remaining small components such as antennas or other external details as indicated in the instruction sheet.
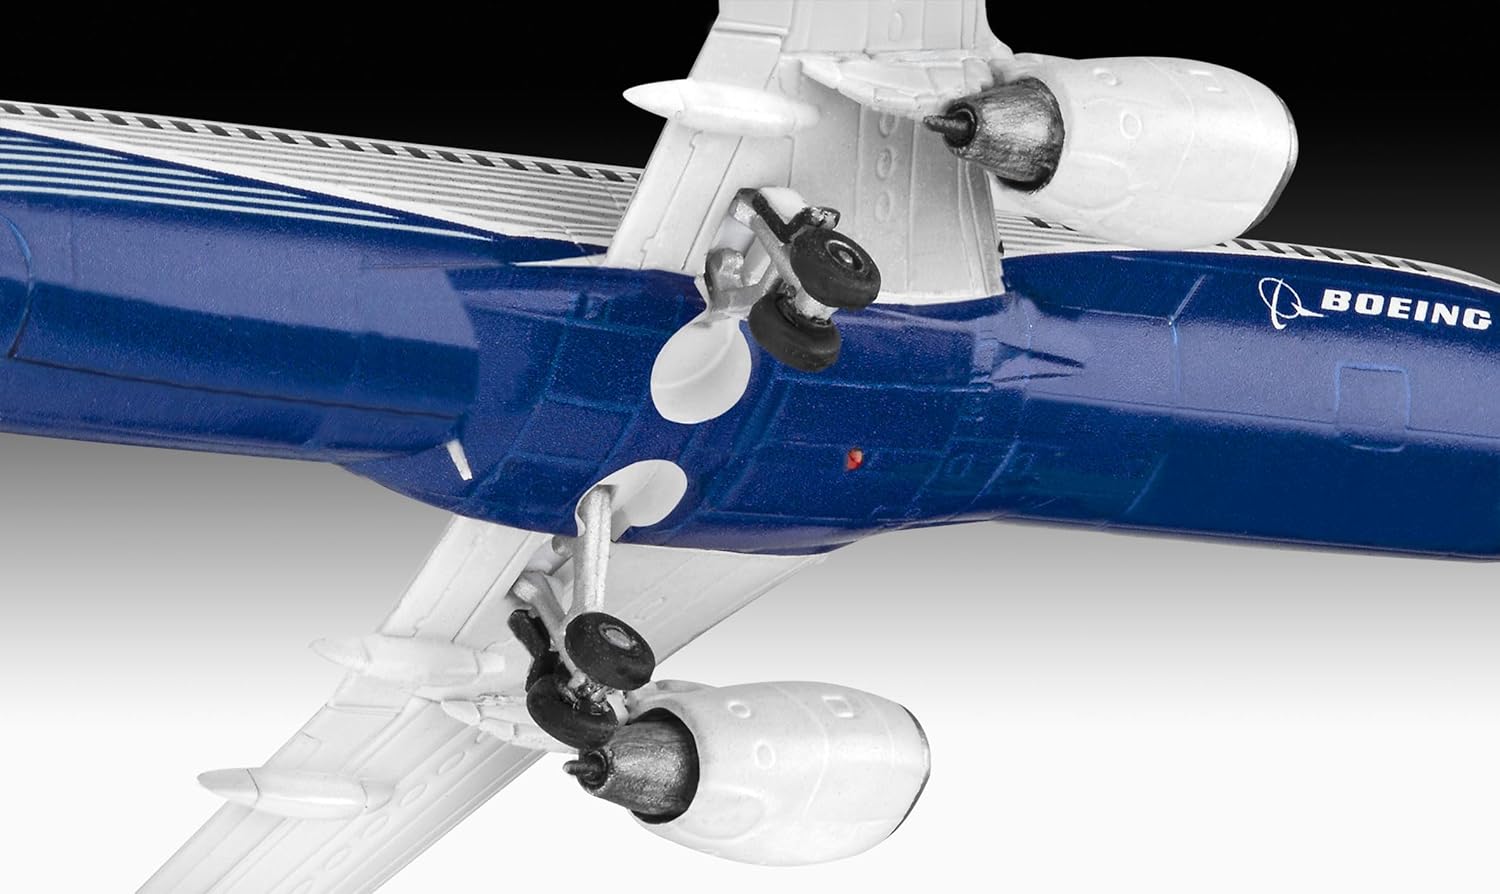
Image: A detailed view of the assembled landing gear and underside of the Boeing 737-800 model.
Operating: Painting and Decal Application
Once the model is fully assembled and the cement has dried, you can proceed with painting and applying decals.
Painting
The model kit is unpainted, allowing for customization. Acrylic paints are recommended for this plastic model. Apply paint in thin, even coats to achieve a smooth finish. Multiple thin coats are preferable to one thick coat, which can obscure details. Refer to the box art or official Boeing 737-800 reference images for accurate color schemes and markings.
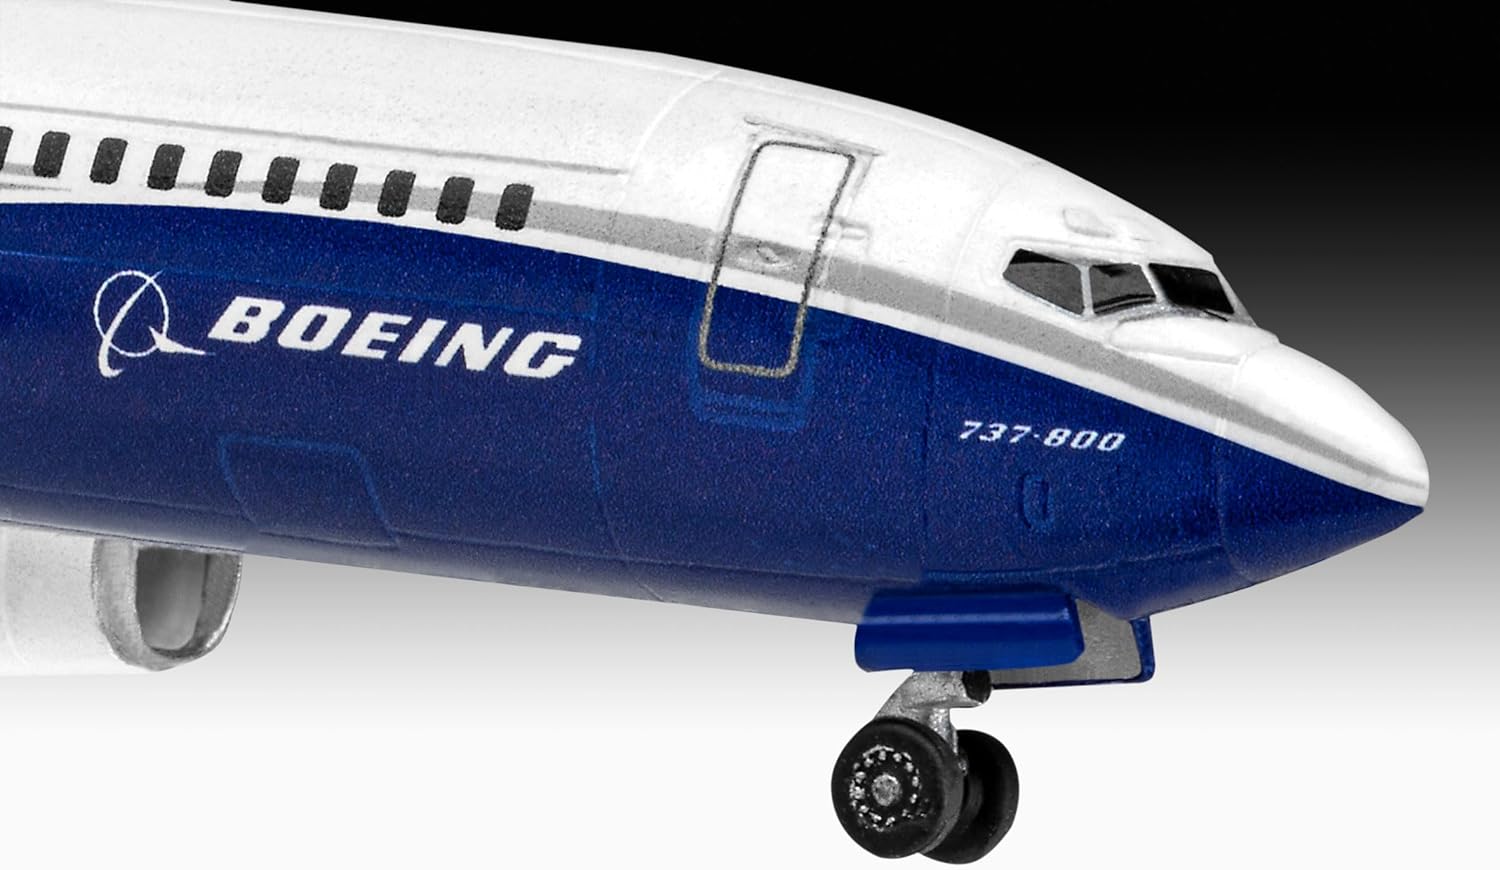
Image: A close-up of the painted nose section of the Boeing 737-800 model, showing cockpit windows and fuselage details.
Decal Application
Decals add important markings and details to your model. Follow these steps for best results:
- Ensure the painted surface is completely dry and smooth. A gloss clear coat can help decals adhere better.
- Carefully cut out each decal from the sheet using a sharp hobby knife or scissors. Trim as close to the decal image as possible without cutting into it.
- Dip the cut decal into a small dish of lukewarm water for about 10-20 seconds, or until it begins to slide freely from the backing paper.
- Using tweezers, carefully slide the decal from the backing paper onto the desired position on your model.
- Gently adjust the decal's position with a wet paintbrush or cotton swab. Once positioned, carefully blot away any excess water with a soft, lint-free cloth or paper towel.
- For decals over curved or irregular surfaces, a decal setting solution can be applied to help the decal conform to the surface and eliminate air bubbles.
- Allow decals to dry completely before handling the model further. A final matte or gloss clear coat can protect the decals.
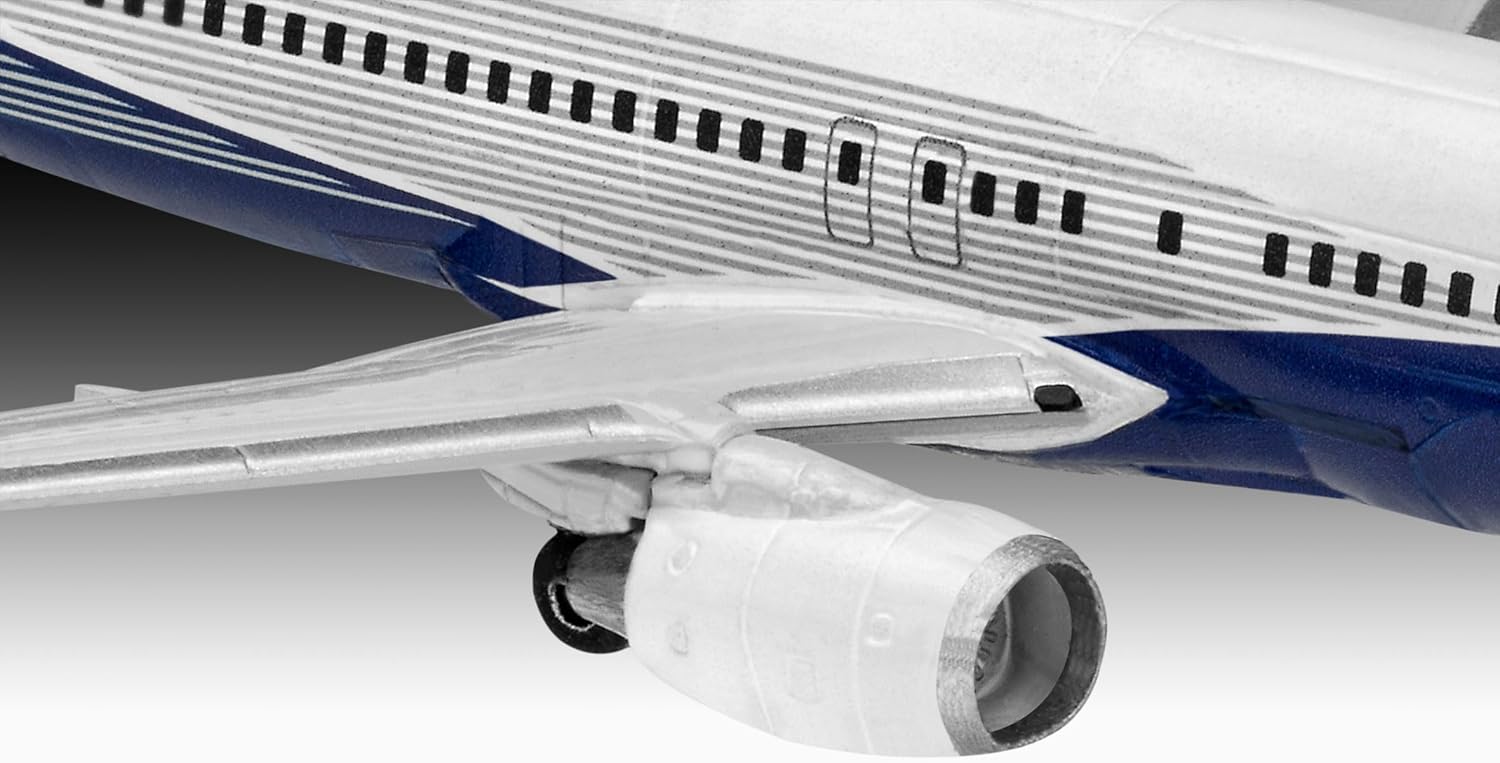
Image: A close-up of the painted wing and engine of the Boeing 737-800 model, showing surface details.

Image: A close-up of the painted tail section of the Boeing 737-800 model, featuring the '737' decal.
Maintenance
Proper care will preserve the appearance of your finished model for years to come.
- Cleaning: Gently dust your model regularly with a soft, dry brush or a lint-free cloth. Avoid using abrasive materials or harsh chemical cleaners, as these can damage paint and decals.
- Storage: Store the assembled model away from direct sunlight, which can cause paint to fade and plastic to warp or become brittle over time. Avoid areas with extreme temperature fluctuations or high humidity.
- Handling: Always handle the model carefully, preferably by its base or main fuselage, to avoid damaging delicate parts like antennas, landing gear, or wings.
Troubleshooting
Here are solutions to common issues you might encounter during assembly or finishing:
- Parts not fitting correctly: Ensure all sprue gates and excess plastic (flash) have been completely removed from the mating surfaces. Lightly sand the edges if necessary to achieve a snug fit. Test fit parts before applying cement.
- Decals not sticking or bubbling: Ensure the surface where the decal is applied is clean, smooth, and completely dry. A gloss clear coat applied before decals can improve adhesion. Use a decal setting solution to help decals conform to irregular surfaces and eliminate air bubbles. Gently prick any persistent bubbles with a fine needle and press down.
- Warped plastic parts: For minor warping, you can sometimes gently reshape plastic parts. Carefully immerse the warped part in warm (not boiling) water for a few seconds until it becomes pliable. Gently bend it back into shape and then quickly cool it under cold water to set the new form.
- Paint not adhering or uneven: Ensure the plastic surface is clean and free of oils or dust before painting. Apply paint in thin, even coats. Allow each coat to dry thoroughly before applying the next.
Specifications
| Model Name: | Boeing 737-800 |
| Model Number: | 03809 |
| Brand: | Revell |
| Scale: | 1:288 |
| Number of Parts: | 25 |
| Material: | Plastic |
| Recommended Age: | 10 years+ |
| Approx. Assembled Length: | 13.7 cm (5.39 inches) |
| Approx. Assembled Wingspan: | 12.4 cm (5 inches) |
| Recommended Paint Type: | Acrylic |
Warranty Information
Warranty information for Revell products is typically provided within the product packaging or can be found on the official Revell website. Please retain your proof of purchase for any warranty claims or inquiries regarding manufacturing defects.
Support
For further assistance, missing parts, or detailed product information, please visit the official Revell website or contact their customer support. You can also find more information and other products at the Revell Store on Amazon.