1. Introduction
This manual provides detailed instructions for the installation, operation, and maintenance of your JVL 9-Inch Android 11 Car Stereo System, specifically designed for TATA Punch vehicles. Please read this manual thoroughly before using the product to ensure proper functionality and safety.
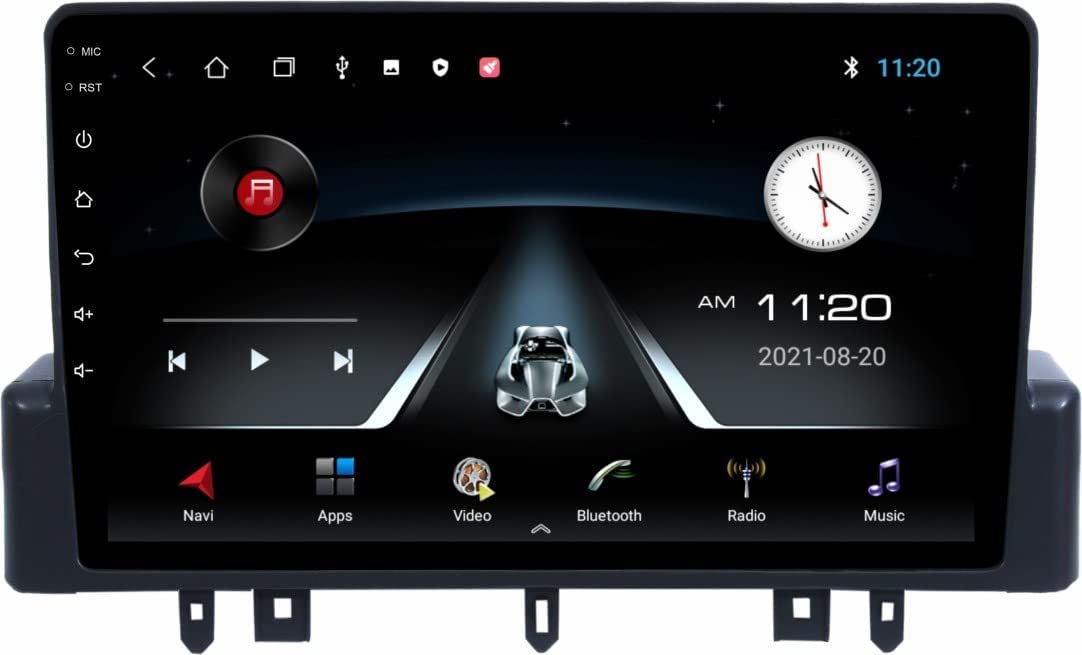
Image 1.1: Front view of the JVL 9-Inch Android 11 Car Stereo System, showing the touchscreen display and control buttons.
2. Safety Information
- Professional Installation Recommended: For optimal safety and performance, professional installation is strongly recommended.
- Coupler to Coupler Fitting: This system features coupler-to-coupler fitting, eliminating the need for wire cutting. This preserves the original car wiring and warranty.
- Electrical Safety: The holder of the coupler is made of high-quality plastic, designed to be electrically resistant and shock-free.
- Driving Safety: Do not operate the system in a way that distracts you from driving. Always prioritize road safety.
- Power Source: The system does not require batteries and draws power directly from the vehicle's electrical system.
3. Package Contents
Verify that all items are present in the package:
- 1 x JVL 9-Inch Android Car Stereo Unit
- Wiring Harness (Coupler to Coupler)
- GPS Antenna
- USB Cables
- Mounting Hardware
- User Manual (This document)
4. Setup and Installation
This section outlines the general steps for installing your JVL Car Stereo System. Due to the complexity of car electronics, professional installation is highly recommended.
4.1 Wiring Connections
The system is designed for coupler-to-coupler fitting, which means direct connection to your TATA Punch's existing wiring harness without cutting wires. Ensure all connections are secure.

Image 4.1: Diagram illustrating the various external connections to the car stereo, including rear camera, speakers, parking sensors, subwoofer, and amplifier.
4.2 External Device Connectivity
The system supports various external devices to enhance your driving experience. Connect these as per the diagram below:
- Rear Parking Camera: Connect the video input and power supply for reverse camera functionality.
- Rear Parking Sensors: Integrate with existing or new parking sensors for proximity alerts.
- Subwoofers & Amplifiers: Connect external audio components for enhanced sound output.
- All Car Speakers: Ensure proper connection to your vehicle's speaker system for audio output.

Image 4.2: Detailed car connectivity diagram, highlighting connections for rear parking camera, rear parking sensors, subwoofers, car speakers, and an amplifier.
4.3 Mounting the Unit
Securely mount the 9-inch display unit into the designated slot in your TATA Punch dashboard using the provided mounting hardware. Ensure it is firmly in place to prevent movement during driving.
5. Operating Instructions
Your JVL Car Stereo runs on the Android 11 operating system, offering a user-friendly interface and a wide range of features.
5.1 Basic Operation
- Power On/Off: The unit powers on automatically with the vehicle ignition. To manually power off or restart, use the designated power button or menu option.
- Touchscreen Interface: Navigate through menus and applications using the capacitive touchscreen.
- Steering Wheel Controls (SWC): If your vehicle supports it, configure the steering wheel controls for convenient operation of volume, track changes, and other functions.

Image 5.1: Screenshot of the Android car stereo's main interface, displaying icons for navigation, applications, video playback, Bluetooth, radio, and music.
5.2 Connectivity Features
- Bluetooth: Pair your smartphone for hands-free calling and audio streaming. Access Bluetooth settings to manage devices.
- Wi-Fi: Connect to a Wi-Fi hotspot (e.g., from your smartphone) to access online features, download apps, and browse the internet.
- USB: Use the USB ports to connect external storage devices for media playback or to charge compatible devices.
5.3 Multimedia and Navigation
- GPS Navigation: Utilize the built-in GPS for turn-by-turn navigation. Ensure the GPS antenna is properly installed for accurate positioning.
- FM/AM Tuner: Access radio stations using the integrated FM/AM tuner.
- Audio Playback: Play music from various sources including USB, Bluetooth, and installed apps. The system supports speaker connectivity for an enhanced sound experience.
- Video Playback: Enjoy video content on the 1080p Full HD display.
- Split Screen Function: The system supports split-screen functionality, allowing two applications to run simultaneously on the display.
6. Maintenance
- Cleaning the Screen: Use a soft, lint-free cloth to clean the touchscreen. Avoid abrasive cleaners or solvents.
- Software Updates: Periodically check for software updates through the system settings to ensure optimal performance and access to new features.
- Avoid Extreme Temperatures: Do not expose the unit to extreme temperatures or direct sunlight for prolonged periods, as this may affect its lifespan.
7. Troubleshooting
If you encounter issues with your JVL Car Stereo, refer to the following common problems and solutions:
- No Power:
- Check all wiring connections, especially the main power harness.
- Ensure the vehicle's ignition is on.
- Verify vehicle's fuse box for any blown fuses related to the stereo.
- No Sound:
- Check speaker connections.
- Ensure volume is not muted or set to minimum.
- Verify audio output settings in the system menu.
- GPS Signal Loss:
- Ensure the GPS antenna is securely connected and has a clear view of the sky.
- Move the vehicle to an open area away from tall buildings or dense foliage.
- Bluetooth Pairing Issues:
- Ensure Bluetooth is enabled on both the stereo and your device.
- Delete previous pairings and try pairing again.
- Restart both devices.
- System Lag/Unresponsive:
- Close unnecessary background applications.
- Perform a system restart.
- If issues persist, consider a factory reset (note: this will erase all user data).
8. Specifications
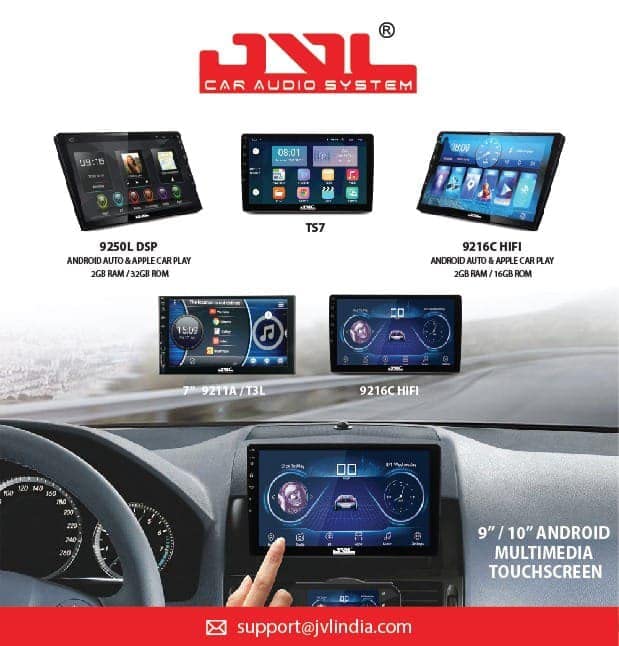
Image 8.1: JVL Car Audio System highlighting key specifications like model number, RAM, and storage.
| Feature | Description |
|---|---|
| Model | 9 Inch Android 11 System for TATA Punch |
| Operating System | Android 11 |
| Display Size | 9 Inches |
| Display Resolution | 1080p Full HD |
| RAM | 2GB |
| Internal Storage (ROM) | 32GB |
| Connectivity | Wi-Fi, Bluetooth, USB |
| Navigation | GPS Enabled (Road Map Type) |
| Tuner Technology | FM/AM |
| Audio Output Mode | Stereo |
| Mounting Type | Panel Mount |
| Special Features | Built-in Bluetooth, FM Tuner, Touchscreen, Split Screen Function, Steering Wheel Control (SWC) compatibility. |
| Vehicle Compatibility | TATA Punch Specific |
9. Warranty and Support
Warranty: This product comes with a 1-year warranty from the date of purchase against manufacturing defects. Please retain your purchase receipt as proof of purchase.
Support: For technical assistance, troubleshooting, or warranty claims, please contact JVL customer support. Refer to the product packaging or JVL's official website for contact details.
The system is designed for coupler-to-coupler fitment, which helps maintain the original car warranty and guarantee by avoiding wire cutting.


