1. Introduction
This manual provides essential information for the safe installation, operation, and maintenance of your CREATE WIND CLEAR Ceiling Fan. Please read these instructions thoroughly before installation and retain them for future reference.
The CREATE WIND CLEAR Ceiling Fan is a quiet ceiling fan featuring a 40W DC brushless motor and a winter-summer reversal function. Its compact and versatile design includes retractable blades. It is suitable for small to medium-sized rooms and bedrooms, offering a built-in LED light with three adjustable color temperatures. The fan body is constructed from steel, and the blades are made of ABS. It provides 6 speed settings and a programmable timer up to 8 hours, all controllable via the included remote control and WiFi connectivity.
2. Safety Instructions
- Always disconnect power at the main circuit breaker before installation, maintenance, or cleaning.
- Installation must be performed by a qualified electrician in accordance with all local and national electrical codes.
- Ensure the mounting structure can support the weight of the fan (refer to specifications for weight).
- Do not insert objects into the path of the fan blades.
- Ensure all connections are secure and properly insulated.
- This appliance is not intended for use by persons (including children) with reduced physical, sensory or mental capabilities, or lack of experience and knowledge, unless they have been given supervision or instruction concerning use of the appliance by a person responsible for their safety.
3. Included Components
Verify that all components are present before beginning installation:
- CREATE WIND CLEAR Ceiling Fan Unit
- Remote Control
- Battery for Remote Control
- Mounting Hardware (screws, brackets, etc. - specific items may vary)
- Instruction Manual
For a visual reference of the product and its components, please see the image below:

4. Setup and Installation
Professional installation is highly recommended for this ceiling fan. Ensure the power supply is disconnected before starting any installation work.
4.1 Physical Installation
- Mounting Bracket: Securely attach the mounting bracket to a ceiling joist or a suitable electrical junction box rated for fan support.
- Wiring: Connect the fan's electrical wires to the household wiring according to the wiring diagram provided in the full installation guide (not included in this summary). Ensure proper grounding.
- Fan Assembly: Carefully lift and attach the fan motor assembly to the mounting bracket.
- Blade Installation: The fan features retractable blades that deploy automatically when the fan operates. No manual blade installation is typically required after the main unit is mounted.
- Light Kit Installation: Attach the LED light kit to the fan housing as per the detailed instructions.
Refer to the following images for visual guidance on the fan's appearance and dimensions:


4.2 WiFi Setup
The fan supports WiFi connectivity for control via a smartphone application. Refer to the specific instructions provided with the fan for pairing the device with your home WiFi network and the CREATE smart home app.
5. Operating Instructions
Your CREATE WIND CLEAR Ceiling Fan can be operated using the included remote control or via the dedicated smartphone application.
5.1 Remote Control Functions
- Power On/Off: Press the power button to turn the fan and light on or off.
- Fan Speed: Adjust between 6 fan speeds using the designated speed buttons.
- Light Control: Turn the LED light on/off and cycle through three adjustable color temperatures (warm, neutral, cold).
- Timer: Set the fan to turn off automatically after 1, 2, 4, or 8 hours.
- Winter/Summer Mode: Switch between forward (summer) and reverse (winter) rotation modes.

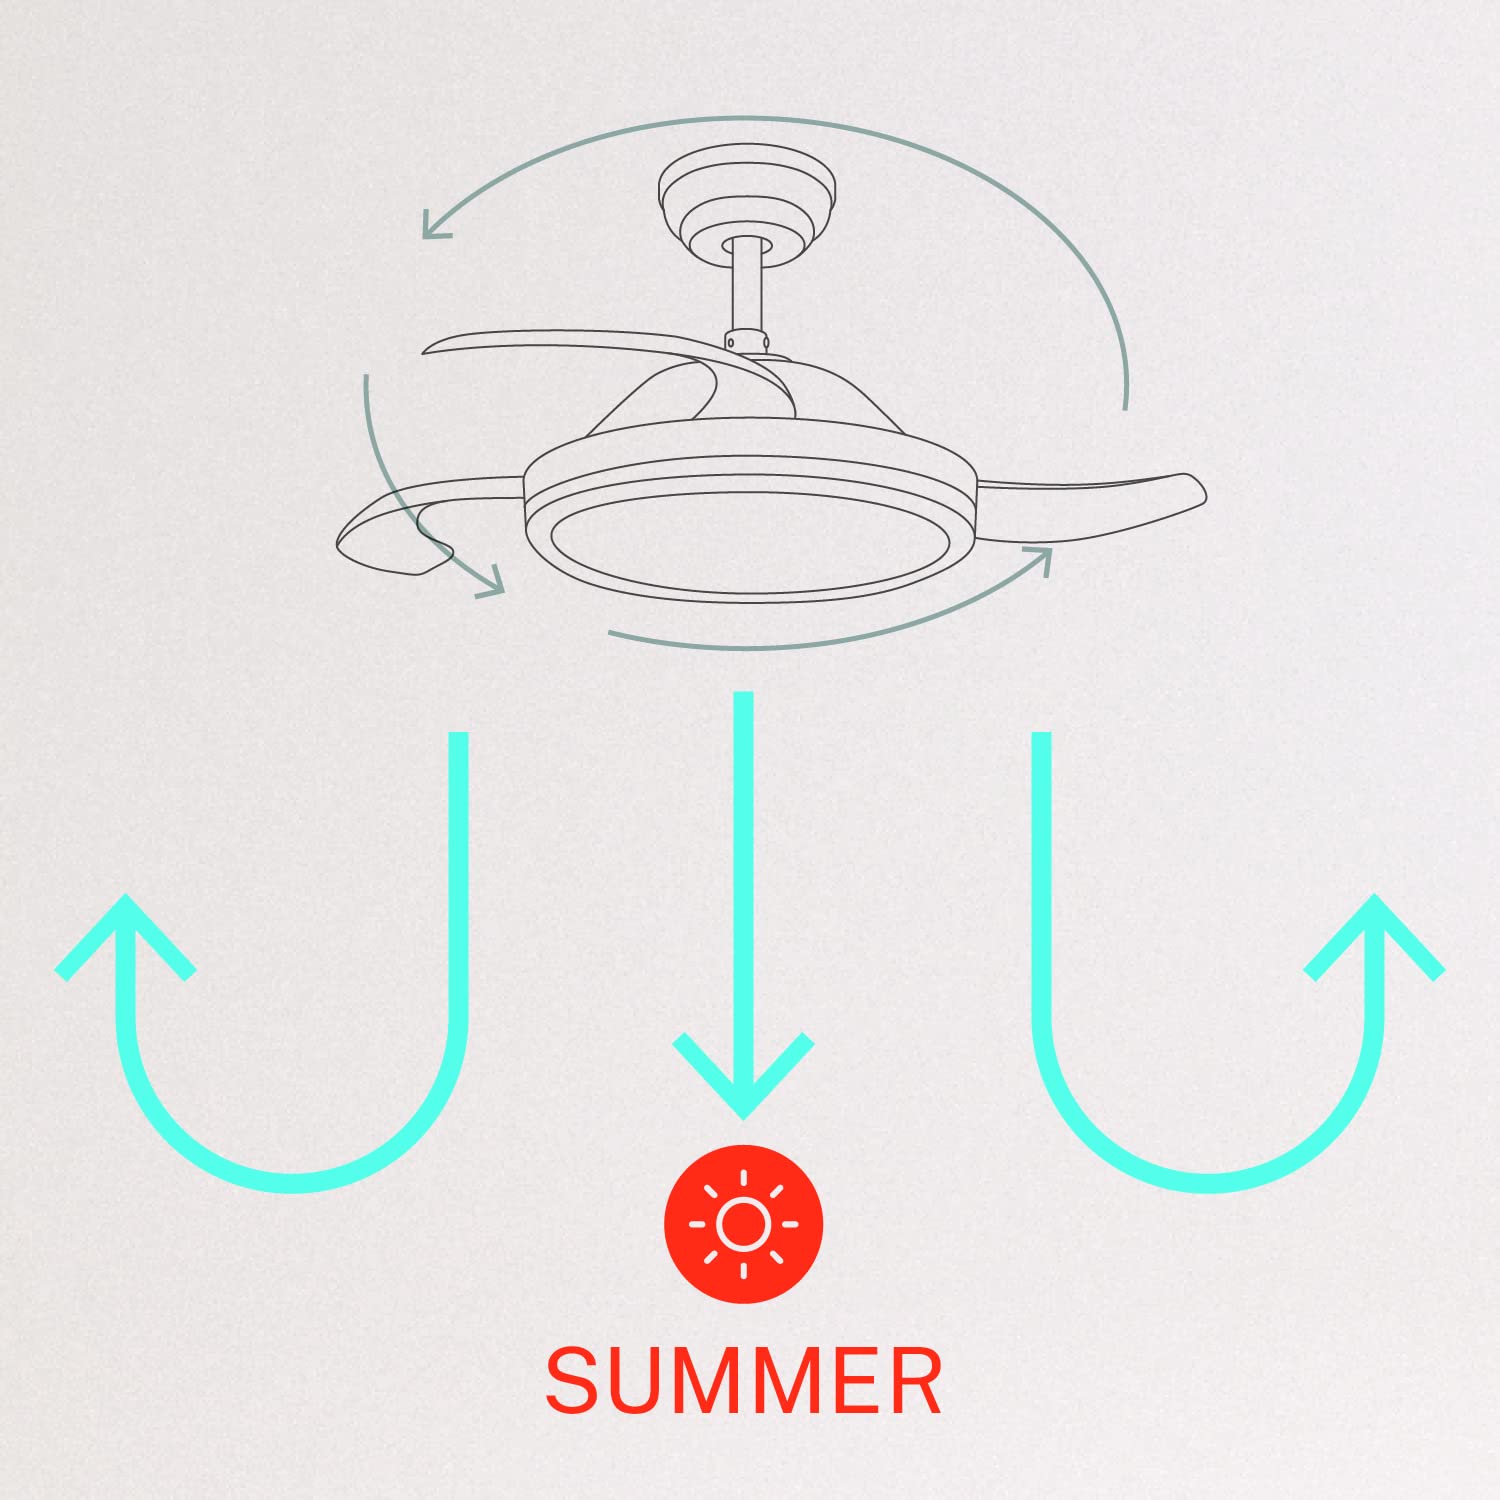
5.2 Winter and Summer Modes
The fan features a reversible motor to optimize air circulation for different seasons:
- Summer Mode (Counter-clockwise rotation): The fan blades rotate counter-clockwise, pushing air downwards to create a cooling breeze.
- Winter Mode (Clockwise rotation): The fan blades rotate clockwise, drawing air upwards to circulate warm air trapped near the ceiling, helping to distribute heat more evenly.

6. Maintenance
Regular maintenance ensures optimal performance and longevity of your ceiling fan.
- Cleaning: Periodically clean the fan blades and motor housing with a soft, damp cloth. Do not use abrasive cleaners or solvents. Ensure the fan is turned off and power is disconnected before cleaning.
- Tightening Screws: Check all mounting screws and blade attachment screws annually to ensure they are properly tightened.
- Light Source: The LED light source is integrated. If it requires service, contact qualified personnel.
7. Troubleshooting
If you encounter issues with your fan, refer to the following common problems and solutions:
| Problem | Possible Cause | Solution |
|---|---|---|
| Fan does not start | No power supply; Loose wiring; Remote control battery depleted | Check circuit breaker; Verify all wiring connections; Replace remote control battery. |
| Fan wobbles | Loose mounting screws; Unbalanced blades | Ensure mounting bracket and fan assembly screws are tight; Check for any obstructions to blade movement. |
| Light does not work | Loose wiring; LED module fault | Check light kit wiring connections; Contact customer support if LED module is faulty. |
| Remote control not working | Depleted battery; Remote not paired | Replace remote control battery; Refer to pairing instructions in the full manual. |
| WiFi control issues | Poor WiFi signal; Incorrect app setup | Ensure strong WiFi signal; Reconfigure WiFi connection in the app. |
8. Specifications
| Feature | Detail |
|---|---|
| Brand | CREATE |
| Model Number | 120760_254772 |
| Colour | White |
| Electric Fan Design | Ceiling Fan |
| Power Source | Corded Electric |
| Style | With WiFi |
| Product Dimensions | 107D x 107W x 39H Centimeters |
| Room Type | Bedroom |
| Special Feature | Timer |
| Recommended Uses | Ventilating |
| Wattage | 40 Watts |
| Included Components | Remote, Battery |
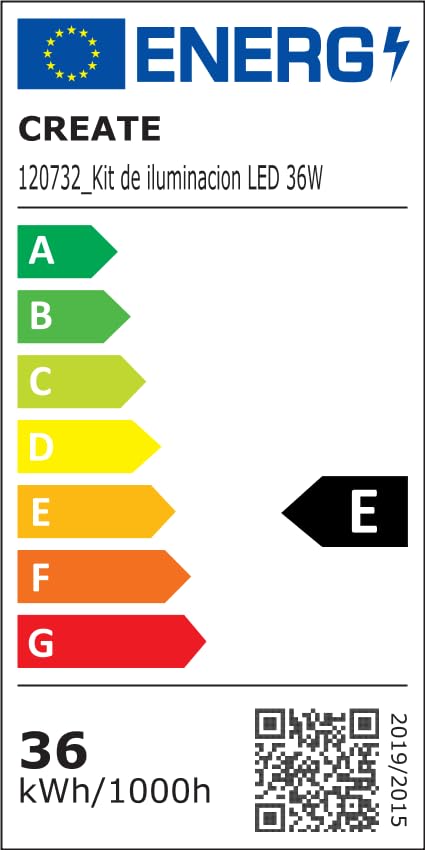
For detailed product data and energy efficiency information, please refer to the following documents:

9. Warranty and Support
For warranty information, technical support, or service inquiries, please contact CREATE customer service or refer to the official CREATE website. Keep your purchase receipt as proof of purchase.


