1. Introduction
This manual provides detailed instructions for the installation, operation, and maintenance of the Hoymiles DTU-Wlite and DTU-Pro Data Transfer Units. These units are essential components for monitoring and managing your Hoymiles HM and MI series micro inverter solar power systems. The DTU collects operational data from your micro inverters and transmits it to the S-miles Cloud monitoring platform, allowing you to track system performance, diagnose issues, and ensure optimal energy production.
The Hoymiles DTU acts as a communication gateway, bridging your micro inverters with the internet. Proper installation and configuration are crucial for accurate data reporting and system efficiency.

Figure 1: Hoymiles DTU-Pro Data Transfer Unit. This image displays the top view of the white DTU unit with two antennas, featuring the Hoymiles logo and status indicators.
2. Package Contents
Before beginning installation, verify that all components are present in the package:
- Hoymiles DTU-Wlite or DTU-Pro Unit
- Power Adapter
- Antennas (if applicable to model)
- Mounting Accessories (screws, anchors)
- Quick Installation Guide
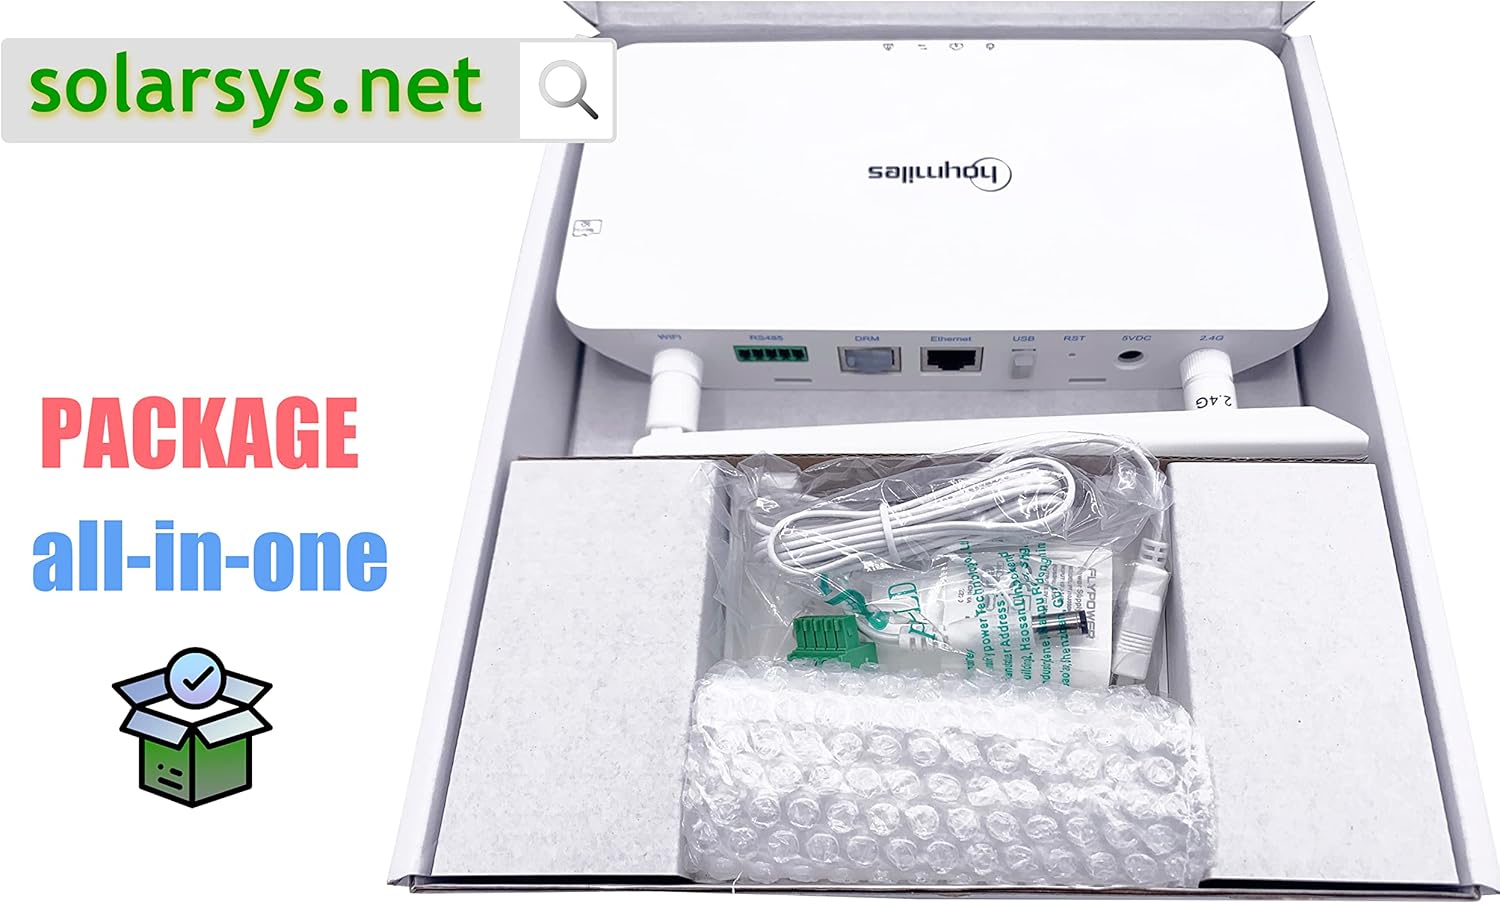
Figure 2: Package contents for the Hoymiles DTU-Pro. The image shows the DTU unit, power adapter, and cables neatly packed in a box.
3. Setup and Installation
Follow these steps to properly install your Hoymiles DTU unit and connect it to your micro inverter system and the S-miles Cloud.
3.1 Physical Installation
- Choose a Location: Select a location for the DTU that is centrally located within the range of your micro inverters and has good Wi-Fi signal strength. Avoid direct sunlight or extreme temperatures.
- Mount the DTU: Use the provided mounting accessories to securely attach the DTU to a wall or suitable surface. Ensure it is mounted vertically for optimal antenna performance.
- Connect Antennas: If your model includes external antennas, screw them firmly into the designated ports on the DTU.
- Power Connection: Connect the power adapter to the 5VDC port on the DTU and plug it into a standard electrical outlet. The power indicator light should illuminate.
3.2 Network Connection
The DTU supports both Wi-Fi and Ethernet connectivity for internet access.

Figure 3: Icons representing the connectivity features of the DTU, including Wi-Fi, SD card slot, RS485, Ethernet, and home monitoring.

Figure 4: Rear view of the Hoymiles DTU-Pro showing various ports: Wi-Fi antenna connectors, RS485 terminal, DRM port, Ethernet port, USB port, Reset button, and 5VDC power input.
Wi-Fi Connection:
- Download the Hoymiles S-miles Cloud app on your smartphone or tablet.
- Create an account or log in.
- Follow the in-app instructions to add your DTU and connect it to your local Wi-Fi network. This typically involves scanning a QR code on the DTU or entering its serial number.
Ethernet Connection (DTU-Pro only):
- Connect an Ethernet cable from your router or network switch to the Ethernet port on the DTU.
- The DTU will automatically attempt to obtain an IP address and connect to the internet.
3.3 S-miles Cloud Registration
Once the DTU is connected to the internet, register your system on the Hoymiles S-miles Cloud platform. This allows you to monitor your solar array remotely.
- Access the S-miles Cloud portal via web browser or the mobile app.
- Follow the prompts to add your DTU and associated micro inverters to your account. You will need the serial numbers of your DTU and micro inverters.
- Configure system parameters such as location, time zone, and array layout.
4. Operating the DTU and Monitoring System
The DTU operates continuously to collect data from your micro inverters and upload it to the S-miles Cloud. You can access this data through the S-miles Cloud platform.
4.1 S-miles Cloud Monitoring
The S-miles Cloud provides a comprehensive overview of your solar system's performance:
- Real-time Data: View current power production, energy yield, and individual micro inverter status.
- Historical Data: Access daily, monthly, and annual energy production reports.
- Alerts and Notifications: Receive notifications for system anomalies or performance issues.
- Remote Management: In some cases, the platform allows for remote configuration or firmware updates.

Figure 5: A smartphone displaying the S-miles Cloud monitoring dashboard, showing energy production, consumption, and system efficiency data.
4.2 DTU Status Indicators
Refer to the LED indicators on your DTU for a quick status check:
- Power LED: Indicates the DTU is powered on.
- Communication LED: Indicates successful communication with micro inverters.
- Network LED: Indicates successful connection to the internet (Wi-Fi or Ethernet).
- Alarm LED: Indicates a system error or warning. Consult the S-miles Cloud for details.
5. Maintenance
The Hoymiles DTU is designed for minimal maintenance. However, periodic checks can help ensure its longevity and reliable operation.
- Cleaning: Keep the DTU unit clean and free from dust. Use a soft, dry cloth for cleaning. Do not use liquid cleaners.
- Connection Check: Periodically verify that all cables (power, Ethernet, antennas) are securely connected.
- Firmware Updates: Ensure your DTU firmware is up to date. Updates are typically managed automatically via the S-miles Cloud or can be initiated through the app/web portal.
- Environmental Conditions: Ensure the DTU remains within its specified operating temperature and humidity ranges.
6. Troubleshooting
If you encounter issues with your DTU or solar monitoring system, refer to the following common troubleshooting steps:
- No Data on S-miles Cloud:
- Check if the DTU's power LED is on.
- Verify the DTU's network LED indicates a stable internet connection.
- Ensure the DTU's communication LED indicates communication with micro inverters.
- Confirm the DTU and micro inverter serial numbers are correctly registered in S-miles Cloud.
- Restart the DTU by unplugging and replugging the power adapter.
- DTU Not Connecting to Wi-Fi:
- Ensure the Wi-Fi network is 2.4GHz (if applicable to your DTU model).
- Check Wi-Fi password accuracy during setup.
- Move the DTU closer to the Wi-Fi router or use an Ethernet connection if available.
- Alarm LED On:
- Log into the S-miles Cloud platform to view detailed alarm messages and recommended actions.
If issues persist after following these steps, contact Hoymiles or Solarsys technical support for further assistance.
7. Specifications
| Feature | Specification |
|---|---|
| Brand | Solarsys (Manufacturer: Hoymiles) |
| Model | DTU (DTU-Wlite / DTU-Pro) |
| Model Name | Solarsys® - Hoymiles DTU-Pro |
| Recommended Applications | Conversion of solar panel output to AC, suitable for residential or commercial solar installations |
| Energy Source | Solar-powered (for micro inverters) |
| Wattage | 1000 watts (System capacity monitored) |
| Input Voltage | 5 Volt (for DTU power supply) |
| Output Power | 1E+3 Watt (System capacity monitored) |
| Efficiency | 95-98% (Micro inverter efficiency) |
| Frequency | 60 Hz (System frequency) |
| Included Components | Hoymiles DTU-Pro unit |
| Connectivity | Wi-Fi, Ethernet (DTU-Pro), RS485, USB |
| Dimensions (Package) | 23.8 x 22 x 4.2 cm; 460 g |
| ASIN | B0BS9DZ4S4 |
8. Warranty and Support
For information regarding product warranty, please refer to the documentation provided with your purchase or visit the official Hoymiles website. For technical support, troubleshooting assistance beyond this manual, or warranty claims, please contact your authorized dealer or the manufacturer directly.
Manufacturer: Hoymiles
Seller: Solarsys
Always provide your DTU's serial number and a detailed description of the issue when seeking support.


