Flever Happy House
Flever Happy House Miniature DIY Dollhouse Kit
Instruction Manual
1. Introduction
This instruction manual provides comprehensive guidance for assembling and enjoying your Flever Happy House Miniature DIY Dollhouse Kit. Please read all instructions carefully before beginning assembly to ensure a smooth and enjoyable crafting experience. This kit is designed for individuals aged 14 years and up, requiring patience and precision due to its intricate nature and small components.
Safety Information:
CHOKING HAZARD - SMALL PARTS! Keep out of reach of young children. The kit contains sharp tools and small parts that could pose a choking hazard or cause injury if not handled properly.
2. Kit Contents
Your Flever Happy House kit includes the following materials:
- Pre-cut MDF wooden pieces for the house structure and furniture.
- Fabric and printed paper for decorations and accessories.
- LED light wires and other miniature decorations & accessories.
- Papery English Manual (if not included, please contact the seller for a PDF version).
- Toolkit including scissors, knife, tweezers, ruler, and screwdriver.

Image: Overview of the Flever Happy House DIY Dollhouse Kit contents.
3. Additional Tools Required
The following items are not included in the kit and must be prepared by the assembler:
- Pigment (paints).
- Batteries: 3 pieces of LR44 button cells are required for the LED lights.
- Glue: Quick-dry tacky glue is recommended for assembly.

Image: Visual representation of included items and additional tools needed for assembly.
4. Assembly Instructions
Assembly of the Flever Happy House kit typically requires 6-12 hours, depending on the crafter's experience level. Follow the detailed steps provided in the included manual. For visual assistance, video tutorials are available online. Refer to the instruction manual for links to the assembly process videos.
4.1. General Assembly Process
Begin by identifying all components and organizing them according to the manual. Carefully detach pre-cut pieces and use the provided tools for precision. Apply glue sparingly and allow sufficient drying time for each step.
Video: Flever Happy House - Production Process. This video demonstrates key steps in assembling the miniature dollhouse, including intricate details and component placement.
Video: Molan House And Happy House Assembly. This video provides a comparative look at the assembly of both Molan House and Happy House, offering additional visual guidance for various miniature elements.
4.2. Dimensions and Scale
The finished product dimensions are approximately 3.5" (Length) x 3.9" (Width) x 3" (Height). The scale of the dollhouse is 1:100, resulting in a compact and detailed miniature model.

Image: Flever Happy House with detailed dimensions.
5. Operating Instructions (LED Lighting)
The Flever Happy House kit includes LED lights to illuminate your miniature creation. To activate the lights, install 3 LR44 button cell batteries (not included) into the designated battery compartment. Ensure correct polarity when inserting batteries.
Video: Flever Happy House - Light Up at Night Show. This video showcases the illuminated dollhouse at night, demonstrating the effect of the installed LED lights.
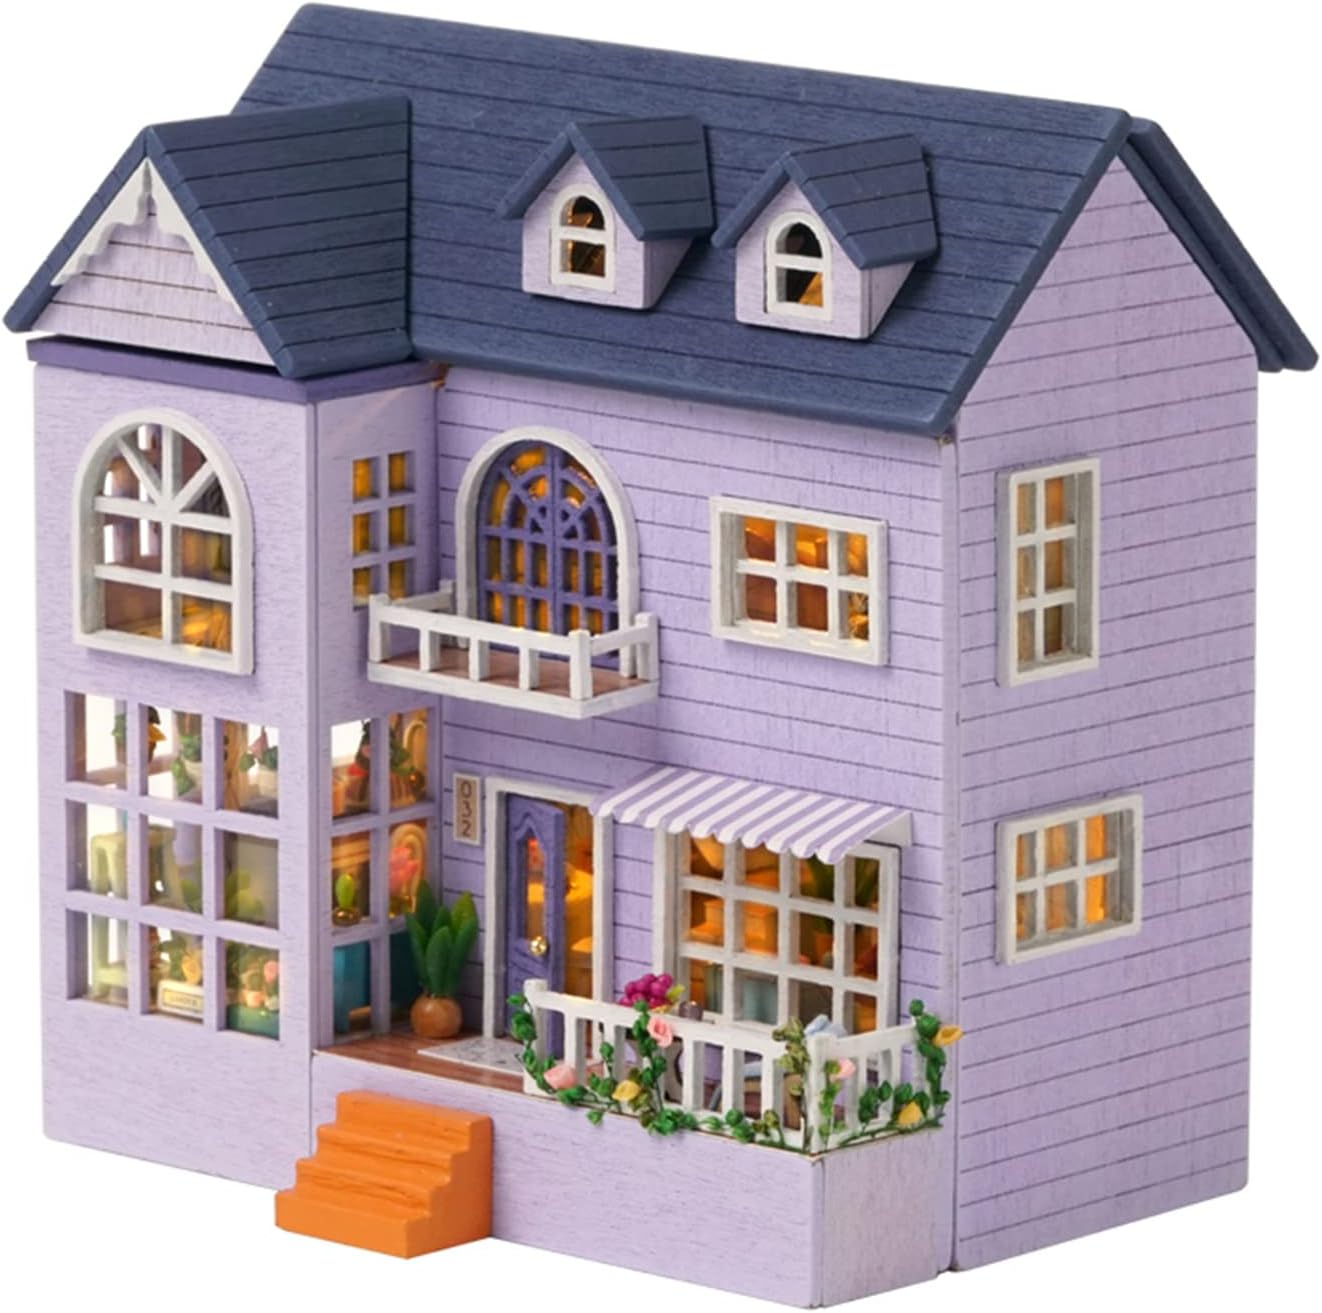
Image: The Flever Happy House illuminated at night.
6. Maintenance
To preserve the appearance and longevity of your Flever Happy House:
- Cleaning: Gently dust the dollhouse and its components with a soft, dry brush or cloth. Avoid using water or chemical cleaners, as these may damage the materials.
- Storage: Store the dollhouse in a dry environment away from direct sunlight and extreme temperatures to prevent warping or fading of materials.
- Handling: Handle the assembled dollhouse with care, especially when moving it, to avoid dislodging small parts.
7. Troubleshooting
If you encounter any issues during assembly or use, consider the following:
- Missing Parts: Carefully check all packaging and compartments. If parts are genuinely missing, please contact Flever customer support with details of the missing components.
- Dried Paint: If any included paint is dried, it may be necessary to use your own acrylic paints for touch-ups or full coverage.
- Assembly Difficulty: The kit requires patience and precision. Review the manual steps, watch available video tutorials, and take breaks if feeling frustrated.
- LED Lights Not Working: Ensure batteries are correctly inserted and are fresh LR44 button cells. Check all wire connections for secure contact.
8. Specifications
| Feature | Detail |
|---|---|
| Product Dimensions (Finished) | 3.5" (Length) x 3.9" (Width) x 3" (Height) |
| Item Weight | 0.7 pounds (approx. 9.1 ounces) |
| Scale | 1:100 |
| Recommended Age | 14 years and up |
| Assembly Time | 6-12 hours (depending on experience) |
| Batteries Required | 3 x LR44 button cells (not included) |
9. Warranty and Support
Flever is committed to providing quality products. While specific warranty details are not provided in this manual, for any issues such as missing parts or assembly questions, please contact the seller directly through the platform where the product was purchased. They can provide assistance and, if necessary, send replacement components or a digital copy of the English manual.
For further information or to explore other Flever products, visit the Flever Store on Amazon.