1. Product Overview
The GEYUEYA Solar House Number Sign (Model WS156) is designed to display your address clearly, day and night. It features solar charging, dual lighting modes (warm white and cool white), and flexible installation options.

Image 1.1: GEYUEYA Solar House Number Sign showing both ground stake and wall-mounted configurations.
2. Package Contents
Verify that all components are present in the package:
- Solar Address Sign (1 unit)
- Aligned Card (3 units)
- Number Sets (0-9) (3 sets)
- Screws (3 units)
- Expansion Pillar-hinge (4 units)
- ABS Round Pipe (4 units)
- Ground Anchor (2 units)
- Extension Joint (2 units)

Image 2.1: Detailed view of all included parts and their quantities.
3. Setup and Installation
The GEYUEYA Solar House Number Sign offers two primary installation methods: wall-mounting or ground insertion.
3.1 Initial Charge
Before the first use, ensure the solar panel receives direct sunlight for 6-8 hours. This initial charge is crucial for optimal performance.
3.2 Applying House Numbers
- Select the appropriate number stickers (0-9) from the provided sets.
- Use the alignment templates (for 3, 4, or 5 digits) to ensure proper spacing and straight placement of your house numbers on the sign's display area.
- Carefully apply the number stickers to the sign.
3.3 Installation Options
Choose the method that best suits your location:
- Wall-Mounting: The sign features solid metal clips on the back for secure hanging. Use the provided screws and expansion pillar-hinges to attach the sign to a suitable wall surface.
- Ground Insertion: Assemble the ABS round pipes and extension joints to create the desired height for the ground stakes. Insert the ground anchors firmly into the soil.

Image 3.1: Visual guide for wall-mount and ground-stake installation methods.

Image 3.2: Ground installation height options using one or two extension tubes.
4. Operating Instructions
The solar house number sign operates automatically and offers adjustable lighting modes.
4.1 Power On/Off
Locate the "On/Off" button on the back of the unit. Press this button to activate or deactivate the sign's automatic lighting function.
4.2 Selecting Lighting Mode
The sign features two lighting modes:
- Warm White: Provides a glow with a color temperature of 2700K-3200K.
- Cool White: Provides a light with a color temperature of 6000K-6500K.
Press the "Warm/White" button on the back of the unit to switch between these two lighting modes.

Image 4.1: Control buttons and examples of warm white and cool white illumination.
4.3 Automatic Operation
Once activated and sufficiently charged, the sign will automatically charge during daylight hours and illuminate your house number at night. A full charge provides approximately 10-12 hours of illumination.

Image 4.2: Automatic charging and lighting cycle.
5. Maintenance
The GEYUEYA Solar House Number Sign is designed for outdoor use and requires minimal maintenance.
- Cleaning: Periodically wipe the solar panel and display surface with a soft, damp cloth to remove dust and debris. This ensures efficient solar charging and clear visibility of the numbers.
- Optimal Placement: For consistent performance, ensure the solar panel is positioned in a location that receives maximum direct sunlight throughout the day, ideally facing south.
- Weather Resistance: The sign features an IP65 waterproof design, allowing it to withstand various weather conditions such as rain, wind, and sunshine.
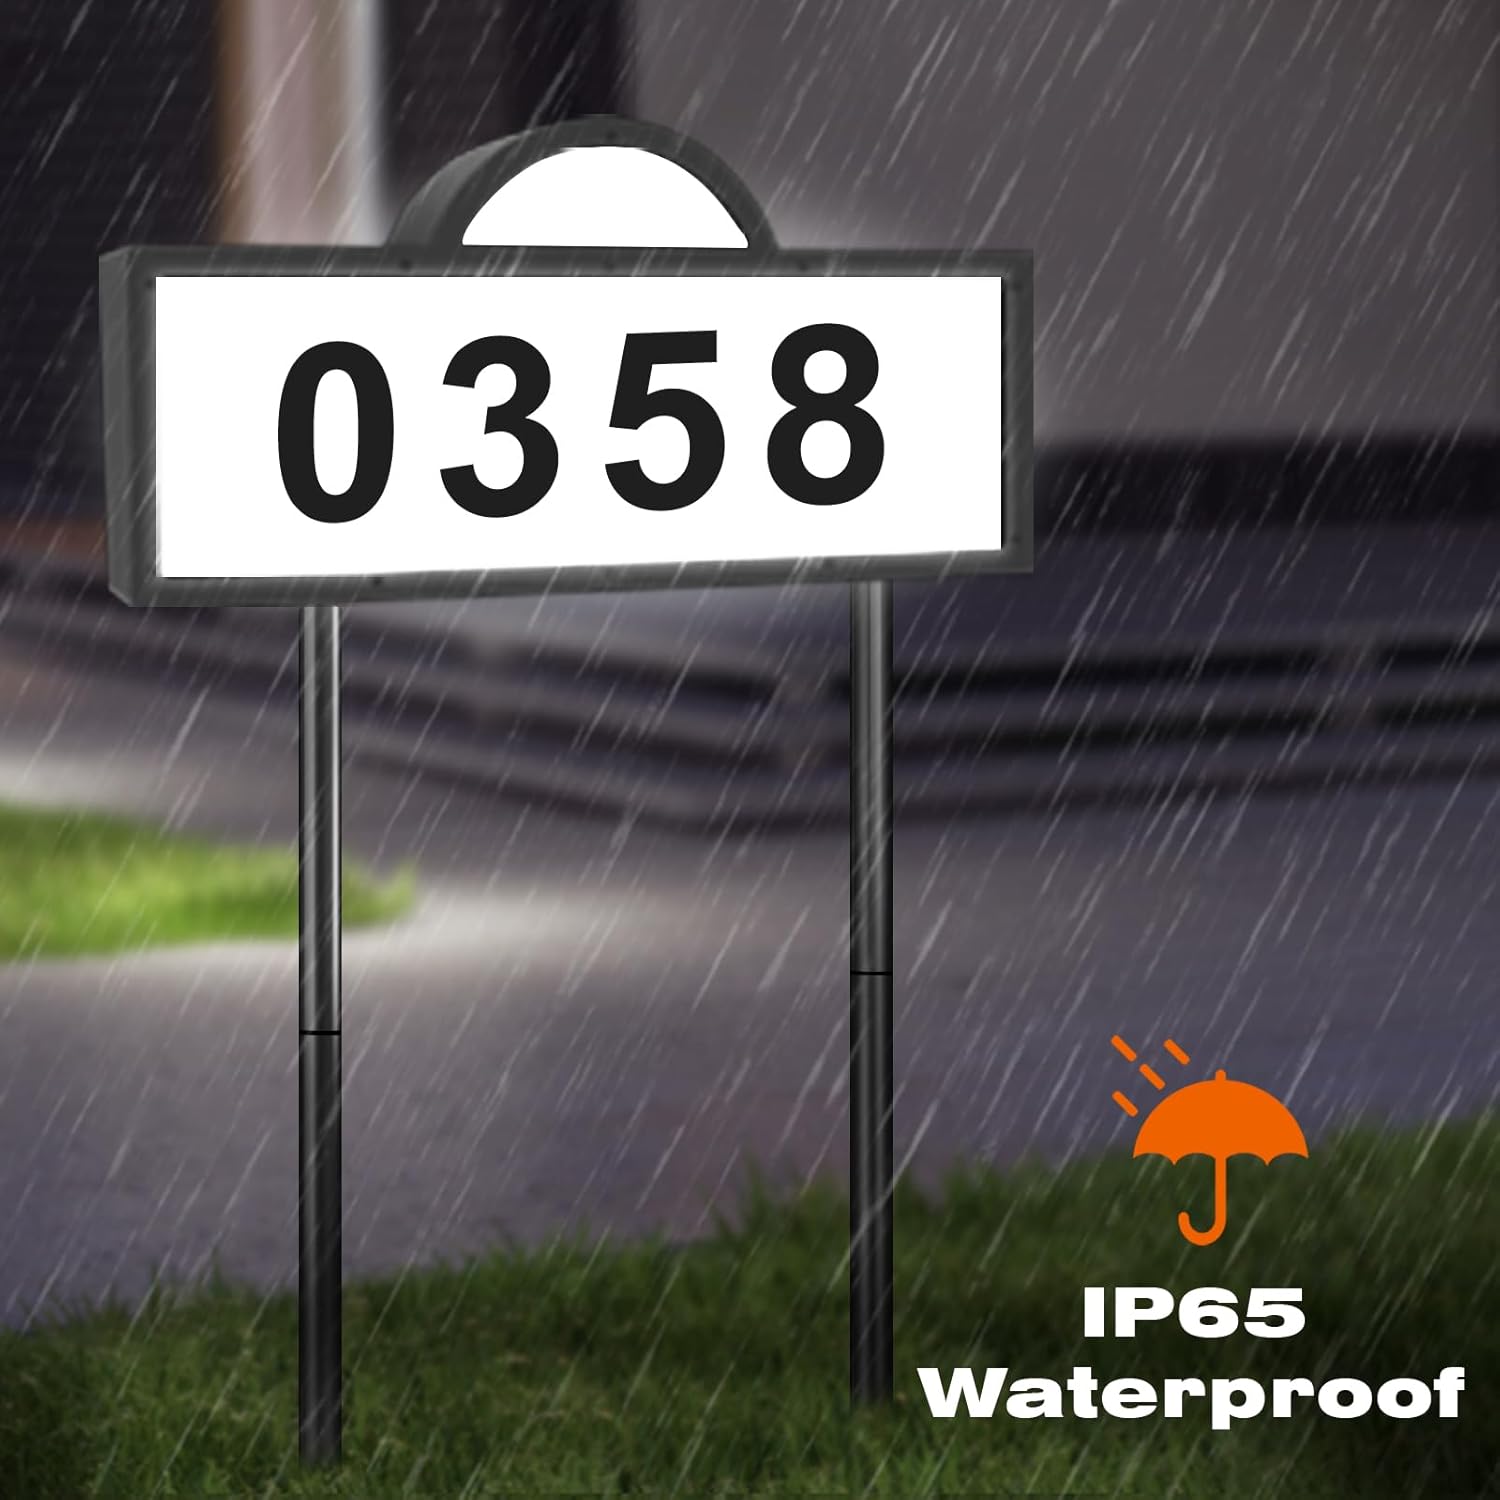
Image 5.1: The sign's IP65 waterproof rating ensures durability in various weather conditions.
6. Troubleshooting
If you encounter issues with your solar house number sign, refer to the following common solutions:
- Sign does not light up at night:
- Ensure the "On/Off" switch on the back of the unit is in the "On" position.
- Verify that the solar panel receives adequate direct sunlight for 6-8 hours during the day. Obstructions like shade from trees or buildings can prevent full charging.
- Check if the solar panel is clean and free of dirt or debris.
- Light is dim or does not last long:
- The battery may not be fully charged. Relocate the sign to an area with more direct sunlight.
- Ensure the solar panel is clean.
- During winter months or prolonged cloudy periods, solar charging efficiency may decrease, resulting in shorter illumination times.
7. Specifications
| Feature | Detail |
|---|---|
| Model Number | WS156 |
| Dimensions (L x W x H) | 12.8 x 2.36 x 0.4 inches (Sign only) |
| Weight | 1.72 pounds |
| Material | Acrylonitrile Butadiene Styrene |
| Color | Black |
| Light Type | LED |
| Warm White Color Temp. | 2700K-3200K |
| Cool White Color Temp. | 6000K-6500K |
| Battery Capacity | 2000 mAh (High Capacity) |
| Illumination Time (Full Charge) | 10-12 hours |
| Waterproof Rating | IP65 |
| Mounting Type | Wall Mount / Ground Stake |
8. Warranty and Support
For any issues or inquiries regarding your GEYUEYA Solar House Number Sign, please contact our customer service team. We are committed to providing support and assistance.