1. Product Overview
The RHOX Red Hawk LGT-132B is a replacement wiring harness designed for integrating turn signal functionality into compatible golf cart electrical systems. This harness ensures proper electrical connections for turn signal operation, enhancing safety and compliance for your golf cart.
Model: LGT-132B
Replaces OEM Numbers: Red Hawk: LGT-132B
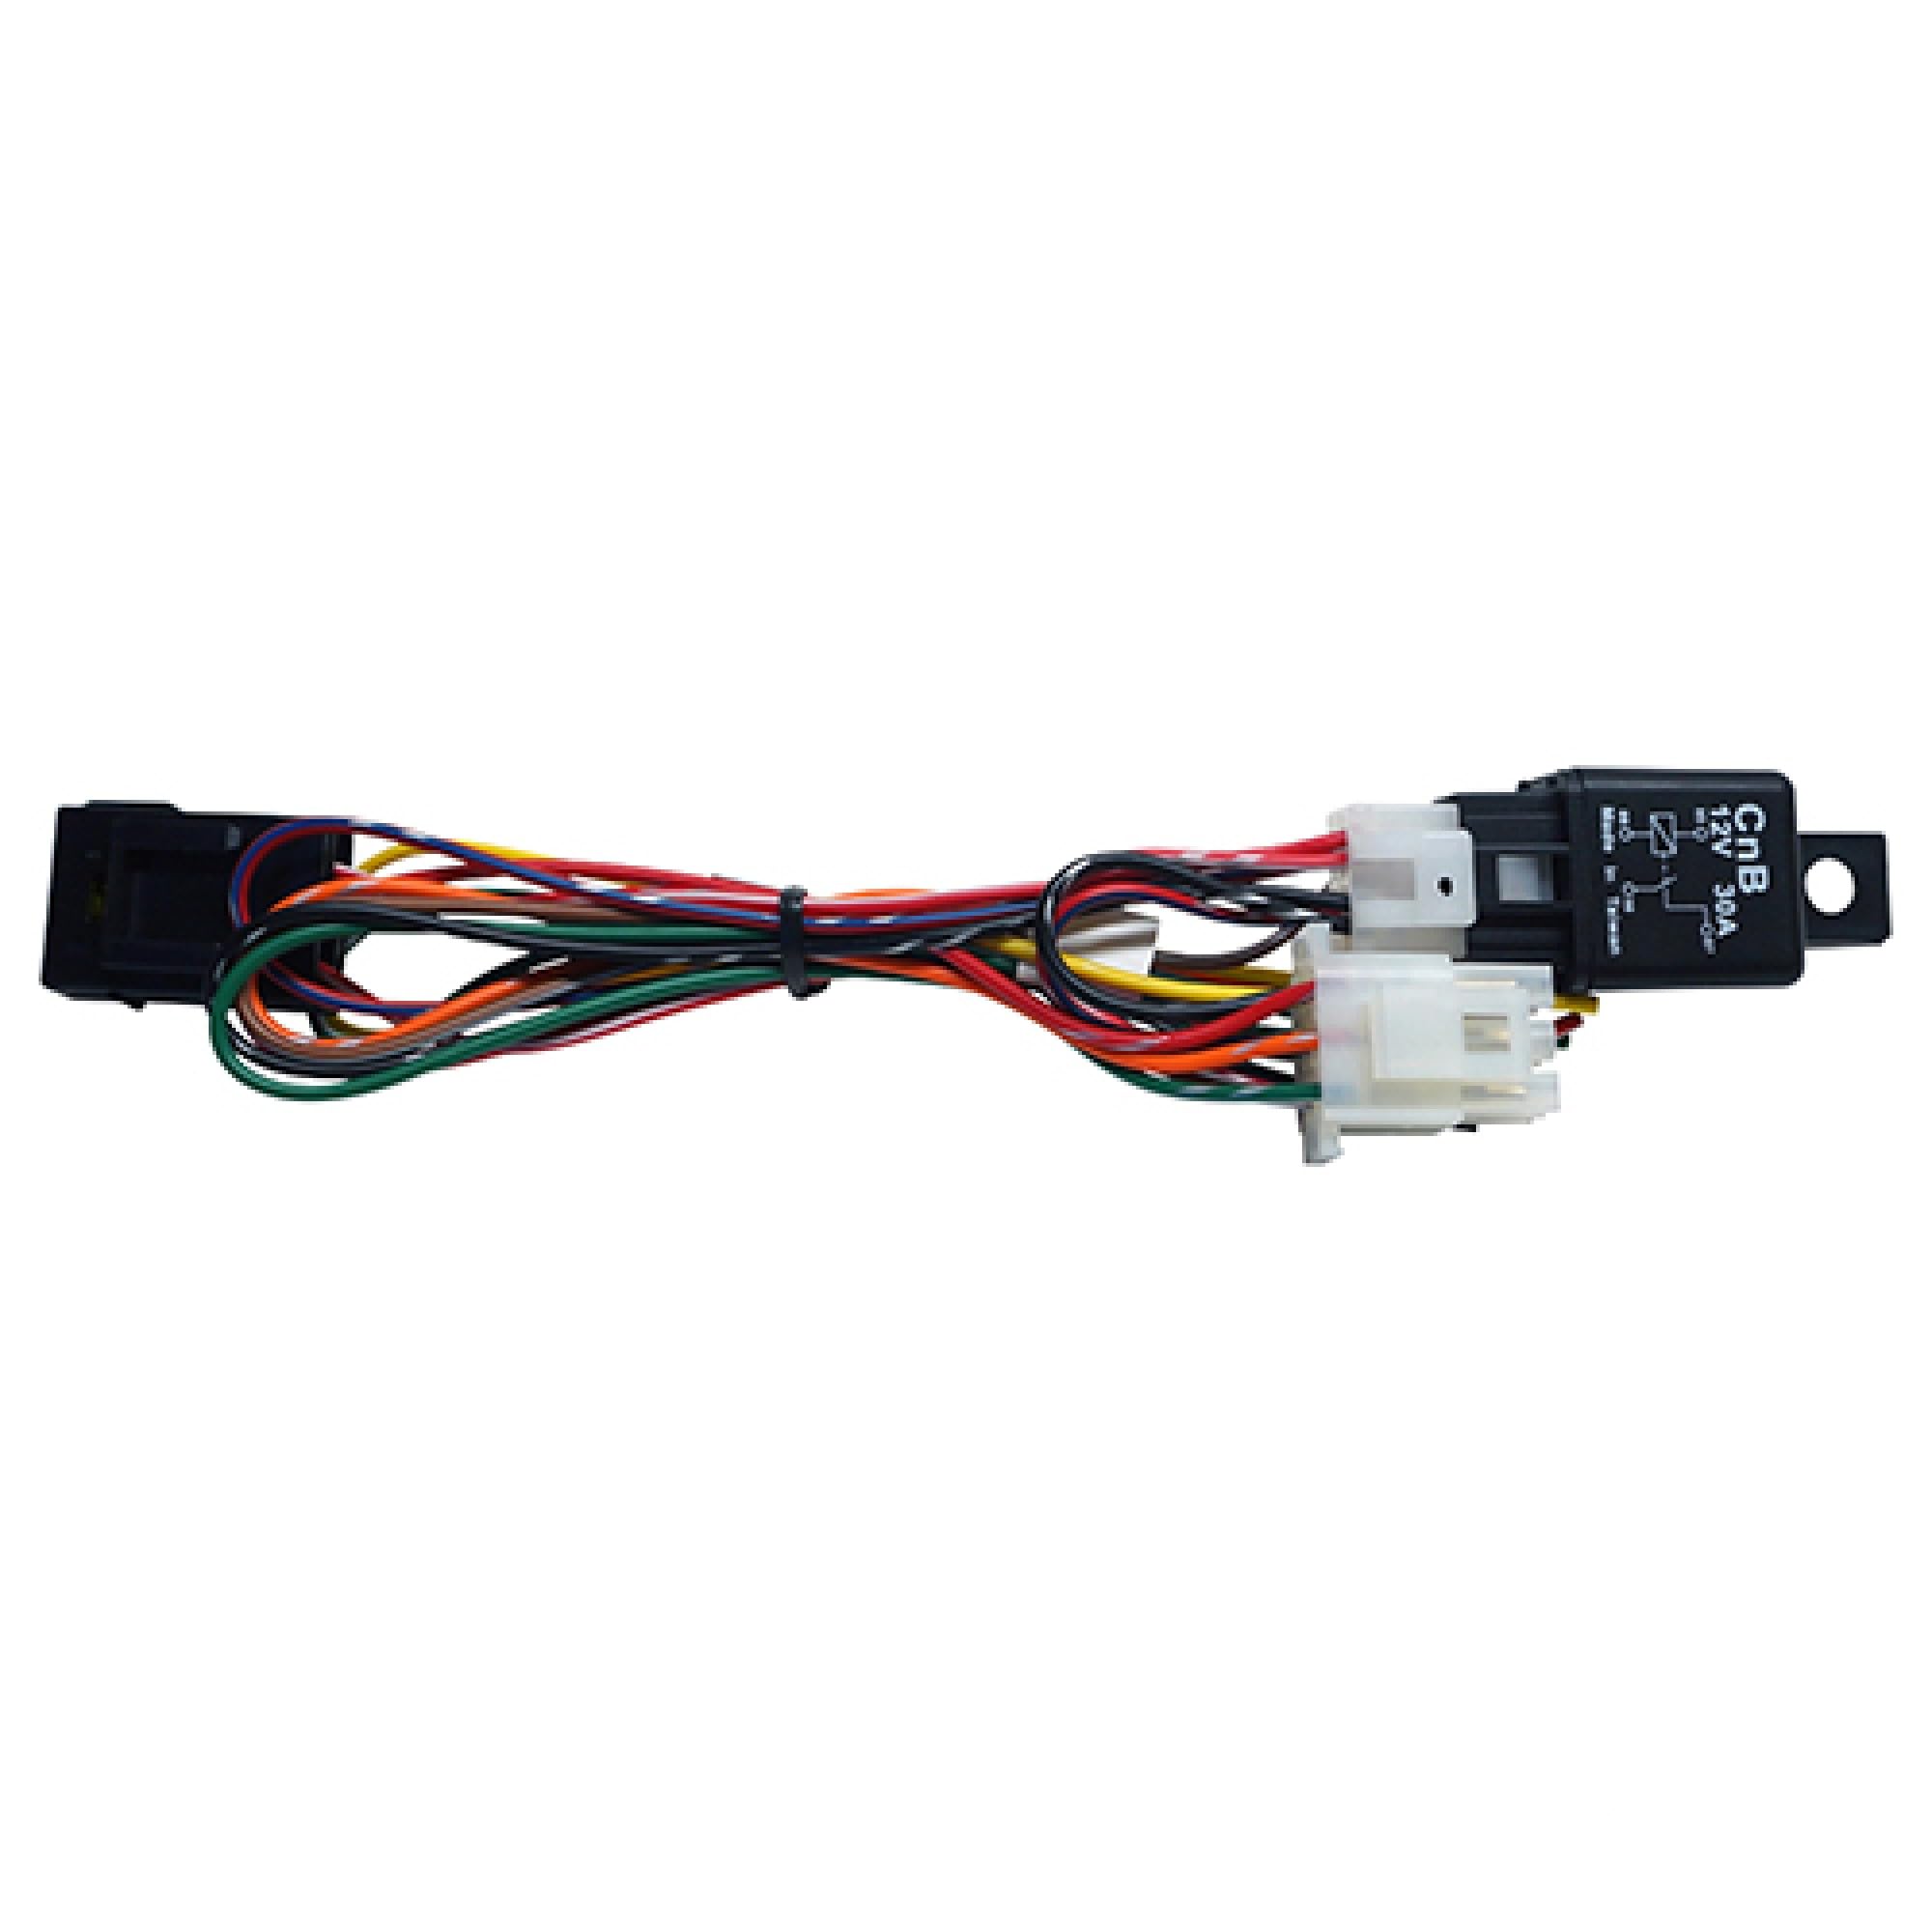
Image 1.1: The Red Hawk LGT-132B Turn Signal Harness as packaged. This image displays the harness components visible through clear packaging, indicating it is ready for installation.
2. Specifications
| Specification | Detail |
|---|---|
| Product Type | Wiring Harness for Turn Signals |
| Model Number | LGT-132B |
| Manufacturer | Red Hawk |
| Product Dimensions | 9 x 0.5 x 1 inches |
| Item Weight | 3.2 ounces |
| Compatibility | Designed to replace OEM part LGT-132B. Verify fitment with your specific golf cart model before installation. |
3. Installation Guide
Important Safety Information:
- Always disconnect the golf cart's battery before performing any electrical work to prevent electrical shock or damage to components.
- If you are not experienced with automotive electrical systems, it is recommended to seek professional installation.
- Refer to your golf cart's specific service manual for detailed wiring diagrams and component locations.
General Installation Steps:
- Preparation: Park the golf cart on a level surface, engage the parking brake, and disconnect the main battery cables (negative first).
- Access Existing Wiring: Locate the area where the turn signal harness needs to be installed. This typically involves accessing the steering column, dashboard, or existing light wiring.
- Remove Old Harness (if applicable): If replacing an existing harness, carefully disconnect all connectors and remove the old unit. Note the routing of the old harness for easier installation of the new one.
- Connect New Harness: Connect the LGT-132B harness to the appropriate electrical points on your golf cart. This will involve connecting to the turn signal switch, front and rear turn signal lights, and the main power source. Ensure all connections are secure and properly insulated.
- Secure Wiring: Route the new harness safely, away from moving parts, heat sources, and sharp edges. Use zip ties or clips to secure it in place.
- Test Functionality: Reconnect the golf cart battery (positive first, then negative). Turn the key to the ON position (if applicable) and test the turn signals. Verify that both left and right turn signals illuminate correctly at the front and rear of the golf cart. Also, check for any indicator lights on the dashboard.
- Final Assembly: Once confirmed operational, reassemble any panels or covers removed during installation.

Image 3.1: A detailed view of the Red Hawk LGT-132B harness, showing various connectors and wire bundles. This image helps in identifying the different sections of the harness during installation.

Image 3.2: An alternative perspective of the Red Hawk LGT-132B harness, highlighting its overall length and the arrangement of its components. This view can assist in planning the routing of the harness within the golf cart.
4. Operation
Once the LGT-132B turn signal harness is correctly installed and connected to a compatible turn signal switch and lights, operation is straightforward:
- Activating Turn Signals: Use the turn signal lever or switch, typically located on the steering column, to indicate a left or right turn.
- Left Turn: Move the lever/switch to the left position. The front and rear left turn signal lights will flash, and an indicator on the dashboard (if equipped) will illuminate.
- Right Turn: Move the lever/switch to the right position. The front and rear right turn signal lights will flash, and an indicator on the dashboard (if equipped) will illuminate.
- Canceling Turn Signals: The turn signal will typically self-cancel after the steering wheel returns to the center position. If not, manually return the lever/switch to the neutral position.
5. Maintenance
The LGT-132B harness is designed for durability and requires minimal maintenance. However, periodic checks can ensure long-term reliability:
- Visual Inspection: Periodically inspect the harness for any signs of wear, fraying, cuts, or damage to the insulation.
- Connection Integrity: Ensure all electrical connections remain tight and free from corrosion. If corrosion is present, disconnect the battery, clean the terminals, and apply dielectric grease.
- Secure Mounting: Verify that the harness is still securely routed and fastened, preventing it from rubbing against moving parts or hot surfaces.
- Bulb Check: Regularly check that all turn signal bulbs are functioning correctly. Replace any burnt-out bulbs promptly.
6. Troubleshooting
If your turn signals are not functioning as expected after installing the LGT-132B harness, consider the following troubleshooting steps:
| Problem | Possible Cause | Solution |
|---|---|---|
| Turn signals do not work at all. | No power to the system, blown fuse, faulty turn signal switch, incorrect wiring. |
|
| One side (left or right) does not work. | Burnt-out bulb(s) on that side, loose connection to the lights, wiring issue specific to that side. |
|
| Turn signals flash too fast or too slow. | Incorrect flasher relay, incorrect bulb wattage, or a burnt-out bulb (fast flash). |
|
If troubleshooting steps do not resolve the issue, consult a qualified golf cart technician.
7. Warranty and Support
Warranty Information:
This RHOX Red Hawk LGT-132B harness comes with a 30-day return policy and a 1-year warranty from the date of purchase. If the item is not what you intended, you may return it within 30 days for a refund, provided it is in its original packaging and good, undamaged condition. Beyond 30 days, the product is covered by a 1-year warranty for replacement due to manufacturing defects.
Customer Support:
For technical assistance, warranty claims, or questions regarding the LGT-132B harness, please contact your authorized RHOX dealer or the point of purchase. When contacting support, please have your product model number (LGT-132B) and purchase information readily available.


