PHILIPS DST7510/80
Philips Azur DST7510/80 Steam Iron User Manual
Model: DST7510/80 | Brand: PHILIPS
Introduction
This manual provides essential information for the safe and efficient operation, maintenance, and troubleshooting of your Philips Azur 7500 Series Steam Iron. Please read this manual carefully before first use and keep it for future reference.

Figure 1: Philips Azur DST7510/80 Steam Iron. This image shows the sleek design of the iron with its dark navy and gold accents, highlighting the SteamGlide Elite soleplate and ergonomic handle.
Important Safety Information
Always follow basic safety precautions when using electrical appliances to reduce the risk of fire, electric shock, and personal injury.
- Do not leave the iron unattended while it is connected to the mains or when it is standing on the ironing board.
- Do not immerse the iron in water or any other liquid.
- Keep the iron and its cord out of reach of children.
- Do not operate the iron if it has been dropped, if there are visible signs of damage, or if it is leaking.
- Always unplug the iron before filling it with water, emptying it, or cleaning it.
- Use the iron only for its intended household use.
Product Overview
Familiarize yourself with the components of your Philips Azur Steam Iron.
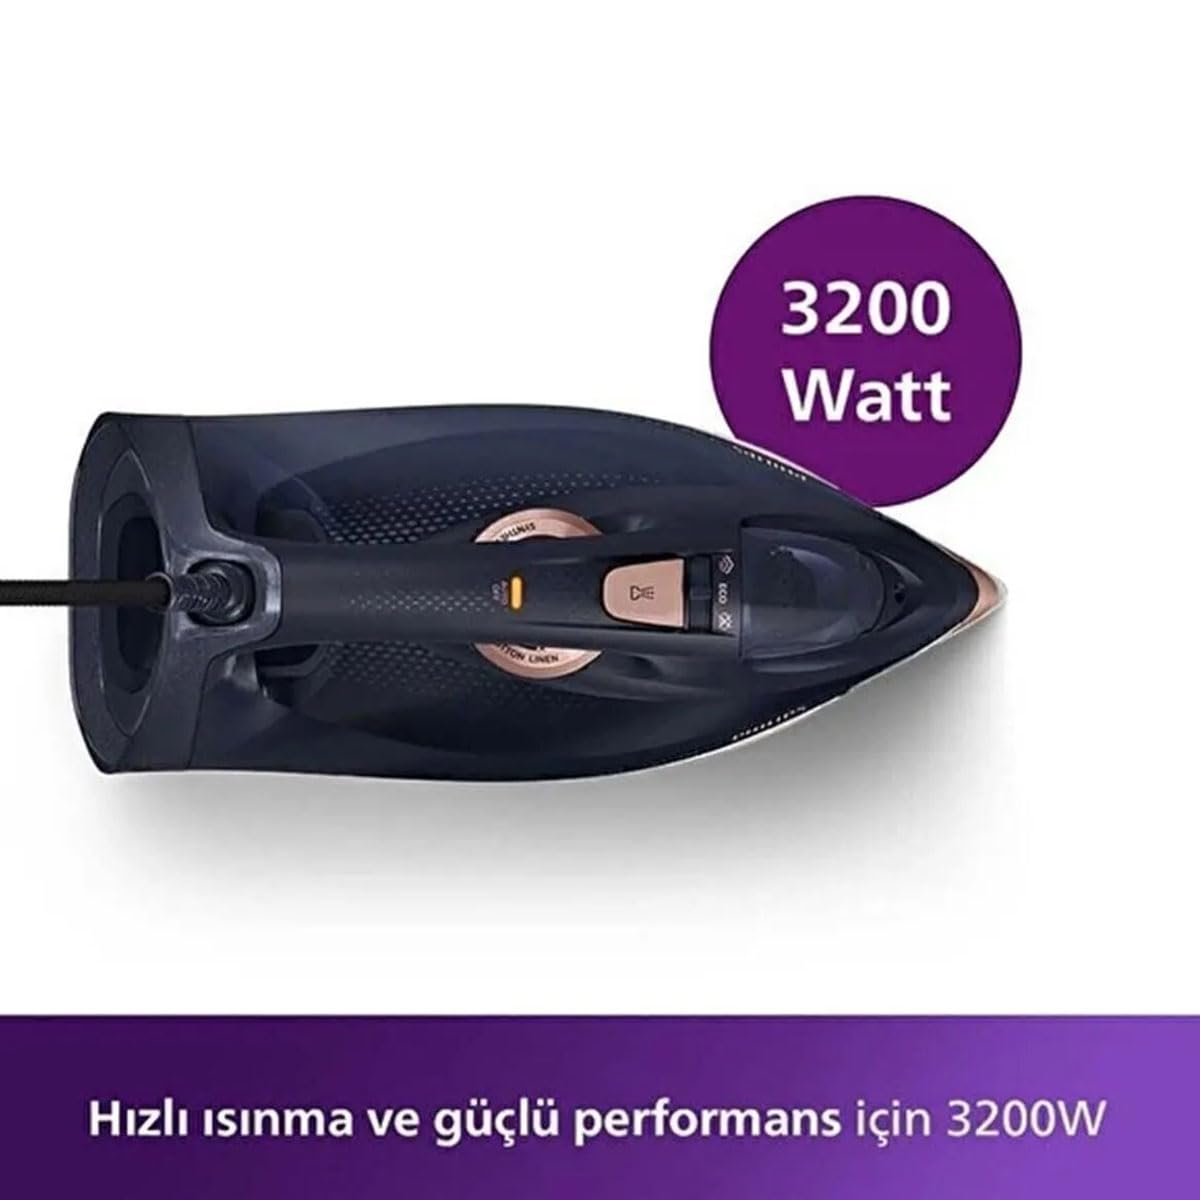
Figure 2: Top-down view of the iron. This image highlights the water filling inlet, temperature dial, steam control slider, and the 3200 Watt power indicator, emphasizing the iron's powerful heating capability.
- SteamGlide Elite Soleplate: Advanced scratch resistance for smooth gliding.
- Water Filling Inlet: For adding water to the tank.
- Temperature Dial: Adjusts heat settings for different fabric types.
- Steam Control Slider: Regulates continuous steam output.
- Spray Button: Activates the water spray function.
- Steam Boost Trigger: Delivers a powerful burst of steam.
- Fast Calc Release: For easy descaling.
- Power Cord: Connects the iron to the electrical outlet.
Setup
1. Unpacking
Carefully remove the iron and all accessories from the packaging. Retain the packaging for future storage or transport if needed. Remove any protective film or stickers from the soleplate.
2. Filling the Water Tank
- Ensure the iron is unplugged from the mains.
- Hold the iron in a horizontal position.
- Open the water filling inlet cover.
- Fill the water tank with tap water up to the 'MAX' indication. Do not overfill.
- Close the water filling inlet cover securely.
Note: For optimal performance and to prolong the life of your iron, it is recommended to use demineralized or distilled water, especially in areas with hard water.
3. First Use
During the first use, a small amount of smoke or odor may be emitted. This is normal and will disappear after a short time. It is advisable to iron an old piece of fabric first to ensure no residue is transferred to your garments.
Operating the Iron
1. Setting the Temperature
- Place the iron on its heel rest on a stable, heat-resistant surface.
- Plug the iron into a grounded wall socket.
- Turn the temperature dial to the desired setting according to the fabric type. Refer to the garment's care label for recommended ironing temperatures.
- The indicator light will illuminate, indicating the iron is heating up. It will turn off when the set temperature is reached.
2. Using Steam Functions
Ensure the water tank is filled and the temperature is set to a steam-appropriate level (usually 2 dots or higher on the dial).

Figure 3: Iron emitting powerful steam. This image demonstrates the iron's strong steam output, essential for effective wrinkle removal, especially with its 260g shock steam capability.
- Continuous Steam: Slide the steam control slider to the desired steam level. The iron will continuously emit steam as you iron.
- Steam Boost (Shock Steam): For stubborn creases, press the steam boost trigger. This delivers a powerful burst of up to 260g of steam. Wait a few seconds between bursts to allow the iron to reheat.
- Vertical Steaming: The steam boost function can also be used for vertical steaming of hanging garments or curtains. Hold the iron vertically a few centimeters away from the fabric and press the steam boost trigger.
- Spray Function: Press the spray button to lightly moisten the fabric, which helps in smoothing out wrinkles.
3. Ironing Tips
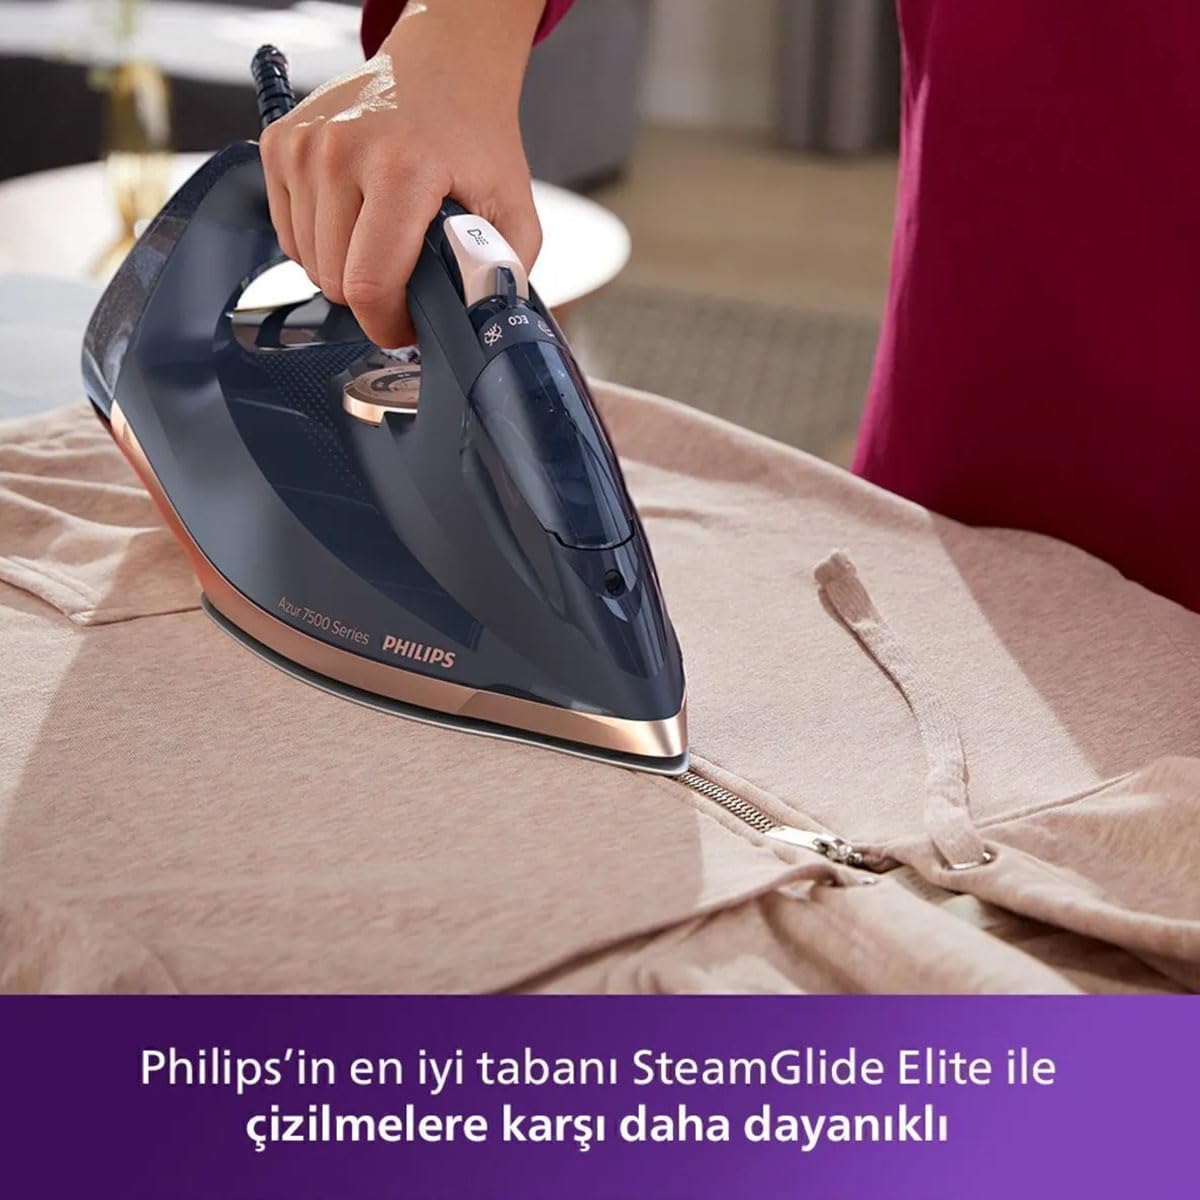
Figure 4: Ironing a garment. This image shows the iron in use on a light-colored fabric, demonstrating its ease of handling and effective contact with the garment for smooth results.
- Always check the garment's care label for ironing instructions.
- Sort clothes by fabric type and iron those requiring lower temperatures first.
- For delicate fabrics, iron on the reverse side or use a pressing cloth.
- To avoid shiny marks on dark fabrics, iron them inside out.
Maintenance
1. Cleaning the Soleplate
To keep the SteamGlide Elite soleplate in optimal condition:
- Ensure the iron is unplugged and completely cool.
- Wipe the soleplate with a damp cloth and a non-abrasive (liquid) cleaner.
- Do not use scouring pads, abrasive cleaners, or sharp objects, as these will scratch the soleplate.
2. Descaling (Fast Calc Release)
Regular descaling is crucial for maintaining steam performance and extending the iron's lifespan. The Philips Azur DST7510/80 features a Fast Calc Release system.

Figure 5: Operating the Fast Calc Release. This image shows a hand engaging the quick descaling mechanism, illustrating the ease of maintenance for removing limescale buildup and ensuring long-lasting steam performance.
- Ensure the iron is unplugged and has cooled down for at least an hour.
- Hold the iron over a sink.
- Pull out the Fast Calc Release collector (usually a small tray or knob near the soleplate).
- Empty the collected scale particles into the sink.
- Rinse the collector under running water.
- Reinsert the collector back into the iron until it clicks into place.
Frequency: Perform descaling every 1-3 months depending on water hardness and usage frequency.
3. Storage
- Unplug the iron and allow it to cool completely.
- Empty any remaining water from the tank.
- Wrap the power cord neatly around the heel rest.
- Store the iron upright on its heel rest in a dry, safe place.
Troubleshooting
| Problem | Possible Cause | Solution |
|---|---|---|
| Iron does not heat up. | Not plugged in; power outlet faulty; temperature dial set to minimum. | Check power connection; try another outlet; turn temperature dial to a higher setting. |
| No steam or insufficient steam. | Water tank empty; temperature too low for steam; calc buildup. | Fill water tank; set temperature to steam-appropriate level; perform descaling. |
| Water leaking from soleplate. | Temperature too low for steam; overfilled water tank; iron not hot enough for steam. | Increase temperature; do not overfill; wait for indicator light to turn off before using steam. |
| White flakes coming from soleplate. | Limescale buildup. | Perform descaling using the Fast Calc Release system. |
Specifications
- Model: DST7510/80
- Brand: PHILIPS
- Power: 3200W
- Continuous Steam Output: Up to 55g/min
- Steam Boost: Up to 260g
- Soleplate: SteamGlide Elite
- Special Features: Fast Calc Release, Water Spray Function
- Color: Navy/Gold
- Product Dimensions: 32L x 12.9W Centimeters
- Item Weight: 1 kg 920 g
- Base Material: Stainless Steel
- Frequency: 50 Hz
Warranty and Support
Your Philips Azur DST7510/80 Steam Iron comes with a manufacturer's warranty. Please refer to the warranty card included in your product packaging for specific terms and conditions, including warranty period and coverage.
For product support, service, or to register your product, please visit the official Philips website or contact Philips customer service in your region. Contact details can typically be found on the Philips website or in the product documentation.
Online Support: www.philips.com/support
Ask a question about this manual
Ask about setup, troubleshooting, compatibility, parts, safety, or missing instructions. Manuals+ will review the question and use this page’s manual context to help answer it.