1. Important Safety Instructions
Please read all instructions carefully before installing and operating your Trinity Audio Solutions TAS-5000.1 amplifier. Failure to follow these instructions may result in damage to the amplifier, speakers, or vehicle, and may void your warranty.
- Always disconnect the vehicle's negative battery terminal before making any power connections.
- Ensure proper grounding. The ground connection should be to a clean, unpainted metal surface of the vehicle chassis.
- Use appropriate gauge wiring for power, ground, and speaker connections as specified in this manual.
- Install the amplifier in a dry, well-ventilated location, away from direct sunlight, heat sources, and moisture.
- Avoid mounting the amplifier where it may be exposed to excessive vibration.
- Do not open the amplifier casing. There are no user-serviceable parts inside. Refer all servicing to qualified personnel.
- Protect all wiring from sharp edges and pinch points. Use grommets where wires pass through metal.
- Always use a fuse of the specified rating on the main power wire, close to the battery.
2. Introduction
The Trinity Audio Solutions TAS-5000.1 is a high-performance monoblock amplifier designed to deliver powerful and clear audio to your car's subwoofer system. Engineered for reliability and efficiency, this amplifier provides a robust solution for enhancing your in-car audio experience.
3. Package Contents
Verify that all items are present in the package:
- Trinity Audio Solutions TAS-5000.1 Monoblock Amplifier
- Mounting Hardware (screws)
- User Manual (this document)
4. Features
- Monoblock design optimized for subwoofer applications.
- High power output for demanding audio systems.
- Robust construction for durability.
- Integrated protection circuits against overload, short circuit, thermal, and DC offset.
- Adjustable gain control.
- Variable low-pass filter (LPF).
- Variable bass boost.
- Remote level control input.
5. Controls and Connections
Familiarize yourself with the input and output terminals, as well as the control panel of your amplifier.

5.1 Power and Speaker Terminals (Refer to Figure 1)
- +12V (Power Input): Connect to the positive terminal of the vehicle's battery via a fused power cable.
- REM (Remote Turn-On): Connect to the remote output of your head unit or an ignition-switched 12V source.
- GND (Ground Input): Connect to a clean, unpainted metal surface of the vehicle chassis.
- Speaker Outputs: Connect to your subwoofer(s). Observe correct polarity.
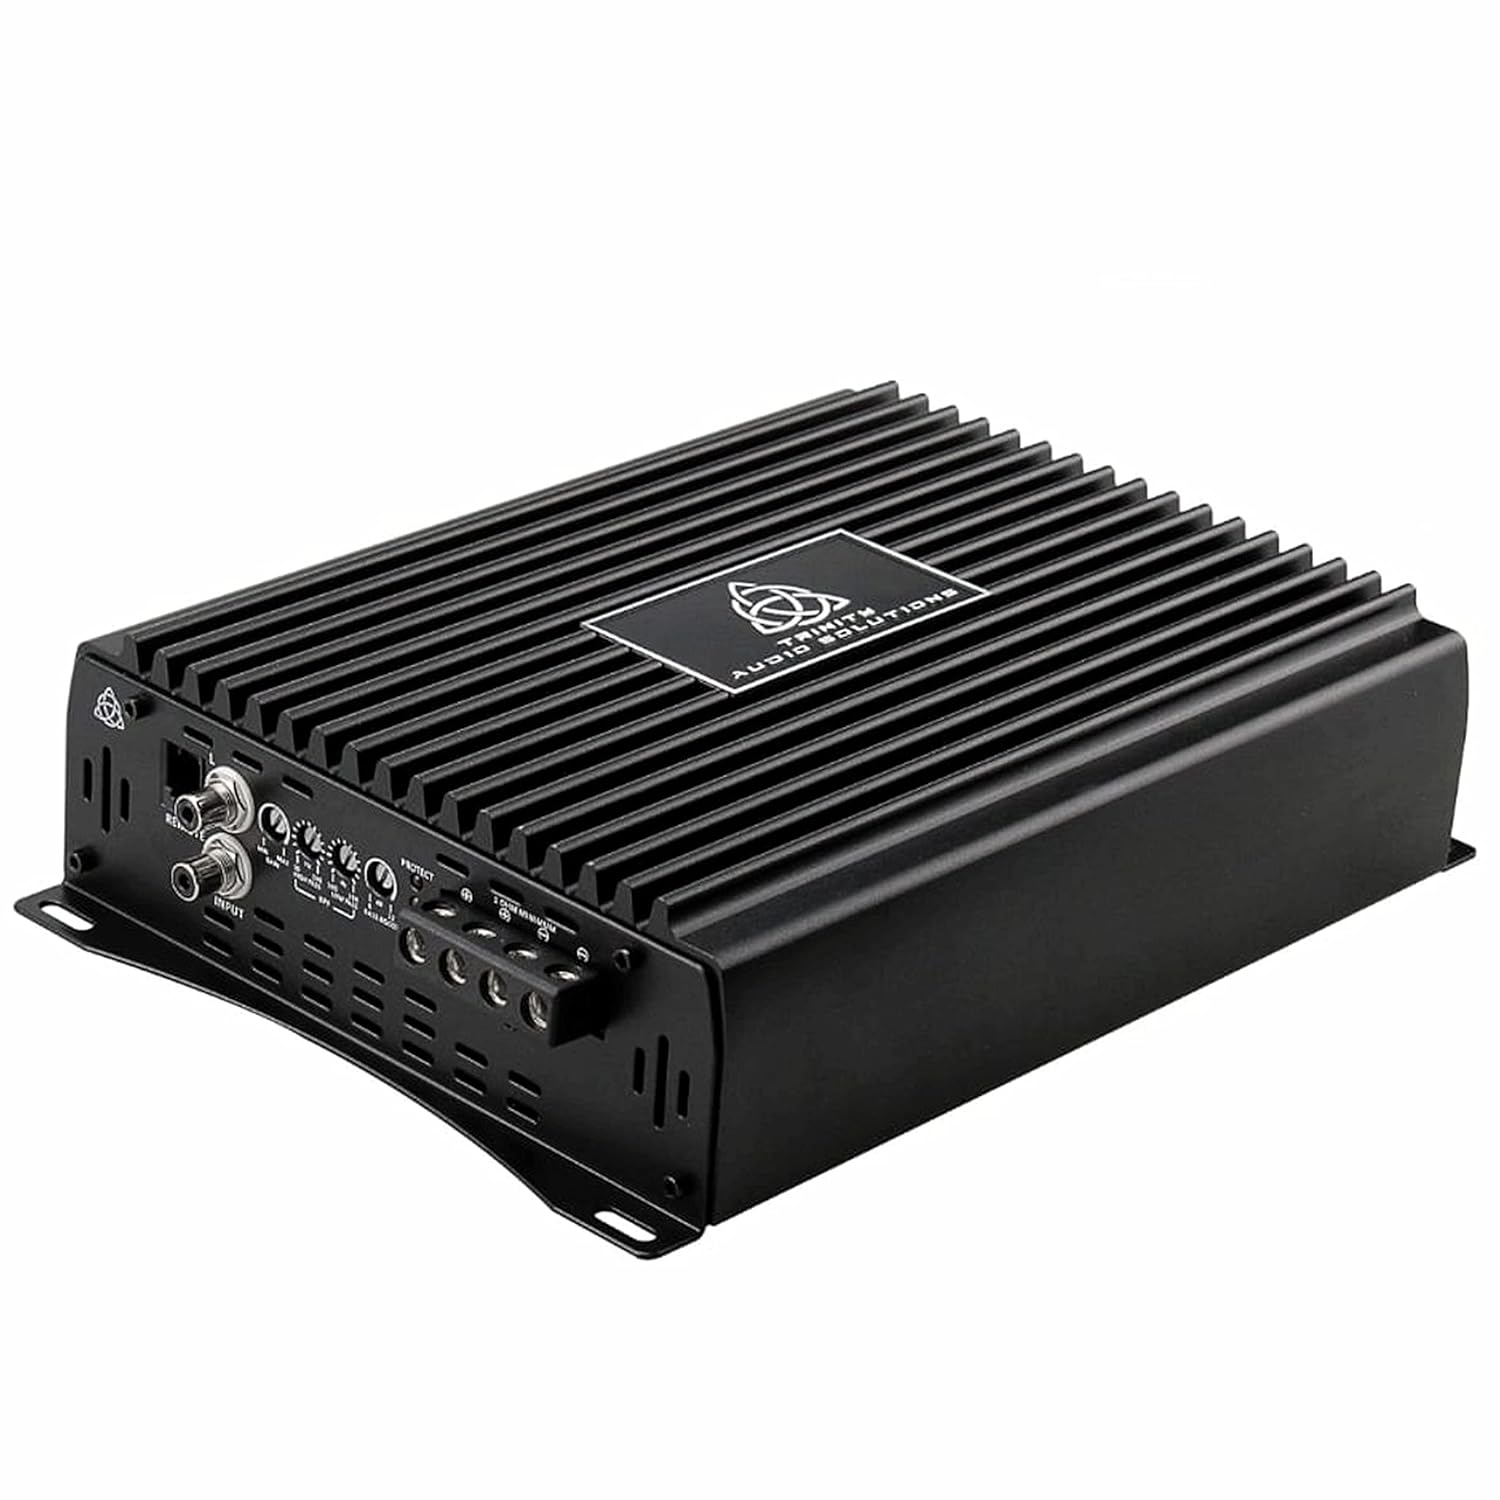
5.2 Input and Control Panel (Refer to Figure 2)
- RCA Input: Connect to the RCA output of your head unit or signal processor.
- RCA Output: Provides a pass-through signal for connecting additional amplifiers.
- GAIN Control: Adjusts the input sensitivity of the amplifier to match the output level of your head unit.
- LPF (Low-Pass Filter) Control: Adjusts the upper frequency limit for the subwoofer. Only frequencies below the set point will be passed.
- BASS BOOST Control: Adjusts the level of bass enhancement at a specific frequency. Use sparingly to avoid distortion.
- REMOTE Level Control Input: Connects to an optional wired remote level control for convenient bass adjustment from the driver's seat.
6. Setup and Installation
Proper installation is crucial for optimal performance and safety. If you are unsure about any part of the installation process, it is recommended to seek assistance from a professional car audio installer.
6.1 Mounting the Amplifier
- Choose a mounting location that is dry, well-ventilated, and provides sufficient space for wiring and cooling.
- Ensure the mounting surface is sturdy enough to support the amplifier's weight.
- Mark the mounting holes using the amplifier as a template.
- Drill pilot holes and secure the amplifier using the provided mounting hardware.
6.2 Wiring Connections
Before making any connections, disconnect the vehicle's negative battery terminal.
- Power Wire (+12V): Run a heavy gauge power cable (e.g., 4 AWG or larger, depending on total system power) directly from the positive terminal of the vehicle's battery to the amplifier's +12V terminal. Install an in-line fuse holder with an appropriate fuse (not included) within 18 inches (45 cm) of the battery.
- Ground Wire (GND): Run a heavy gauge ground cable (same gauge as power wire) from the amplifier's GND terminal to a clean, unpainted metal surface on the vehicle chassis. The ground point should be as short as possible, ideally less than 3 feet (1 meter).
- Remote Turn-On Wire (REM): Run a smaller gauge wire (e.g., 18 AWG) from the remote output of your head unit (or an ignition-switched 12V source) to the amplifier's REM terminal.
- RCA Input Cables: Connect RCA cables from the head unit's subwoofer or full-range pre-outs to the amplifier's RCA Input terminals.
- Speaker Wires: Connect speaker wires from the amplifier's speaker output terminals to your subwoofer(s). Ensure correct polarity (+ to + and - to -). Verify the subwoofer's impedance is compatible with the amplifier's specifications.
6.3 Initial Setup and Adjustments
- Gain Setting: With the head unit volume at about 75% of maximum, slowly increase the amplifier's GAIN control until you hear slight distortion, then back it off slightly. This matches the amplifier's input sensitivity to the head unit's output.
- Low-Pass Filter (LPF): Adjust the LPF control to filter out high frequencies from the subwoofer. A common starting point is between 80Hz and 120Hz, depending on your subwoofer and other speakers.
- Bass Boost: Use the BASS BOOST control sparingly. Excessive bass boost can lead to distortion and potential damage to your subwoofer. Adjust to taste, ensuring the sound remains clean.
- Remote Level Control: If using, connect the remote level control and test its functionality.
7. Operating Instructions
Once properly installed and configured, the Trinity Audio Solutions TAS-5000.1 amplifier will turn on automatically when your head unit is powered on (via the remote turn-on wire) and turn off when the head unit is off. Adjust your head unit's volume and amplifier settings (gain, LPF, bass boost) to achieve your desired sound quality.
8. Maintenance
- Cleaning: Periodically wipe the amplifier's exterior with a soft, dry cloth to remove dust. Do not use harsh chemicals or abrasive cleaners.
- Inspection: Regularly check all wiring connections for tightness and signs of corrosion or damage. Ensure the amplifier's ventilation fins are clear of obstructions.
- Cooling: Ensure adequate airflow around the amplifier to prevent overheating.
9. Troubleshooting
If you experience issues with your amplifier, refer to the following common problems and solutions:
| Problem | Possible Cause | Solution |
|---|---|---|
| Amplifier does not turn on (no power/protection light) | Blown fuse, loose power/ground/remote wire, faulty head unit remote output. | Check the in-line fuse near the battery. Verify all power, ground, and remote connections are secure. Test the remote wire for 12V when the head unit is on. |
| No sound output | Loose RCA cables, incorrect gain setting, speaker wires disconnected, amplifier in protection mode. | Check RCA connections. Adjust gain. Verify speaker wire connections and impedance. If in protection, check for short circuits in speaker wiring. |
| Distorted sound | Gain set too high, improper LPF setting, poor ground connection, damaged speakers. | Reduce gain. Adjust LPF. Ensure ground connection is solid. Test speakers with another amplifier if possible. |
| Amplifier overheats | Insufficient ventilation, impedance too low, gain set too high. | Relocate amplifier for better airflow. Verify speaker impedance is within specifications. Reduce gain. |
10. Specifications
The following specifications are typical for the Trinity Audio Solutions TAS-5000.1 amplifier:
- Model: TAS-5000.1
- Product Dimensions: 9.33 x 7.52 x 2.48 inches
- Item Weight: 7 Pounds
- Voltage: 7 Volts (DC) - Note: This typically refers to the minimum operating voltage, actual operating voltage is 12-14.4V.
- Mounting Type: Surface Mount
- Manufacturer: Trinity Audio Solutions
- Type: Monoblock Car Audio Amplifier
- Power Output: Up to 5000W (Peak/Max, specific RMS ratings vary by impedance)
- Frequency Response: Optimized for low frequencies
- Input Sensitivity: Adjustable
- Crossover: Variable Low-Pass Filter (LPF)
- Bass Boost: Variable
11. Warranty and Support
Trinity Audio Solutions products are designed and manufactured to the highest quality standards. For warranty information, please refer to the warranty card included with your product or visit the official Trinity Audio Solutions website. For technical support or service inquiries, please contact Trinity Audio Solutions customer service directly.
Keep your purchase receipt as proof of purchase for warranty claims.