Introduction
This document provides comprehensive instructions for the Malahit (tr)uSDX Transceiver Battery Case Kit, designed by Manuel DL2MAN. This kit offers a robust and portable power solution for your (tr)uSDX radio, featuring 3D-printed components and a dedicated battery holder.
Key Features:
- Developed by Manuel DL2MAN, one of the original (tr)uSDX designers.
- Features a solid orange color for easy identification.
- Designed for 3D printing in PETG material with recommended settings of 0.15mm layer height and 20-25% infill.
- Includes housing files specifically for the (tr)uSDX Radio.
- Incorporates a new bottom cover designed for a convenient slide-on battery holder.
- Comes with a dedicated slide-on battery holder (Battery Slider).
- Universally compatible with new style OLED top covers for the (tr)uSDX.
Product Overview
The Malahit (tr)uSDX Transceiver Battery Case Kit provides all necessary components to create a protective and functional enclosure for your radio's battery. The kit includes precisely designed 3D-printable parts and essential hardware for assembly.

Figure 1: Malahit (tr)uSDX Transceiver Battery Case Kit components including orange 3D-printed case parts, screws, and battery holder with power cable.
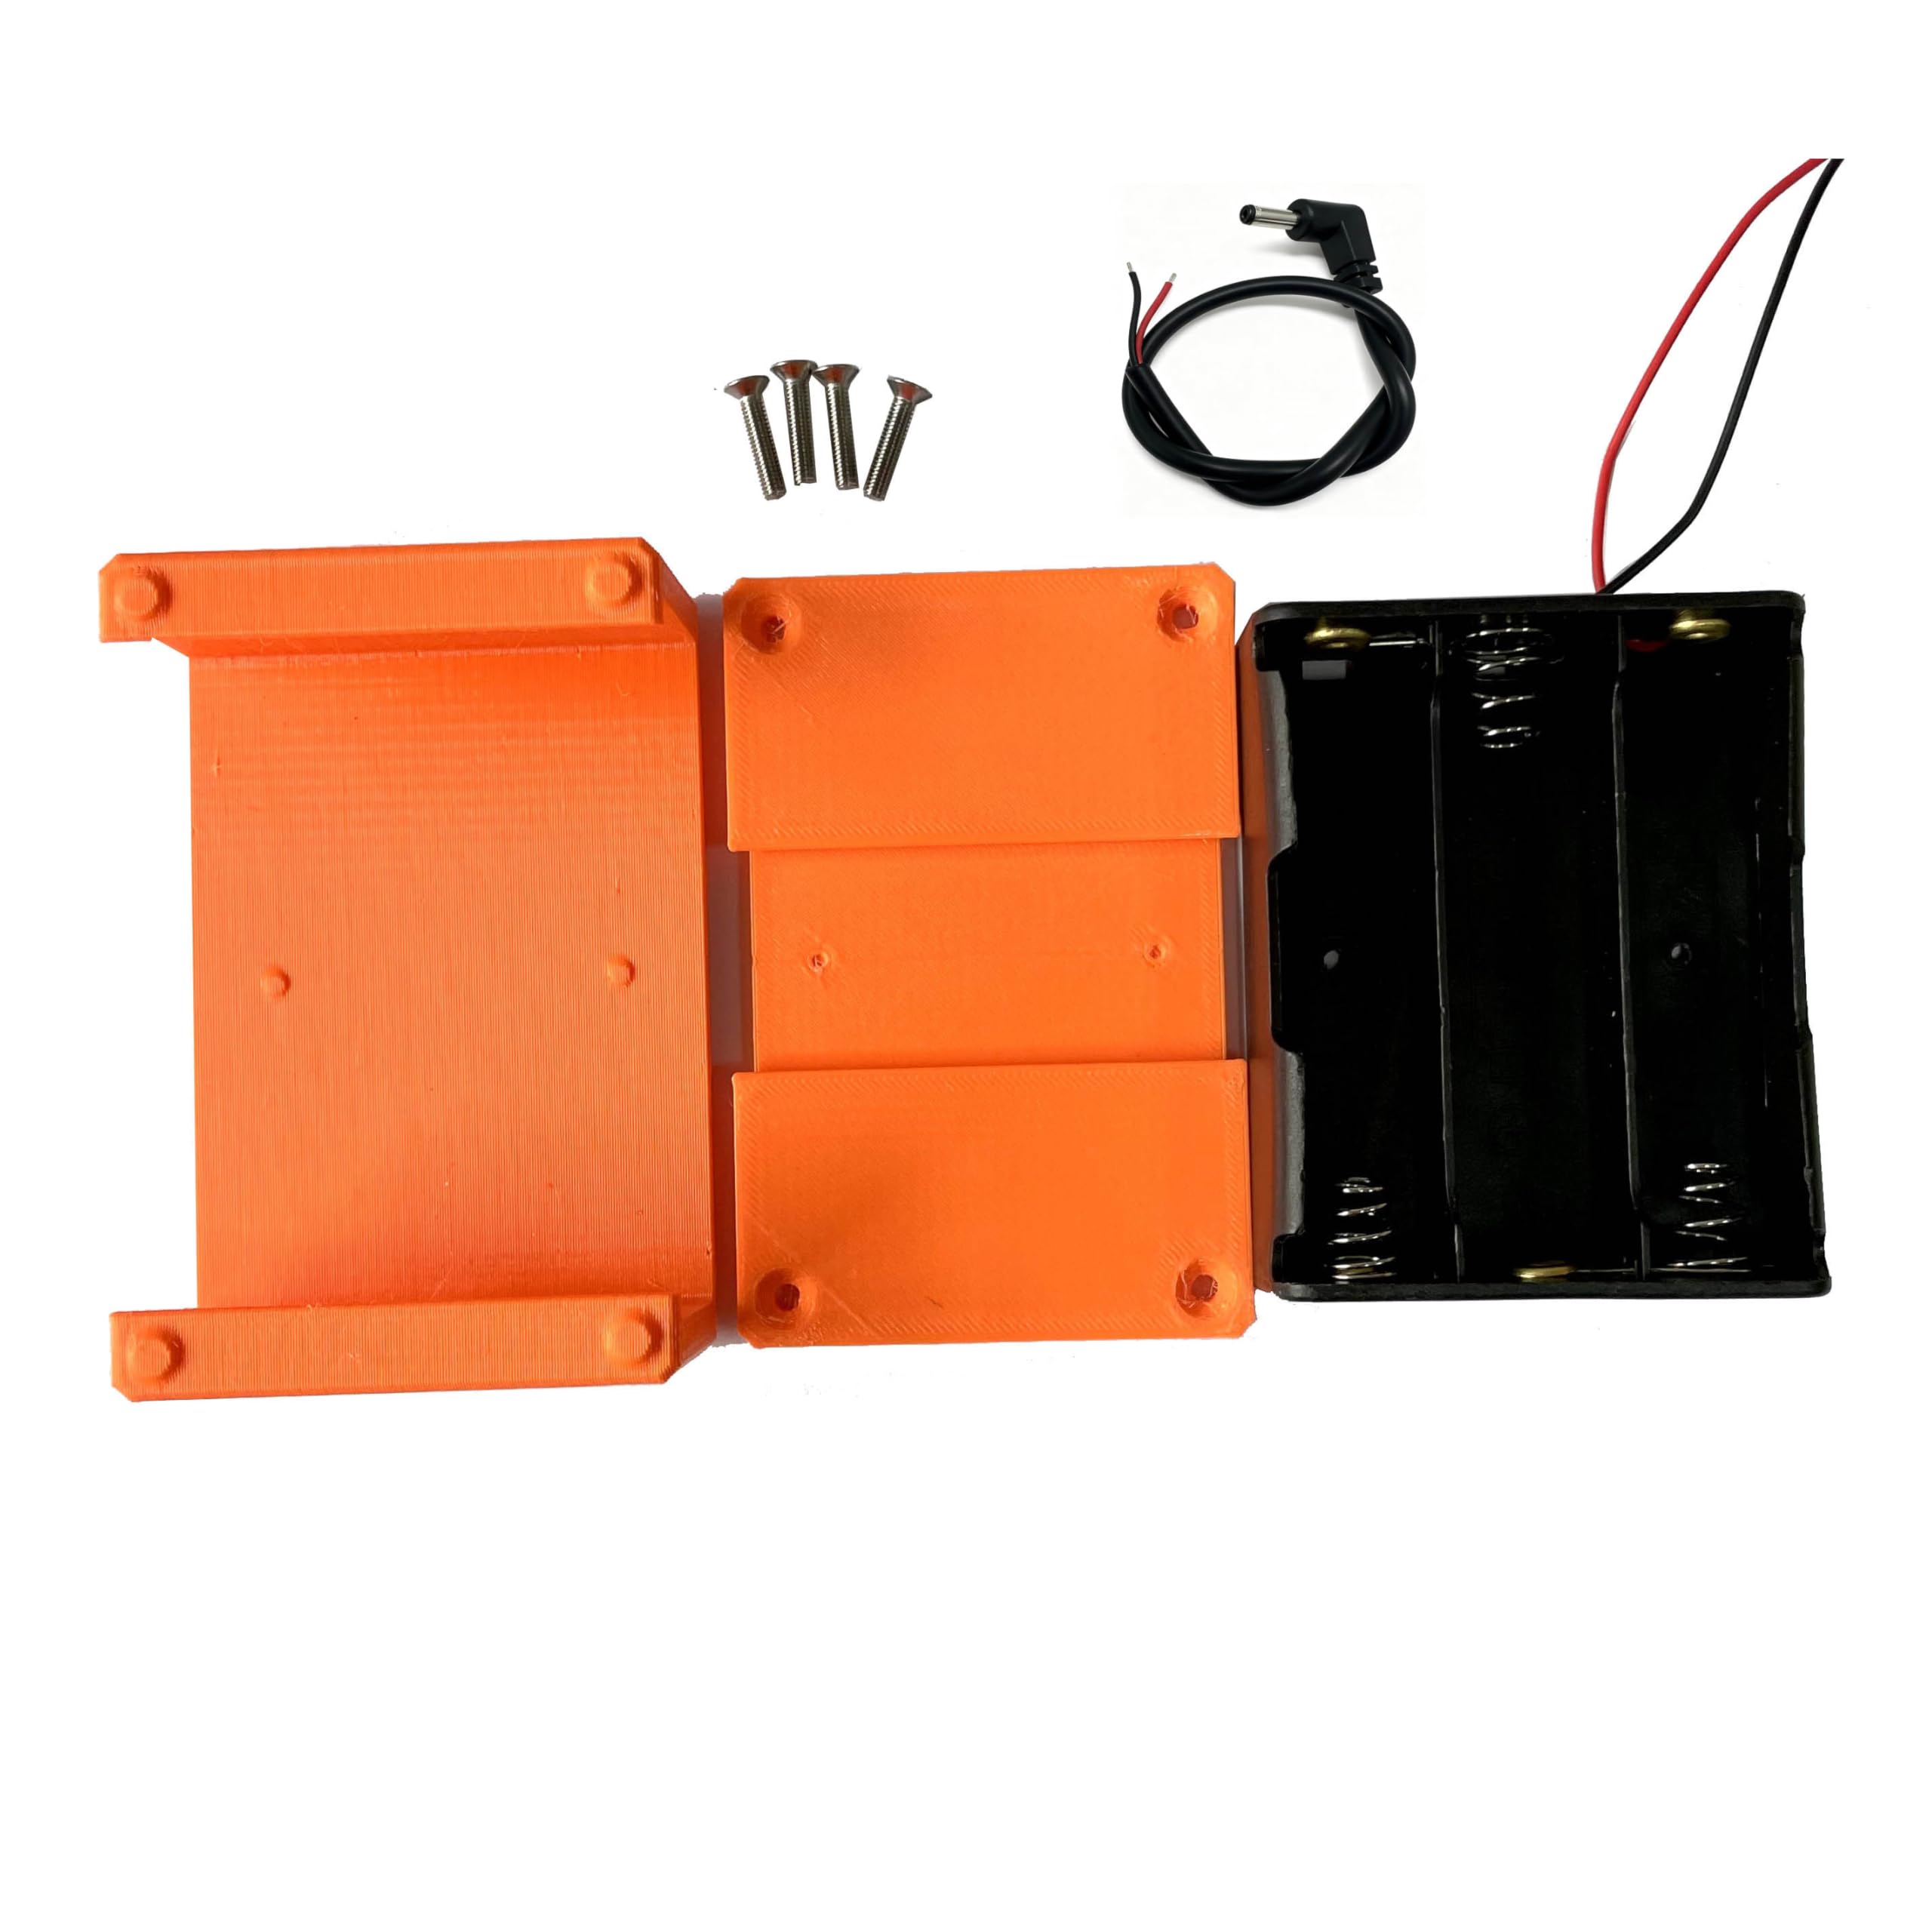
Figure 2: A closer view of the Malahit (tr)uSDX Transceiver Battery Case Kit components, highlighting the textured surface of the orange 3D-printed parts, the small screws, and the battery holder.
Setup and Assembly
Required Tools:
- M3 Tap (for cutting threads)
- Screwdriver (compatible with M3 screws)
Assembly Steps:
- Ensure all housing files are 3D printed in PETG material with a 0.15mm layer height and 20-25% infill for optimal durability and fit.
- Carefully tap (cut M3 threads) into the designated holes on the upper and lower walls of the 3D-printed case components before inserting any screws. This ensures a secure fit and prevents damage.
- Attach the newly designed bottom cover, which is specifically made for the slide-on battery holder, to the main case body.
- Integrate the provided slide-on battery holder (Battery Slider) with the bottom cover.
- The kit is designed to work universally with new style OLED top covers for the (tr)uSDX (top cover not included in this kit).
Operating Instructions
This kit provides a battery case solution. For detailed operating instructions of the (tr)uSDX Transceiver itself, please refer to the transceiver's specific instruction manual.
Battery Installation:
Insert the appropriate batteries (e.g., 18650 cells) into the slide-on battery holder. Pay close attention to the polarity markings to ensure correct installation. Incorrect battery installation can damage the batteries or the transceiver.
Connecting to (tr)uSDX:
Once batteries are securely installed in the holder, connect the power cable extending from the battery holder to the designated power input port on your (tr)uSDX Transceiver. Ensure a snug and secure connection.
Video: USDX USDR HF QRP SDR Receiver SSB CW QRP Transceiver. This short video provides a visual overview of the USDX USDR HF QRP SDR Transceiver, the device compatible with this battery case kit.
Maintenance
- Keep the battery case clean and free from dust, dirt, and moisture. Use a soft, dry cloth for cleaning.
- Avoid exposing the battery case to extreme temperatures, direct sunlight, or high humidity for prolonged periods.
- Periodically inspect all screws for tightness and re-tighten if necessary to maintain structural integrity.
- If the case components are 3D printed, regularly check for any signs of cracks, warping, or other damage. Replace damaged parts promptly to ensure continued protection.
Troubleshooting
Power Issues:
- If the (tr)uSDX transceiver does not power on after connecting the battery case, first verify that the batteries are correctly installed and fully charged.
- Ensure all power cable connections between the battery holder and the transceiver are secure and properly seated.
Fitment Issues:
- If the 3D-printed components do not fit together correctly, re-verify that they were printed according to the recommended specifications (0.15mm layer height, 20-25% infill).
- Confirm that M3 threads were properly tapped into the walls of the case components during assembly.
Video: Audio Settings and Troubleshooting. This video demonstrates how to configure audio settings and troubleshoot issues with digital modes interfaces, which can be helpful when using the battery case with a transceiver.
Video: Serial Port and Attenuator Configuration. This video provides a tutorial on configuring serial port and attenuator settings, essential for advanced users integrating the (tr)uSDX with other equipment.
Specifications
| Feature | Detail |
|---|---|
| Product Dimensions | 4 x 2 x 4 inches |
| Item Weight | 3.52 ounces |
| Color | Orange |
| Form Factor | Case |
| Special Features | Lightweight |
| Compatible Devices | (tr)uSDX |
| Shell Type | Hard |
| Manufacturer | Malahit |
What's in the Box
The Malahit (tr)uSDX Transceiver Battery Case Kit includes the following items:
- Battery Case Kit components (as depicted in product images)
- Screws for assembly
Warranty and Support
For detailed warranty information, technical support, or any inquiries regarding the Malahit (tr)uSDX Transceiver Battery Case Kit, please refer to the manufacturer's official website or contact their customer service department. This product is designed by Manuel DL2MAN.