1. Introduction
Thank you for choosing the Geepas 3.1 cu ft Single Door Refrigerator, Model GRF110SPE. This manual provides essential information for the safe installation, operation, and maintenance of your appliance. Please read these instructions carefully before use and keep them for future reference.
2. Important Safety Instructions
WARNING: To reduce the risk of fire, electric shock, or injury, follow these basic precautions:
- Read all instructions before using the refrigerator.
- Do not touch cold surfaces, especially when hands are damp or wet. Skin may stick to extremely cold surfaces.
- Ensure the refrigerator is properly grounded. Connect only to properly polarized outlets.
- Do not use extension cords or ungrounded (two-prong) adapters.
- Unplug the refrigerator before cleaning or making any repairs.
- Never clean refrigerator parts with flammable fluids. The fumes can create a fire hazard or explosion.
- Do not store or use gasoline or other flammable vapors and liquids in the vicinity of this or any other refrigerator.
- Keep fingers out of the 'pinch point' areas; clearances between the door and cabinet are necessarily small. Be careful when closing doors when children are in the area.
- This appliance is not intended for use by persons (including children) with reduced physical, sensory or mental capabilities, or lack of experience and knowledge, unless they have been given supervision or instruction concerning use of the appliance by a person responsible for their safety.
- Children should be supervised to ensure that they do not play with the appliance.
- If the supply cord is damaged, it must be replaced by the manufacturer, its service agent, or similarly qualified persons to avoid a hazard.
3. Product Overview
Your Geepas GRF110SPE refrigerator is designed for efficient and convenient food storage. It features a compact design with ample internal space, including tempered glass shelves and transparent door baskets.
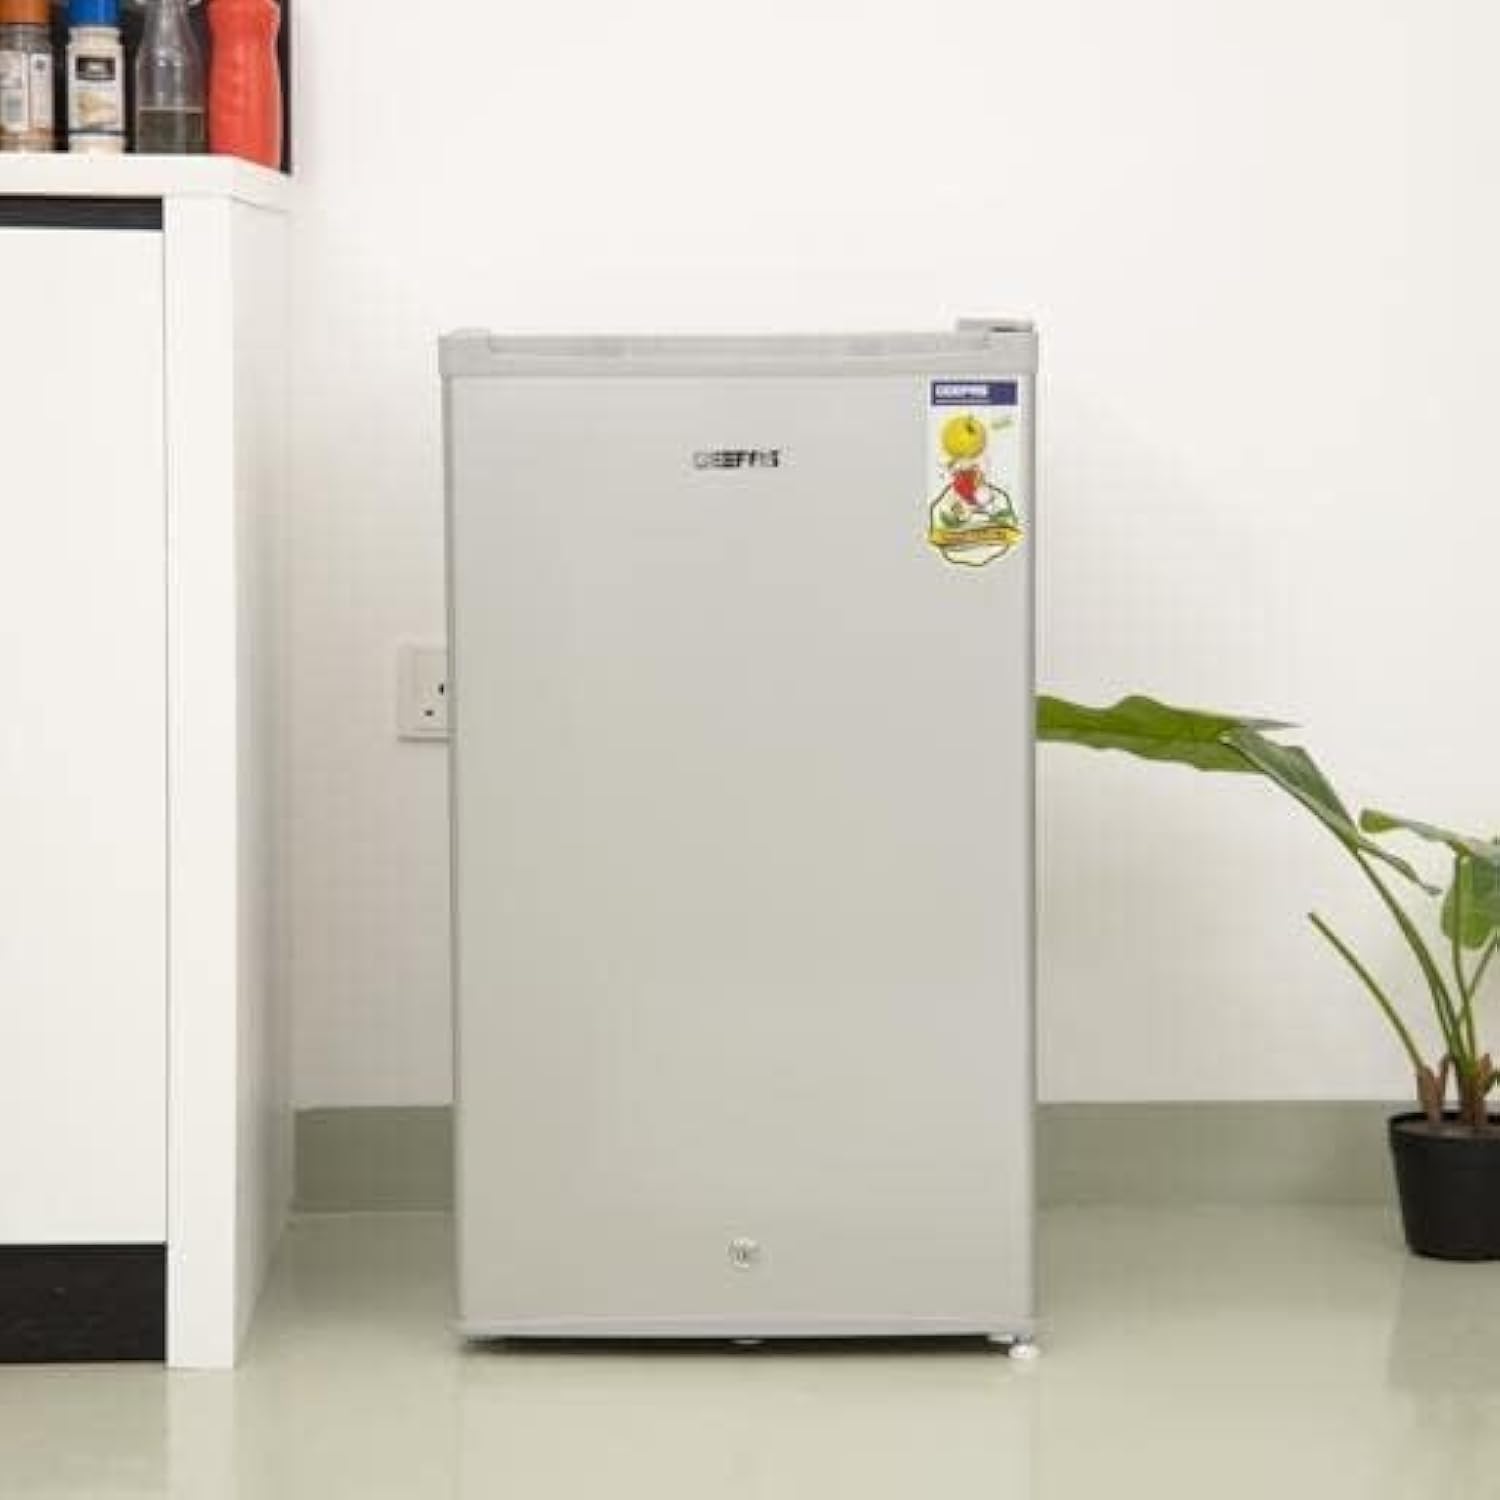
Figure 3.1: Overall view of the refrigerator with its door open, illustrating the internal layout and a user interacting with it.
Components:
- Freezer Compartment: Small internal section for frozen items.
- Temperature Control Dial: Located near the freezer compartment to adjust cooling.
- Tempered Glass Shelves: Adjustable and durable shelves for organizing fresh food.
- Transparent Door Baskets: For storing bottles, jars, and smaller items, allowing easy visibility of contents.
- Vegetable Drawer: A dedicated drawer at the bottom for fresh produce.
- Hollow Handle: Integrated handle for easy door opening.
- Adjustable Front Wheel: For leveling the appliance.

Figure 3.2: Detailed view of the freezer compartment and temperature control dial.
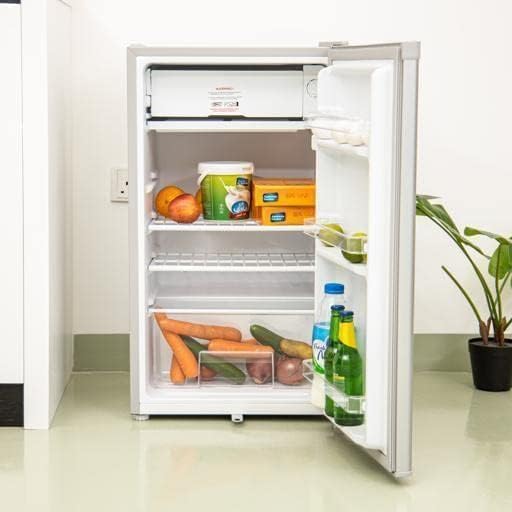
Figure 3.3: Interior organization with food items, showcasing glass shelves and door storage.
4. Setup and Installation
4.1 Unpacking
Carefully remove all packaging materials, including foam and adhesive tape. Inspect the refrigerator for any shipping damage. Report any damage to your retailer immediately.
4.2 Placement
- Place the refrigerator on a firm, level floor. Use the adjustable front wheel to level the appliance if necessary.
- Allow at least 10 cm (4 inches) of space between the back and sides of the refrigerator and any adjacent walls to ensure proper air circulation and cooling efficiency.
- Avoid placing the refrigerator in direct sunlight or near heat sources such as stoves, heaters, or radiators.
- Ensure the ambient temperature is suitable for the appliance's climate class (refer to specifications).
4.3 Cleaning Before First Use
Before plugging in the refrigerator, clean the interior and exterior surfaces with a soft cloth and a mild detergent. Rinse with clean water and dry thoroughly. This removes any manufacturing dust or odors.
4.4 Electrical Connection
After placing and cleaning, allow the refrigerator to stand upright for at least 2-4 hours before plugging it in. This allows the refrigerant to settle. Connect the refrigerator to a dedicated 220V power outlet. Do not use multi-plugs or extension cords.
5. Operating Instructions
5.1 Initial Operation and Temperature Setting
- Plug in the refrigerator.
- Locate the temperature control dial inside the refrigerator, usually near the freezer compartment.
- Set the dial to a medium setting (e.g., '3' or '4').
- Allow the refrigerator to operate for 2-3 hours to reach the desired temperature before placing food inside.
- Adjust the temperature as needed. Higher numbers typically indicate colder settings.
5.2 Food Storage Guidelines
- Fresh Food Compartment: Use the glass shelves and door baskets for fruits, vegetables, dairy products, and cooked foods. Ensure food is covered to prevent drying out and odor transfer.
- Vegetable Drawer: Ideal for keeping fruits and vegetables fresh for longer.
- Freezer Compartment: Suitable for short-term storage of small frozen items. Note that this is a compact freezer and not designed for long-term freezing of large quantities.
- Fast Cooling: The refrigerator features a fast cooling function to quickly chill newly added items.
6. Maintenance and Cleaning
6.1 Cleaning the Interior
Unplug the refrigerator before cleaning. Wash the interior surfaces with a solution of warm water and baking soda (2 tablespoons of baking soda to 1 liter of water). Rinse thoroughly and dry. Remove shelves and drawers for separate cleaning.
6.2 Cleaning the Exterior
Clean the exterior with a mild detergent and warm water. Wipe dry with a soft cloth. Avoid abrasive cleaners or solvents.
6.3 Automatic Defrost
This refrigerator features an automatic defrost system, which means ice buildup in the main compartment is minimized. However, the small internal freezer compartment may accumulate some frost. If frost becomes excessive (more than 6mm or 1/4 inch thick), manually defrost the freezer compartment by unplugging the unit and allowing the frost to melt. Remove food items before defrosting.
6.4 Power Saving Tips
- Avoid opening the door frequently or for extended periods.
- Ensure the door seal is clean and intact.
- Do not place hot food directly into the refrigerator; allow it to cool to room temperature first.
- Keep the condenser coils at the back clean for efficient operation.
7. Troubleshooting Guide
Before contacting customer service, please check the following common issues:
| Problem | Possible Cause | Solution |
|---|---|---|
| Refrigerator does not operate. | Not plugged in; circuit breaker tripped; temperature control set to 'OFF'. | Ensure plug is secure; reset circuit breaker; set temperature control to an active setting. |
| Refrigerator is not cold enough. | Temperature control set too warm; door opened too frequently; poor ventilation; door seal not tight. | Adjust temperature to a colder setting; minimize door openings; ensure adequate space around the unit; check and clean door seal. |
| Food is freezing in the refrigerator. | Temperature control set too cold. | Adjust temperature to a warmer setting. |
| Unusual noises. | Appliance not level; items vibrating inside; normal operating sounds. | Adjust leveling feet; rearrange items; some sounds (e.g., refrigerant gurgling) are normal. |
| Water on the floor. | Drain pan overflowing; drain tube blocked. | Empty and clean the drain pan; clear any blockage in the drain tube. |
8. Specifications
| Feature | Specification |
|---|---|
| Brand | Geepas |
| Model Information | GRF110SPE |
| Product Dimensions (D x W x H) | 48 x 50 x 85 cm |
| Item Weight | 21.32 kg |
| Total Capacity | 3.1 cu ft (110 Liters) |
| Fresh Food Capacity | 89 Liters |
| Freezer Capacity | 6 Liters |
| Annual Energy Consumption | 549 Watts |
| Installation Type | Freestanding |
| Special Features | Adjustable, Fast Cooling, Low Noise, Low Voltage Design |
| Color | Silver |
| Voltage | 220V |
| Vegetable Drawers | 1 |
| Defrost System | Automatic |
| Door Hinges | Right |
| Shelf Type | Glass (Tempered) |
| Number of Shelves | 3 |
| Number of Doors | 1 |
9. Warranty and Customer Support
For warranty information, please refer to the warranty card included with your product or contact your retailer. If you encounter any issues that cannot be resolved using the troubleshooting guide, please contact Geepas customer support for assistance. Keep your purchase receipt as proof of purchase for warranty claims.


