Proscenic X1-UPDATE
Proscenic Floobot X1 Robot Vacuum Cleaner User Manual
Model: X1-UPDATE | Brand: Proscenic
1. Important Safety Information
Please read this manual carefully before using the Proscenic Floobot X1 Robot Vacuum Cleaner. Keep it for future reference.
- Do not allow children to operate the robot vacuum. Supervise children and pets when the robot is operating.
- Use only the original power adapter and charging dock provided by Proscenic.
- Do not use the robot vacuum in wet environments or on wet surfaces.
- Remove any loose cables, small objects, or fragile items from the cleaning path before operation.
- Ensure the dust bag is properly installed in the suction station before use.
- Do not attempt to repair or modify the robot vacuum or suction station yourself. Contact authorized service personnel.
2. Package Contents
Verify that all items are present in the package:
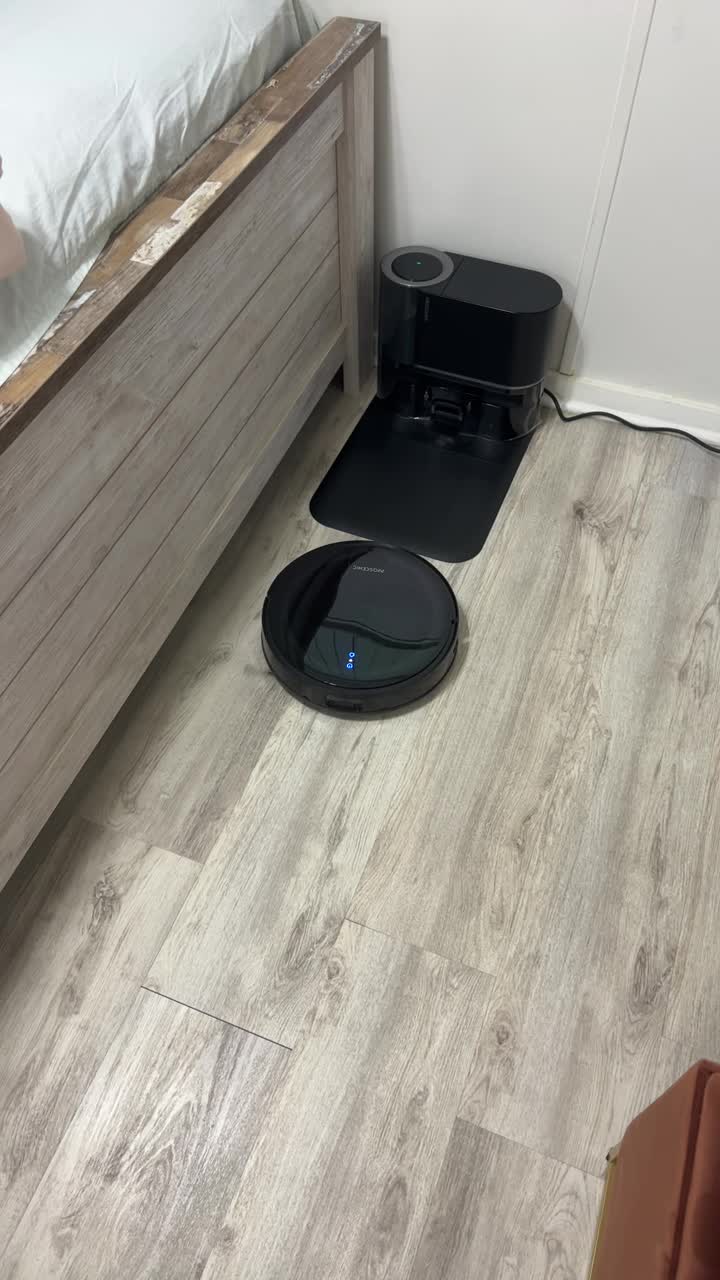
Image: Contents of the Proscenic Floobot X1 package, including the robot vacuum, self-empty station, power adapter, cleaning tools, and user manual.
- Proscenic Floobot X1 Robot Vacuum Cleaner
- Self-Empty Suction Station
- Power Adapter
- Dust Bags (pre-installed + spare)
- Mop Pads (2 included)
- Cleaning Brush
- User Manual
3. Product Overview
Familiarize yourself with the main components of your Proscenic Floobot X1.

Image: The Proscenic Floobot X1 robot vacuum positioned in front of its self-empty suction station, with two blue mop pads and a water tank accessory shown above.
Robot Vacuum
- Top Cover: Access to dustbin and Wi-Fi indicator.
- Control Buttons: Power/Clean, Home/Recharge.
- LDS Laser Navigation: For accurate mapping and navigation.
- Side Brush: Sweeps debris into the main brush path.
- Main Brush: Collects dirt and debris.
- Cliff Sensors: Prevents falling down stairs.
- Charging Contacts: Connects to the suction station for charging.
- Water Tank & Mop Pad: For mopping functionality.
Self-Empty Suction Station
- Dust Bag Compartment: Houses the disposable dust bag.
- Charging Dock: Where the robot returns to charge and empty its dustbin.
- Power Indicator: Shows station status.
- Dust Collection Port: Connects to the robot's dustbin for automatic emptying.
4. Setup
4.1 Unpacking and Placement
- Remove all packaging materials from the robot and the suction station.
- Place the suction station against a wall in an open area, ensuring at least 0.5 meters (1.6 feet) of clear space on both sides and 1.5 meters (4.9 feet) in front.
- Connect the power adapter to the suction station and plug it into a wall outlet. Ensure the station is powered on.
4.2 Initial Charging
Place the robot vacuum onto the charging contacts of the suction station. Ensure the robot is properly docked and charging. The indicator lights on the robot will show charging status. Fully charge the robot before first use (approximately 4-5 hours).
4.3 App Connection
- Download the "ProscenicHome" app from your mobile app store.
- Register an account and log in.
- Follow the in-app instructions to add your Floobot X1 device. This typically involves connecting to the robot's Wi-Fi hotspot and then connecting the robot to your home Wi-Fi network.

Image: A hand holding a smartphone showing the ProscenicHome app, illustrating the easy and smart controls for custom cleaning, zoning, and exclusion zones.
5. Operating the Robot Vacuum
5.1 Cleaning Modes
- Auto Clean: The robot intelligently navigates and cleans your entire home.
- Spot Clean: Cleans a specific area more intensely.
- Zone Clean: Clean specific rooms or zones defined in the app.
- Scheduled Clean: Set cleaning schedules via the app.
5.2 Vacuuming Function
The Floobot X1 features 3000Pa suction power for effective dirt and debris removal from various floor types, including hard floors and carpets.

Image: The robot vacuum actively cleaning a floor, demonstrating its powerful 3000Pa suction capability on scattered debris.
5.3 Mopping Function
Attach the water tank and mop pad to enable mopping. The ultrasonic wiping system scrubs at 3000 times per minute for effective stain removal.

Image: An illustration of the robot's underside, emphasizing the sonic mopping system that scrubs at 3000 times per minute for thorough cleaning.
5.4 Smart Navigation and Mapping
The Floobot X1 uses PathPro™ Laser-Assisted Navigation to create accurate maps of your home. It supports up to 5 maps for multi-level homes.

Image: The robot vacuum navigating a room, with a blue laser path illustrating its PathPro™ Laser-Assisted Navigation for accurate mapping.
The Ultrasonic Carpet Detector automatically boosts suction on carpets and avoids them during mopping.

Image: The robot vacuum transitioning between hard floor and carpet, demonstrating its Ultrasonic Carpet Detector which boosts suction for vacuuming and steers away during mopping.

Image: An illustration depicting the robot's ability to save up to 5 different floor maps for efficient navigation in multi-level homes.
6. Maintenance
Regular maintenance ensures optimal performance of your robot vacuum.
6.1 Self-Empty Suction Station Dust Bag Replacement
The 2.5L dust bag in the suction station can hold debris for up to 30 days, reducing the frequency of manual emptying.

Image: A person demonstrating the replacement of the 2.5L dust bag in the self-empty station, highlighting the hands-free convenience for up to 30 days.
- Open the top cover of the suction station.
- Carefully remove the full dust bag.
- Insert a new dust bag, ensuring it is properly seated.
- Close the top cover.
6.2 Robot Dustbin and Filter Cleaning
- Open the robot's top cover and remove the dustbin.
- Empty the dustbin and clean the filter (HEPA filter) with the provided cleaning brush. Do not wash the HEPA filter with water.
- Reinstall the dustbin and close the cover.
6.3 Main Brush and Side Brush Cleaning
- Remove the main brush cover and lift out the main brush. Use the cleaning tool to remove tangled hair and debris.
- Carefully pull off the side brushes. Remove any hair or debris. Reinstall them, ensuring they click into place.
6.4 Sensor Cleaning
Wipe all sensors (cliff sensors, wall sensor, charging contacts) with a clean, dry cloth regularly to ensure proper operation.
6.5 Mop Pad Cleaning
Remove the mop pad after each use and wash it. Allow it to air dry completely before reattaching.
7. Troubleshooting
| Problem | Possible Cause | Solution |
|---|---|---|
| Robot does not turn on. | Low battery; Power switch off. | Charge the robot; Ensure power switch is ON. |
| Robot cannot return to charging station. | Station obstructed; Robot too far from station. | Clear obstacles around station; Manually place robot closer. |
| Poor cleaning performance. | Full dustbin; Clogged filter/brushes. | Empty dustbin; Clean filter and brushes. |
| Robot gets stuck frequently. | Loose cables; Small objects; Uneven surfaces. | Clear cleaning area; Set no-go zones in app. |
| App connection issues. | Incorrect Wi-Fi password; Router issues; Robot not in pairing mode. | Verify Wi-Fi credentials; Restart router; Reset robot's Wi-Fi. |
8. Specifications
| Feature | Detail |
|---|---|
| Brand | Proscenic |
| Model Name | X1 |
| Model Number | X1-UPDATE |
| Suction Power | 3000Pa |
| Mopping System | Ultrasonic Wiping (3000 times/min) |
| Dust Bag Capacity (Station) | 2.5L (up to 30 days hands-free) |
| Battery Life | Up to 200 minutes |
| Navigation | PathPro™ Laser-Assisted Navigation |
| Mapping | Multi-Floor Mapping (up to 5 maps) |
| Carpet Detection | Ultrasonic Carpet Detector |
| Control Method | App (ProscenicHome), Google Home |
| Color | Black |
| Item Weight | 19.71 pounds (total package) |
| Product Dimensions (Robot) | 2.9"L x 13"W x 2.9"H |
9. Warranty and Support
For warranty information and technical support, please refer to the official Proscenic website or contact their customer service directly.
You can find more information and support resources at: www.proscenic.com
Note: Warranty terms and conditions may vary by region. Please retain your proof of purchase.
Related Documents - X1-UPDATE
 |
Proscenic X1 Robot Vacuum User's Manual This user manual provides comprehensive instructions for the Proscenic X1 Robot Vacuum, covering setup, operation, maintenance, and troubleshooting. Learn how to maximize your device's performance for efficient home cleaning. |
 |
Proscenic M9 Robot Vacuum User Manual and Guide Comprehensive user manual for the Proscenic M9 Robot Vacuum, covering setup, operation, maintenance, troubleshooting, and safety instructions. Learn how to use your robot vacuum effectively. |
 |
Proscenic BL828 Robot Vacuum Cleaner User Manual Comprehensive user manual for the Proscenic BL828 robot vacuum cleaner, covering setup, operation, maintenance, and specifications. Learn how to use your BL828 and 811GB model effectively. |
 |
Proscenic M8 PRO Robot Vacuum Cleaner Instruction Manual Comprehensive instruction manual for the Proscenic M8 PRO robot vacuum cleaner, covering setup, operation, maintenance, and troubleshooting. Available in multiple languages. |
 |
Proscenic X1 Robot Vacuum User Manual Comprehensive user manual for the Proscenic X1 Robot Vacuum, covering setup, operation, maintenance, troubleshooting, and product specifications. Learn how to use your robot vacuum for efficient cleaning. |
 |
Proscenic Cocosmart 800T Robot Vacuum User Manual & Guide Comprehensive user manual for the Proscenic Cocosmart 800T robot vacuum cleaner. Includes setup, operation, maintenance, safety instructions, and troubleshooting tips. |
Ask a question about this manual
Ask about setup, troubleshooting, compatibility, parts, safety, or missing instructions. Manuals+ will review the question and use this page’s manual context to help answer it.