
1. Introduction and Overview
This manual provides essential information for the installation, operation, maintenance, and troubleshooting of your new AEagle Alternator, Model AEALT012-170. This alternator is designed to provide reliable electrical power for compatible Kubota tractor models. It features premium high-output rotors and stators for maximum charging efficiency and durability.

Image 1.1: Main view of the AEagle Alternator.
2. Product Specifications
The AEagle Alternator is engineered to meet specific performance requirements for your equipment.
| Specification | Value |
|---|---|
| Voltage | 12V |
| Amperage | 40A |
| Rotation | Clockwise (CW) |
| Clock Position | 12 |
| Pulley Class | V1 |
| Regulator Type | Internal Regulator (IR) |
| Fan Type | Internal Fan (IF) |
| Item Weight | 7.85 pounds |
| Package Dimensions | 9.72 x 8.62 x 7.2 inches |

Image 2.1: Illustration highlighting the strong power output from premium high-output rotors and stators.
3. Compatibility
This AEagle Alternator (Model AEALT012-170) is compatible with a wide range of Kubota tractor models. Please verify your tractor's model number and existing part number for accurate fitment.
Compatible Kubota Tractor Models:
- KX91-3 (02-09)
- L2600DT, L2600F (99-On)
- L2800DT-F, L2800DT-R, L2800F-F, L2800F-R, L2800HST (2005-2009)
- L3000DT, L3000F (2002-2003)
- L3130DT-F, L3130DT-R, L3130F-F, L3130F-R, L3130GST-F, L3130GST-R, L3130HST-C, L3130HST-F, L3130HST-R (2003-On)
- L3240F, L3240GST, L3240HST, L3240HSTC (2007-2008)
- L3400DT-F, L3400DT-R, L3400F-F, L3400F-R, L3400HST (2005-2009)
- L3430DT-F, L3430DT-R, L3430GST-F, L3430GST-R, L3430HST-F, L3430HST-R (2003-On)
- L3540GST, L3540HST, L3540HSTC (2007-2008)
- L3830DT-F, L3830DT-R, L3830F-F, L3830F-R, L3830GST-F, L3830GST-R, L3830HST-F, L3830HST-R (2003-On)
- L39 (2003-2009)
- L3940DT, L3940GST, L3940HST, L3940HSTC, L4240DT, L4240GST, L4240HST, L4240HSTC (2007-2008)
- L4300DT, L4300F (2001-2004)
- L4330DT-F, L4330DT-R, L4330GST-F, L4330GST-R, L4330HST-F, L4330HST-R (2003-On)
- L4400DT (2007-2009)
- L4630DT-F, L4630DT-R, L4630GST-F, L4630GST-R, L4630HST-F, L4630HST-R (2003-On)
- L4740 (2007-2008)
- M4700DT, M4700F (1995-1997)
- M4700S, M4700SD (1996-1998)
- M4800SU, M4800SUD (2002-2009)
- M4900, M4900C, M4900DT, M4900DTC, M4900F, M4900SC, M4900SCS-F, M4900SDC, M4900SD-F, M4900SUD-F, M4900SUD-R, M4900SU-F, M4900SU-R (2001-2006)
- M5400DT, M5400DT-N, M5400F, M5400S, M5400SD (1995-1997)
- M5640SUD (2009-On)
- M5700, M5700C, M5700DT, M5700DTC, M5700DT-N, M5700HDC, M5700HD-F, M5700SC, M5700SDC, M5700SD-F, M5700SDN-F, M5700S-F (2001-2006)
- MX5000DT, MX5000F (2002-2005)
Replaces Part Numbers:
- AND0214, ND9761219-118, ND9761219-136
- 101211-1180, 101211-1360, 101211-1361
- 9761219-118, 9761219-136, 400-52172
- 3A011-74010, 3A011-74011, 3A011-74012, 3A011-74013
- 77700-02603, T1060-15680, T1060-15681, T1060-15682
- 12338, 12339
4. Setup and Installation
Proper installation is crucial for the safe and effective operation of your new alternator. If you are unsure about any steps, consult a qualified mechanic.
Safety Precautions:
- Always disconnect the battery's negative terminal before beginning any electrical work.
- Ensure the engine is off and cooled down.
- Wear appropriate personal protective equipment (PPE), such as safety glasses and gloves.
Installation Steps (General Guide):
- Locate the existing alternator on your Kubota tractor.
- Carefully disconnect all wiring from the old alternator, noting their positions for reinstallation.
- Remove the mounting bolts and the drive belt from the old alternator.
- Remove the old alternator.
- Position the new AEagle Alternator, ensuring the mounting holes align perfectly. The design ensures a 1:1 dimension restoration for accurate fitment.
- Secure the new alternator with the mounting bolts.
- Reinstall the drive belt and adjust its tension according to your tractor's specifications.
- Reconnect all electrical wiring to the new alternator. Double-check all connections for tightness and correct polarity.
- Reconnect the battery's negative terminal.
- Start the engine and verify proper charging system operation (e.g., check battery light, voltage output).
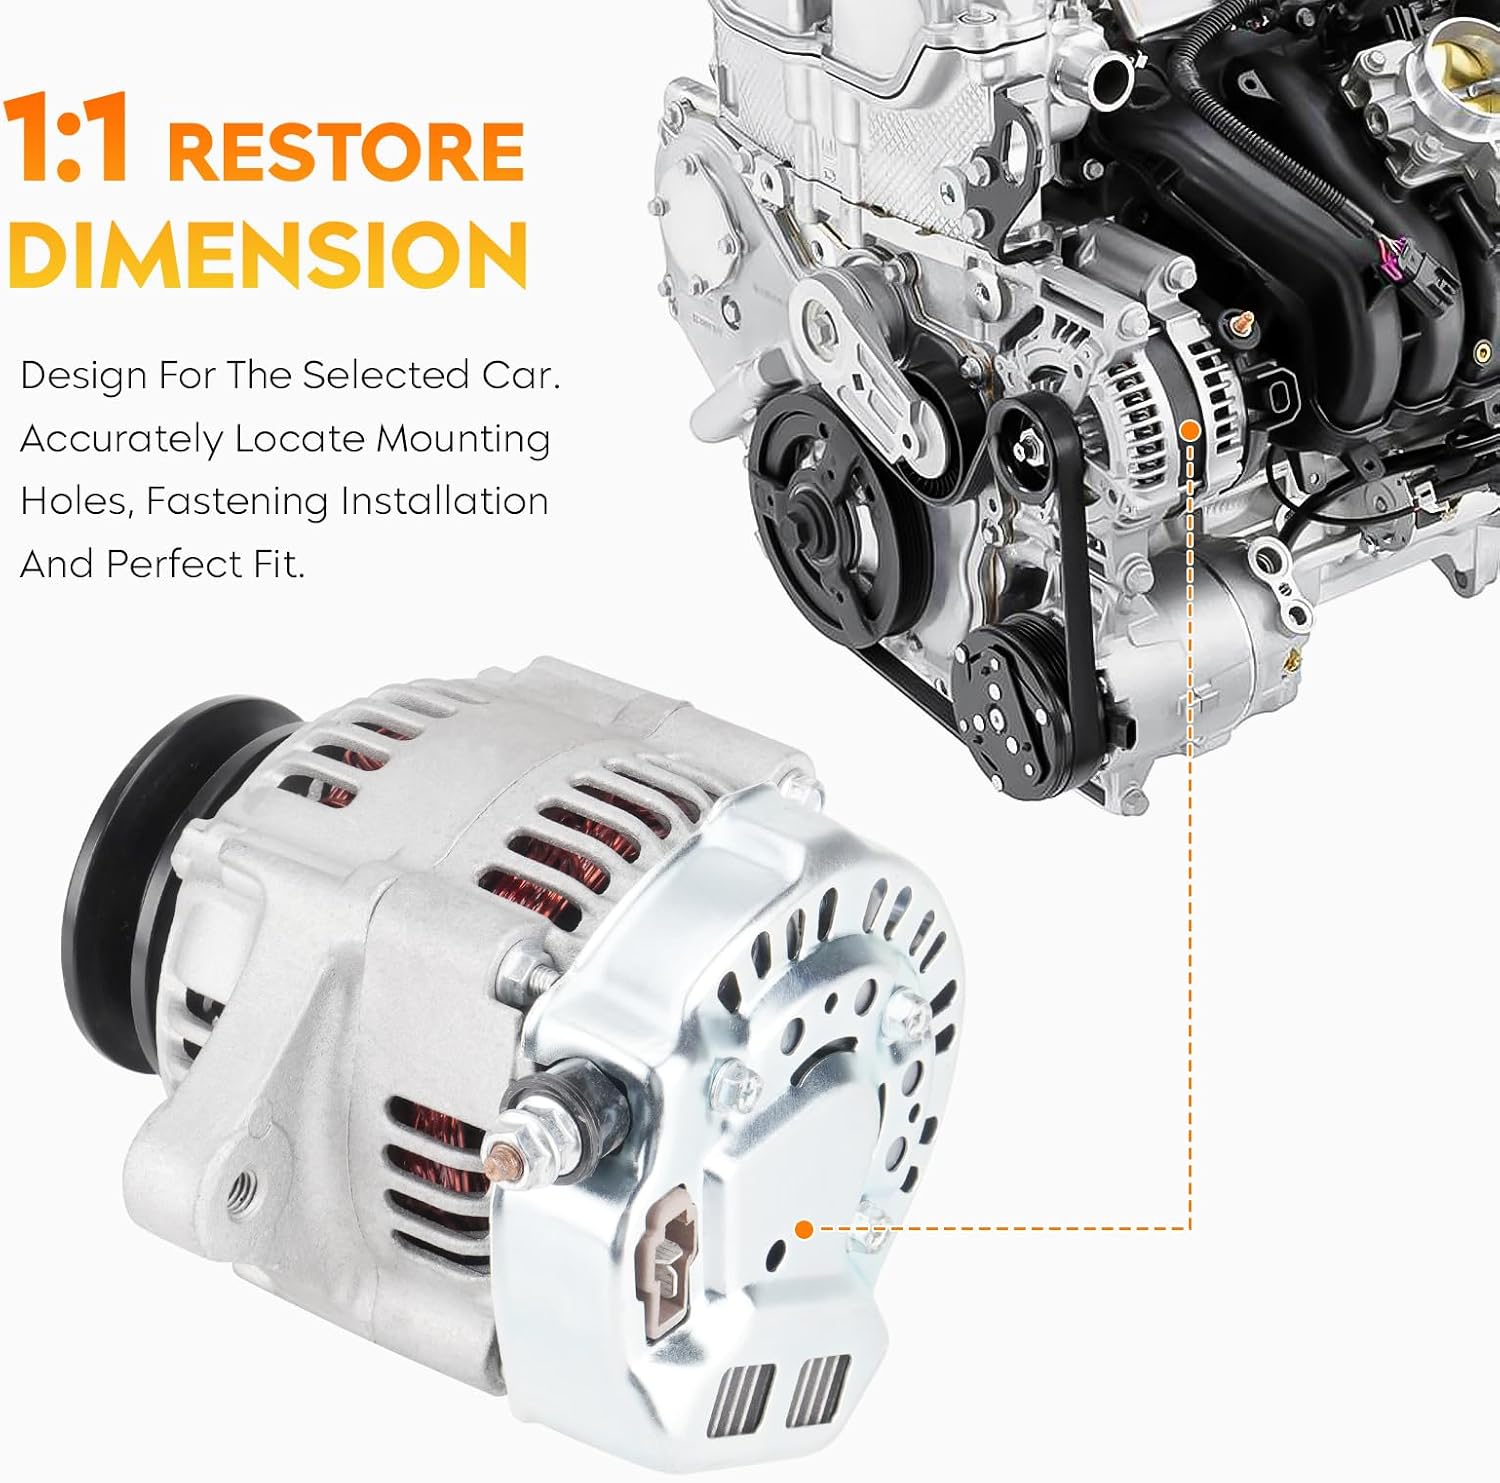
Image 4.1: Illustration demonstrating the 1:1 dimension restoration design for accurate mounting and fitment.

Image 4.2: Detail showing the precision design and quality raw materials used in the alternator's construction.
5. Operating Instructions
Once installed, the AEagle Alternator operates automatically to maintain your tractor's electrical system and charge the battery. No specific user intervention is required during normal operation.
- Ensure all electrical connections are secure before starting the engine.
- Monitor your tractor's dashboard for any battery warning lights or charging system indicators.
- The alternator is designed to provide a strong, steady current to power accessories and recharge the battery during engine operation.
6. Maintenance
Regular maintenance helps ensure the longevity and optimal performance of your alternator and tractor's electrical system.
- Inspect Drive Belt: Periodically check the alternator's drive belt for signs of wear, cracks, or fraying. Ensure it has the correct tension as specified by your tractor's manufacturer.
- Check Electrical Connections: Ensure all wiring connections to the alternator and battery are clean, tight, and free from corrosion.
- Battery Health: A healthy battery is essential for the charging system. Regularly check your battery's charge level and condition.
- Cleanliness: Keep the alternator free from excessive dirt, debris, and oil buildup, which can hinder cooling and performance.
7. Troubleshooting
If you experience issues with your tractor's charging system, refer to the common problems and solutions below.
| Symptom (Before Replacement) | Expected Outcome (After Replacement) |
|---|---|
| Lack of Power / Weak Charging | Strong Power, Steady Current |
| Abnormal Rattling Noise | No Noise, Stable Operation |
| High/Low Current at Times | High Security & Durability |

Image 7.1: Troubleshooting guide illustrating common issues and the benefits of a functional alternator.
General Troubleshooting Tips:
- If the battery warning light remains on after starting the engine, check the drive belt tension and all electrical connections.
- Use a multimeter to test the voltage across the battery terminals with the engine running. A healthy charging system should show approximately 13.8V to 14.7V.
- If the alternator is producing abnormal noises, ensure it is securely mounted and that the pulley is aligned correctly.
8. Warranty and Support
Your AEagle Alternator comes with a 12-month warranty from the date of purchase, covering manufacturing defects. This warranty ensures peace of mind regarding the quality and performance of your product.
For warranty claims, technical assistance, or any questions regarding your AEagle Alternator, please contact our customer support team. Have your model number (AEALT012-170) and purchase information ready when contacting support.

Image 8.1: AEagle's commitment to high design standards and low failure rates, reflecting their experience as an auto-parts manufacturer.