
1. Introduction
This manual provides essential information for the installation, operation, and maintenance of your new AEagle Alternator. An alternator is a critical component in your vehicle's electrical system, responsible for generating electricity to power the vehicle's electrical components and recharge the battery while the engine is running. Proper installation and care are crucial for optimal performance and longevity.

Image: Front view of the AEagle Alternator, showcasing its housing, pulley, and electrical connections.
2. Product Features and Design
- Premium Construction: Alternators are rigorously tested under high thermal and power demand conditions to ensure product quality and durability.
- High Output: Features premium high-output rotors and stators designed for maximum charging efficiency.
- Precision Design: Engineered for accurate fitment, ensuring proper mounting and secure installation.
- Quality Materials: All materials undergo strict inspection during production to ensure reliability and long service life.

Image: Illustration highlighting the internal components of the alternator, emphasizing strong power output from premium rotors and stators.

Image: Diagram illustrating the precision design and quality raw materials used in the alternator's construction, ensuring durability and easy replacement.

Image: Detailed view of the alternator's internal rotor and stator, key components for electricity generation.
3. Compatibility
This AEagle Alternator (Part Number: AEALT001-PC) is designed as a direct replacement for the following vehicle models and part numbers:
Compatible Vehicle Models:
- Ford Expedition: 2005-2006 5.4L V8 (with Standard Equipment)
- Ford F-150: 2004-2008 4.6L 5.4L V8
- Ford F-150 Heritage: 2004 4.6L 5.4L V8 (Note: Not compatible with SVT Lightning models)
- Lincoln Mark LT: 2006-2008 5.4L V8
- Lincoln Navigator: 2005-2006 5.4L V8 (with Standard Equipment)
Replaces Part Numbers:
- AFD0110, 120-8318, 113780, A-2073, 6GIF
- 4L3U-10300-BA, 4L3U-10300-BB, 4L3Z-10346-BA
- 6L7T-10300-AA, 6L7Z-10346-A
- 400-14066, 8318, 47-1595
- GL-579, GL-652, GL-922, GL-974-RM, 1N-3173
4. Specifications
| Specification | Value |
|---|---|
| Model Number | AEALT001-PC |
| Voltage | 12V |
| Amperage | 110A |
| Rotation | CW (Clockwise) |
| Clock Position | 10 |
| Pulley Class | S6 |
| Regulator Type | IR (Internal Regulator) |
| Fan Type | IF (Internal Fan) |
| Item Weight | 13.2 pounds |
| Package Dimensions | 10.91 x 8.62 x 7.95 inches |

Image: Close-up view of the alternator's multi-groove pulley, indicating its S6 class.
5. Installation Guide
Replacing an alternator requires mechanical knowledge and specific tools. If you are not confident in your ability to perform this installation, it is highly recommended to seek assistance from a qualified automotive technician.
General Installation Steps (Consult Vehicle Service Manual for Specifics):
- Safety First: Disconnect the negative terminal of the vehicle's battery to prevent electrical shorts. Allow the engine to cool down if it has been recently running.
- Access the Alternator: Depending on your vehicle model, you may need to remove other components (e.g., air intake, belts, hoses) to gain access to the alternator.
- Remove Drive Belt: Loosen the tensioner and remove the serpentine drive belt from the alternator pulley.
- Disconnect Wiring: Carefully disconnect all electrical connections from the old alternator, including the main power wire and any smaller control wires. Note their positions for reinstallation.
- Unbolt Old Alternator: Remove the mounting bolts securing the old alternator to the engine block or bracket.
- Remove Old Alternator: Carefully extract the old alternator from its position.
- Install New Alternator: Position the new AEagle Alternator into place, ensuring all mounting holes align. Secure it with the mounting bolts, tightening them to the manufacturer's specified torque.
- Reconnect Wiring: Reconnect all electrical wires to the new alternator, ensuring secure and correct connections.
- Reinstall Drive Belt: Route the serpentine belt correctly around all pulleys and tension it according to vehicle specifications.
- Reconnect Battery: Reconnect the negative terminal of the vehicle's battery.
- Test System: Start the vehicle and check for proper charging voltage (typically 13.5V to 14.8V) and ensure no warning lights are illuminated on the dashboard.

Image: Diagram illustrating the 1:1 dimension restoration design, showing how the alternator accurately aligns with mounting holes for a perfect fit in the engine bay.
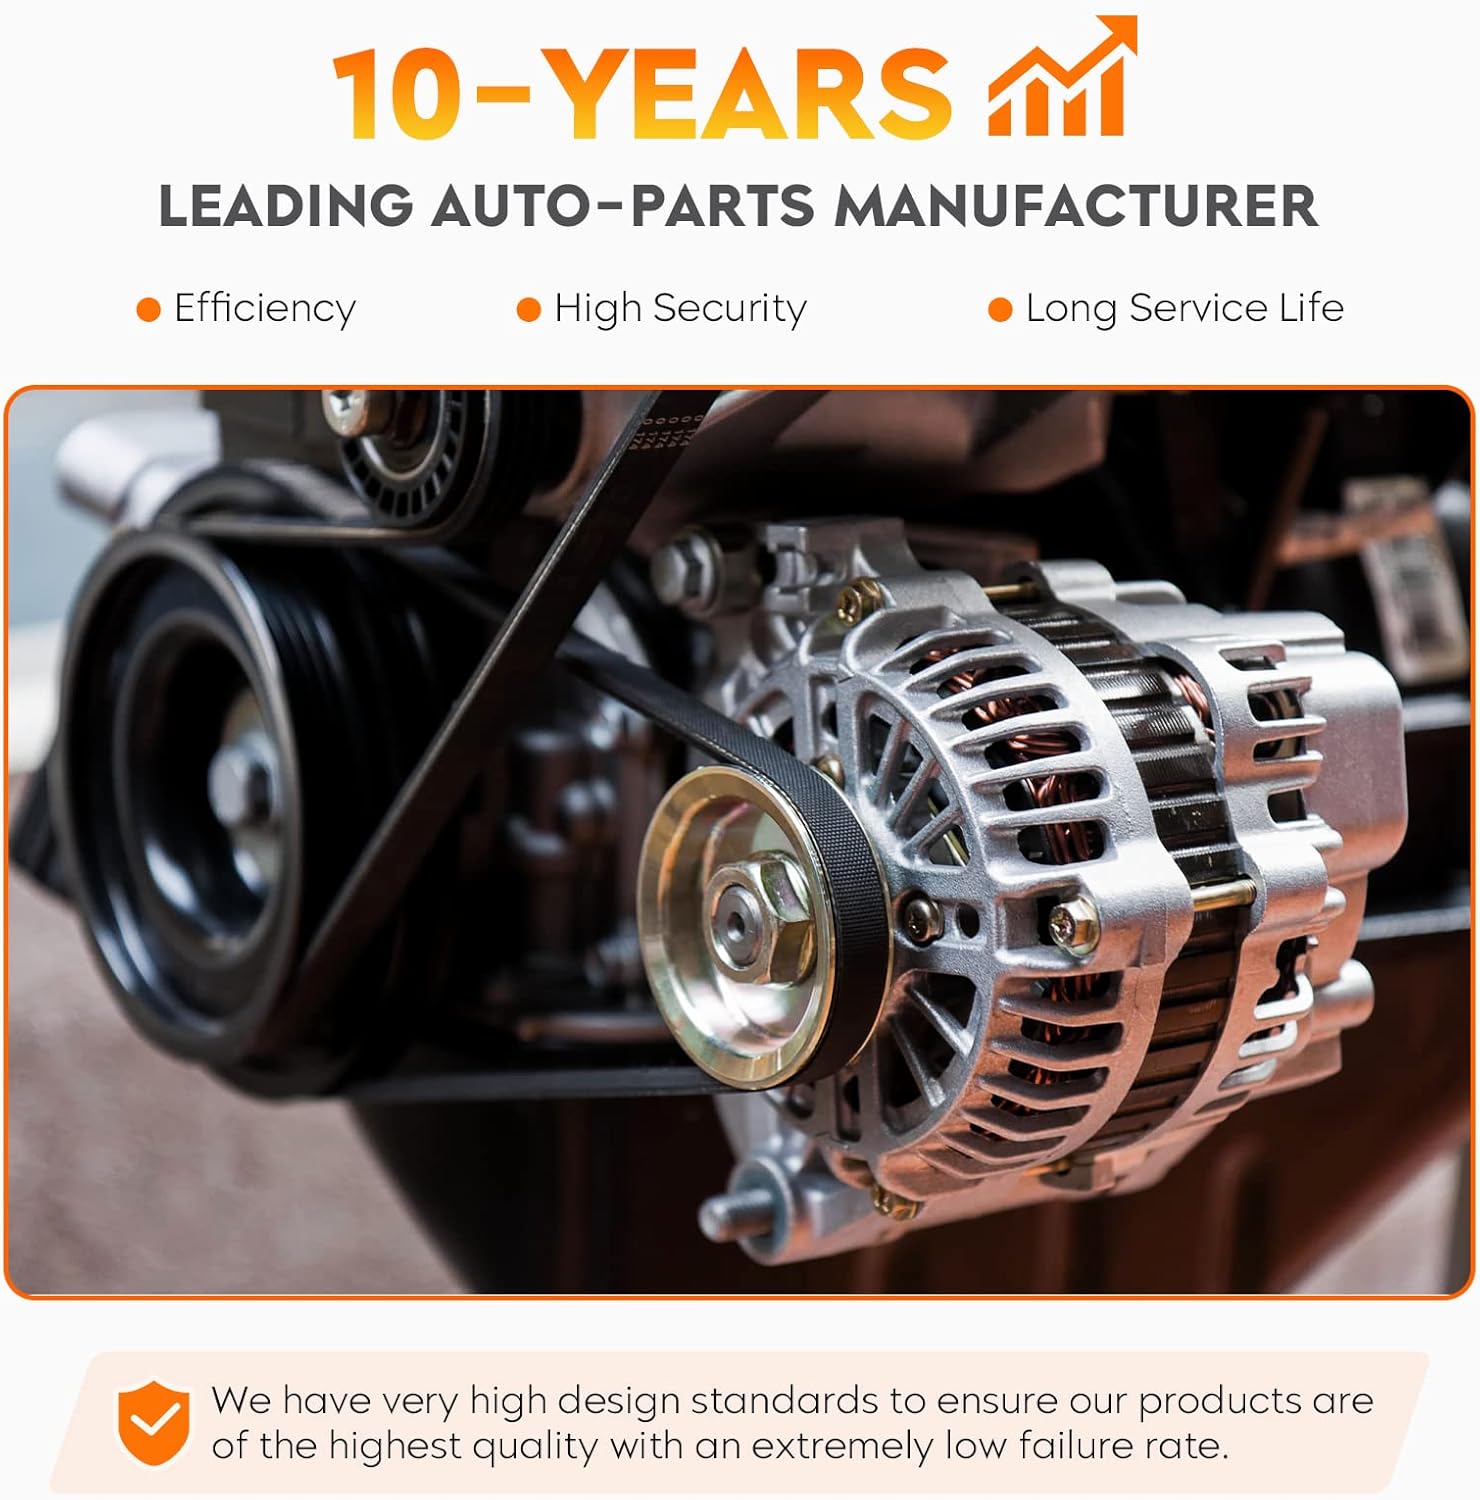
Image: View of the alternator correctly installed within a vehicle's engine compartment, connected to the serpentine belt.
6. Operation
Once installed and the engine is running, the AEagle Alternator converts mechanical energy from the engine's crankshaft (via the serpentine belt) into electrical energy. This electrical energy is then used to:
- Power all the vehicle's electrical systems, including lights, radio, air conditioning, and electronic control units.
- Recharge the vehicle's 12V battery, ensuring it has sufficient power for starting the engine and supporting electrical loads when the engine is off.
A properly functioning alternator maintains a stable voltage output, typically between 13.5 and 14.8 volts, to ensure all electrical components operate correctly and the battery remains charged.
7. Maintenance
Alternators are generally low-maintenance components, but following these general guidelines can help ensure their longevity:
- Regular Inspections: Periodically inspect the serpentine belt for cracks, fraying, or excessive wear. Ensure it is properly tensioned.
- Battery Health: Maintain a healthy vehicle battery. A weak or failing battery can put undue strain on the alternator.
- Electrical Connections: Check that all electrical connections to the alternator are clean, tight, and free from corrosion.
- Avoid Overloading: Minimize the use of excessive aftermarket electrical accessories that can draw more power than the alternator is designed to provide.
8. Troubleshooting
If you experience issues with your vehicle's electrical system, the alternator may be a contributing factor. Below are common symptoms and potential indicators that your alternator may need attention:

Image: A troubleshooting chart comparing common car problems (lack of power, abnormal rattling, high/low current) with the benefits of a new alternator (strong power, no noise, high security).
Common Symptoms of a Failing Alternator:
- Battery Warning Light: The battery light (or "ALT" light) illuminates on your dashboard.
- Dimming Lights: Headlights or interior lights appear dim, especially at idle.
- Electrical Component Malfunctions: Power windows operate slowly, radio cuts out, or other electrical accessories behave erratically.
- Difficulty Starting or Dead Battery: The battery is not being recharged, leading to starting issues.
- Unusual Noises: Grinding, whining, or rattling noises coming from the alternator area, often due to worn bearings.
- Burnt Rubber Smell: A burning smell, possibly from an overworked or slipping serpentine belt.
If you experience any of these symptoms, it is advisable to have your vehicle's charging system tested by a professional to confirm if the alternator is the cause.
9. Warranty and Support
Your AEagle Alternator comes with a 12-month warranty from the date of purchase. This warranty covers defects in materials and workmanship under normal use.
For warranty claims, technical assistance, or any questions regarding your AEagle product, please refer to your purchase documentation for contact information or visit the official AEagle support website.
Please retain your proof of purchase for warranty validation.