Top Vacuum Parts 116.29914900, 116.29915900
Instruction Manual
Replacement Part For Kenmore Vacuum Hose Assembly
Model: 116.29914900, 116.29915900
Brand: Top Vacuum Parts
1. Introduction
This manual provides essential information for the installation, operation, and maintenance of your new Replacement Part For Kenmore Vacuum Hose Assembly. This hose is designed to fit Kenmore vacuum models 116.29914900 and 116.29915900, ensuring your vacuum remains in optimal working condition.

Image 1.1: The Replacement Part For Kenmore Vacuum Hose Assembly, shown with its product packaging. The hose is gray with a red and silver handle, designed for specific Kenmore vacuum models.
Key features of this replacement hose include:
- Designed to fit Kenmore Models 116.29914900 and 116.29915900.
- Constructed from quality materials for durability and long-lasting performance.
- Easy to replace, allowing for quick restoration of vacuum functionality.
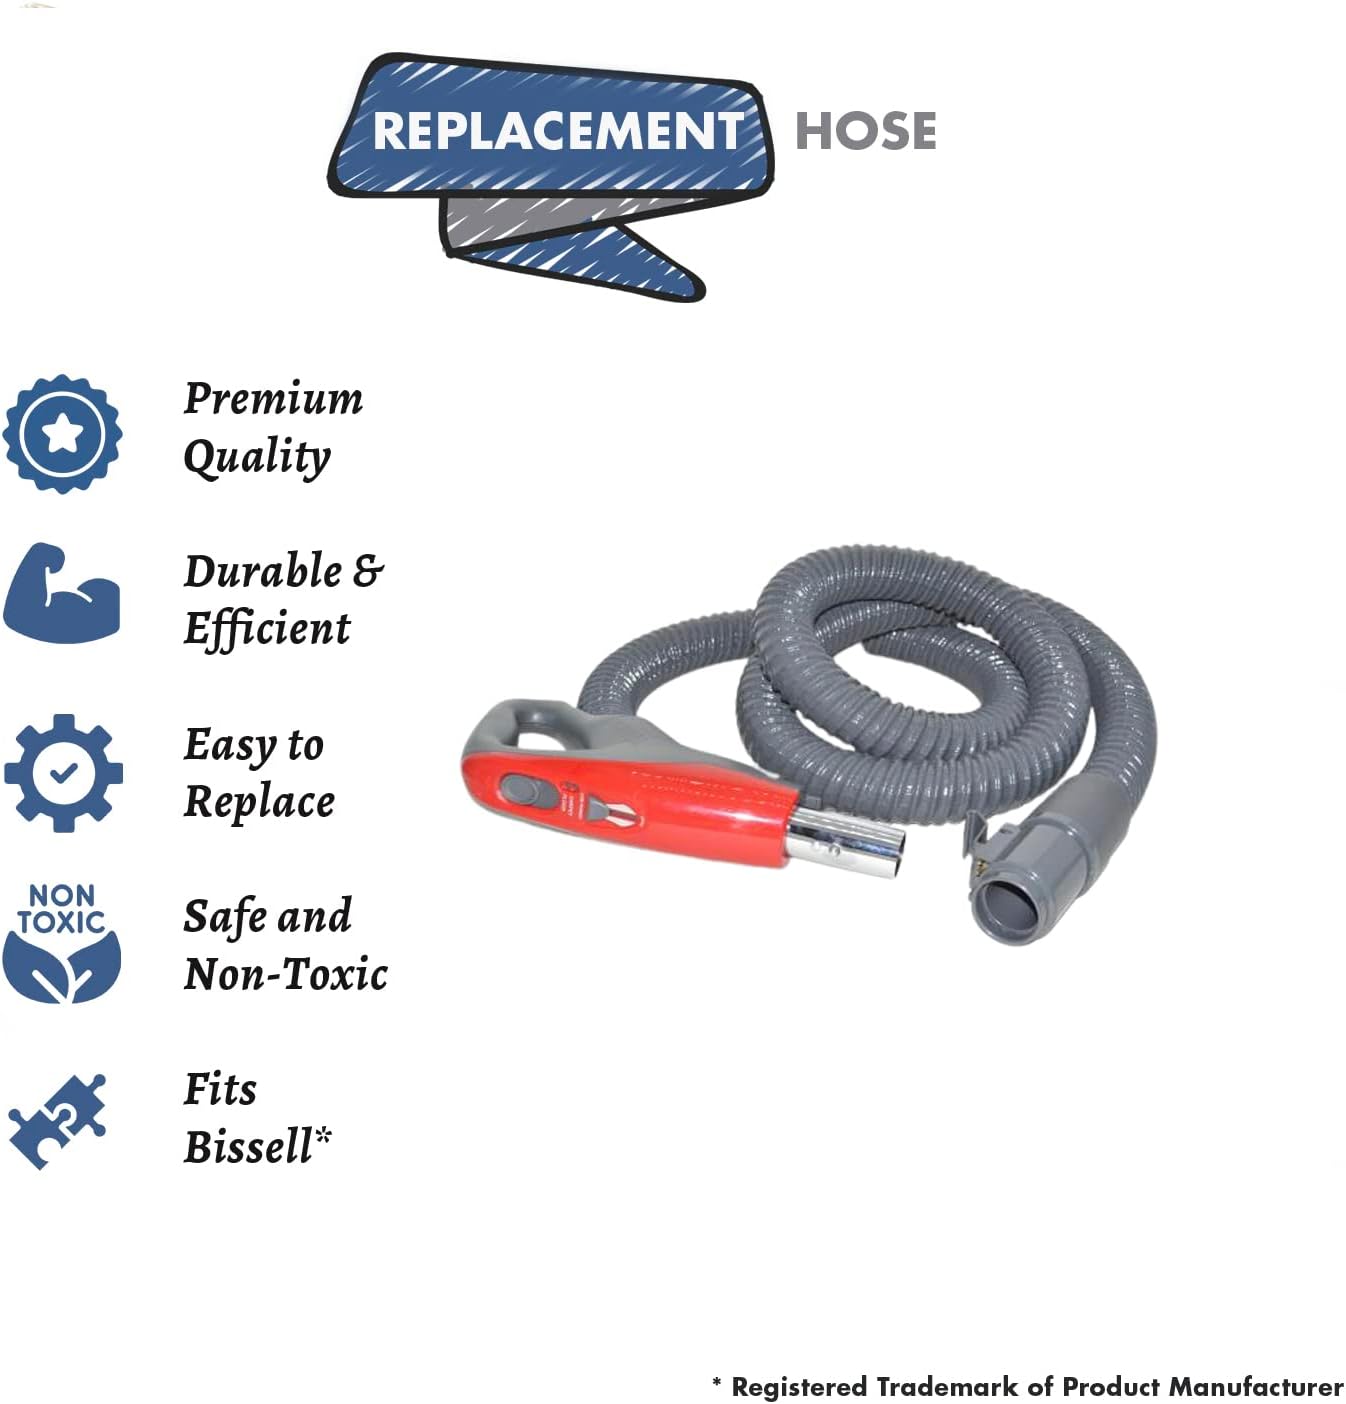
Image 1.2: Visual representation of the hose's key attributes, including premium quality, durability, ease of replacement, non-toxic materials, and compatibility with certain models.
2. Installation Instructions
Replacing your vacuum hose is a straightforward process. Follow these steps to ensure proper installation:
- Power Off: Before beginning, ensure your vacuum cleaner is unplugged from the electrical outlet to prevent accidental activation.
- Remove Old Hose: Locate the connection points of your existing vacuum hose to the vacuum body and any attachments. Carefully detach the old hose. This may involve pressing release buttons or twisting the hose counter-clockwise, depending on your specific vacuum model.
- Attach New Hose: Align the new replacement hose with the connection points on your vacuum cleaner. Push firmly or twist clockwise until it clicks securely into place. Ensure all connections are snug to prevent loss of suction.
- Test Functionality: Once the new hose is attached, plug in your vacuum cleaner and perform a brief test to ensure proper suction and operation.
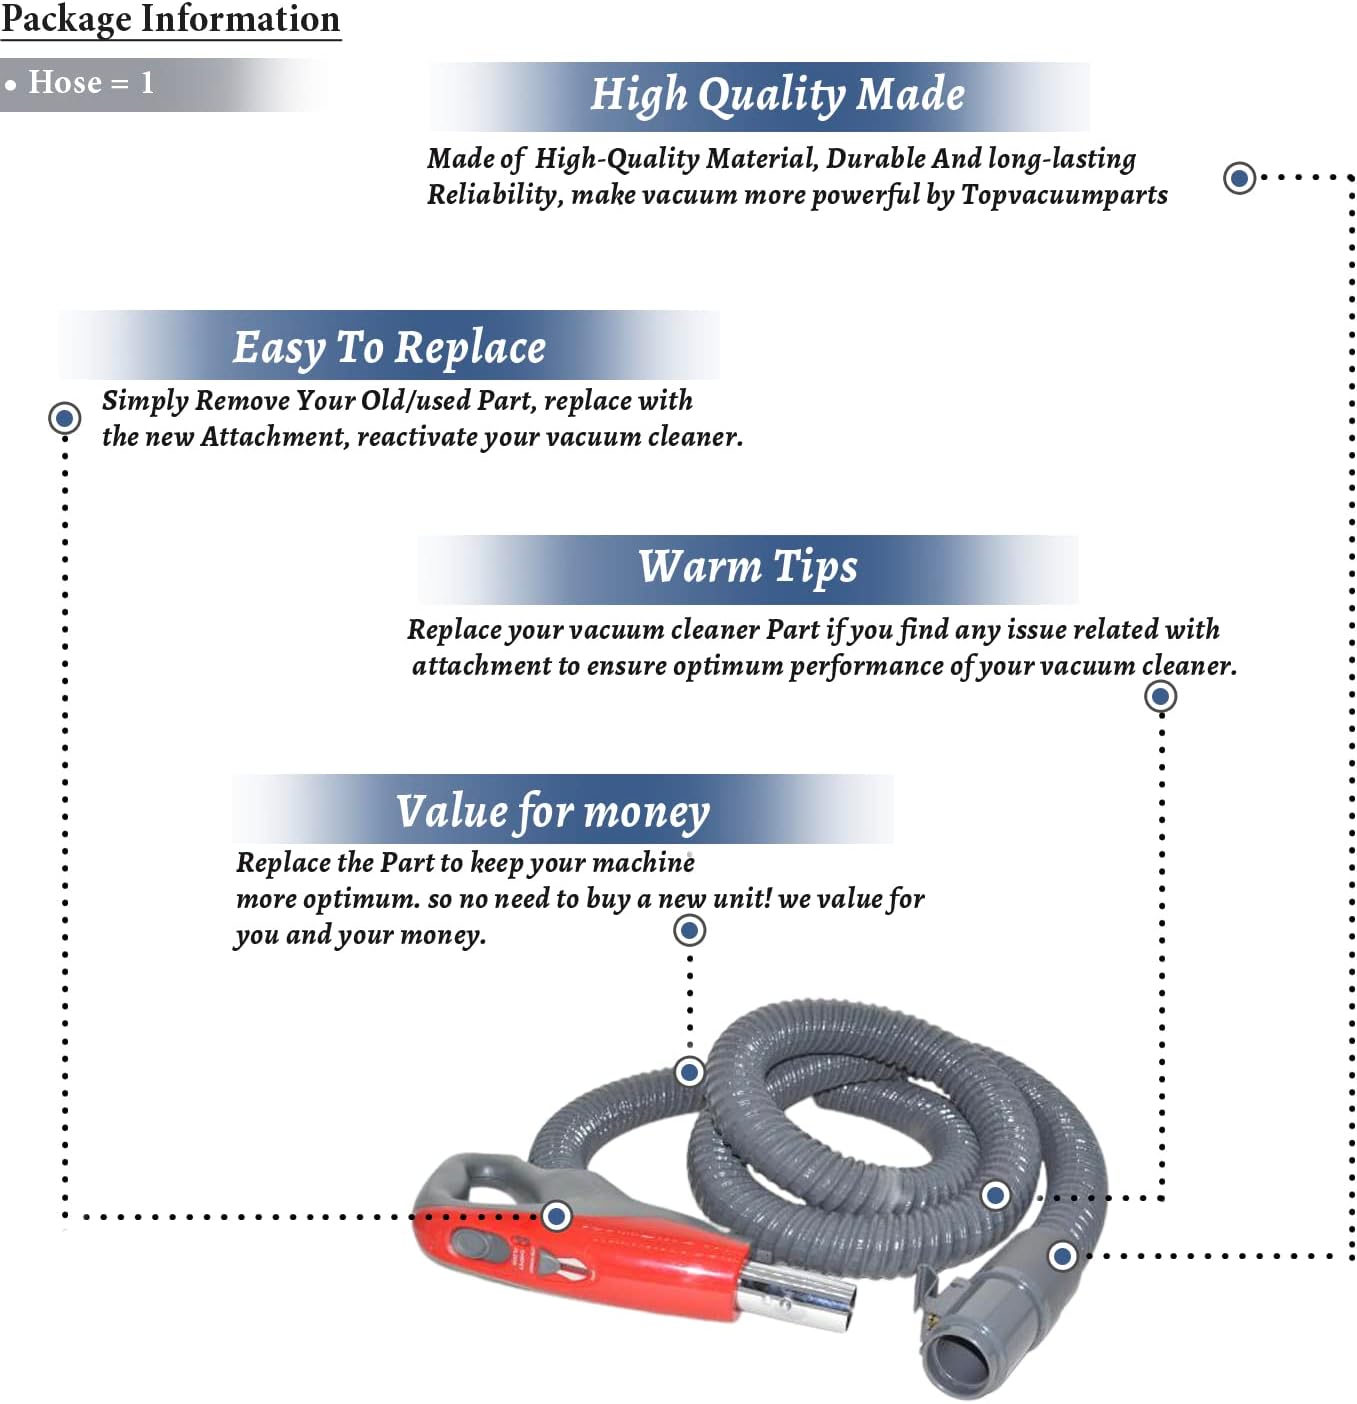
Image 2.1: An illustration highlighting the ease of replacing the hose and the benefits of using a high-quality replacement part to maintain vacuum performance.
3. Operating the Vacuum with New Hose
Once the new hose is installed, your vacuum cleaner should operate as intended. The hose functions as the primary conduit for suction, allowing you to clean various surfaces and reach difficult areas.
- Ensure the hose is not kinked or obstructed during use, as this can reduce suction efficiency.
- Use appropriate attachments with the hose for different cleaning tasks (e.g., crevice tool for tight spaces, brush attachment for upholstery).
- Avoid pulling the vacuum cleaner by the hose, as this can strain the connections and potentially damage the hose or vacuum.
4. Maintenance and Care
Proper maintenance of your vacuum hose will extend its lifespan and ensure consistent performance:
- Regular Inspection: Periodically inspect the hose for any signs of wear, cracks, or punctures. Check the connection points for looseness.
- Clearing Obstructions: If suction decreases, check the hose for blockages. Disconnect the hose from the vacuum and carefully remove any debris that may be trapped inside.
- Cleaning: Wipe the exterior of the hose with a damp cloth as needed. Avoid using harsh chemicals or abrasive cleaners, which can damage the material.
- Storage: Store the hose in a way that prevents kinking or crushing. Avoid extreme temperatures.
5. Troubleshooting
If you encounter issues after installing the new hose, consider the following:
| Problem | Possible Cause | Solution |
|---|---|---|
| No suction or weak suction | Hose not properly connected; Hose is clogged; Vacuum bag/canister full; Filter needs cleaning/replacement. | Ensure hose is securely attached at all connection points. Check hose for blockages and clear any debris. Empty vacuum bag/canister. Clean or replace vacuum filters. |
| Hose detaches during use | Hose not fully locked into place; Connection mechanism worn. | Re-attach hose, ensuring it clicks or twists firmly into position. If the issue persists, inspect the connection points on both the hose and vacuum for damage. |
| Hose appears damaged | Physical stress; Manufacturing defect. | Avoid pulling vacuum by hose. Ensure proper storage. If damage is significant or appears to be a defect, refer to warranty information. |
If troubleshooting steps do not resolve the issue, please refer to the Warranty & Support section.
6. Product Specifications
| Attribute | Detail |
|---|---|
| Product Name | Replacement Part For Kenmore Vacuum Hose Assembly |
| Compatible Models | 116.29914900, 116.29915900 |
| Product Quantity | 1 Electric Hose |
| Product Weight | 4 pounds (approx. 64 OZ) |
| Manufacturer | Top Vacuum Parts |
| Part Number | TVPKC94PCPPZR03 |
| ASIN | B0BQRF4525 |
| UPC | 305274903591 |
7. Warranty and Support
Warranty Information:
This product comes with a 100% satisfaction guarantee. We offer a 30-day money-back guarantee from the date of purchase. If you are not satisfied with your purchase, you may return the item within 30 days for a full refund. Please note that the buyer is responsible for return shipping costs.
Customer Support:
For any questions, concerns, or assistance with your Replacement Part For Kenmore Vacuum Hose Assembly, please contact Top Vacuum Parts customer service. Refer to your purchase documentation or the seller's information on the platform where you purchased the product for specific contact details.
When contacting support, please have your product model number (116.29914900, 116.29915900) and ASIN (B0BQRF4525) ready for faster service.
Ask a question about this manual
Ask about setup, troubleshooting, compatibility, parts, safety, or missing instructions. Manuals+ will review the question and use this page’s manual context to help answer it.