
1. Introduction
The AOC Q27P3CV is a 27-inch flat-panel IPS monitor designed for optimal productivity. It features a QHD resolution, 100Hz refresh rate, 4ms GtG response time, and Adaptive Sync technology. The monitor includes an adjustable stand and integrated speakers, offering a comprehensive solution for various computing needs.

Figure 1.1: Front view of the AOC Q27P3CV monitor.
2. Safety Information
Please read all safety instructions carefully before using this product. Failure to follow these instructions may result in electric shock, fire, or damage to the product. For detailed safety guidelines, please refer to the official Safety Information PDF document:
3. Package Contents
Verify that all items are present in the package. If any items are missing or damaged, contact your retailer or AOC support.
- AOC Q27P3CV Monitor
- Monitor Stand (Base and Neck)
- Power Cable
- HDMI Cable
- DisplayPort Cable
- USB-C Cable
- USB Upstream Cable
- Quick Start Guide
- Safety Information Sheet
4. Setup
4.1 Monitor Assembly
Follow these steps to assemble the monitor stand and attach it to the display panel.
- Carefully remove the monitor and stand components from the packaging.
- Attach the stand neck to the base, securing it with the provided screw.
- Align the assembled stand with the mounting area on the back of the monitor panel and secure it firmly.
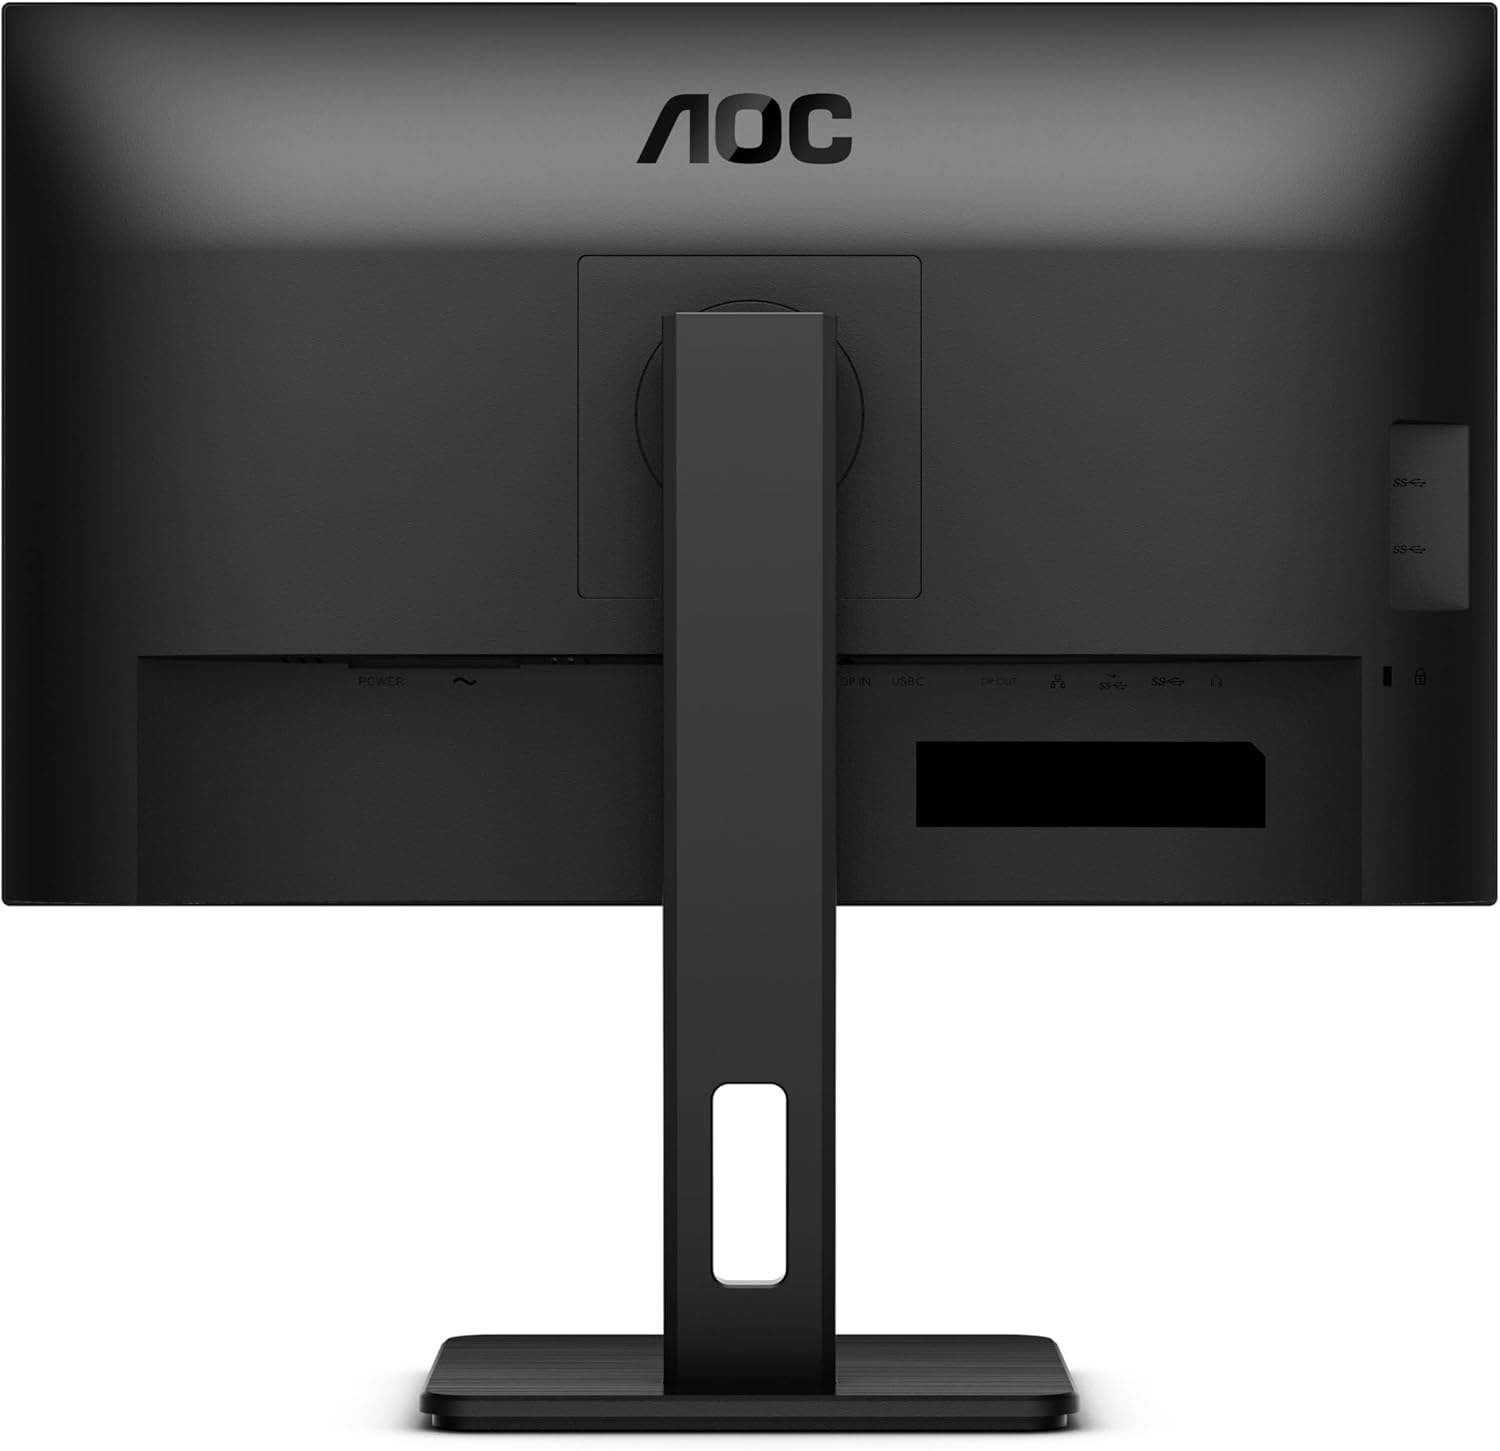
Figure 4.1: Rear view of the monitor with the stand.
4.2 Connecting the Monitor
Connect the monitor to your computer or other devices using the appropriate cables.
- Power Connection: Connect the power cable to the monitor's power input and then to a power outlet.
- Video Connection: Use an HDMI, DisplayPort, or USB-C cable to connect the monitor to your computer's video output port.
- USB Hub Connection: To enable the monitor's USB hub, connect the USB upstream cable from the monitor's USB-B port to a USB-A port on your computer. For USB-C connectivity, a single USB-C cable can handle video, data, and power delivery.

Figure 4.2: Rear input ports of the monitor.
4.3 VESA Mounting
The monitor supports VESA mounting standards (100x100mm) for alternative mounting solutions such as wall mounts or monitor arms. Ensure the stand is removed before attaching a VESA mount.

Figure 4.3: VESA mounting points.
5. Operating the Monitor
5.1 Power On/Off
Press the power button located on the bottom right side of the monitor to turn it on or off. The power indicator light will show the monitor's status.
5.2 On-Screen Display (OSD) Menu
Use the OSD buttons on the bottom bezel to navigate and adjust monitor settings. Common settings include brightness, contrast, color temperature, input selection, and picture modes.
5.3 Adjusting the Stand
The ergonomic stand allows for various adjustments to optimize your viewing experience:
- Height Adjustment: Raise or lower the monitor to your preferred height.
- Tilt: Adjust the screen's vertical angle (forward/backward).
- Swivel: Rotate the screen horizontally on its base.
- Pivot: Rotate the screen 90 degrees for portrait mode viewing.

Figure 5.1: Side view illustrating height adjustment.
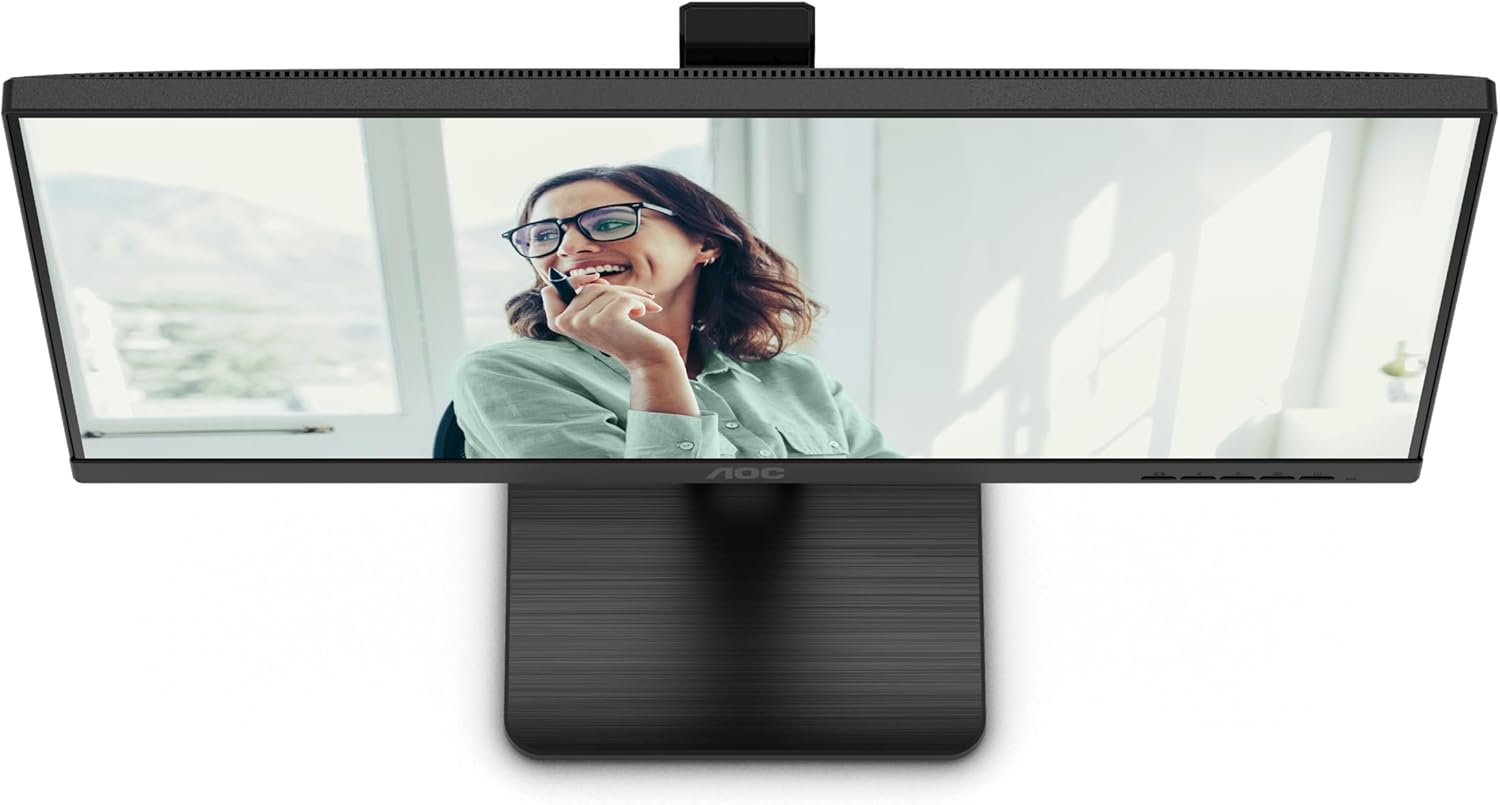
Figure 5.2: Monitor in portrait mode (pivot function).

Figure 5.3: Tilt and swivel adjustments.
5.4 Display Features
- QHD Resolution (2560x1440): Provides sharp and detailed images for enhanced productivity and viewing pleasure.
- IPS Panel: Offers wide viewing angles (178 degrees) and consistent color reproduction.
- 100Hz Refresh Rate & 4ms GtG Response Time: Delivers smooth motion and reduced ghosting.
- Adaptive Sync (FreeSync): Synchronizes the monitor's refresh rate with your GPU's frame rate to eliminate screen tearing and stuttering.
- Flicker-Free Technology: Reduces screen flickering to minimize eye strain during prolonged use.
- Low Blue Light Mode: Filters harmful blue light emissions to protect your eyes.

Figure 5.4: QHD resolution detail.

Figure 5.5: Adaptive Sync technology.

Figure 5.6: Flicker-Free technology.

Figure 5.7: Low Blue Light feature.
5.5 USB-C Connectivity
The USB-C port provides a single-cable solution for video, data transfer, and power delivery (up to 65W) to compatible laptops, simplifying your workspace.

Figure 5.8: USB-C port with power delivery.
5.6 Integrated Speakers
The monitor includes built-in speakers for audio output. You can adjust the volume through the OSD menu or your connected device's audio settings. Please note that while convenient, integrated speakers may not offer the same audio quality as external speaker systems.

Figure 5.9: Integrated speakers.
6. Maintenance
Proper maintenance ensures the longevity and optimal performance of your monitor.
- Cleaning the Screen: Gently wipe the screen with a soft, lint-free cloth. For stubborn marks, use a monitor-specific cleaning solution applied to the cloth, not directly to the screen.
- Cleaning the Casing: Use a soft, dry cloth to clean the monitor casing. Avoid using abrasive cleaners or solvents.
- Power Off When Not in Use: Turn off the monitor when not in use for extended periods to save energy and prolong its lifespan.
- Avoid Direct Sunlight: Do not expose the monitor to direct sunlight or excessive heat.
7. Troubleshooting
If you encounter issues with your monitor, refer to the following common troubleshooting steps. For more detailed guidance, consult the official User Instructions PDF.
Download User Instructions (PDF)
- No Power:
- Ensure the power cable is securely connected to both the monitor and the power outlet.
- Check if the power outlet is functioning correctly.
- No Image/Signal:
- Verify that the video cable (HDMI, DisplayPort, or USB-C) is properly connected to both the monitor and your computer.
- Select the correct input source using the OSD menu.
- Ensure your computer's graphics card is functioning and drivers are up to date.
- Poor Image Quality:
- Adjust brightness, contrast, and color settings via the OSD menu.
- Ensure the display resolution is set to 2560x1440 in your operating system settings.
- Check for any physical damage to the screen or cables.
- No Sound from Speakers:
- Increase the volume in the monitor's OSD menu and your computer's audio settings.
- Ensure the correct audio output device is selected in your computer's sound settings.
- If using HDMI or DisplayPort, ensure audio is enabled through the cable.
8. Specifications
Detailed technical specifications for the AOC Q27P3CV monitor.
| Feature | Specification |
|---|---|
| Brand | AOC |
| Model Number | Q27P3CV |
| Screen Size | 27 Inches |
| Resolution | QHD (2560 x 1440) |
| Panel Type | IPS |
| Refresh Rate | 100 Hz |
| Response Time | 4 Milliseconds (GtG) |
| Aspect Ratio | 16:9 |
| Contrast Ratio | 1000:1 |
| Brightness | 350 cd/m² |
| Viewing Angle | 178 Degrees |
| Display Technology | LED |
| Screen Finish | Glossy |
| Adaptive Sync | FreeSync |
| HDMI Ports | 1 (HDMI 1.4) |
| DisplayPort | 1 (DP 1.2) |
| USB-C Port | 1 (with 65W Power Delivery) |
| USB 3.0 Ports | 2 (Total) |
| Integrated Speakers | Yes |
| Webcam | No (This specific model does not include a webcam) |
| VESA Mount Type | VESA Mount |
| Power Consumption | 21.42 Watts |
| Item Dimensions (DxWxH) | 5.3 x 61.4 x 37 centimeters |
| Unit Weight | 4 Kilograms |

Figure 8.1: Monitor dimensions.
9. Warranty and Support
Your AOC Q27P3CV monitor comes with a 3-year product warranty. This warranty covers defects in materials and workmanship under normal use.
For warranty claims, technical support, or service inquiries, please contact AOC customer support through their official website or the contact information provided in your product documentation. Please have your monitor's model number (Q27P3CV) and serial number ready when contacting support.
For additional resources and driver downloads, visit the official AOC website: www.aoc.com


