1. Introduction
This manual provides essential information for the installation, operation, and maintenance of the IMELBUFF 157-3198 260-2160 Monitor Display Panel. This product is designed as a direct replacement part for various Caterpillar excavator models. Please read this manual thoroughly before installation and use to ensure proper function and safety.
2. Package Contents
Upon opening the package, please verify that all components are present and undamaged:
- 1 x Electronic Monitor Display Panel Screen (Part Numbers: 157-3198, 260-2160)
3. Compatibility
This monitor display panel is compatible with the following Caterpillar Excavator models:
- Caterpillar CAT 312C
- Caterpillar CAT 315C
- Caterpillar CAT 318C
- Caterpillar CAT 319C
- Caterpillar CAT 320C
- Caterpillar CAT E320C
- Caterpillar CAT 321C
- Caterpillar CAT 322C
- Caterpillar CAT 324C
- Caterpillar CAT 325C
- Caterpillar CAT 330C
4. Important Safety Information and Installation Notes
Please observe the following precautions to prevent damage to the product or injury:
- Electrical Safety: Wire and electrical components are susceptible to short circuits. Exercise extreme caution during installation.
- Pre-Installation Testing: It is recommended to test the monitor's functionality before completing the full installation.
- Professional Installation: Due to the complexity of excavator electrical systems, professional installation by a qualified technician is highly recommended to ensure correct wiring and prevent damage.
- Power Disconnection: Always disconnect the excavator's battery before beginning any electrical work.
5. Setup and Installation
This section provides general guidance for installing the monitor display panel. Specific steps may vary depending on the excavator model. Refer to your excavator's service manual for detailed instructions.
- Preparation: Ensure the excavator's power is off and the battery is disconnected. Gather necessary tools.
- Removal of Old Monitor: Carefully remove the existing monitor display panel from its mounting location. Disconnect all wiring harnesses.
- Connection: Connect the wiring harness of the new IMELBUFF monitor to the corresponding connectors in the excavator. Ensure all connections are secure and correctly aligned. Refer to the wiring diagram if available (not included in this manual).
- Mounting: Secure the new monitor display panel into the designated mounting position. Ensure it is firmly seated and all fasteners are tightened.
- Initial Test: Reconnect the excavator's battery. Turn on the power and verify that the monitor powers on and displays information correctly. Check for any error codes or unusual behavior.
- Final Assembly: Once functionality is confirmed, reassemble any panels or covers removed during installation.
6. Operating Instructions
The IMELBUFF monitor display panel provides critical operational information for your excavator. While specific functions may vary, general operation involves:
- Power On/Off: The monitor typically powers on with the excavator's ignition.
- Information Display: The screen will display various parameters such as engine status, hydraulic pressure, fuel levels, and diagnostic codes.
- Navigation Buttons: Use the integrated buttons (refer to image below for button layout) to navigate through menus, adjust settings, or acknowledge alerts. Common buttons include directional arrows, 'Enter' (check mark), 'Exit' (X), and menu access.
- Alerts and Warnings: Pay attention to any visual or audible alerts displayed on the monitor, as these indicate potential issues requiring immediate attention.
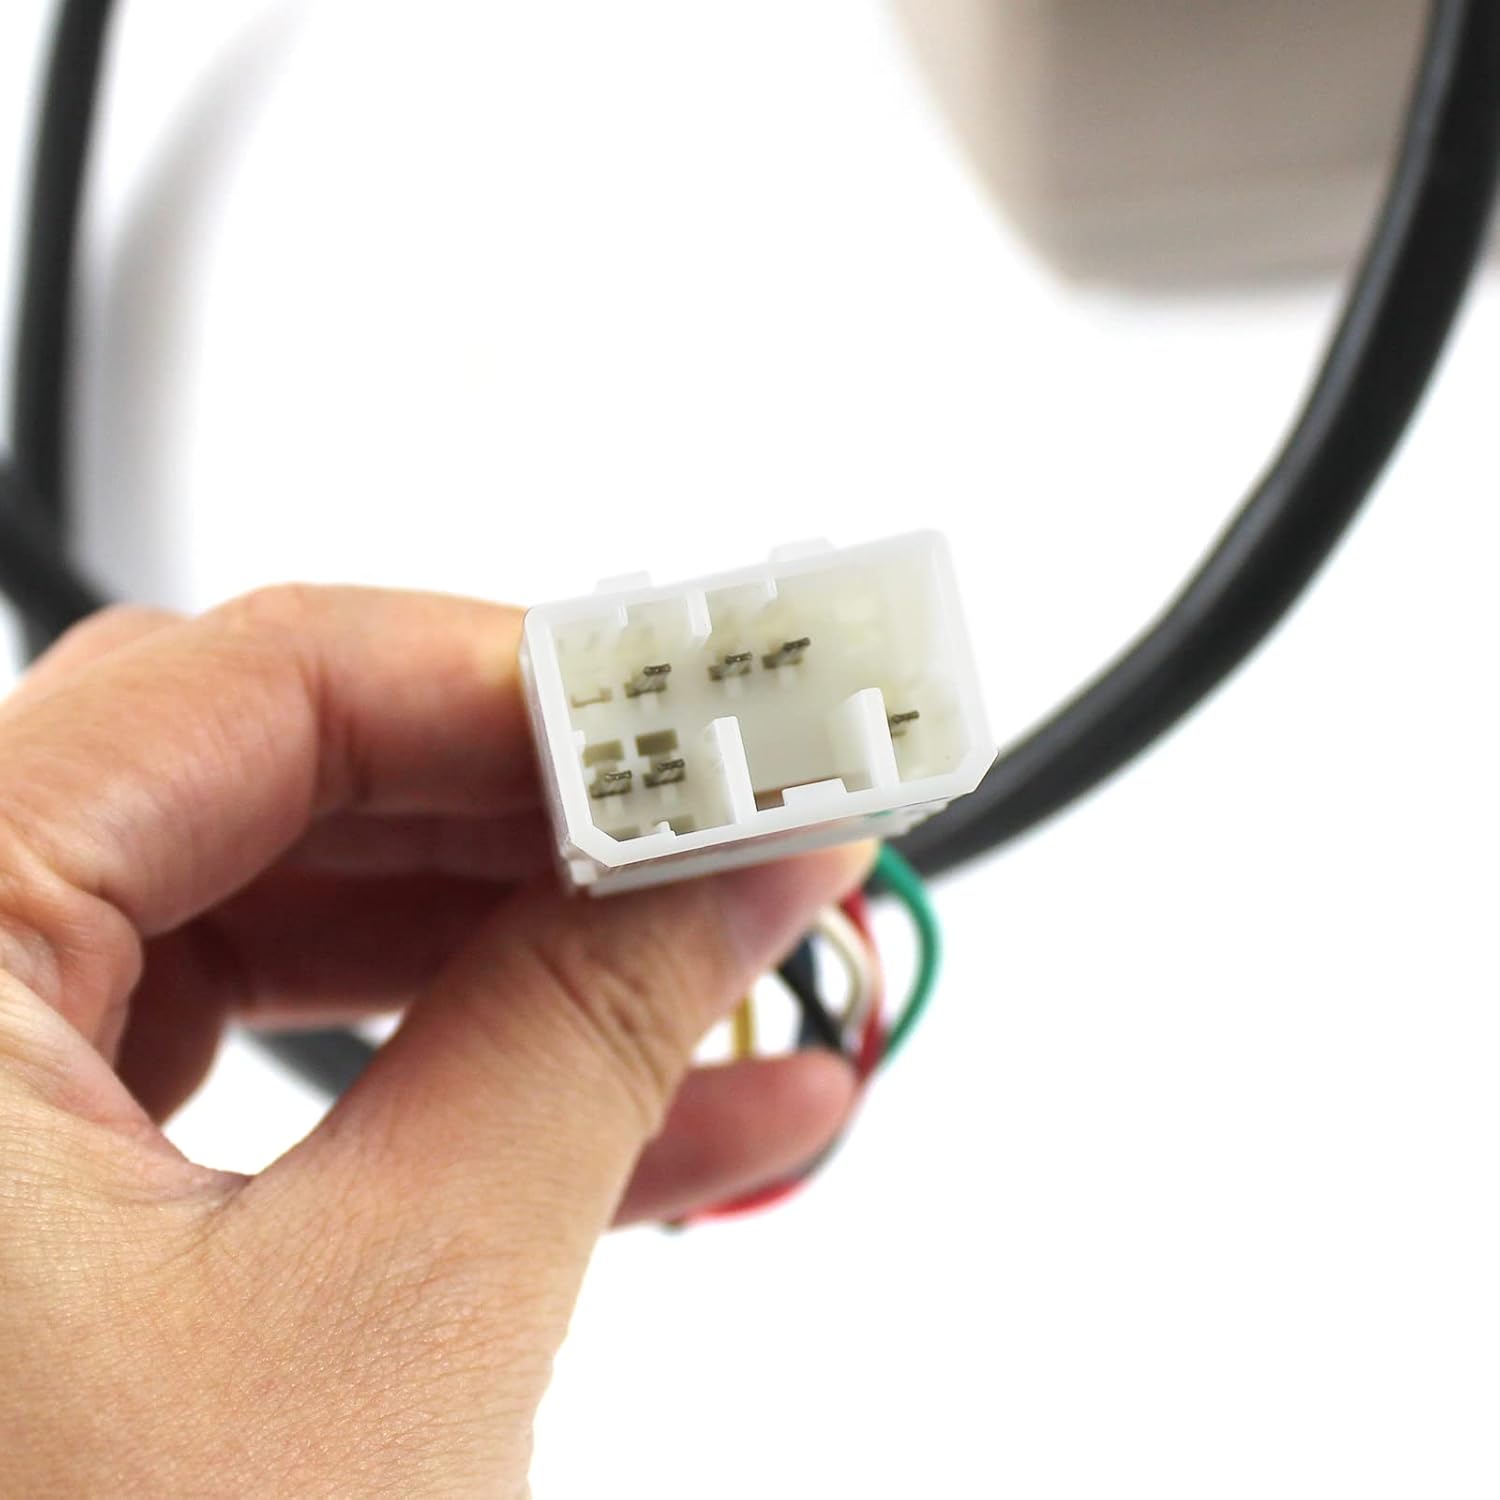
Figure 1: Close-up of the monitor's control buttons, including directional arrows, enter, and exit functions.
7. Maintenance
To ensure the longevity and optimal performance of your monitor display panel, follow these general maintenance guidelines:
- Cleaning: Regularly clean the screen and exterior casing with a soft, damp cloth. Avoid abrasive cleaners or solvents that could damage the display or plastic.
- Inspection: Periodically inspect the wiring harness for any signs of wear, fraying, or loose connections.
- Environmental Protection: While designed for rugged environments, protect the monitor from excessive moisture, extreme temperatures, and direct impact.
8. Troubleshooting
If you encounter issues with your monitor display panel, consider the following basic troubleshooting steps:
- No Power/Blank Screen:
- Check all electrical connections to ensure they are secure.
- Verify the excavator's battery is charged and properly connected.
- Inspect fuses related to the monitor's power supply.
- Incorrect Display/Garbled Information:
- Ensure the wiring harness is correctly connected and not damaged.
- Restart the excavator to reset the system.
- Buttons Unresponsive:
- Check for any physical obstructions or debris around the buttons.
- Ensure the monitor is receiving power.
If these steps do not resolve the issue, please contact customer support for further assistance.
9. Specifications
| Attribute | Detail |
|---|---|
| Brand | IMELBUFF |
| Model Name | Monitor |
| Part Numbers | 157-3198, 260-2160 |
| Item Weight | 3.9 pounds |
| Package Dimensions | 9.8 x 8.6 x 7.8 inches |
| Fitment Type | Direct Replacement |
10. Warranty and Support
This IMELBUFF monitor display panel comes with a 1-year warranty. For any questions, technical assistance, or warranty claims, please contact IMELBUFF customer service. Support is available 24 hours a day.
For service inquiries, please refer to the contact information provided with your purchase or visit the official IMELBUFF store on Amazon: IMELBUFF Store.
11. Product Images

Image 1: Front view of the IMELBUFF monitor display panel, showing the screen and the accessible control buttons beneath a protective flap.

Image 2: Side view of the monitor display panel, highlighting its profile and the integrated wiring harness.

Image 3: Rear view of the monitor, displaying the mounting bracket and the exit point for the wiring harness.
Image 4: Detailed view of the monitor's control buttons, including navigation and selection keys.

Image 5: Close-up of the multi-pin electrical connector for the monitor's wiring harness.

Image 6: The monitor display powered on, showing various gauges and numerical information relevant to excavator operation.

Image 7: A composite image showing various angles and details of the IMELBUFF monitor display panel.


