1. Introduction
This manual provides essential information for the safe and efficient operation, maintenance, and troubleshooting of your Cecotec FreeStyle Compact Espresso Coffee Machine. Please read these instructions carefully before first use and keep them for future reference.
The Cecotec FreeStyle Compact is designed to deliver high-quality espresso with convenience and versatility. Its compact design and powerful features make it an ideal addition to any kitchen.
2. Safety Instructions
Always follow basic safety precautions when using electrical appliances to reduce the risk of fire, electric shock, and/or injury to persons.
- Ensure the voltage indicated on the appliance corresponds to your local mains voltage before connecting.
- Do not immerse the appliance, power cord, or plug in water or any other liquid.
- Unplug the coffee machine from the power outlet when not in use and before cleaning.
- Keep the appliance out of reach of children.
- Do not operate the appliance if the power cord or plug is damaged, or if the appliance malfunctions or has been damaged in any way.
- Use only cold, fresh water in the water tank. Do not fill with hot water, milk, or other liquids.
- Avoid contact with hot surfaces. Use handles or knobs.
- Do not place the appliance on or near a hot gas or electric burner, or in a heated oven.
3. Product Overview
The Cecotec FreeStyle Compact Espresso Coffee Machine is engineered for ease of use and optimal coffee extraction. Below are the key components and their functions.
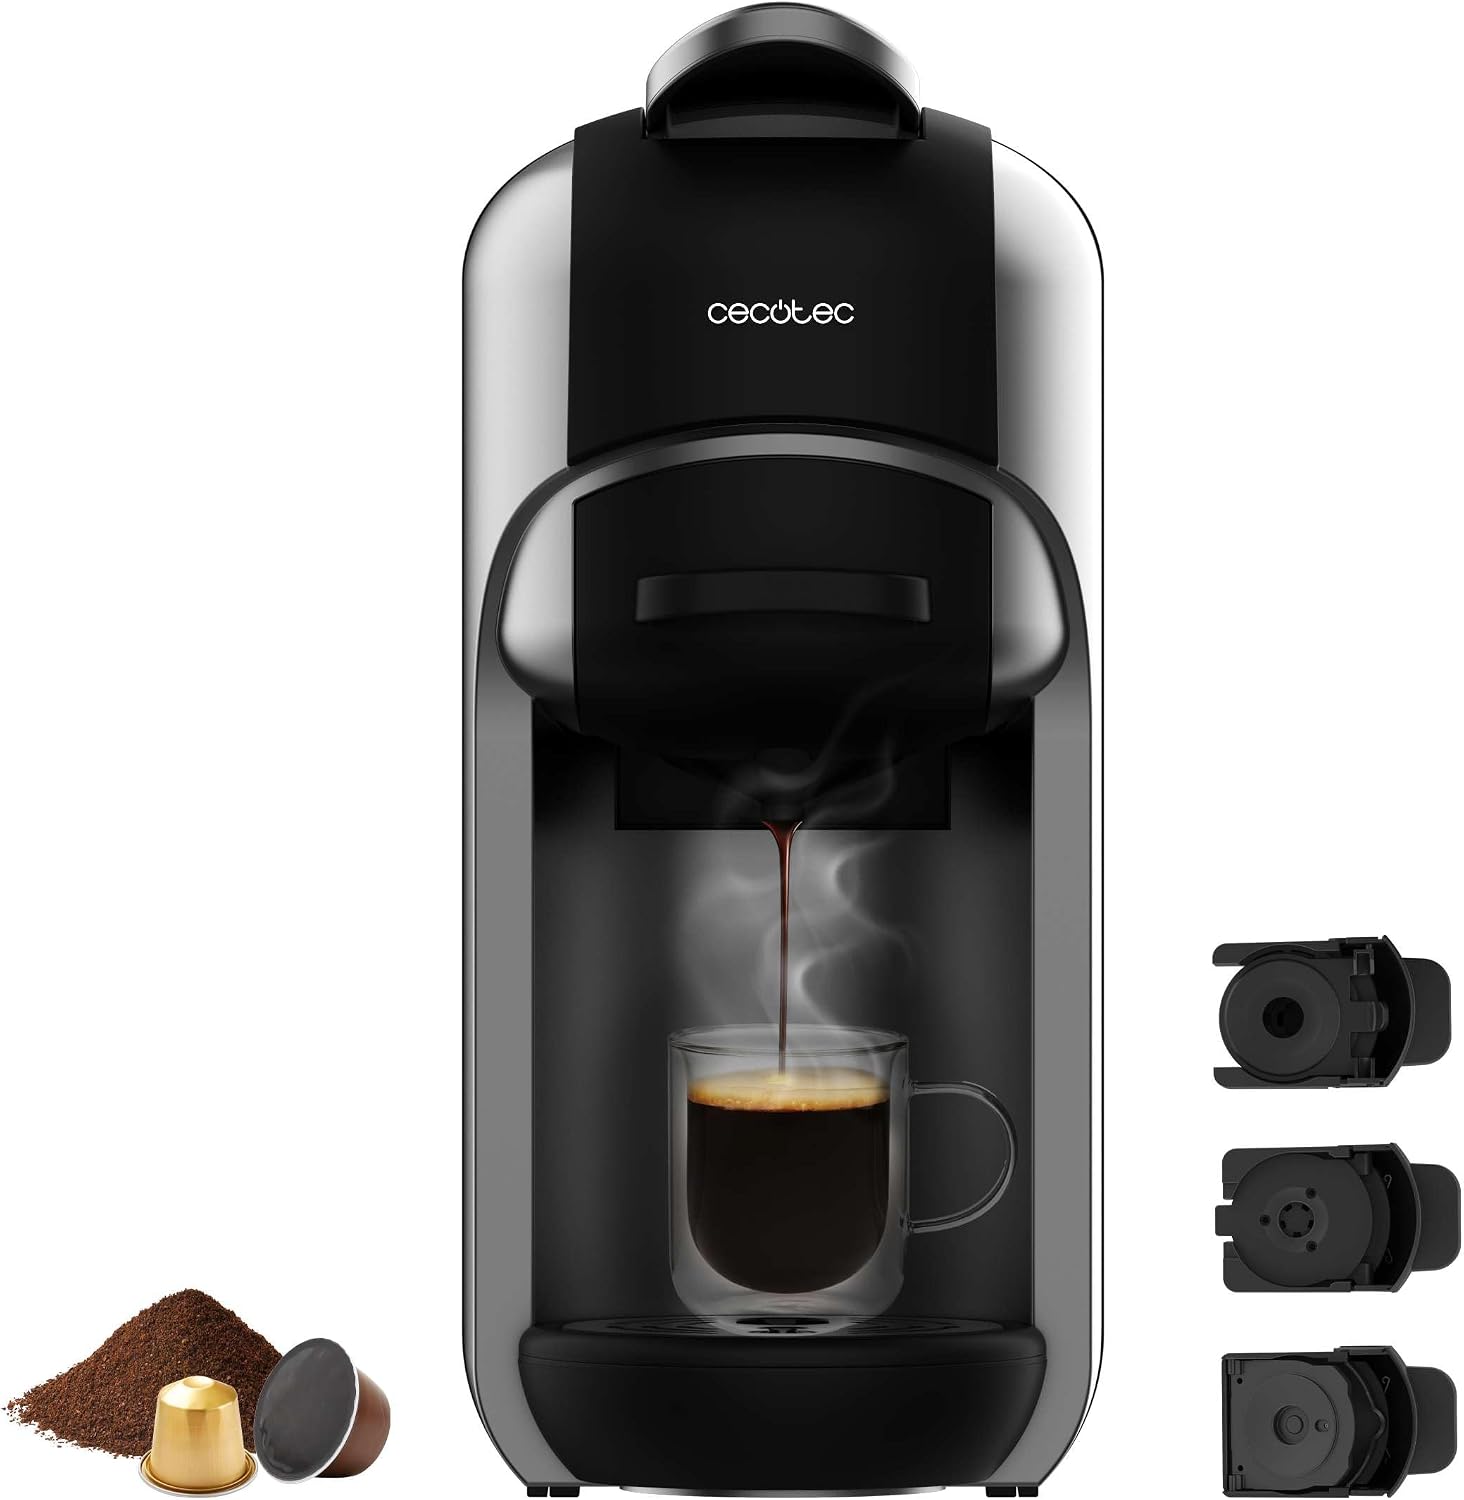
Figure 3.1: Front view of the Cecotec FreeStyle Compact coffee machine, showing its sleek design and the included adapters for different coffee types.
- Water Tank (600 ml): Transparent and removable for easy refilling and cleaning.
- Control Panel: Features intuitive buttons for power, coffee brewing, and an indicator light.
- Coffee Outlet: Where the brewed coffee dispenses into your cup.
- Drip Tray: Removable for easy cleaning, collects any drips or spills.
- Capsule/Ground Coffee Adapters: Interchangeable holders for Nespresso, Dolce Gusto capsules, and ground coffee.
- Thermoblock Heating System: Ensures rapid heating and consistent temperature for optimal brewing.
- ForceAroma 19 Bar Pressure Pump: Provides the ideal pressure for rich crema and full aroma extraction.
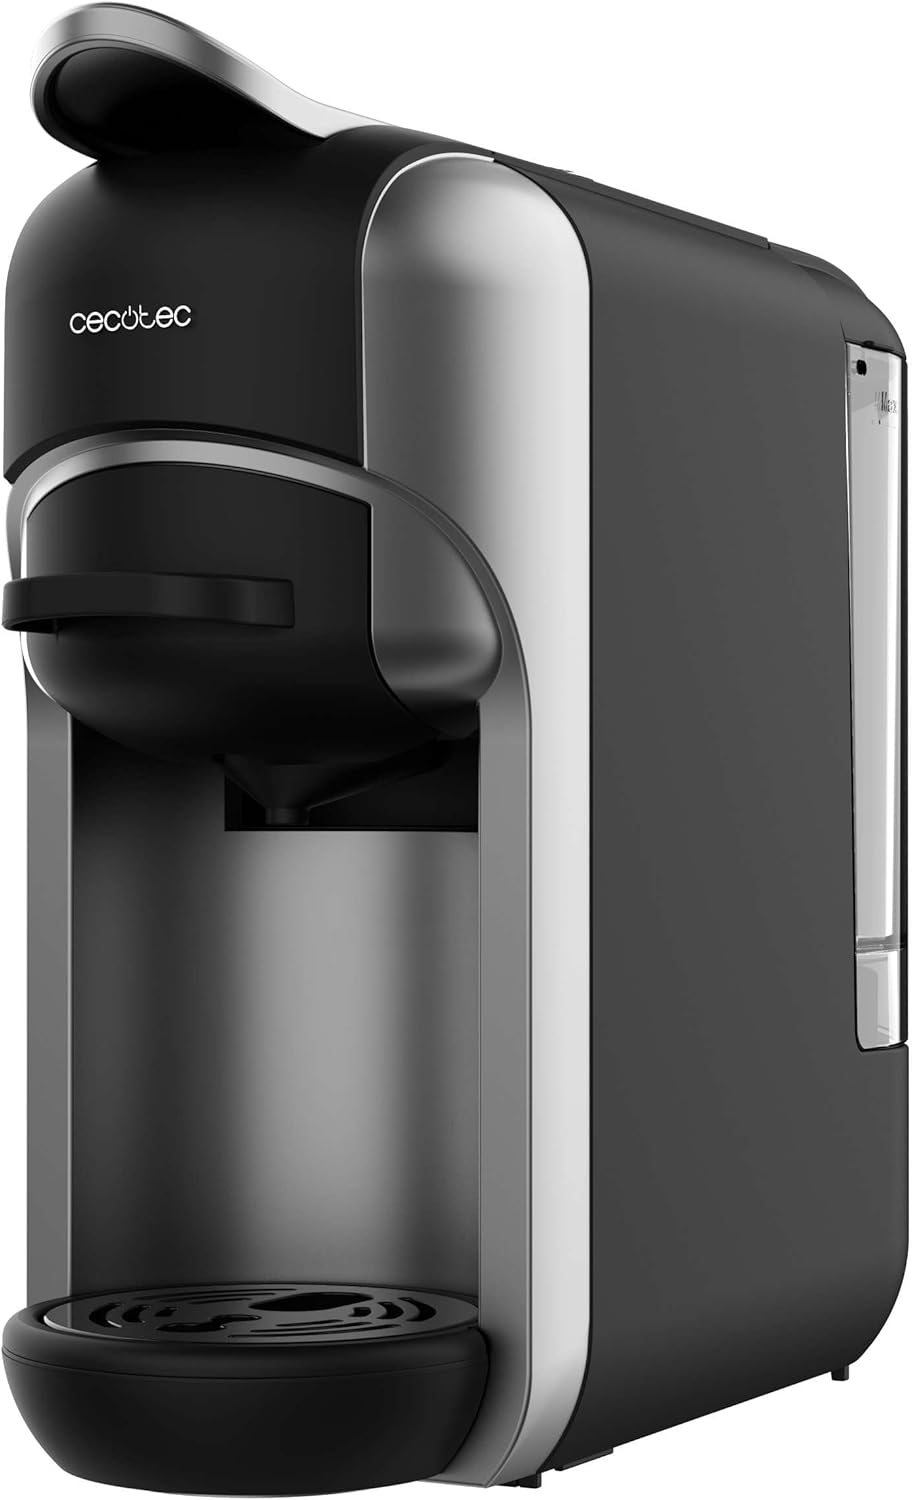
Figure 3.2: Side view highlighting the compact profile and the transparent water tank.
4. Setup
Before using your coffee machine for the first time, follow these steps:
- Unpacking: Carefully remove all packaging materials. Check that all components are present and undamaged.
- Initial Cleaning: Wash the water tank, drip tray, and all coffee adapters with warm, soapy water. Rinse thoroughly and dry.
- Fill Water Tank: Remove the water tank from the back of the machine. Fill it with fresh, cold water up to the MAX level. Reinsert the tank securely.
- First Use Cycle (Priming):
- Place a large cup or container under the coffee outlet.
- Plug the machine into a suitable power outlet.
- Press the ON/OFF button to turn on the machine. The indicator light will flash while heating and become steady when ready.
- Press the coffee brewing button (usually the largest one). The machine will dispense hot water. Repeat this process 2-3 times without coffee to clean the internal system.
- Your coffee machine is now ready for use.

Figure 4.1: Detaching the water tank for filling or cleaning.
5. Operating Instructions
The Cecotec FreeStyle Compact offers versatility for different coffee preferences.

Figure 5.1: The machine supports ground coffee, Dolce Gusto, and Nespresso capsules, offering great versatility.
5.1. Brewing Coffee (General Steps)
- Ensure the water tank is filled with fresh, cold water.
- Turn on the machine by pressing the ON/OFF button. Wait for the indicator light to become steady, indicating it's ready.
- Select the appropriate adapter for your coffee type (ground coffee, Nespresso, or Dolce Gusto).
- Insert your coffee (ground coffee into the filter, capsule into the respective adapter).
- Place your cup on the drip tray under the coffee outlet.
- Press the desired coffee brewing button. The machine will start brewing.
- The machine will automatically stop when the pre-set volume is reached. You can also manually stop it by pressing the button again.
- Carefully remove your cup.
Figure 5.2: Powering on the machine using the main ON/OFF switch.

Figure 5.3: Brewing coffee with a single press, demonstrating ease of use.
5.2. Adjusting Coffee Intensity (Water Volume)
The machine allows you to adjust the water volume for each coffee, offering 7 levels of intensity.

Figure 5.4: Visual representation of 7 water levels for customizing coffee strength, from mild to intense.
Refer to the specific instructions in your full manual for programming the desired water volume for each button.
5.3. Automatic Shutdown
To conserve energy, the coffee machine features an automatic shutdown function. It will enter standby mode and turn off after 15 minutes of inactivity.

Figure 5.5: The machine's energy-saving feature, automatically turning off after 15 minutes of inactivity.
6. Maintenance
Regular cleaning and maintenance ensure the longevity and optimal performance of your coffee machine.
6.1. Daily Cleaning
- Drip Tray: Empty and rinse the drip tray daily.
- Used Capsule/Ground Coffee Container: Empty and clean the container after each use.
- Coffee Outlet: Wipe the coffee outlet area with a damp cloth.
- Exterior: Wipe the exterior of the machine with a soft, damp cloth. Do not use abrasive cleaners or solvents.
6.2. Water Tank Cleaning
Clean the water tank regularly, especially if you notice any residue. Remove the tank, wash with mild detergent and warm water, rinse thoroughly, and dry before reattaching.
6.3. Descaling
Over time, mineral deposits (limescale) can build up in the machine, affecting performance. Descale your machine every 2-3 months, or more frequently if you live in an area with hard water.
- Use a commercially available descaling solution suitable for coffee machines, following the product's instructions.
- Fill the water tank with the descaling solution and water mixture as per the descaler's instructions.
- Place a large container under the coffee outlet.
- Run several brewing cycles without coffee until the water tank is empty.
- Rinse the water tank thoroughly and fill it with fresh water.
- Run several cycles with fresh water to rinse out any remaining descaling solution.
7. Troubleshooting
If you encounter issues with your coffee machine, refer to the table below for common problems and solutions.
| Problem | Possible Cause | Solution |
|---|---|---|
| Machine does not turn on. | Not plugged in; power outlet issue; main switch off. | Check power connection; try another outlet; ensure ON/OFF switch is pressed. |
| No coffee dispenses. | Water tank empty; machine not primed; clogged system. | Fill water tank; perform priming cycle; descale the machine. |
| Coffee is cold or not hot enough. | Machine not fully heated; limescale buildup. | Wait for indicator light to be steady; descale the machine. |
| Water leaks from machine. | Water tank not properly seated; drip tray full. | Ensure water tank is securely in place; empty and reinsert drip tray. |
| Coffee tastes weak or watery. | Incorrect water volume setting; old/stale coffee; insufficient coffee. | Adjust water volume (intensity); use fresh coffee; ensure proper amount of ground coffee/capsule. |
If the problem persists after attempting these solutions, please contact Cecotec customer support.
8. Specifications
| Feature | Detail |
|---|---|
| Brand | Cecotec |
| Model | 00648 |
| Color | Black |
| Product Dimensions | 27 x 27.5 x 11.5 cm |
| Item Weight | 2.52 Kilograms |
| Voltage | 230 Volt (AC) |
| Power | 1450 W |
| Pressure Pump | ForceAroma 19 bar |
| Water Tank Capacity | 600 ml |
| Special Features | Water filter, Removable tank, Thermal, Automatic shutdown |
| Coffee Maker Type | Espresso Machine |
9. Warranty and Support
Your Cecotec FreeStyle Compact Espresso Coffee Machine is covered by a manufacturer's warranty. Please refer to the warranty card included with your product for specific terms and conditions, including warranty period and coverage details.
For technical assistance, troubleshooting beyond this manual, or warranty claims, please contact Cecotec customer support through their official website or the contact information provided in your product packaging.
Keep your purchase receipt as proof of purchase for warranty purposes.